

DClaville
-
Posts
241 -
Joined
-
Last visited
Content Type
Profiles
Forums
Articles
Gallery
Downloads
Events
Posts posted by DClaville
-
-
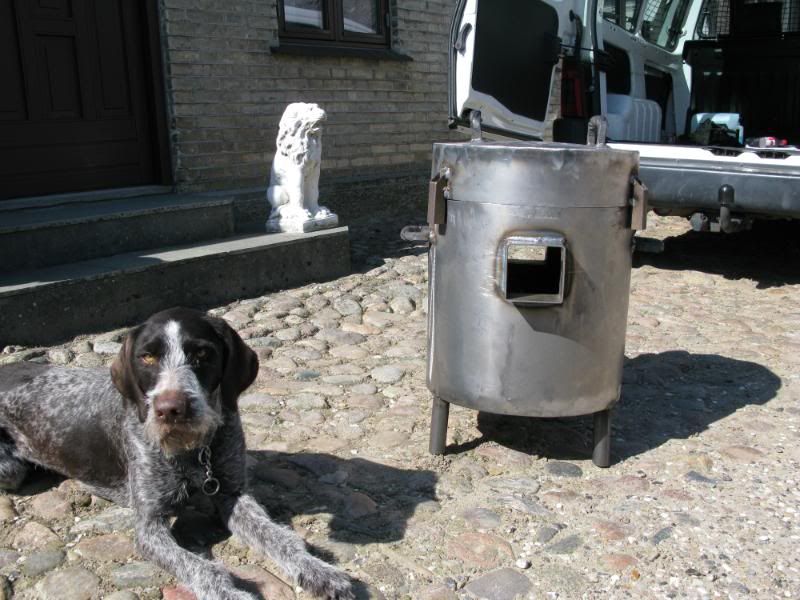
well for a long time have I been planing a new gas forge made mostly to weld damascus steel in but also blade forging and smelting metals for casting and what ever crazy ideas I can fit in side it
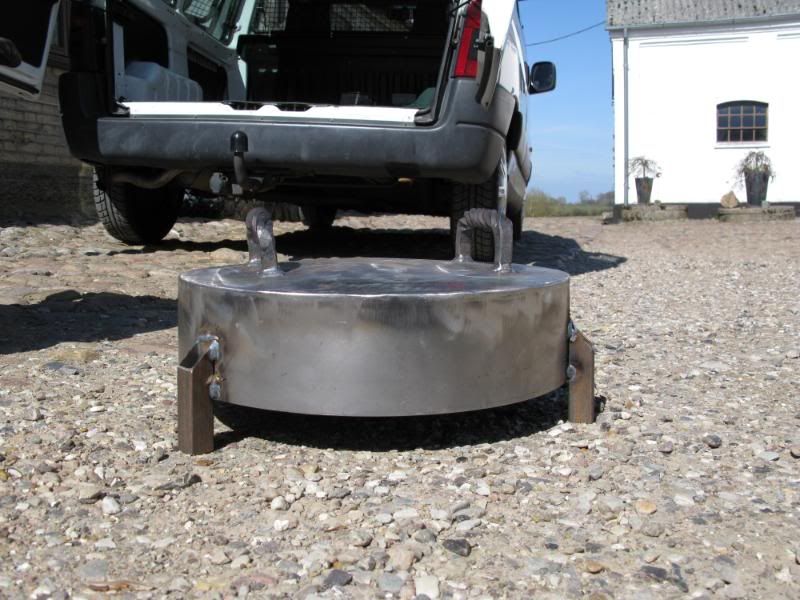
I have finished most of the forge's steel body
it is 2mm sheet metal the legs are 1" pipe so long lags made from 3/4" pipe will fit easily inside making it some what portable.
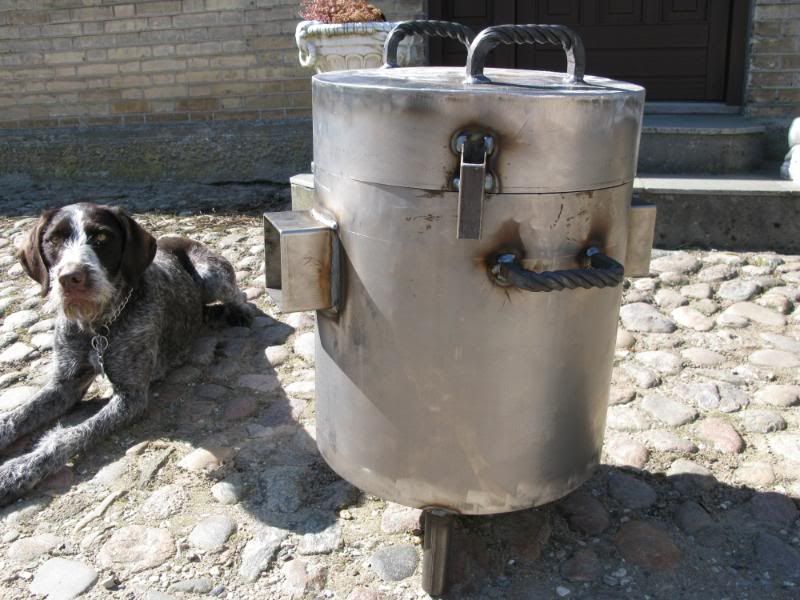
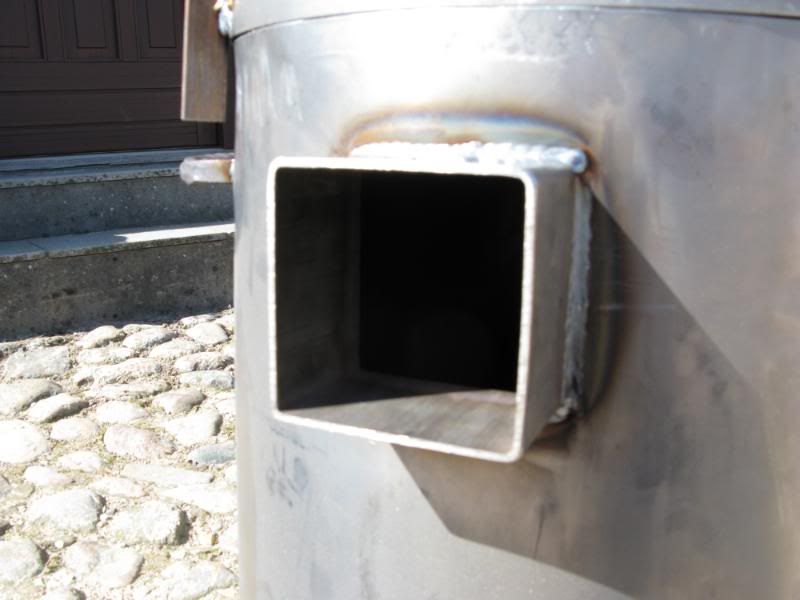
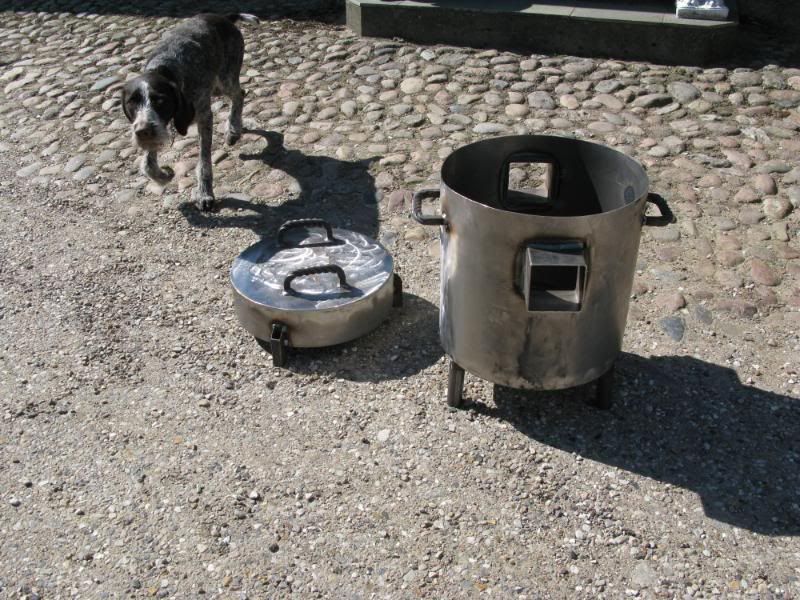
the openings are 4 x 4" square stainless steel
the handles are 16mm square chiselled lines on each flat side before twisting then
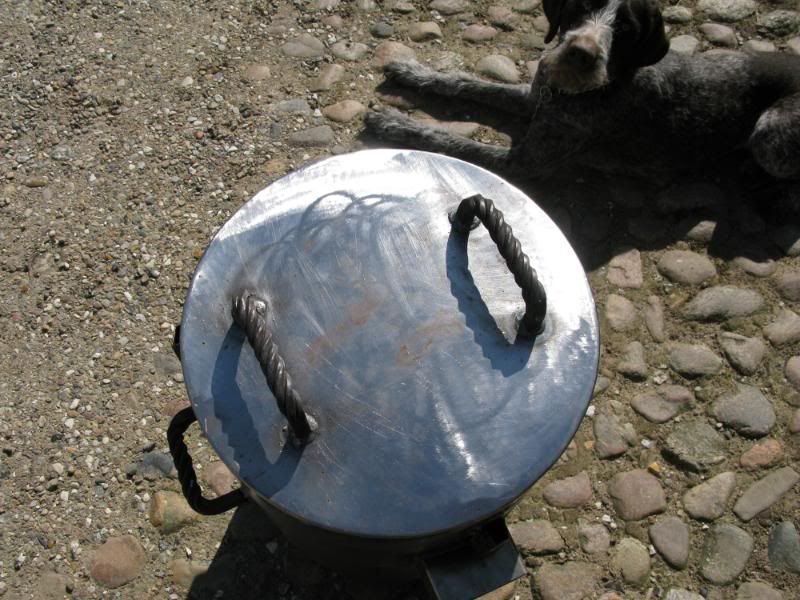
the top lit have 3 legs so it cant fall of easily and also stand on the floor without the insulation touching the ground
I have decided to go large and spendy and put 3" of 1400degree C fibre wool in it and then cast in 1" of 1800degree C high alumina castable refractory on all exposed surfaces same in the top lit
the idea is to have a closed forge where the lit can be removed so it can be used as a crucible smelting furnace.
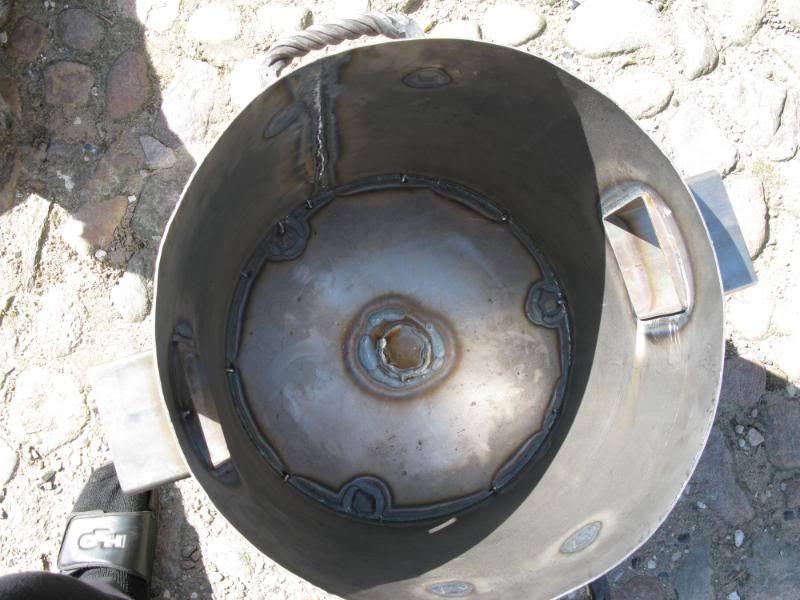
the chamber will end up about 200mm round 300mm high
iI will cast the floor concave to the middle and have a drip hole for the flux to run out. and see how it works. If it turns out bad I can always close it up
well enough ranting here is some pics of the body
I will take more pics along the way to completion.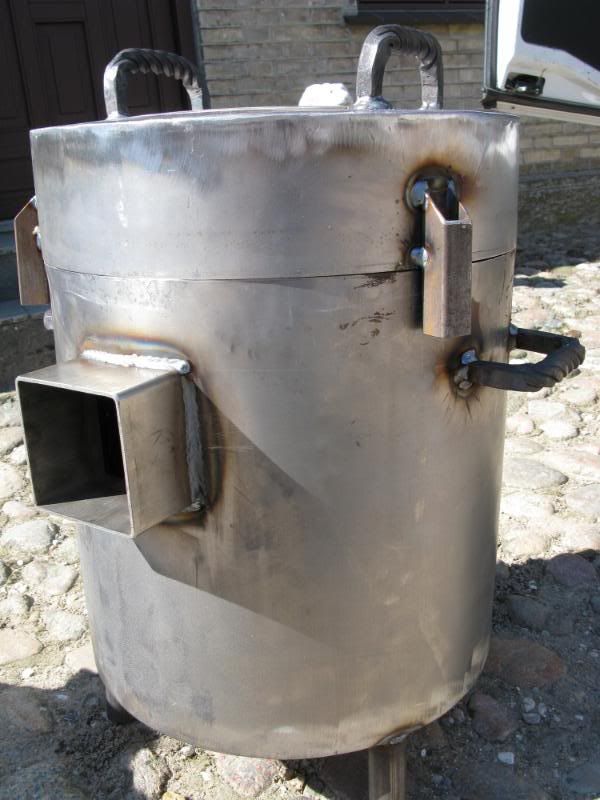
the burner will be a big venturi burner I made not long ago to try it out but will also play around trying blown type burners and see how they work -
http://www.dolex.fr/net/en/en_produits.aspx?prodid=18 looks like a dolex copy
-
AHA! so thats the problem will have to make a new longer injector
thanks you Kcrucible and Grant will report back when I get it done -
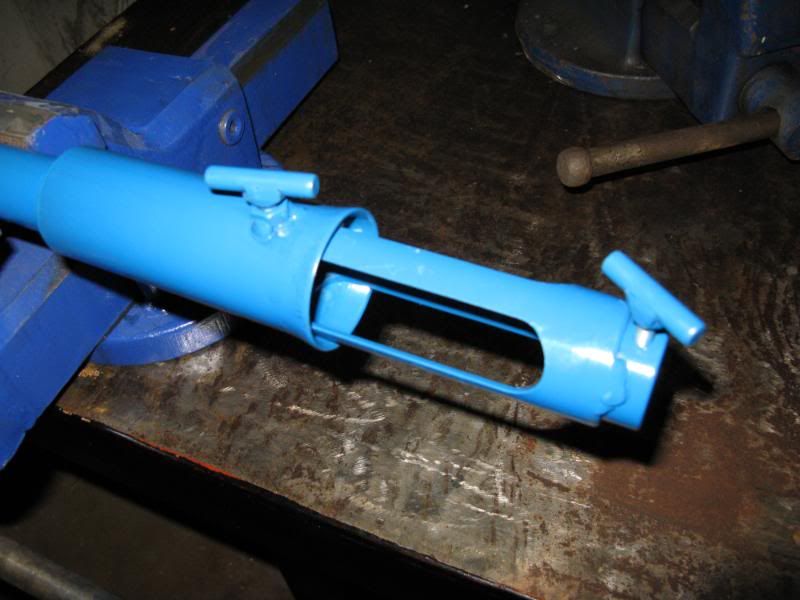
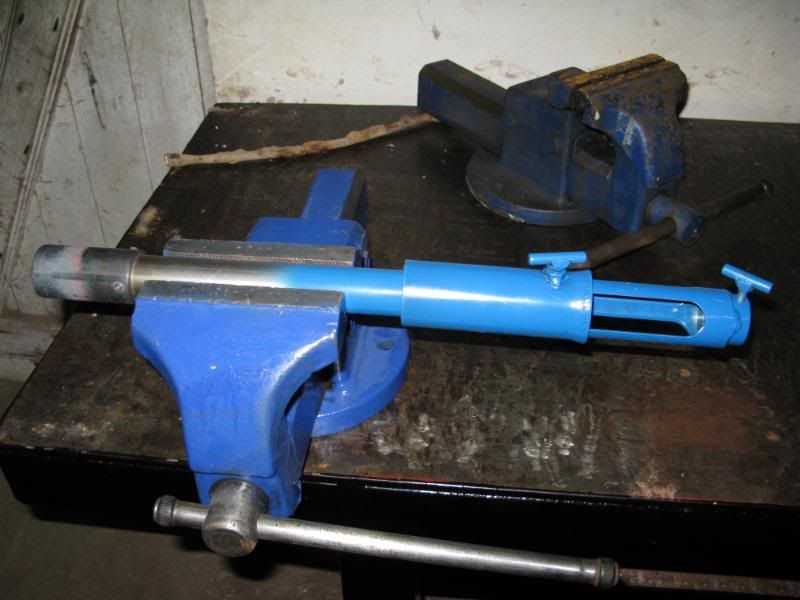
I have just finished a new forge burner for a vertical welding forge I will build soon
it is a 1" burner main burner tube is 30cm long 1" stainless steel pipe the mixing chamber is 1 1/4" pipe 18cm long with 3 milled 25mm wide 7,5cm long slots the choke sleeve is 1 1/2" pipe flared at the end for smoother air flow
the 1" pipe was also flared for a smooth inside where it meets the 1 1/4" mixing chamber so there's no hindrance to the venturi effect.
sprayed a bit of Ford blue on it just for kicks
the flame holder is just black pipe and just for testing the forge i will build will have the shape for a flame holder cast in it.
here is a few pics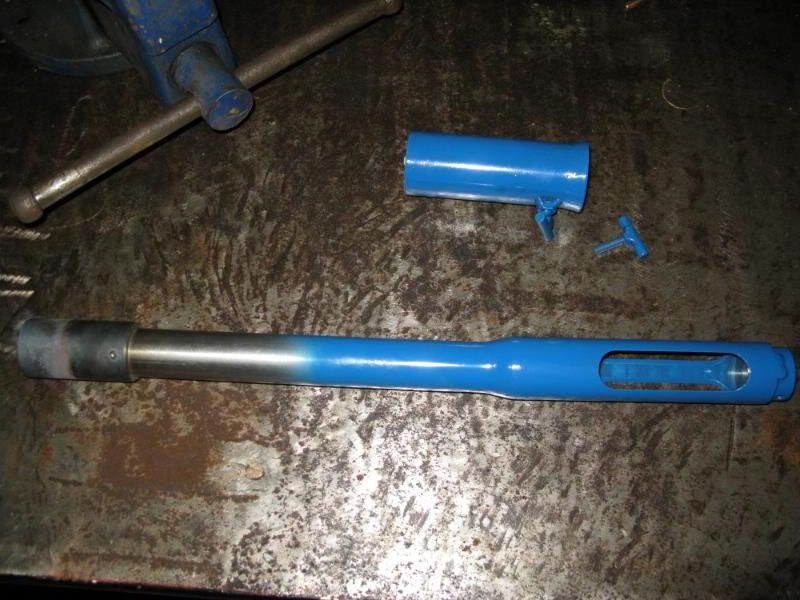
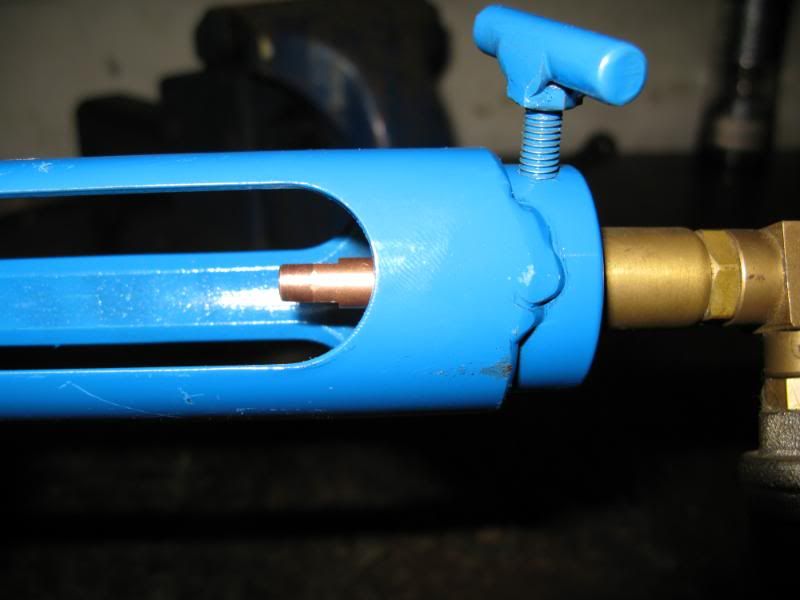
here is a few vids testing it
it is running with a 0,8mm MIG welding tip for the gas injector
whatya think?
will it be big enough for a 30cm tall by 20cm round vertical chamber ?
I have been thinking would it have made a difference (improvement maybe) with the burning and gas/air mixing if i had made say 6 slimmer slots for air intake??
and is the step down in size from the 1 1/4" to 1" "mixing chamber to burner tube" enough or will more, say 1 1/2 mixing chamber for a 1" burner be even more efficient??
all thoughts and input much appreciated
cheers. -
Thanks you for that post Porter, it is very informative and confirms some points in burner design i have had to mind but not been 100% sure off
the last couple evenings I have been building a big 1" main tube burner and went with only 3 air intake slots 1" wide 3" long in the mixing chamber (1 1/4" pipe) but am very unsure if it would have given a better mixing and burning with 6 slots of a smaller size?
I will dig out the digi-cam and take photos and vids of the burner and make a new thread tomorrow
Cheers
DC -
if you are going for the blackening finish where you burn the linseed oil into the surface of the steel
then you need to heat the piece to just below the point where it will set the oil on fire. and dont dip it in the oil.
have a few small cotton rags at the end of a thin steel rod and dip that into the oil and use it as a brush, and keep brushing oil onto the piece and re heating it a bit till you get a black coat all over, and finish with a heating then there should be no unburned oil on the piece.
and when you do it its very important that you keep blowing the flames out
when you heat the piece do it in the soft flames above the coke in your forge
when done let it cool off and rub with a old newspaper
this is how it have been done for 100ers of years and it will last longer then most paint indoors or outdoors
when i do larger pieces i hang them in a wire and use a gas weed burner do heat it, its a lot easier then heating small spots over the forge flames
cheers DC -
finish sand them with grip 80 and then a long soak in boiled linseed oil they will get blackish very fast as you use them.
-
hej
where do you buy the big steel wire brushes like the one laying on the anvil stand in your first pic?
i have been looking every where but cant find them any where here in Denmark
nice looking anvils as well the Kohlswa's are good anvils just mind the edges they are a bit chippy if not dressed IMO
cheers. -
Job the answer to your low flame is in my post further up the thread
your burners burner tube is way too short to get a good mix and lacks the size stepdown from air intake champer to main burner tube to get speed on the gas/air mix
its no problem that the burner points up inside the forge it might even be better if you want to avoid the "hotspot" where the flame is
good luck with it and stay safe :) -
this one is just great look close and find grinders and powerhammers

Venus at vulcans forge -
any anvil that spends most of its time in a shop is a shop anvil

but the only thing that matters is any size is better then no anvil and if posile match it for you work and if means are free at hand then the bigger the better
i dont think im ever gonna need anything bigger then my 142kg anvil but more then half of the work i do could be done as easily on my 70kg anvil
so as have been said you can do small stuff on a big anvil but not the other way around ;) -
good first try at a burner
i've build a few handfuls of burner playing around and such
what i have found to be very important is
1. make it long 12" is good but only as the main burner tube
2. the far back part where the air slots are should always be larger then the main tube size so for a 1" burner you should have a 1 1/4" tube for the air intake part ( this is to aid the venturi effect)
have the gas inlet about 1/4 inch (mig tips tip) infront of the start of the air slots (this is most likely the main problem you have in the burner show in post 1 ) the gas need to pas by the air intake slots to be able to use its own speed and drag in air along with it and speed up even more as it flows down the burner tube and are forced in trough the step down in size to enter the main burner tube
for a 1" burner a 1 or 1,2mm mig tip should be ideal for the easiest way to rig it up is to have a small pipe or brass fitting and just tread it so the mig tip fits, the ones i use have 6mm metric size tread
if you having a hard time hold the flame where you want it still the use a smaller size gas inlet (mig tip) and higher pressure venturis need fast gas flow to draw in air, to make speed in the venturi
the step uo in dia. should be at least 5mm for it to hold any flame no mater how strong
ill try to get some photos up
good luck with it stay safe.
Just realised how old this is hehe well i hope this helps :) -
Jymm just what is that Ram refractory you use ? do you have a link to it or a full name of the product and manufacture
it sounds like it is very strong and resistant to flux aka all we want :) -
here in Denmark you can buy a heat belt for gas tanks that goes in a 220v power socket they are made and sold by BP-Gas and made for use on propane tanks i think they are thermo controlled so they go on and off automatically at certain temps
i dont have one but might get one if needed
but will be looking into using two tanks first as it will be more convenient for me -
nice vids of of them i also love watching such vids ill look around in my ocean of links and post what i find
heres one site there is a few vids in the vid section My link -
his two books will be the next books I buy they have for a long time been high on the wish list but not at the very top as im more into bladesmithing
but now they are at the very top
thanks for the reviews all -
nice vid thanks for sharing
Neal I was just thinking the same when I saw it -
this is just the solution for a problem I will be facing soon in my under way work shop
thanks for posting and thanks for keeping this tread in the front rows :) -
hehe the only time its not good to be a blacksmith is when you cant get to a forge
and that's not really bad just irritating
and I agree the best part is the spot it fills in the soul :) -
haha that is funny that nay one would actually post something like that at such a price hehe
-
if you heat treat the steel any way before knowing what you are doing, and pan on giving it the unavoidable test on what ever soft material, THEN BE SURE to use a lot of safety gear and have no bystanders in a long long range as you can easily kill your self or others if a sharp blade breaks cus of bad hardening and tempering
sorry i know this sound over scared but it can happen..
swords are very difficult to HT right so as others have said learn how to do it on smaller blades (knife size) first and read around the net just from searching there is more info then you can ever read on it
there is so much to understand on this that a answer cant be given in a single few posts on any forum.
the learning process is also a big fun part of it all
good luck and have fun
DC -
If the facelift is competant, and the anvil rebounds well, the buyer may not necessarily be a sucker. It all depends on two things, the quality of the amvil, and the depth of the buyer's pockets.
what are the chance of that if the face is made from SS ? -
well the weight will be as with any other hammer, depending on what you need it for and what you like to use.
really the same with dimensions like how big a face area do you like to work with do you want it round, square or octagonal
I have never heard of a Norse hammer and if its from the Viking era it would not have been Norse as back then most of Scandinavia was one
as far as I have seen and read there was no real standard for hammers but the forward weight ones was close do what's today called a Swedish pattern hammer with a shorter pein but a lot was also looking like a small sledge or "Thors" hammer
just make one and keep doing that till you find what you love working with it will take time but it will also be fun
good luck
ATB.
Dan the Dane. -
hahahah what a tard stainless?.. shame about one anvil made useless tho.
Vertical welding gas forge
in Gas Forges
Posted
Thanks Sam, yes that's the idea :)