Frank B
-
Posts
46 -
Joined
-
Last visited
Content Type
Profiles
Forums
Articles
Gallery
Downloads
Events
Everything posted by Frank B
-
Fantastic, thanks for the info.
-
Thanks, how much larger are you going on the stepped nozzle? I could not find anything searching the forum directly referencing that.
-
Can you elaborate on the design parameters of this improved nozzle. Thanks
-
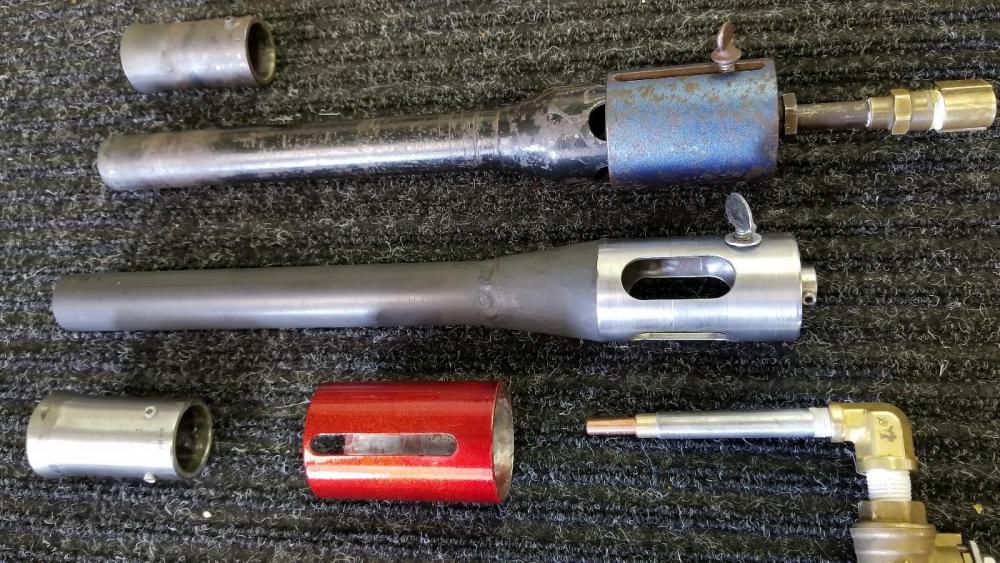
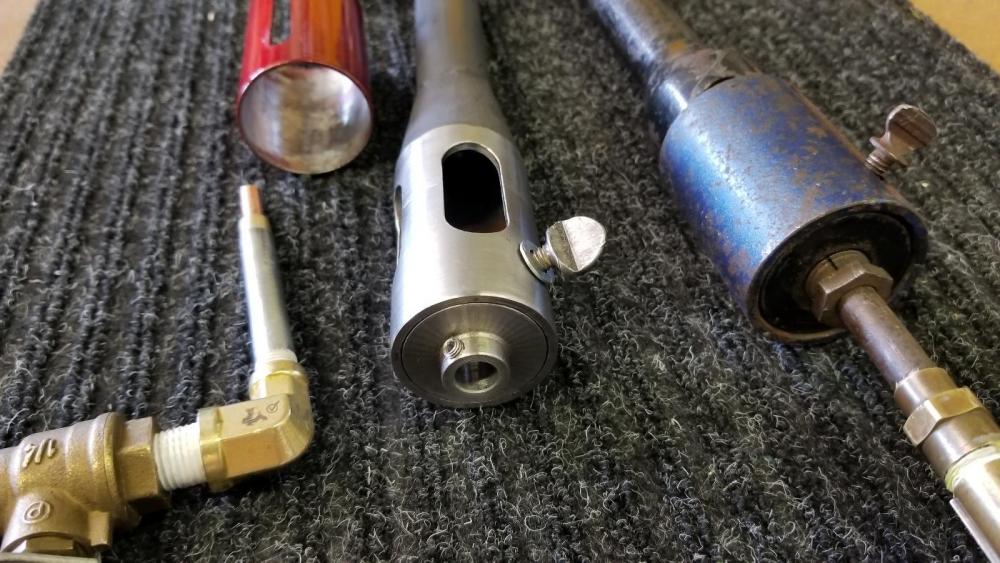
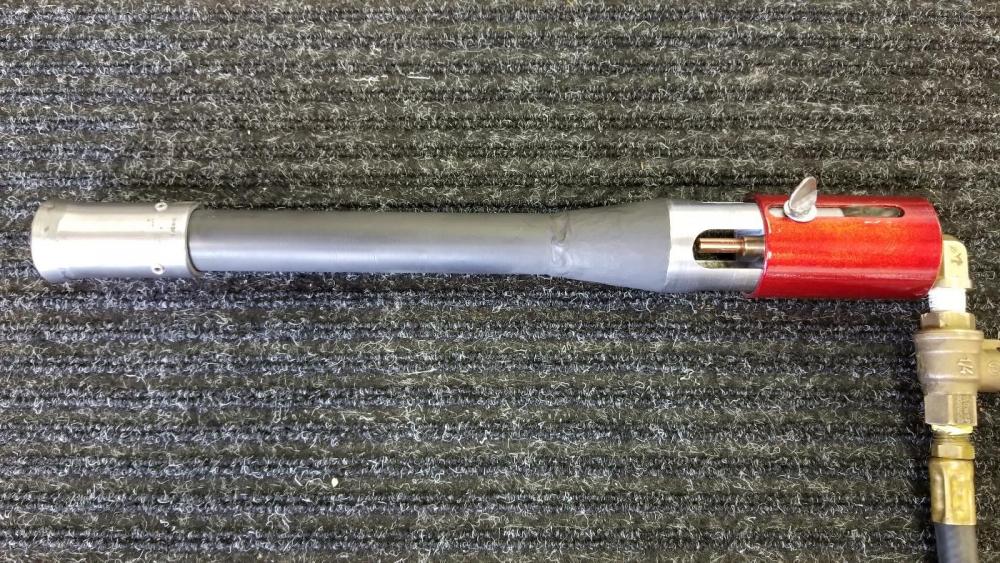
Hi, First post in long time. I've been planning on building a ribbon burner forge to help facilitate welding Damascus, but thought I would try a 2 T-Rex burner forge first as I like the thought of staying naturally aspirated. My old T-Rex burner seems to run pretty darn efficient so I figured that would be a good place to start on a second unit build. I deviated a bit and decided to hand Forge the taper to the burner tube ,rather than buying a weldable taper for $25.00. And since I did not have a 3/8 npt tap for the back brass collet, I turned the rear plug with an extended boss and a set screw. My nozzle is flared a little more than 12 degrees but it seems to work fine for now. It seems like I've read a post talking about using a stair step nozzle with a spacer? I don't understand, is this for a bigger diameter nozzle? And is that an improved design over the stock configuration?
-
Thanks, I have never heard of it in 1/8" . I love the look and would like to try it sometime. I guess I could use a thicker saw blade which I think are usually L6. Have you tried making the same style of billet with L6.
-
No extra metal was added and I started with a standard / large 6.75" railroad spike. And yes I did thin down the handle to move more metal to the blade. I have made a lot of these in 3 or 4 different styles and I am getting a little better at forging to shape so there is less loss due to grinding at the end.
-
Great job, I love it. If I may ask about the blade. The 15n20 looks to be thicker and showing more than I would have thought for a piece that is usually around .070 thick. Did you use multiple layers of 15n20 or does it come in pieces thicker than bandsaw blades.
-
The tank does not have a mesh basket yet, but I was thinking about it. So far I have never dropped a blade in my other tank, but it would be a good idea especially with the raised basket as you mentioned.
-
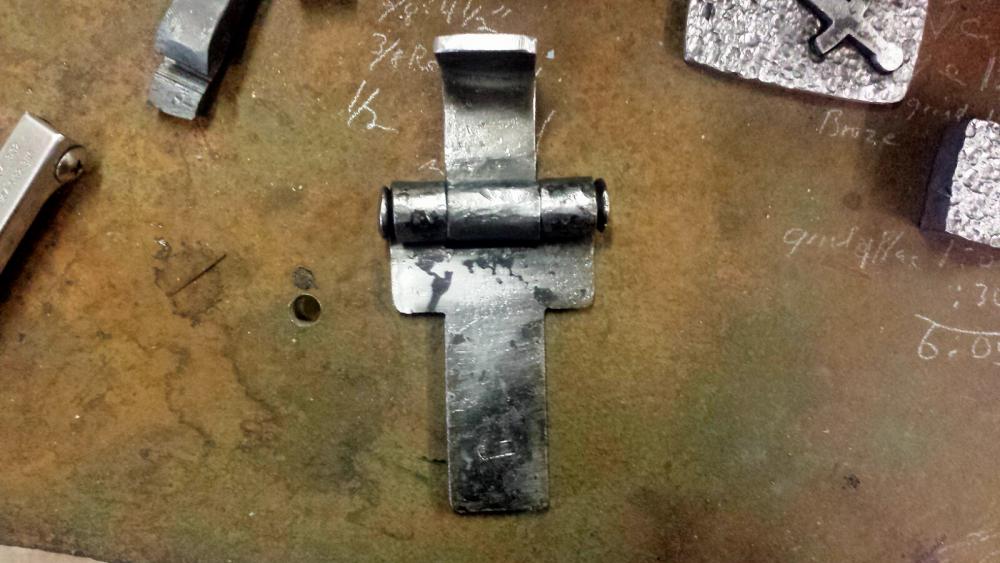
Here is a new quench tank I finished up to hold the parks 50 quench. After hearing about two other Smiths who shop burned down in the last year , I figured I'd make this one right with a wheeled base and with a hinged lid that flips down in case of fire. I also made my first forged hinge to fit on the tank.
_PerfectlyClear.thumb.jpg.df36fd74a5b81af2bd6cca31c0c82765.jpg)
_PerfectlyClear.thumb.jpg.db2aaf2c0f74e260d5b728f943eaf60d.jpg)
-
Thanks, I have made a few san mai spike knives the bandsaw way, but this came out nicer.
-
Very nice. Did you bandsaw the spike down the middle then insert the other steel and weld?
-

chain damascus socket chisel
Frank B replied to bobasaurus's topic in Chisels, Gouges, Scissors, etc
Very Cool, I like it. Thanks for sharing. -
I make a bunch of cuts on both ends of the tubing for folding over to seal up the ends. I leave at least a 1/4 hole on the ends for the pressure if there is any. I bring the cable up to temp, flux. I do that twice. I do twist the cable to tighten before inserting it in the tubing and then I bring it up to welding temp. BE Careful about what way the ends of the tubing are pointing and where you are standing when doing the first setting of the welds as hot flux can squirt out the end hole. And it does!!!! especially when using a press!!!
-
I also have a love/hate thing going on with cable. I also take it apart down to the bundles that are 3/8 dia and clean. But with the amount of dirt that comes off of new cable I am sure there is a lot more of it farther inside. I said it was can damascus, which is guess it is, but I do not add powered metal. I just stick it in a stainless steel tube to shield it from scaling and then forge it together just like you would a normal cable billet.
-
I have tried 1/2 3/4 and full twist and do make them that way sometimes, but I like the way my fingers lay on the handle with a 1/2 twist. Of course if a customer ask, I will make it however they like.
-
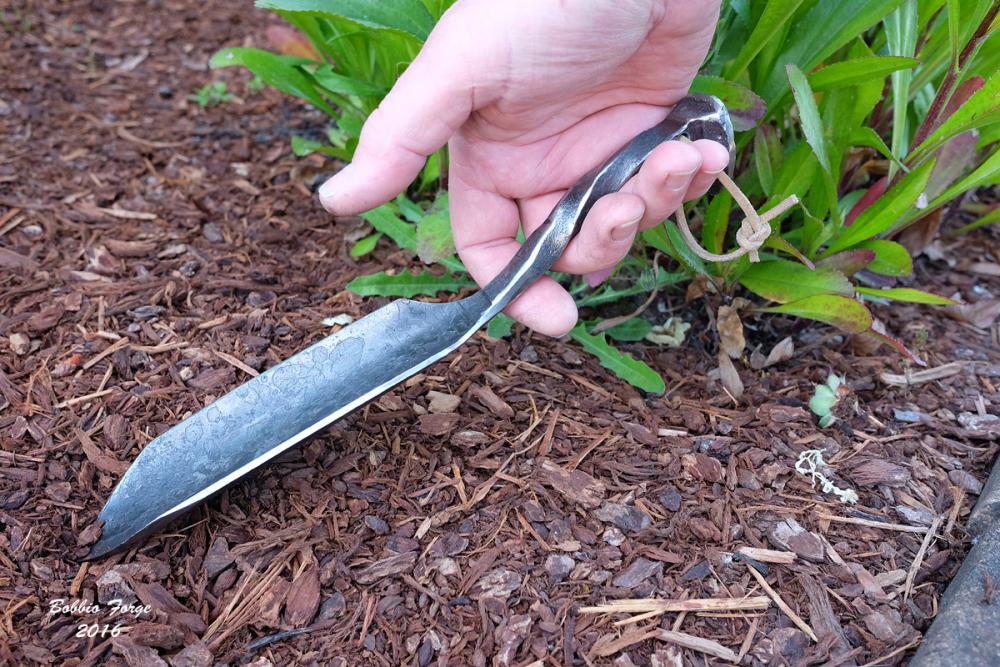
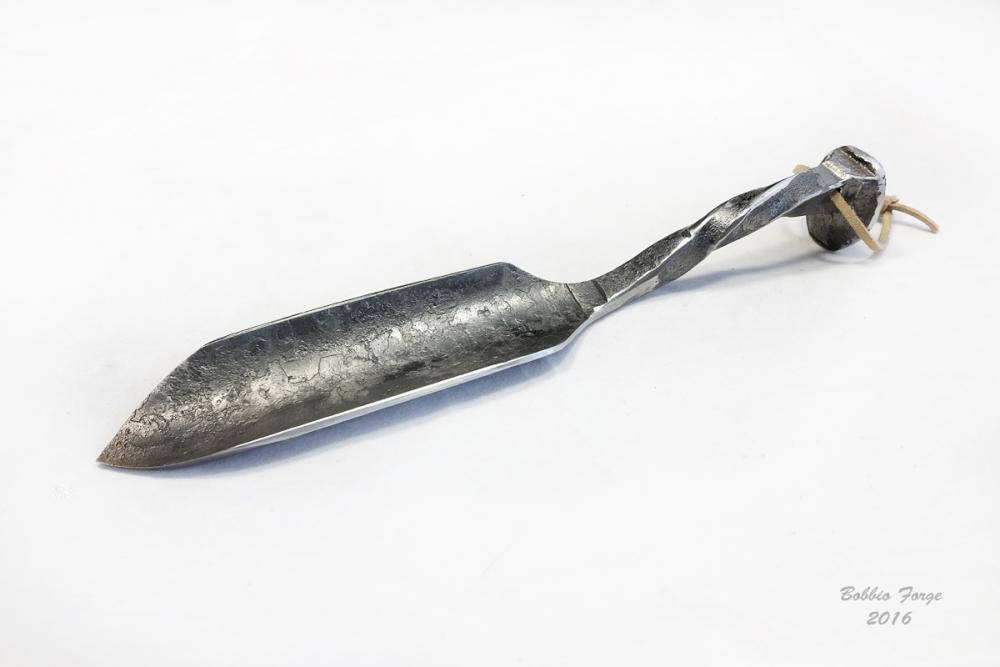
I have been forging railroad spikes into garden trowels for years. I think this is my best version to date and with the curved handle it sits nicely in your hand.
-
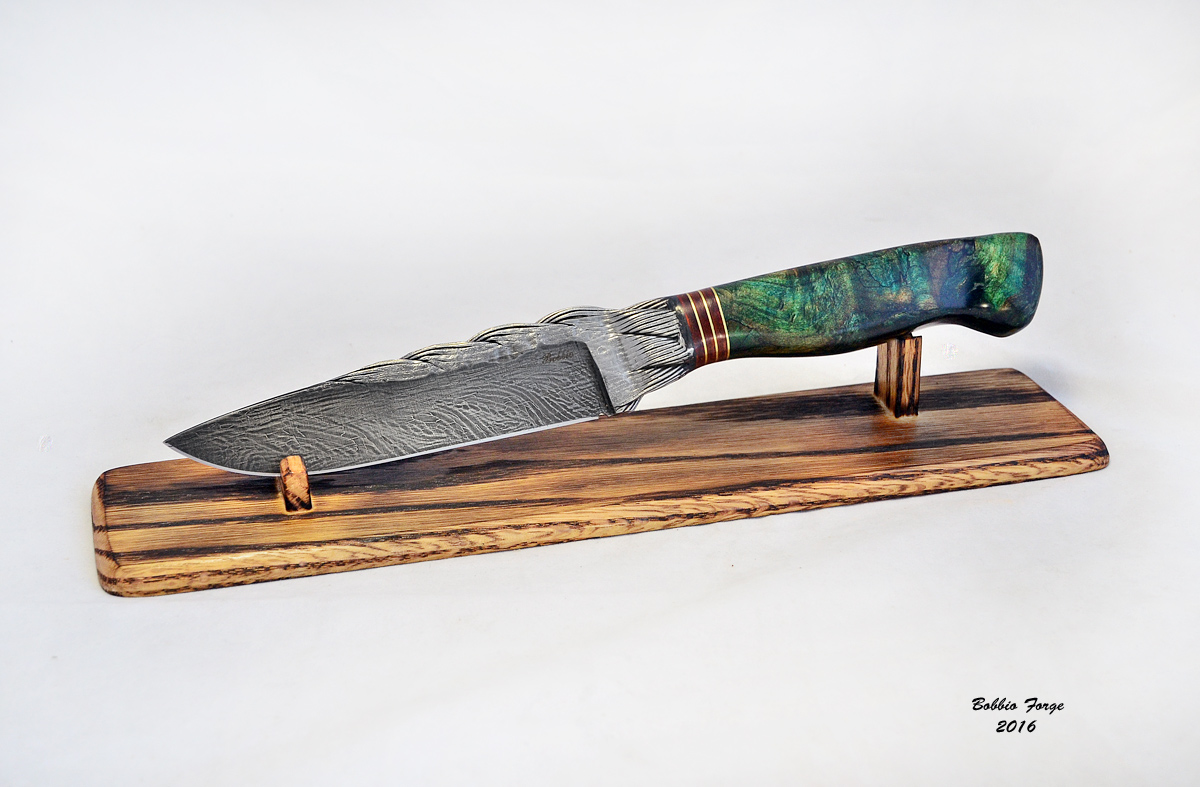
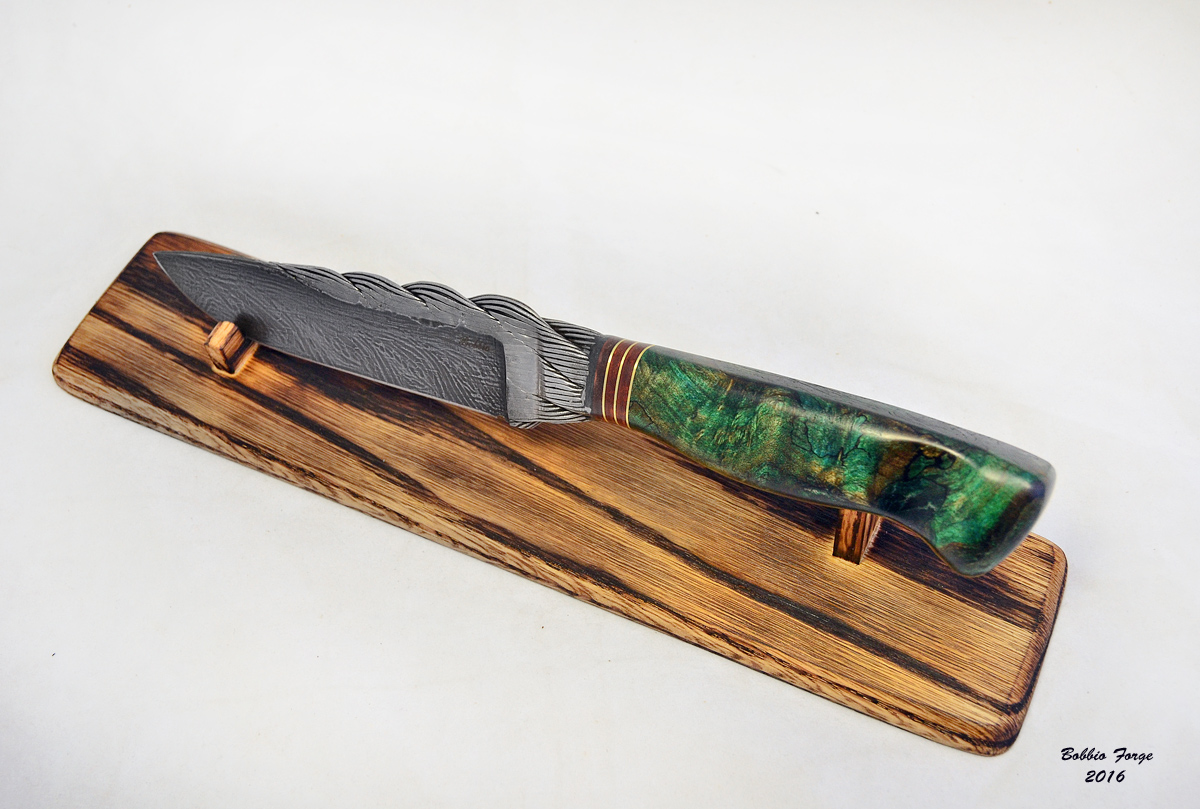
Thanks, Yes these are can welded. And the cable damascus seems to be strong when hardened, or at least it breaks differently. I like to do destructive testing on blades as you learn a lot. I took 4 pieces of cable damascus quenched in 2 different quenches and 2 with tempering and 2 at full hardness and broke them in a vise. After having a pile broken pieces sitting on the bench for a while I thought I would see if it was possible to forge weld all the mangled pieces together. And it surprisingly it worked. I was never planning on finishing the blade when I was forging it out so I left it was a little rough. Of course I couldn't let it lay so I put a handle on it and someone liked it, so it sold. Photo below.

-
Thanks on the blades. I have not had any issues with delamination happening.
-
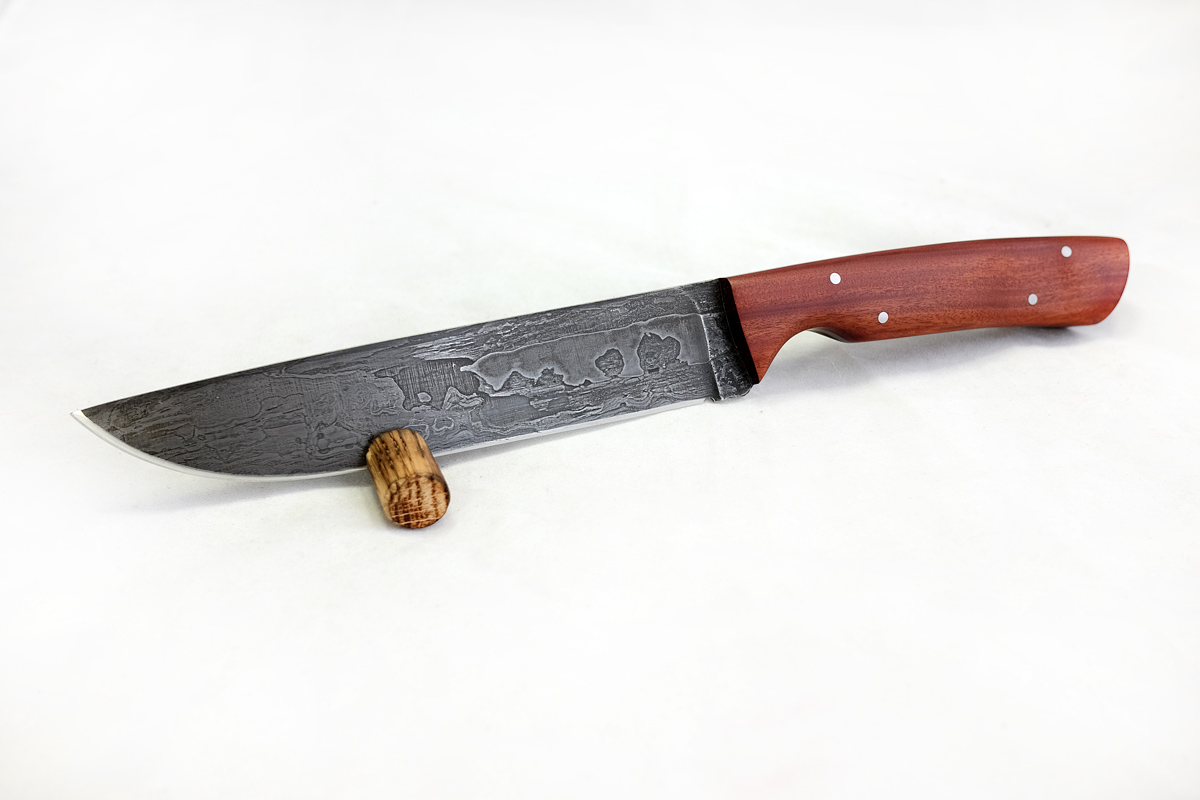
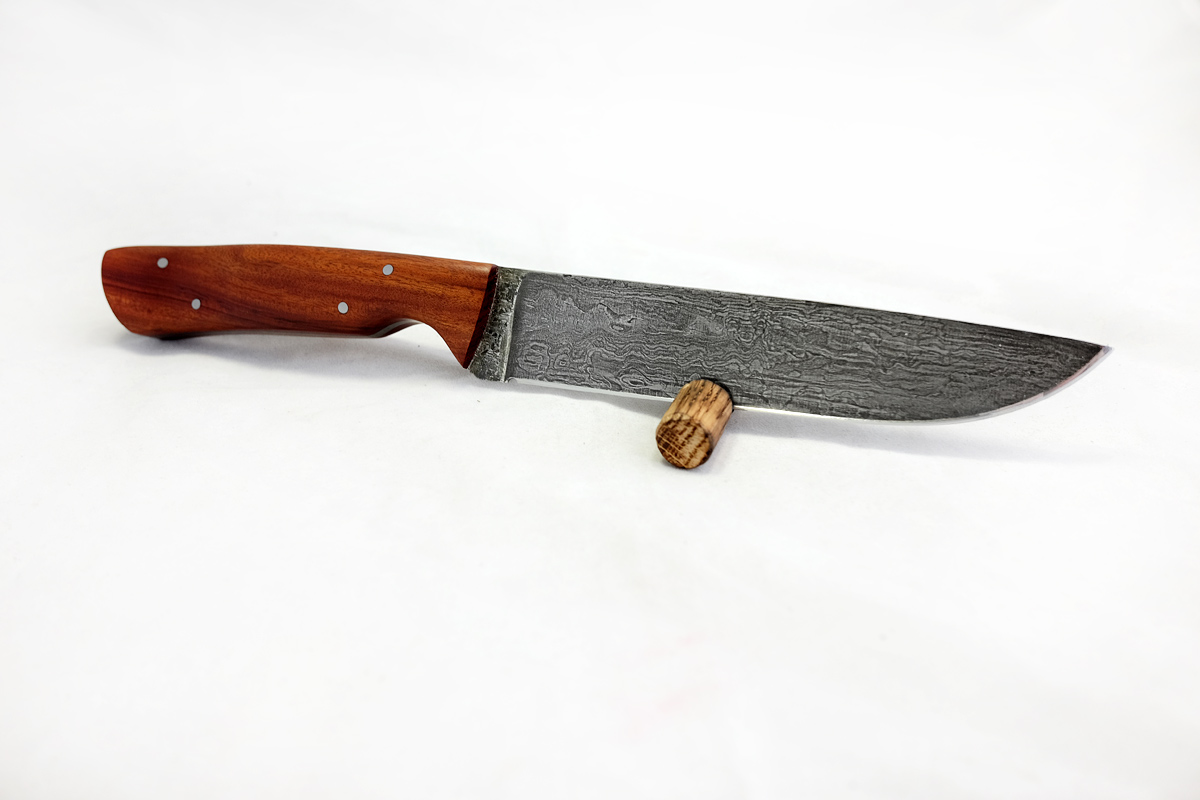
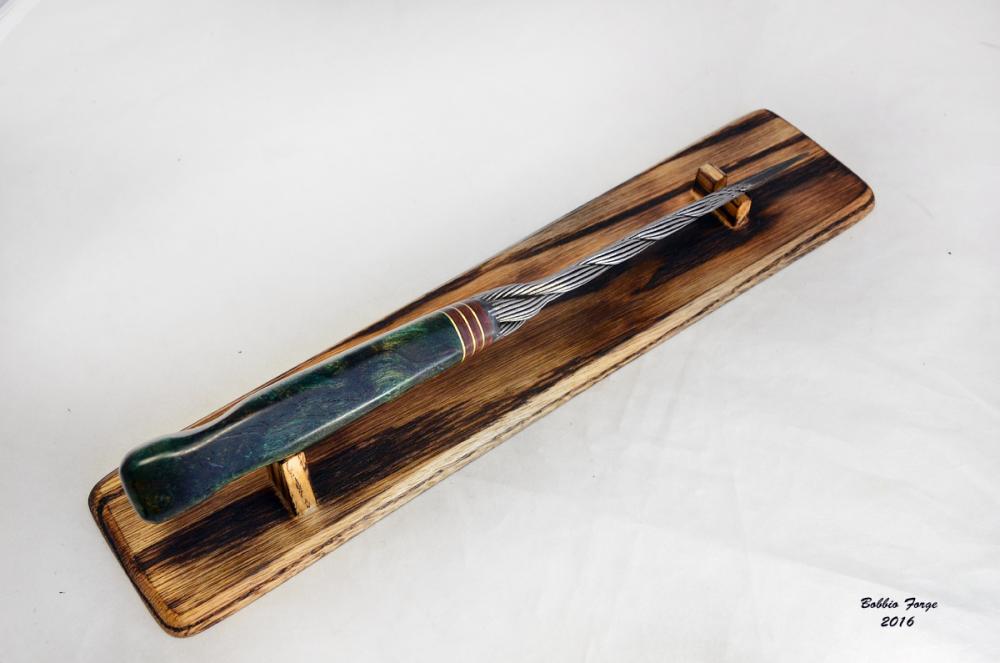
It's been a long time since I last posted. After a big move and resetting up the shop I am back to making things. I thought I would share some of the cable knives I made in the last few months. They are forged out of extra improved plow steel cable. The first one has a dyed maple burl handle and leather spacers. The second knife has a bubinga wood handle and a azurite spacer. Frank B.


-
Peter, Yes that was me at the blacksmth table at Jack London Square and I remember talking to you. Thanks on the Lillies. Frank
-
JimsShip, The Calla Lilies were forged out of railroad spikes and are all one piece except for the stamen which I JBwelded in. I forged them on a power hammer to around 21" long before bending. Frank
-
Here are four calla lilies I forged out and will be giving to family members. Luckily I don't think my mom reads on this forum. :) Frank...
-
That's fantastic on so many levels. Really great job.
-
Thanks on the compliments. I haven't been on the forums here for a while but have been getting the bug to start another short sword. I was thinking of something the same size as the first but with a wider blade and little more rustic feel, with the center of the blade being left as forged as well as the steel forged guard and pommel. I think I have most of it figured out except for how the "as forged" guard should look. Any suggestions?
-
I rough forged 2 more on Saturday and had a harder time with these than #2 & 3. I was having a hard time holding onto them while getting the correct angle on the corners when using the power hammer. They kept wanting to jump all over the place. I switched from tongs to channel locks as I could get a tighter grip. That worked better, but maybe it was just too hot that day and I was getting tired and losing focus. I have only had my power hammer a few months so it is still a learning process on everything I make. I tried to make the forehead a little bigger on these as I think you also mentioned it earlier in the posts, but maybe I will go even a little more. Rather than notching the back side of the skull / mouth area, I put a flat bar over the eye area and forged to raise the profile of the mouth. It looks different but maybe I am making them look to much like monkey skulls. What do you think? Also I am using a single ball bearing welded to a bar as the tool for the eyes and was hoping it wouldn't be too brittle and shatter. Have you had any problem using them? I am going to make a double ball tool, but I thought I would wait as I wasn't sure if I was getting the spacing right. I really like these little guys and I appreciate you posting your work and the help. Frank