billyO
-
Posts
544 -
Joined
-
Last visited
Content Type
Profiles
Forums
Articles
Gallery
Downloads
Events
Everything posted by billyO
-
Thanks Thomas, but not sure what you mean. Now that RadioShack is no longer, I'm at a loss. Any suggestions on how to or where to go to compare brightness? I can't drive anymore due to medical issues, don't live in an urban area and need to find rides into town, so shopping around at different stores is not practical for me. https://en.wikipedia.org/wiki/Watermark As an aside, the watermark in question is from Fabriano, where my Grandfather was born. I actually picked it up over 20 years ago before I got into blacksmithing, and it's a watermark of blacksmiths.....I'll post pics when I'm finished. How much did the set cost, Das?
-
Hello all. This isn't specifically blacksmithing related, but it is for a forging project I'm working on. I'm making a standing frame for a watermark I have and looking for a way to provide the lighting. I purchased one of these battery powered tea lights off the net and it's not bright enough, so I'm looking for ideas. There's no way that I can see to swap out the bulb for a brighter one. Thanks.

-
I'll agree with both of the above, but I've also had a failure, so I try to clean the steel as much as possible first. Even if it doesn't matter, I feel the less nasties I burn up in the forge, the time spent doing this isn't wasted.
-
The swages do help, but not necessary. At the beginning. go very slowly and strike softly until the steel feels like it's getting compressed into a solid mass and keep twisting the stock like you are trying to tighten the twist as you forge.
-
Knife makers in whom you look up to or strive to mimic
billyO replied to Johnnyreb338's topic in Knife Making
Dave Lisch. -
Nice looking knife. Nice! I will hopefully remember this on my next one. Thanks for sharing.
-
I hear ya, Maxwell. My brother is expecting -40 in Minnesota.... But to be honest, I'm more concerned about the 95 deg summers with 90% humidity that cools down to 90 deg with 90% humidity at night. You can always put more clothes on, but only take so much off. Stay warm and safe. As always peace and love billyO
-
Steve - I grew up in the Chicago area, have lived in Washington for 25 years, and am thinking about moving back to the South Side, like I said.
-
Hmmm...I don't use a press, but do use a #250 chambersburg with big flat dyes and haven't had that happen on the 3 billets I've made yet.... sigh - I guess I have to keep trying.. as always peace and love billyO PS- whereabouts in norther IN are you? I'm from the Chicago area and thinking about moving back to somewhere on the south side
-
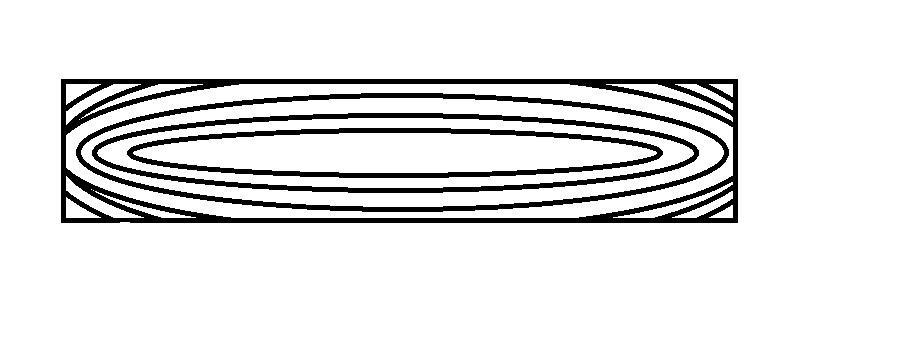
I'm still trying to figure out how that happened, so my other thought is... Did you forge this by hand? My guess is yes, and if you've noticed, while drawing out a billet, because of loss of material due to scale top view the bar ends up looking something like this: So when stacking for the chisel cut, you wouldn't get the exact alignment I showed in the 'standard' above, which could cause what you ended up with. When using power, there is less loss of material, so it's easier to keep the layers aligned like the 'standard' pattern. I'd appreciate some input from those smiths who have been doing this longer than I have. as always peace and love billyO
-
This might not be the most economical way to learn, but IMHO, as long as you're paying attention, the best way. If just starting out, I'd recommend joining any 'local' blacksmiths organizations. A great way to meet close smiths, get invited to their shops, and learn. as always peace and love billyO
-
Is that sanded/polished or still rough forged? You'll possibly (probably) be able to see the chain better after finishing. Welcome to the obsession of pattern welding....and have fun. as always peace and love billyO
-
I'm not sure what you mean by 'muddy mess', but if you're referring to the fact that it doesn't look like a chainsaw, that's due to the all the squishing around from forging. If you're referring to the pattern not being very dark, there are a couple possibilities (and I'd says it's a combination of all of them). First, the chainsaw chain's links are probably not very high carbon content, even might be mild steel. This is probably the main reason. Second if you only soaked it in the coffee for 20 minutes, that's not long enough. I've left mine in the coffee for 24 hrs without any difficulties other than a bit more to clean off the steel with the nickle content. Third, because there isn't many layers, you won't get much topography with the acid etch, so when you clean/polish the blade, unless you are extremely careful to clean only the 15N20, you can't help removing some of the etch/coffee. I'll correct this by saying stronger solution. The coffee won't do any damage to the blade, and actually, doesn't etch for all practical purposes, only darkens the carbon steel. The coffee solution that I use is 1/2 lb of the cheapest instant coffee I could fine to 1/3 gal water. (I read somewhere that someone was going to do a test with different types of coffee, but haven't seen any results.) I've also found that the more I use it, the darker it etches. I'm not saying the above responses are wrong (well, except for that part of Frosty's) because remember, if you ask 10 blacksmiths how to do something, you'll get 12 different answers.
-
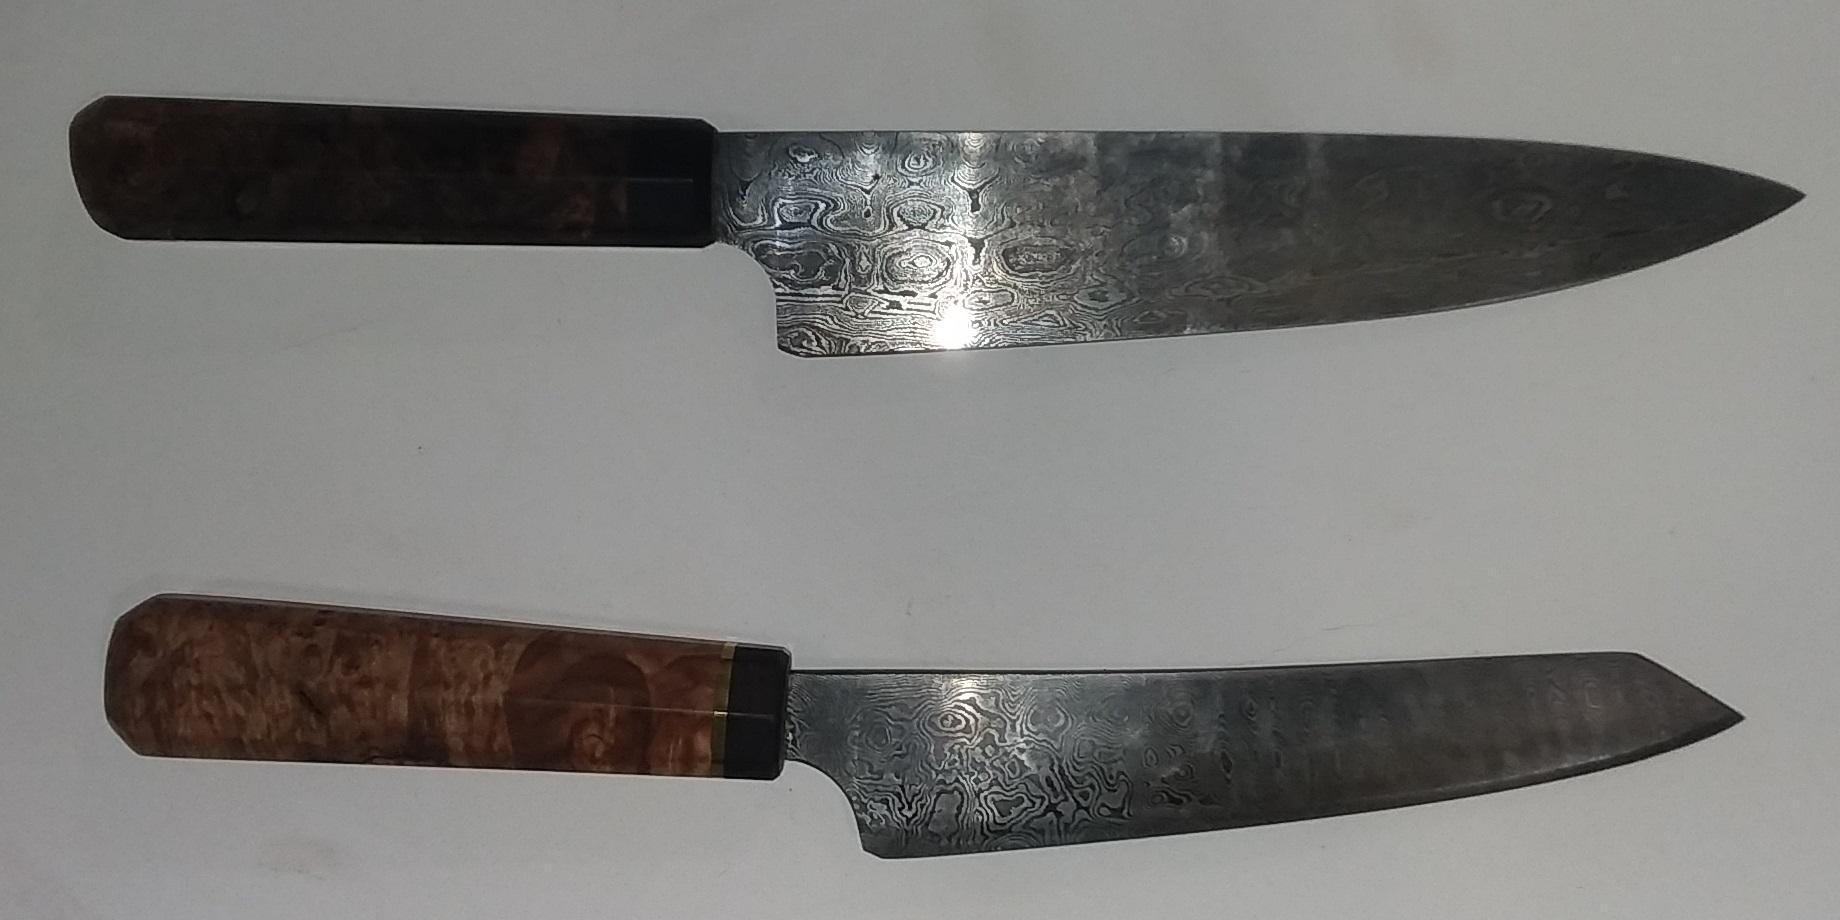
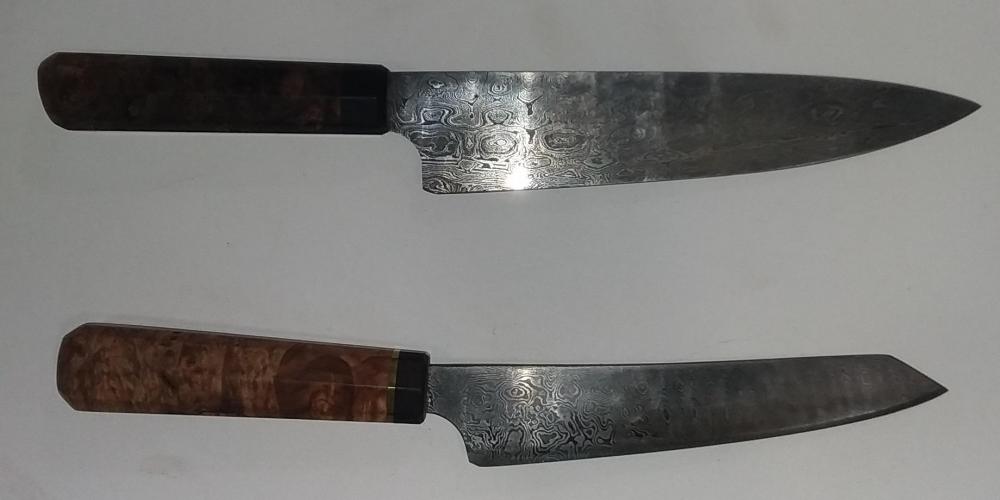
On my kitchen knives, I etch to topography, then coffee. How strong was the coffee? The coffee solution I use was a 1/2 pound really cheap instant coffee to 1/3 gallon of water. I've found that the more I use it the darker it makes the pattern. Also, how you clean it will affect the longevity. I wash my knives immediately after use, don't use any scrubbers and then blot dry then air dry before putting away. Wiping the blade will wipe the coffee darkness off. These aren't the best pictures, but I think you can see the contrast on at least part of the blade. The top one is the first knife I made 3 years ago and the bottome one is 1 1/2 years old. Neither one have been re-etched or re-darkened. as always peace and love billyO
-
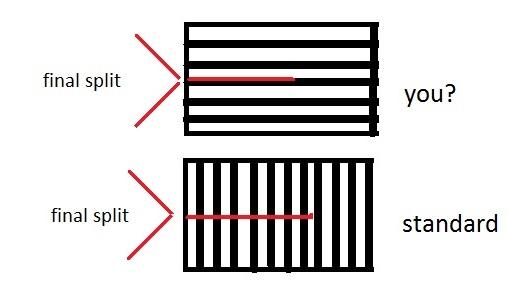
I, too, like the look of that pattern. In trying to figure out how you did that, I'm wondering how you cut and stacked the layers before splitting. It looks to me like you stacked them with the layers lined up longitudinally with the blade instead of perpendicular to the blade, which is how the standard feather pattern is done. as always peace and love billyO
-
I hope this is an OK post, if not, Glenn, Steve, I apologize and feel free to remove. I'm just trying to help out a fellow knife maker. Zachary, if you really can't find any acceptable handle material, I'd suggest checking out https://www.bladeforums.com/forums/for-sale-knifemaking-supplies-tools.765/ And no, I'm not merely trying to drum up business.
-
Finding a smith with either a power hammer with big flat dies or a hydraulic press will only make the drops larger, but should keep the round shape.
-
Perhaps you can find a smith who has a rolling mill who'd be willing to reshape the bar?
-
You aren't kidding. Are you familiar with the DECaLS Browser at legacysurvey.org/viewer? There may be some interesting images at RA= 186.7278, Dec= 8.9373. Zoom to 10 arcmin and you'll have a number of galaxies to choose from, including 4 merging towards the top right Another website you may find useful is zooniverse.org (https://www.zooniverse.org/projects/zookeeper/galaxy-zoo/) where you get b/w pictures of galaxies in low resolution to classify and after you give your classification, you can then get a link to the image in the DECaLS browser that gives better, color images of what it looks like.
-
wow thank you
-
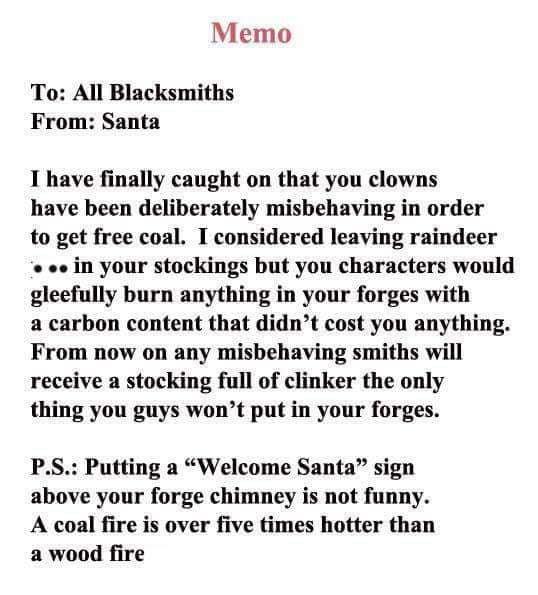
Saw this on another forum:
-
Forge welding failure.... too hot?
billyO replied to olydemon's topic in Blacksmithing, General Discussion
I wonder if it depends on what year of penny is thrown in. IIRC, pennies were 95% copper until 1984 when they changed to 2% copper. -
Forge welding failure.... too hot?
billyO replied to olydemon's topic in Blacksmithing, General Discussion
I'm not 100% sure, but I think the issue is the copper. I spilled some in my forge a couple of years ago and had difficulty welding up damascus billets until I re-cast the floor of the forge. -
That is a pretty knife!
-
What did you do in the shop today?
billyO replied to Mark Ling's topic in Blacksmithing, General Discussion
Sweet bird, Das!