

bomlin
-
Posts
176 -
Joined
-
Last visited
Content Type
Profiles
Forums
Articles
Gallery
Downloads
Events
Everything posted by bomlin
-
From the album: Work In Progress
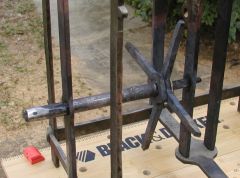
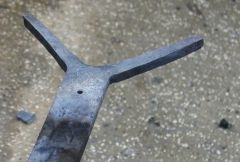
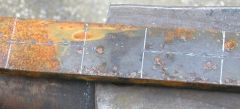
Photo shows the clock arbor on the frame. This arbor will be the primary driving force for the time keeping side of the clock. The excess metal of the arbor on the outside of the clock will be squared up and used to drive a shaft which in turn will turn the clock face. -
From the album: Work In Progress
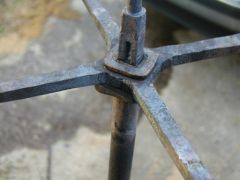
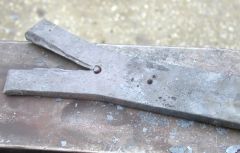
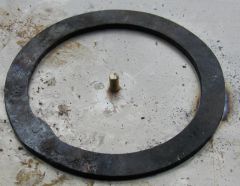
Shows two washers and slot that will be used to wedge gear onto arbor. Also visible is the 1/2" round axle portion that will fit into frame -

From the album: Work In Progress
Shows two washers and slot that will be used to wedge gear onto arbor. Also visible is the 1/2" round axle portion that will fit into frame -
From the album: Work In Progress
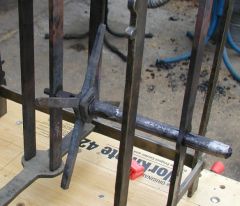
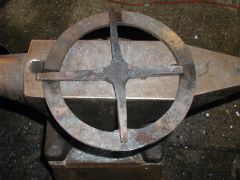
minor progress update. This shows the start of the arbor and fitting of the gear. The arbor is 1" round stock that is take to 3/4" square stock and it will eventually have a 1/2" round end. The 3/4" square area is for the gear. This photo shows the spokes of the gear as well as a stabalizing washer. -
From the album: Work In Progress
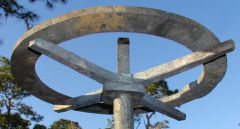
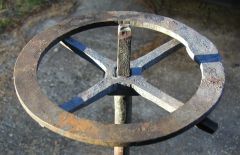
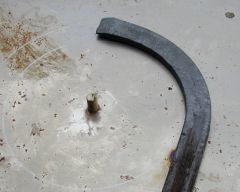
This shows the spokes laying on the gear. Note: The spokes at this point are not completely formed. They will be evened out and made to look nicer. As a sense of scale, the gear is 12" across. -

From the album: Work In Progress
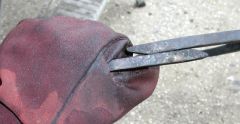
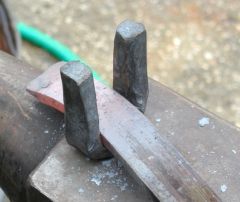
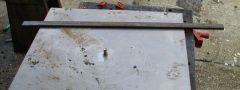
Creating spokes for the gear. This is done from a rectangular piece of material this is split on either end. The split pieces are then drawn out to form the spokes. -
From the album: Work In Progress
Creating spokes for the gear. This is done from a rectangular piece of material this is split on either end. The split pieces are then drawn out to form the spokes. -
From the album: Work In Progress
Creating spokes for the gear. This is done from a rectangular piece of material this is split on either end. The split pieces are then drawn out to form the spokes. -
From the album: Work In Progress
Creating spokes for the gear. This is done from a rectangular piece of material this is split on either end. The split pieces are then drawn out to form the spokes. -
From the album: Work In Progress
-
From the album: Work In Progress
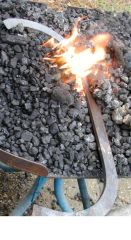
When I closed the gear, had a bit too much material. Had to reopen it, cut some material and close it again. -
From the album: Work In Progress
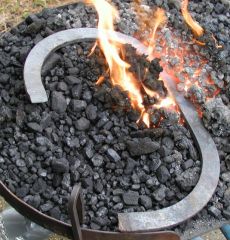
Showing progress of turning straight stock into circle using fork. -
From the album: Work In Progress
Showing progress of turning straight stock into circle using fork. -
From the album: Work In Progress
Showing progress of turning straight stock into circle using fork. -
From the album: Work In Progress
Showing progress of turning straight stock into circle using fork. -
From the album: Work In Progress
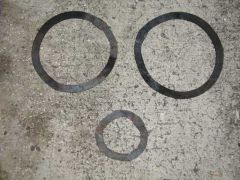
Notice two circles. One is for the inner diameter of the gear and the other is for the outer diamert. -
From the album: Work In Progress
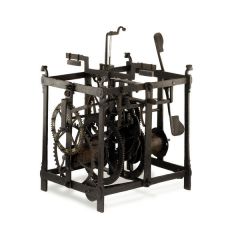
This is the clock that I am reproducing. I will be making some changes due to certain elements of this clock being later additions but it gives an idea of what I am working on. -

From the album: Work In Progress
These are the original gears from the clock that I am modeling. The gear on the top is held on the arbor using a wedge while the bottom one is rivited. -
From the album: Work In Progress
This is from two years ago in the early days of my smithing. This was a test on how to form the rings for the gears. The one at the bottom is my first test. The circles are formed using rectagular stock slowly bent using a bending fork. -
From the album: Work In Progress
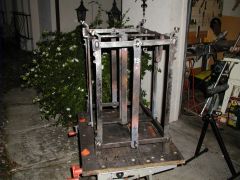
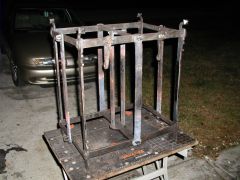
Added 4 additonal posts to the clock. These posts are removable from the main frame. These posts will hold the arbors (axles) of the clock and most other clock parts. By being removable, it makes it easy to do further forge work on them. -
From the album: Work In Progress
Added 4 additonal posts to the clock. These posts are removable from the main frame. These posts will hold the arbors (axles) of the clock and most other clock parts. By being removable, it makes it easy to do further forge work on them. -
From the album: Work In Progress
Added 4 additonal posts to the clock. These posts are removable from the main frame. These posts will hold the arbors (axles) of the clock and most other clock parts. By being removable, it makes it easy to do further forge work on them. -
From the album: Work In Progress
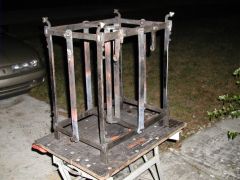
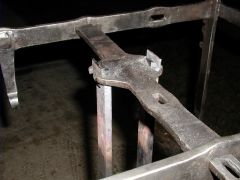
Notice wedge pieces to make bars removable. Allows work on the gears and to fit the parts. Also, metal shavings on top from filing to fit. :)