lazyassforge
-
Posts
137 -
Joined
-
Last visited
Content Type
Profiles
Forums
Articles
Gallery
Downloads
Events
Everything posted by lazyassforge
-
the true history of the Tomahawk
lazyassforge replied to Hephaestus Smith's topic in Axes, Hatchets, Hawks, Choppers, etc
I used to work with a lady, I won’t say she told lies, but, she would not let the truth get in the way of a good story!!! -
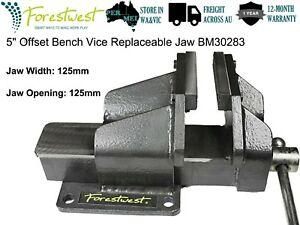
BartW, is this your vise? Looks similar to me. Maybe from Australia?
-
This link is to saltfork craftsman website. There is a how to on the page for making simple touch marks. It is three separate PDFs on the page. My wife drew the sketches. https://www.saltforkcraftsmen.org/DoItYourselfProjects.shtm
-
Billy, have you investigated changing out the spindle of the duff for a Bridgeport spindle with the r8 collets? I searched a little and it reads like it is fairly straightforward involving a new spindle and lower bearing. I have bought a new spindle(China made) for an old Bridgeport off the internet for less than $100. Maybe this would be a possibility?
-
What do we know about Taps and Dies?
lazyassforge replied to VaughnT's topic in Tools, general discussion
On the hex dies made for chasing threads, there is a small fairly steep (45degrees or so) taper leading into the threads. On ones made to cut new threads the taper is 3 or so threads long leading into the die so it is easier to get it started cutting. The “advantage”of the tapered tap is that the same tap can cut several sizes of thread, just by starting with different size holes or simply screwing the tap further in. hope this helps, Bill D. -
What do we know about Taps and Dies?
lazyassforge replied to VaughnT's topic in Tools, general discussion
Vaughn T, I have no idea what the 1/32 means! There are hex shaped dies that are for chasing threads and there are hex dies for cutting new threads. The long tapered taps are used to make multiple size threads. You just screwed them in until your thread was large enough. When I was younger and worked for the old farmers I was taught to keep nuts and bolts paired up because they wouldn’t match up sometimes! One rule of thumb for tapping holes is to take the diameter of the tap and subtract one pitch of the thread to get the drill size for the hole. 1/4-20 tap= .25(1/4”) - .05(1 pitch of 20 threads per inch)=.2” hole size(17/64 (.203)is close enough) hope this helps! Bill D -
Whiskey , I am extremely curious what that tool is! I would post pictures over at papaws wrench in the tooltalk forum. Those guys rattle off information about obscure tools all the time. Hope this helps, Bill
-
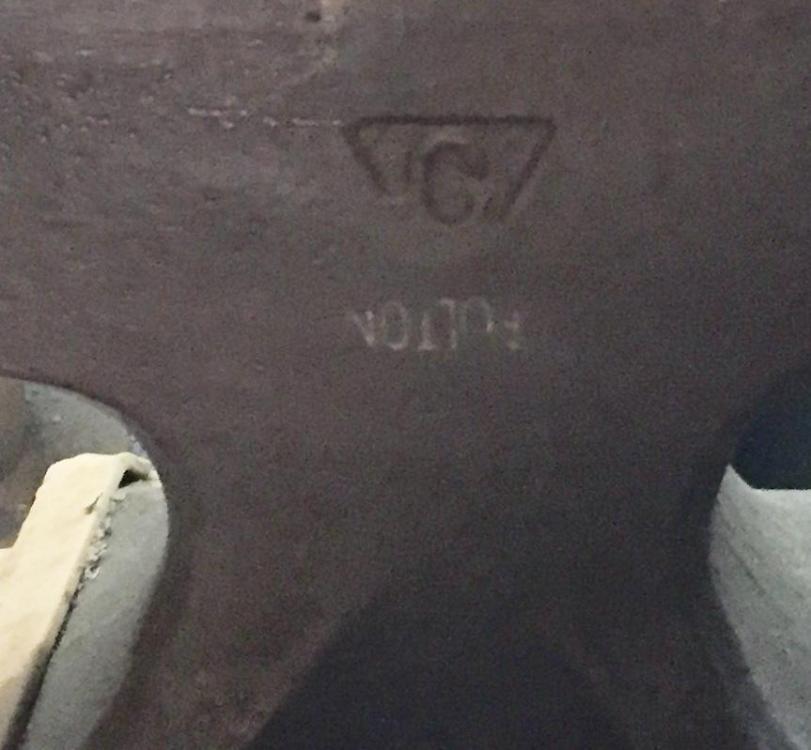
I have a 200 lb Colombian anvil. It has “Fulton” stamped in the side of the anvil (upside down by the way). I have always wondered if Colombian had cast the Fulton anvils
-
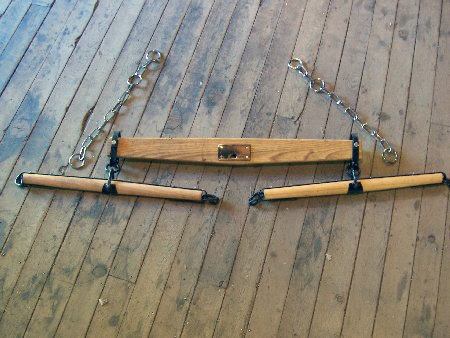
It appears to be iron work to a single tree (horse drawn equipment). The u shaped long bar should be straight with the egg shaped hook on the right being where the rugs of harness hook on(the left one is missing). The bracket in the midd le hooks to the doubletree. Regional names for this equipment seems to vary depending where you are from. Hope this helps!
-
Looking for a picture of an anvil!
lazyassforge replied to Ranchmanben's topic in Anvils, Swage Blocks, and Mandrels
Could this be the picture you are looking for?
-
Show me your Bottle Openers!
lazyassforge replied to Arbalist's topic in Blacksmithing, General Discussion
I’m not sure if I have posted this opener before but I made it from a railroad spike some time ago.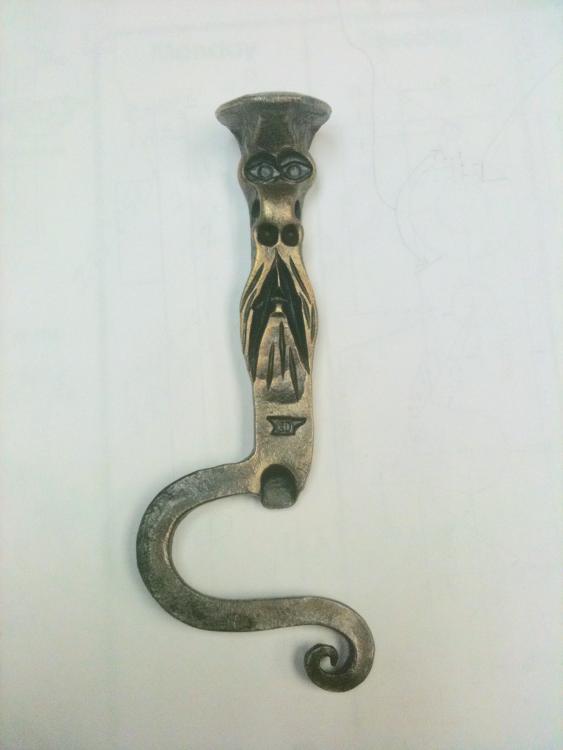
-
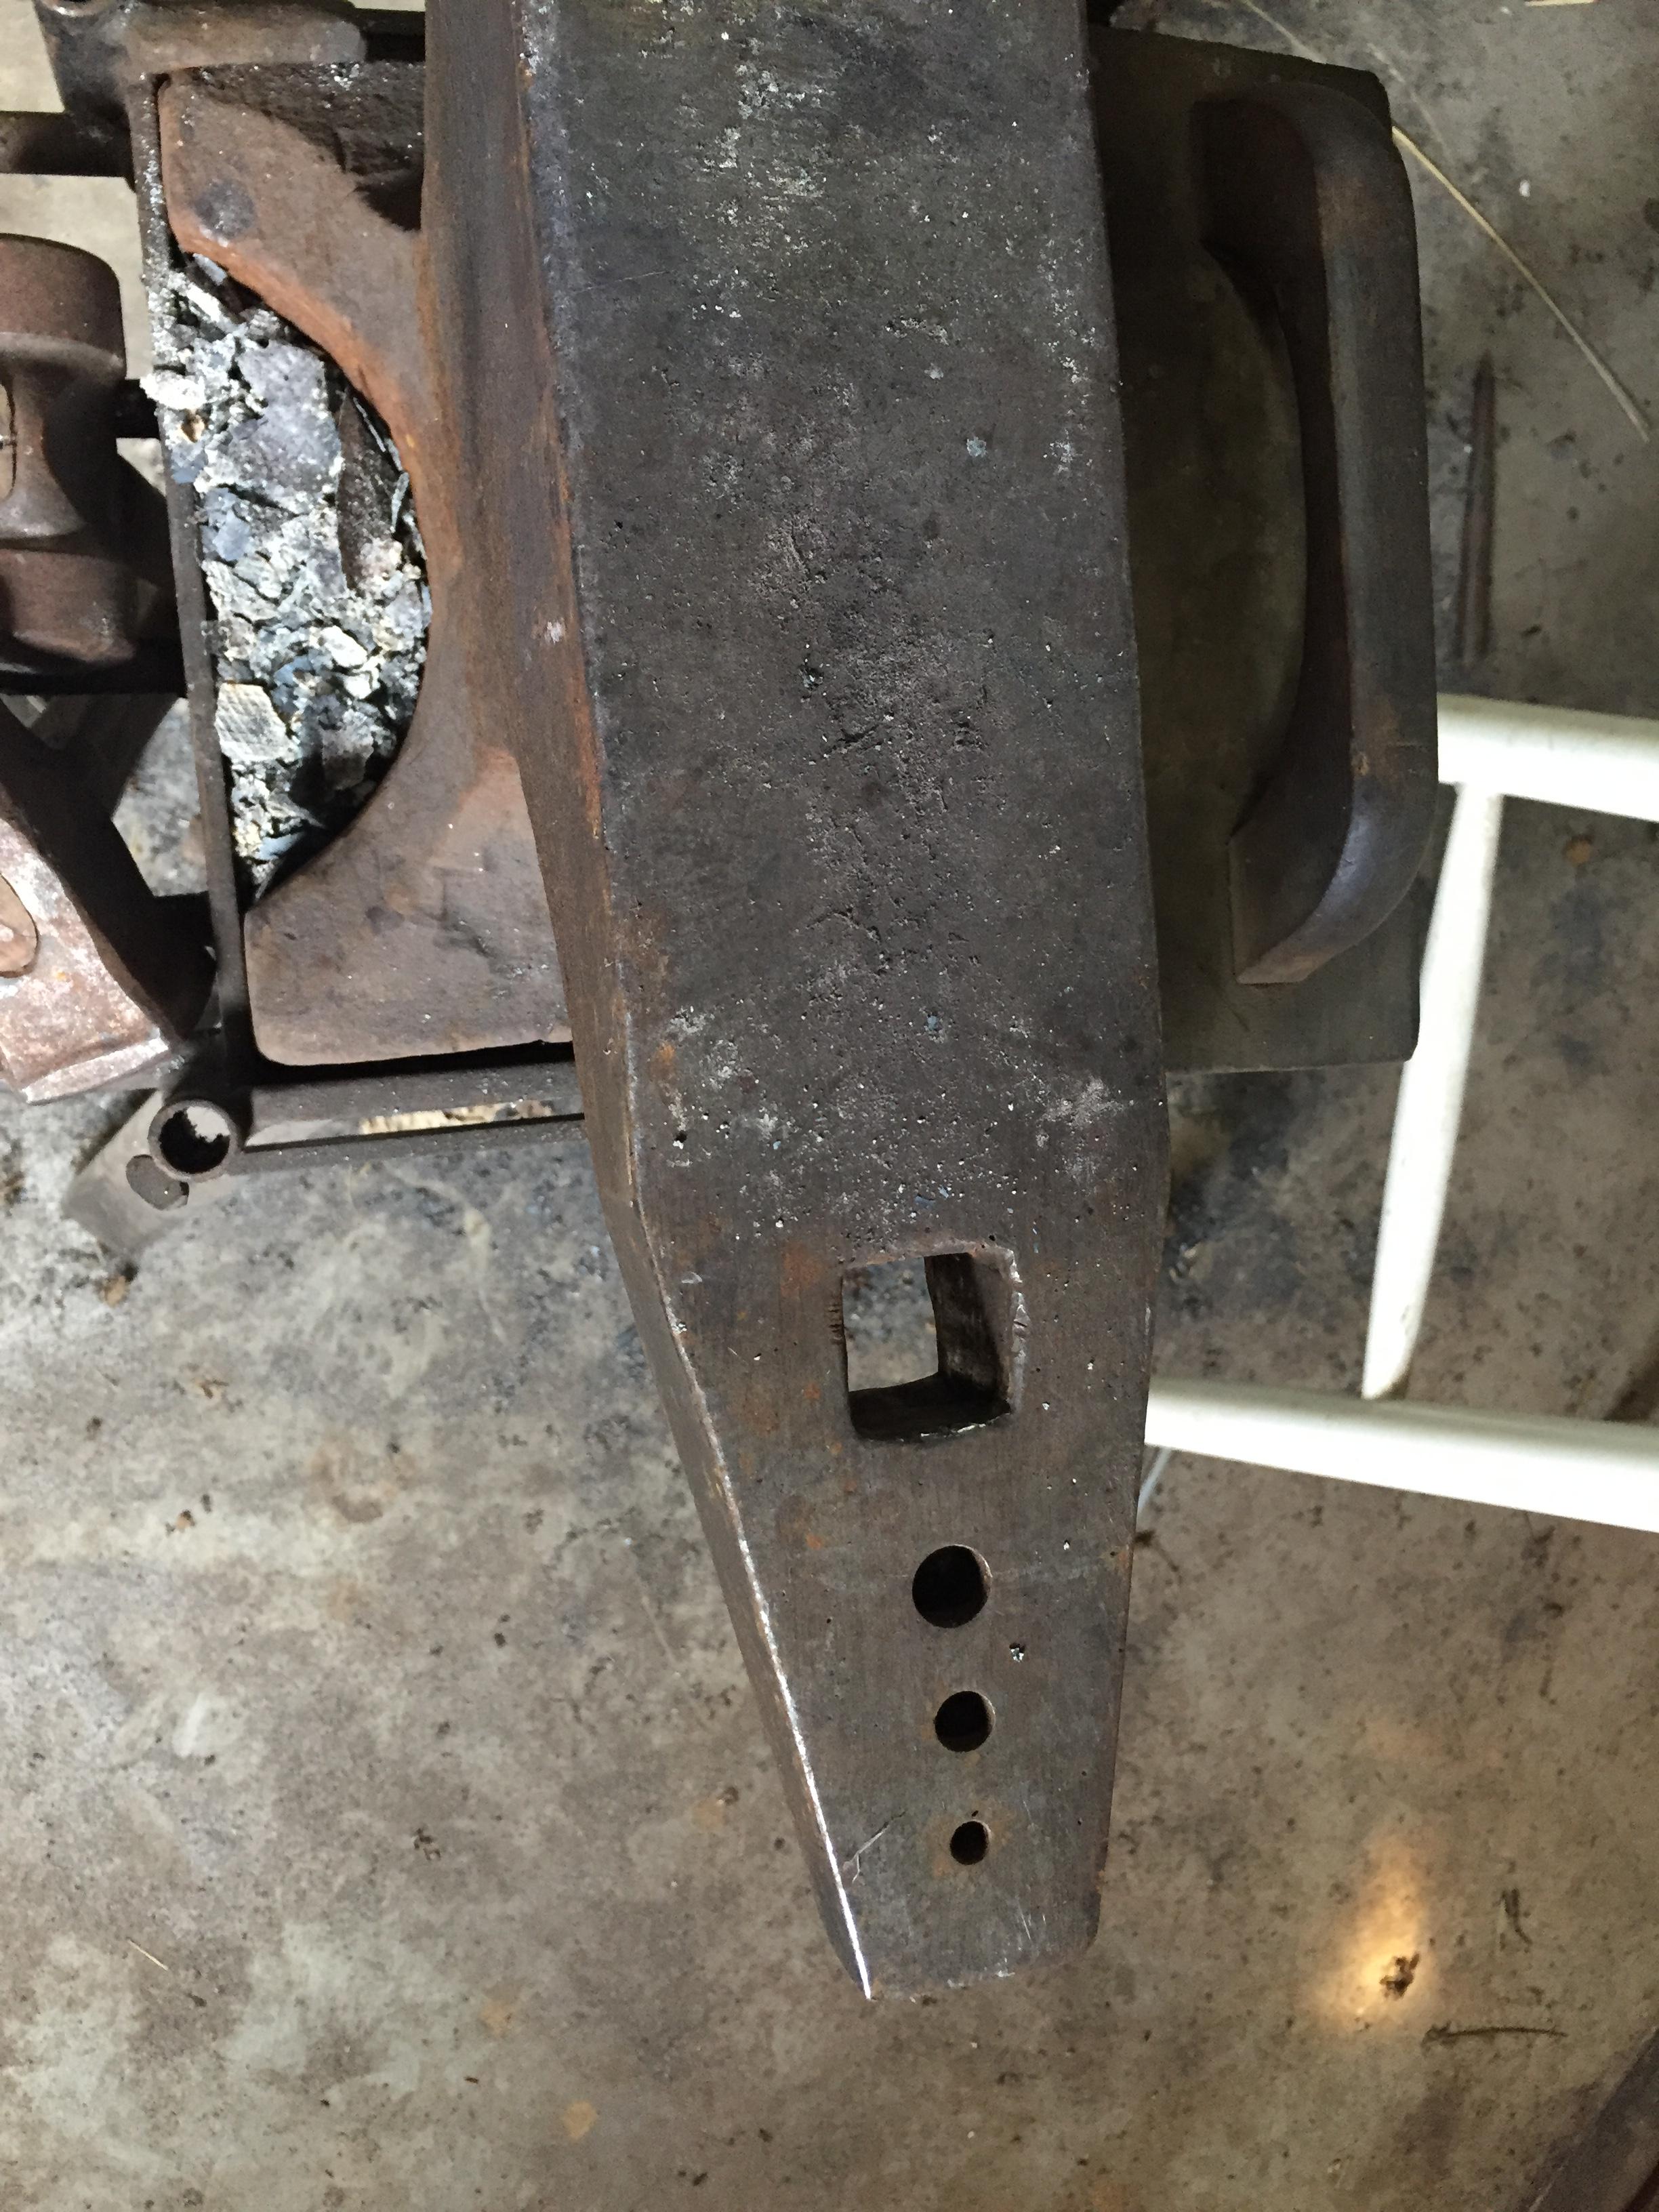
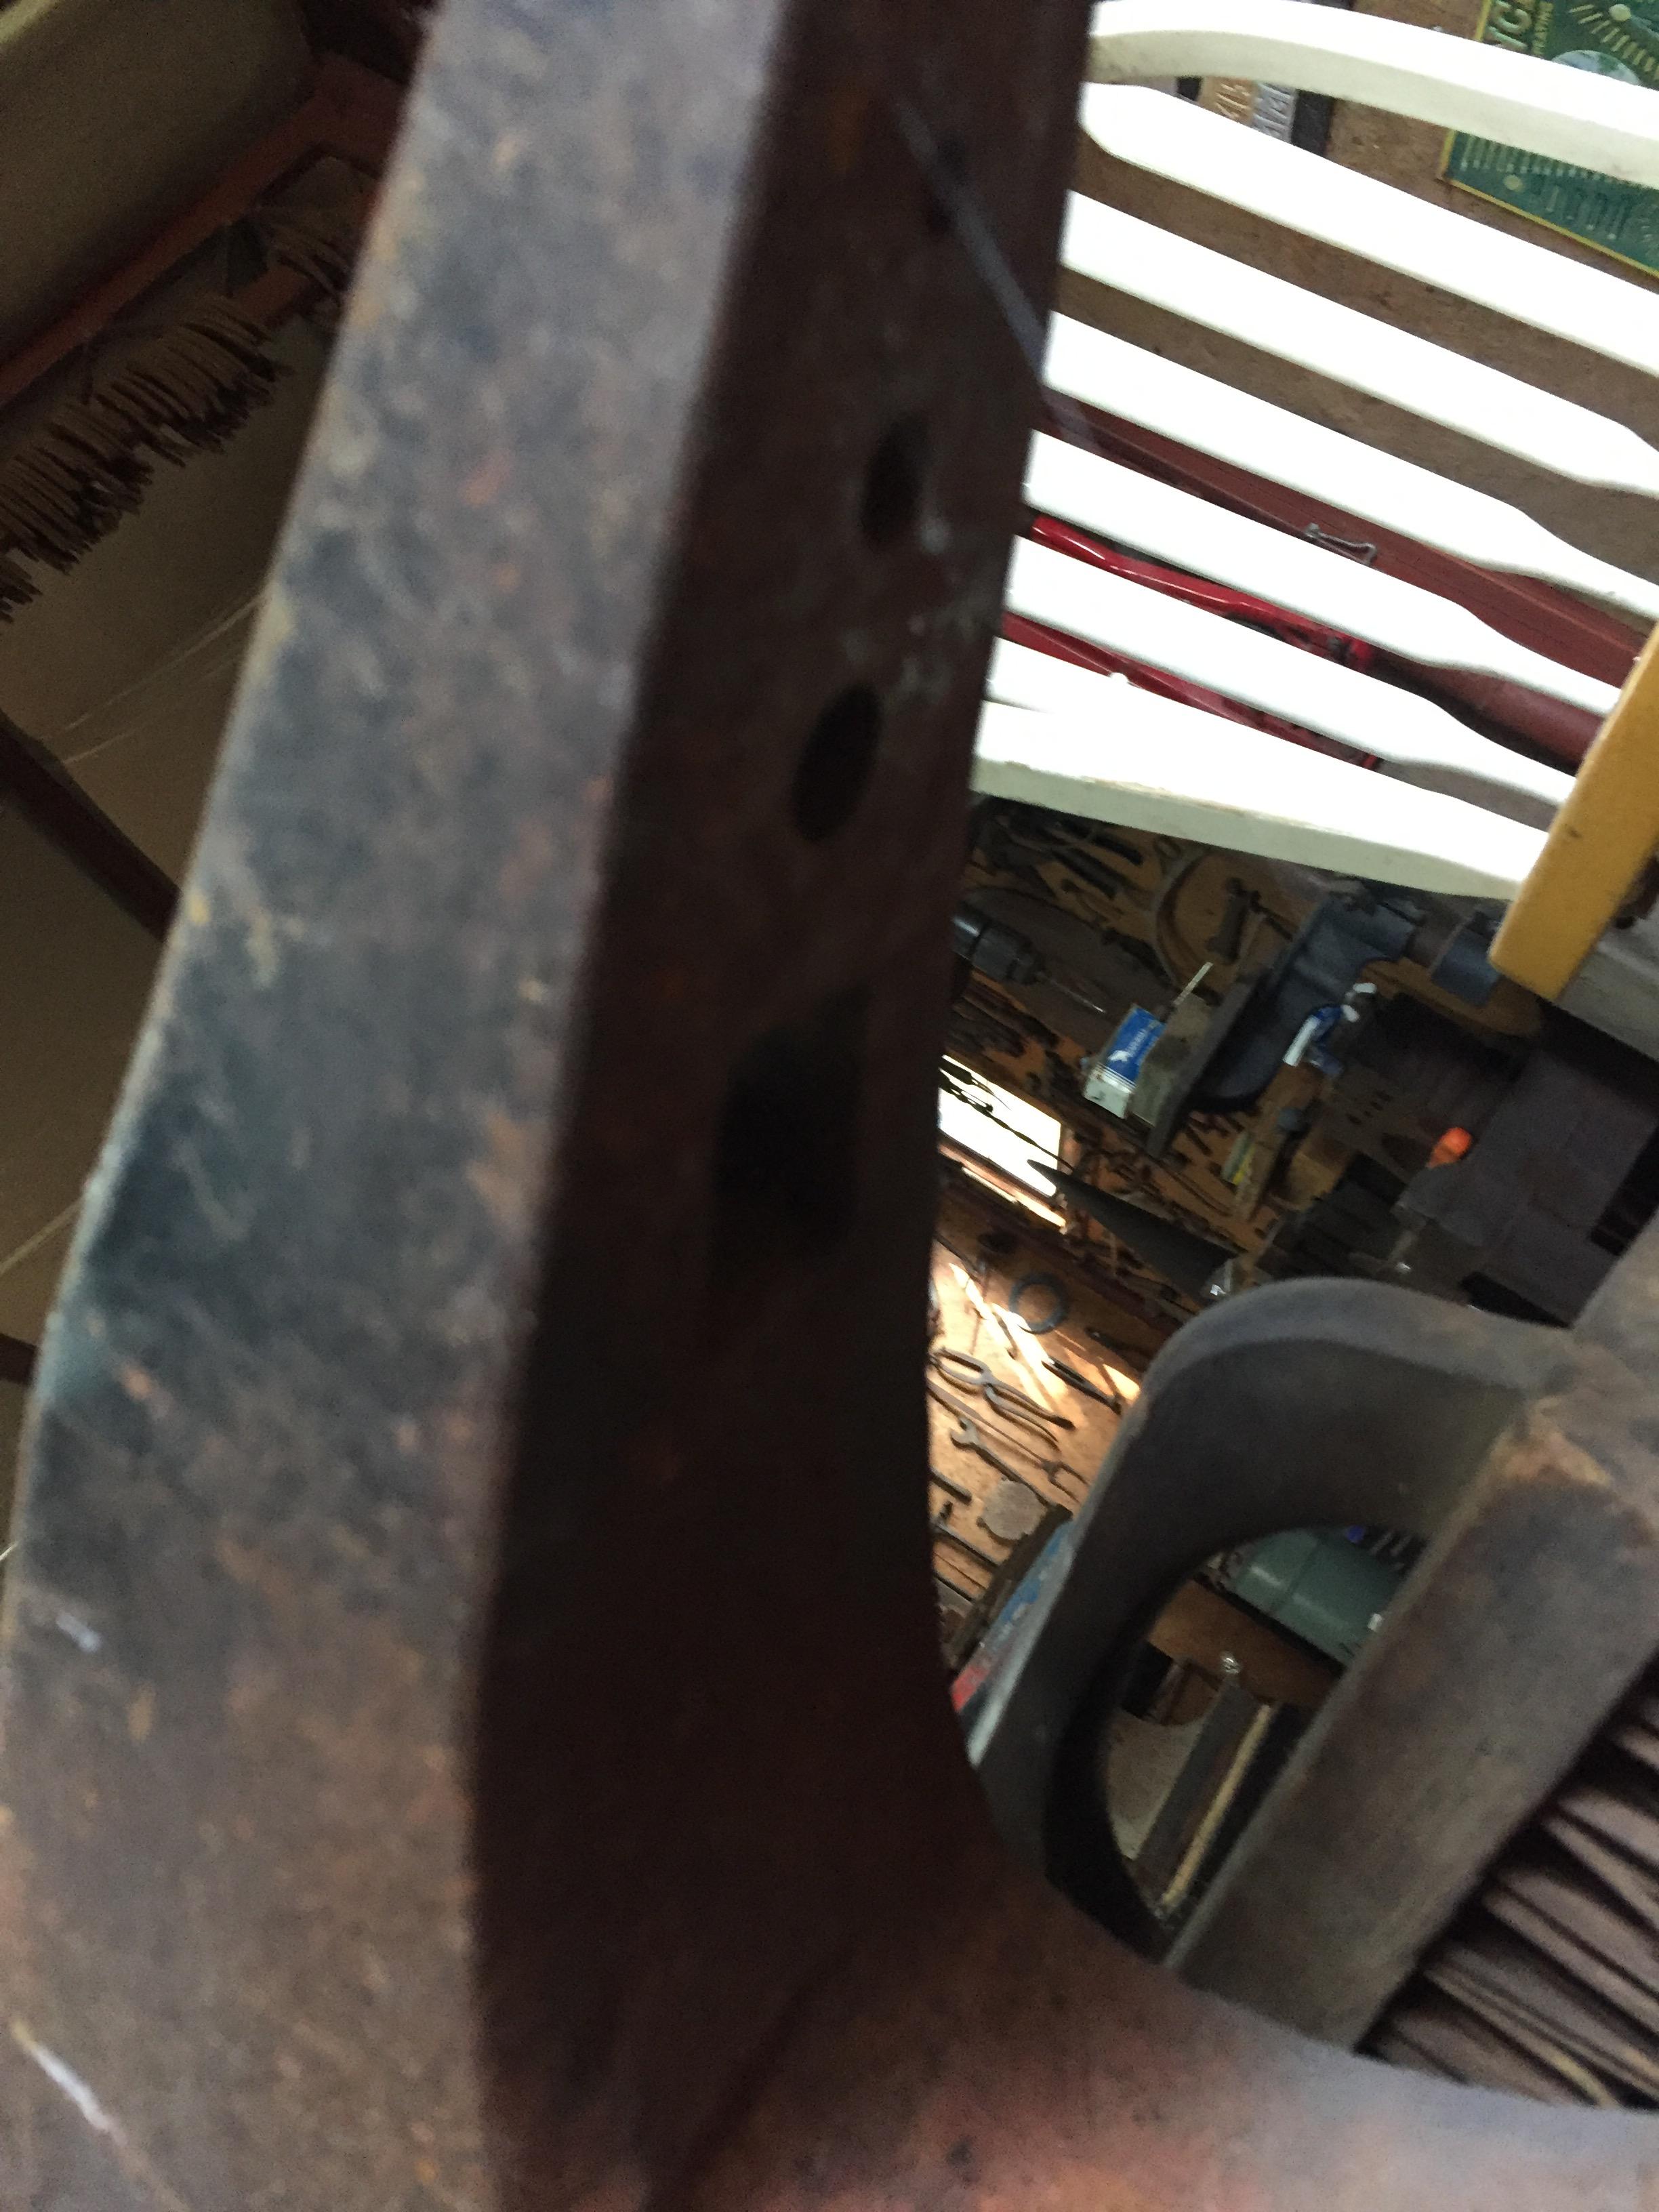
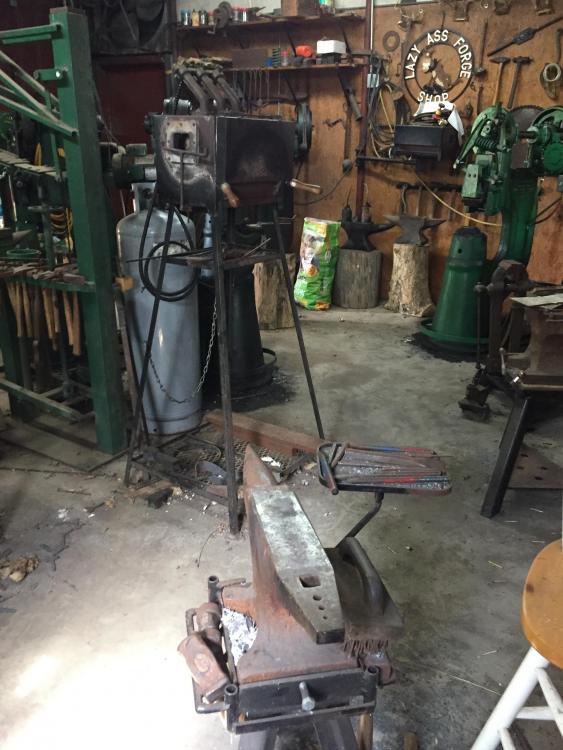
Another picture of the repaired anvil. I haven’t been able to get out and work much lately.
-
These are “today’s” photos.

-
Well, I lost a lot of the pictures several years ago when my work computer crashed also, I “retired” yesterday! But I still should still have pictures in the black hole of a computer I have at home! I also still have that anvil in my shop so I can still walk out there and take an after photo.
-
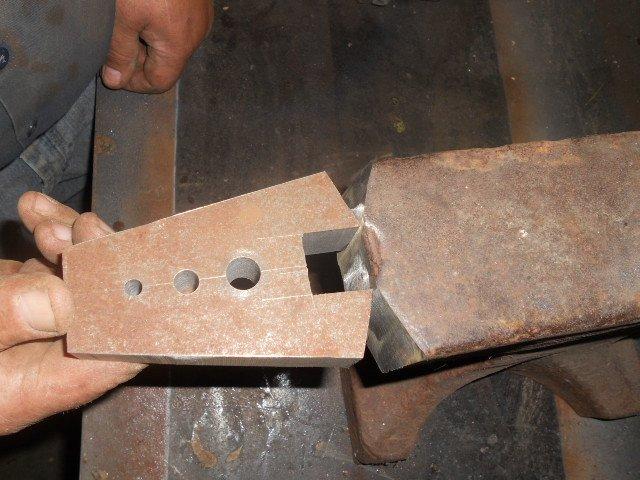
The 4140 was something I had. A-36 plate would have been just as good. The extra thickness is only needed at the end of the repair piece around the hardie hole, it can be built up with weld in that area. Like Thomas said, the scrap yard is probably the best source unless you happen to work at a machine shop like I do! The repair job is not all that hard, don't get hung up on having to have the perfect plate, see what you can find and figure out how it will work for you. I only put that anvil up to offer an idea of one way to do it. I used to look for anvils which were in sad shape and see what I could do to bring them back into usable shape. I have had quite a bit of experience using Rob Gunther's method of repairing the top and also re-welding an entirely new top plate. I have also repaired a couple which were broken in two at the waist.
-
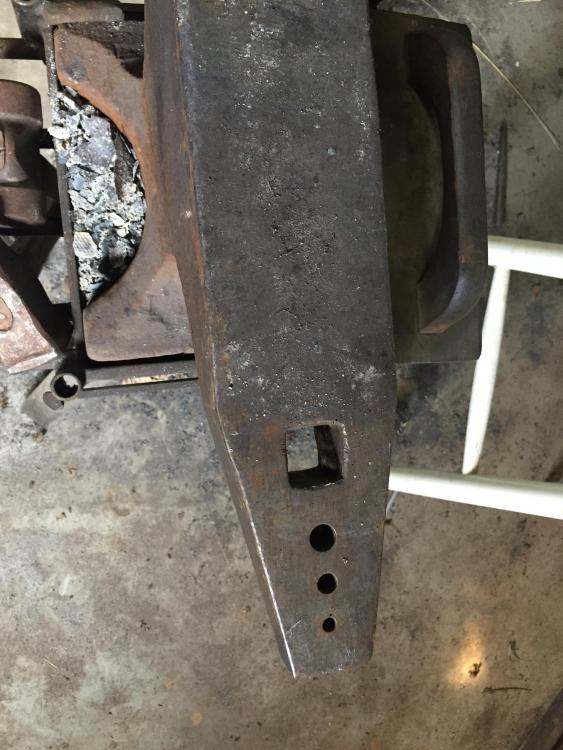
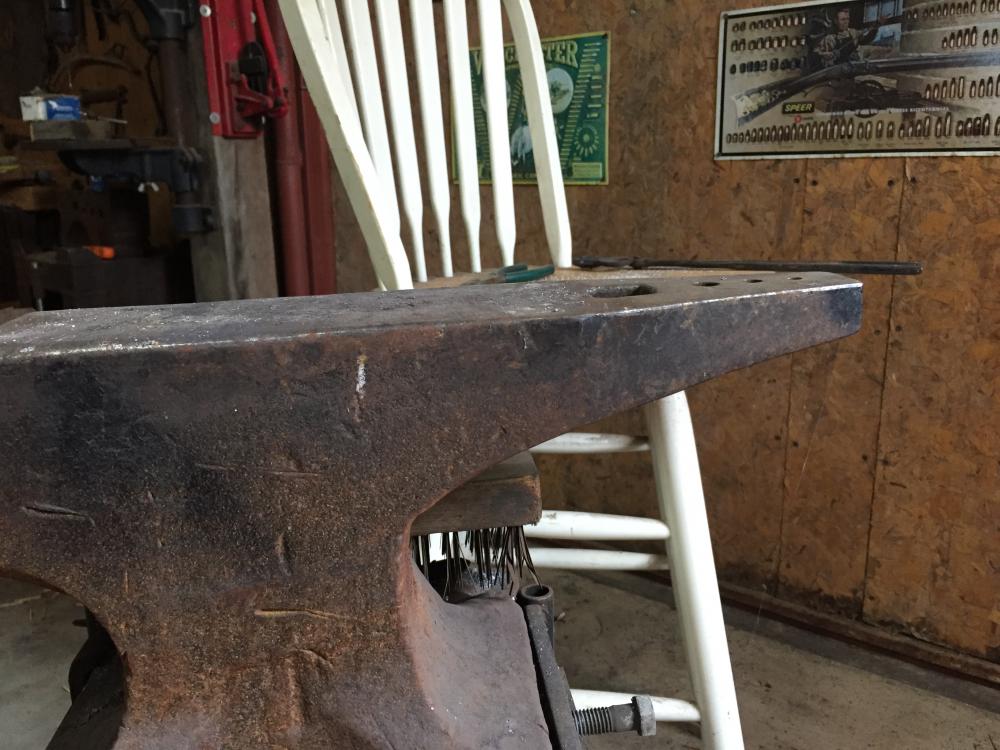
Once I bought a hay budden which had a very similar problem. To repair it, we took a piece of 1-1/4" thick 4140 plate which we had and cut out a "second horn" end for it. It was set to where it gapped out a bit and welded it 100% on both sides. I also welded it underneath to make the lines flow under the heel. The end of the heel was then thinned to approximate the side profile of an original hay budden. I went ahead and hard surfaced the face of the 4140 piece and repaired the edges of the anvil while I was at it. I have lost most of my pictures in a computer crash but I found this one. One thing of interest is that there was a scan of a hay budden brochure which listed the tapered heel as an option back then. Not sure the multiple pritchtel holes were offered but I thought "why not?" We have forged on the anvil quite a bit including striking on the heel area with a 6-8 pound sledge without breaking it off.
-
Viking Smith I live in the Lawton area. (near Sterling Oklahoma) I am a member of the Saltfork Craftsmen. If you wish to communicate, P.M. me with your contact info and perhaps we can get something worked out! The next meeting (May 27th) will be over at Foss Ok. As Charles said, you don't have to be a member to attend a meeting! Be careful what you ask though, you may get covered up with all the information you receive!
-
Frosty, I just mean that I welded around the pivot pin near each end of the center part(behind the threaded part) to make it bigger then ground it back down a little to make each end fit the tapered hole in the casting. nothing precise, just less slop. then the pin would only fit in one way but it didn't slop around as much. I'm not sure about that explanation either! Its really simple but, I'm not too good at explaining things! I like for the pin to rotate in the casting, not the treadle rotating on the pin.
-
Frosty, The hole that the pivot pin goes in the frame is cast in place so it is tapered and not round. The original pin is straight with the ends turned down and threaded. Over the years they get "growed" together with rust and dirt from the floor of the blacksmith shop! I have taken them out and cleaned the hole and then ran a bead around the pin near each end of the center part. then I would grind the weld down until it is a better fit in the hole. I also put a return spring on each side of the treadle to equalize the resistance to being pushed from one side or the other. A heavier rod from treadle to the clutch yoke helps also. There is a thread on Tool Talk forum on my rebuild of a 25 pound little giant which may help a little. It is in the blacksmith section on the seventh page. I understand I can't put a direct link to it but with a little searching you can find the place. Hope this helps! Bill D.
-
25 lb. little giant dies mis-alligned ?
lazyassforge replied to potatoeman's topic in Power Hammers, Treadle Hammers, Olivers
Potatoeman, Does the hammer have a Sow Block? Could you shim it over to get at least part of the mis-alignment out of the machine? It is not unusual to have to chase shims to correct alignment between top and bottom dies. Hope this helps, Bill D. -
Universal Radial Power Hammer
lazyassforge replied to Jim Deering's topic in Power Hammers, Treadle Hammers, Olivers
I'm doing this on my phone so please forgive me if it doesn't work! The hammer isn't mine, it belongs to a friend. Frosty, yes I live in Oklahoma! I just don't post on the board much so you may have missed me but I've been a member for a long time.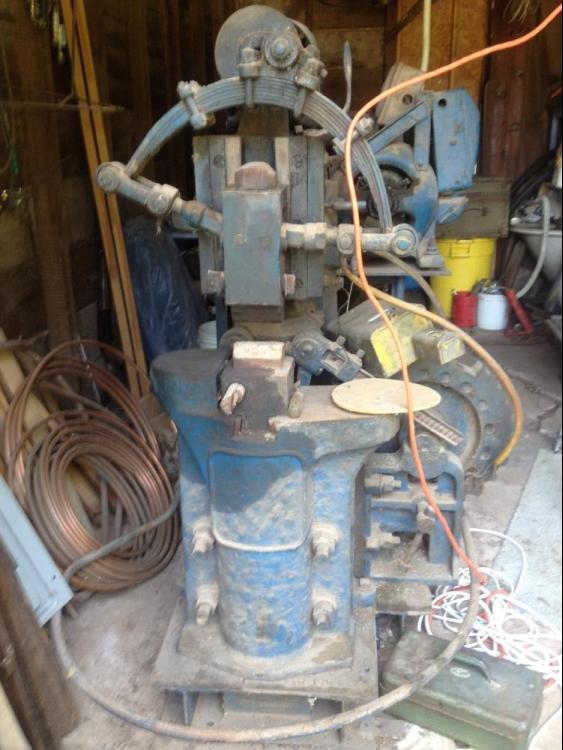
-
Universal Radial Power Hammer
lazyassforge replied to Jim Deering's topic in Power Hammers, Treadle Hammers, Olivers
Sorry to bring up this old thread but, a friend of mine just bought one. I was searching on the web for info and found this thread. I will see if I can get some pictures of it. -
That is a center gage. it is used for grinding and setting up the threading tool on the lathe. You fit the threading tool in the angle when you are grinding rex or carbide tools for threading and you also use it to square the tool to the centerline of the machine(or the outside of the part you are threading. When we still used ground tools in the shop, I kept one in my pocket all the time! Don't have much need for it now with the insert tools and the cnc machines! Hope this helps! Bill D.
-
Joe Bill, The January meeting of the south-west group will be in Norman, Oklahoma(out on east Alameda) on the 21st. You will be more than welcome to come to the meeting! The details (directions, trade item, etc.)will be on the Saltfork website shortly after the first of the year! Look me up when you get there! Also, if you can't make it, PM me with your mailing address and I will make sure you get a copy of the newsletter! (I have connections with the editor) Bill Davis
-
50lb LG Motor Mount question's
lazyassforge replied to Laughing Dog Forge's topic in Power Hammers, Treadle Hammers, Olivers
Laughing Dog, For a picture of the jig for drilling the holes in the arms, look at this link: http://www.papawswrench.com/vboard/index.php?topic=362.0 I have used bolts for the pins before, I used bolts which were long enough to use the unthreaded portion as a pin and cut off the threads and used a cotter pin to hold the pin/bolt in place. Any more, I use a piece of cold rolled mild steel and drill a cotter pin hole at each end. Hope this helps, Bill D.