Robakyo
-
Posts
254 -
Joined
-
Last visited
Content Type
Profiles
Forums
Articles
Gallery
Downloads
Events
Everything posted by Robakyo
-
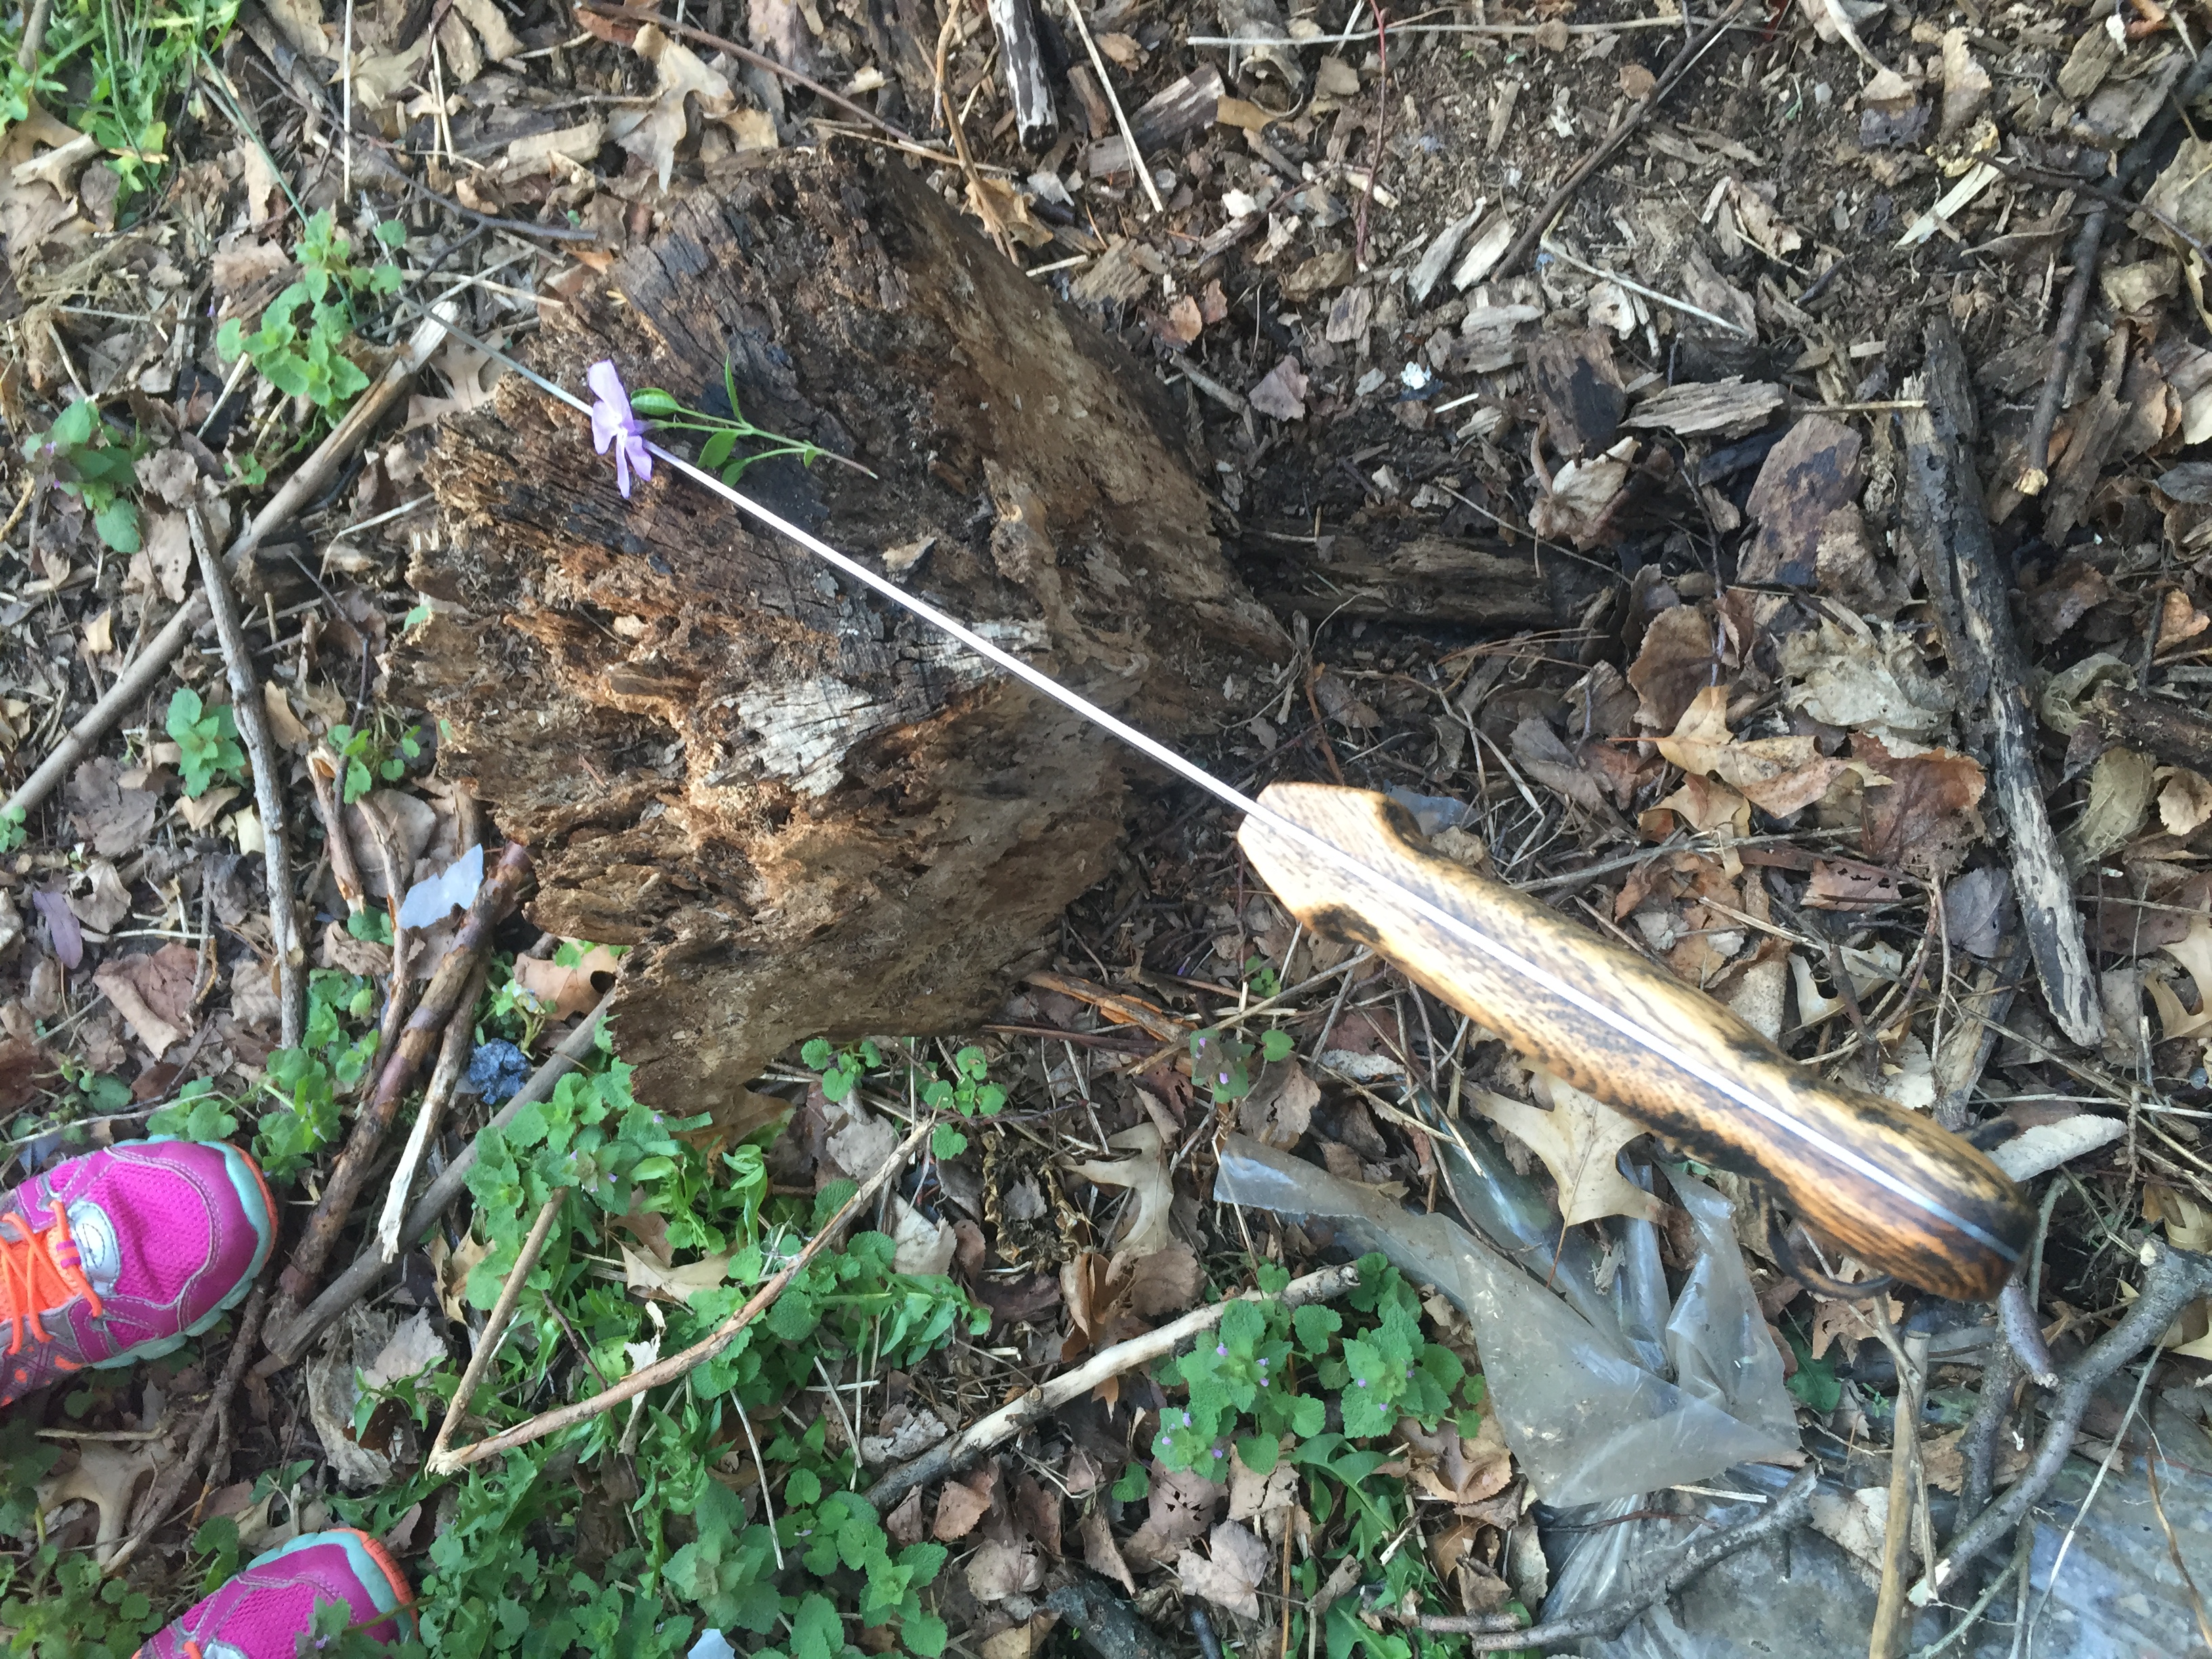
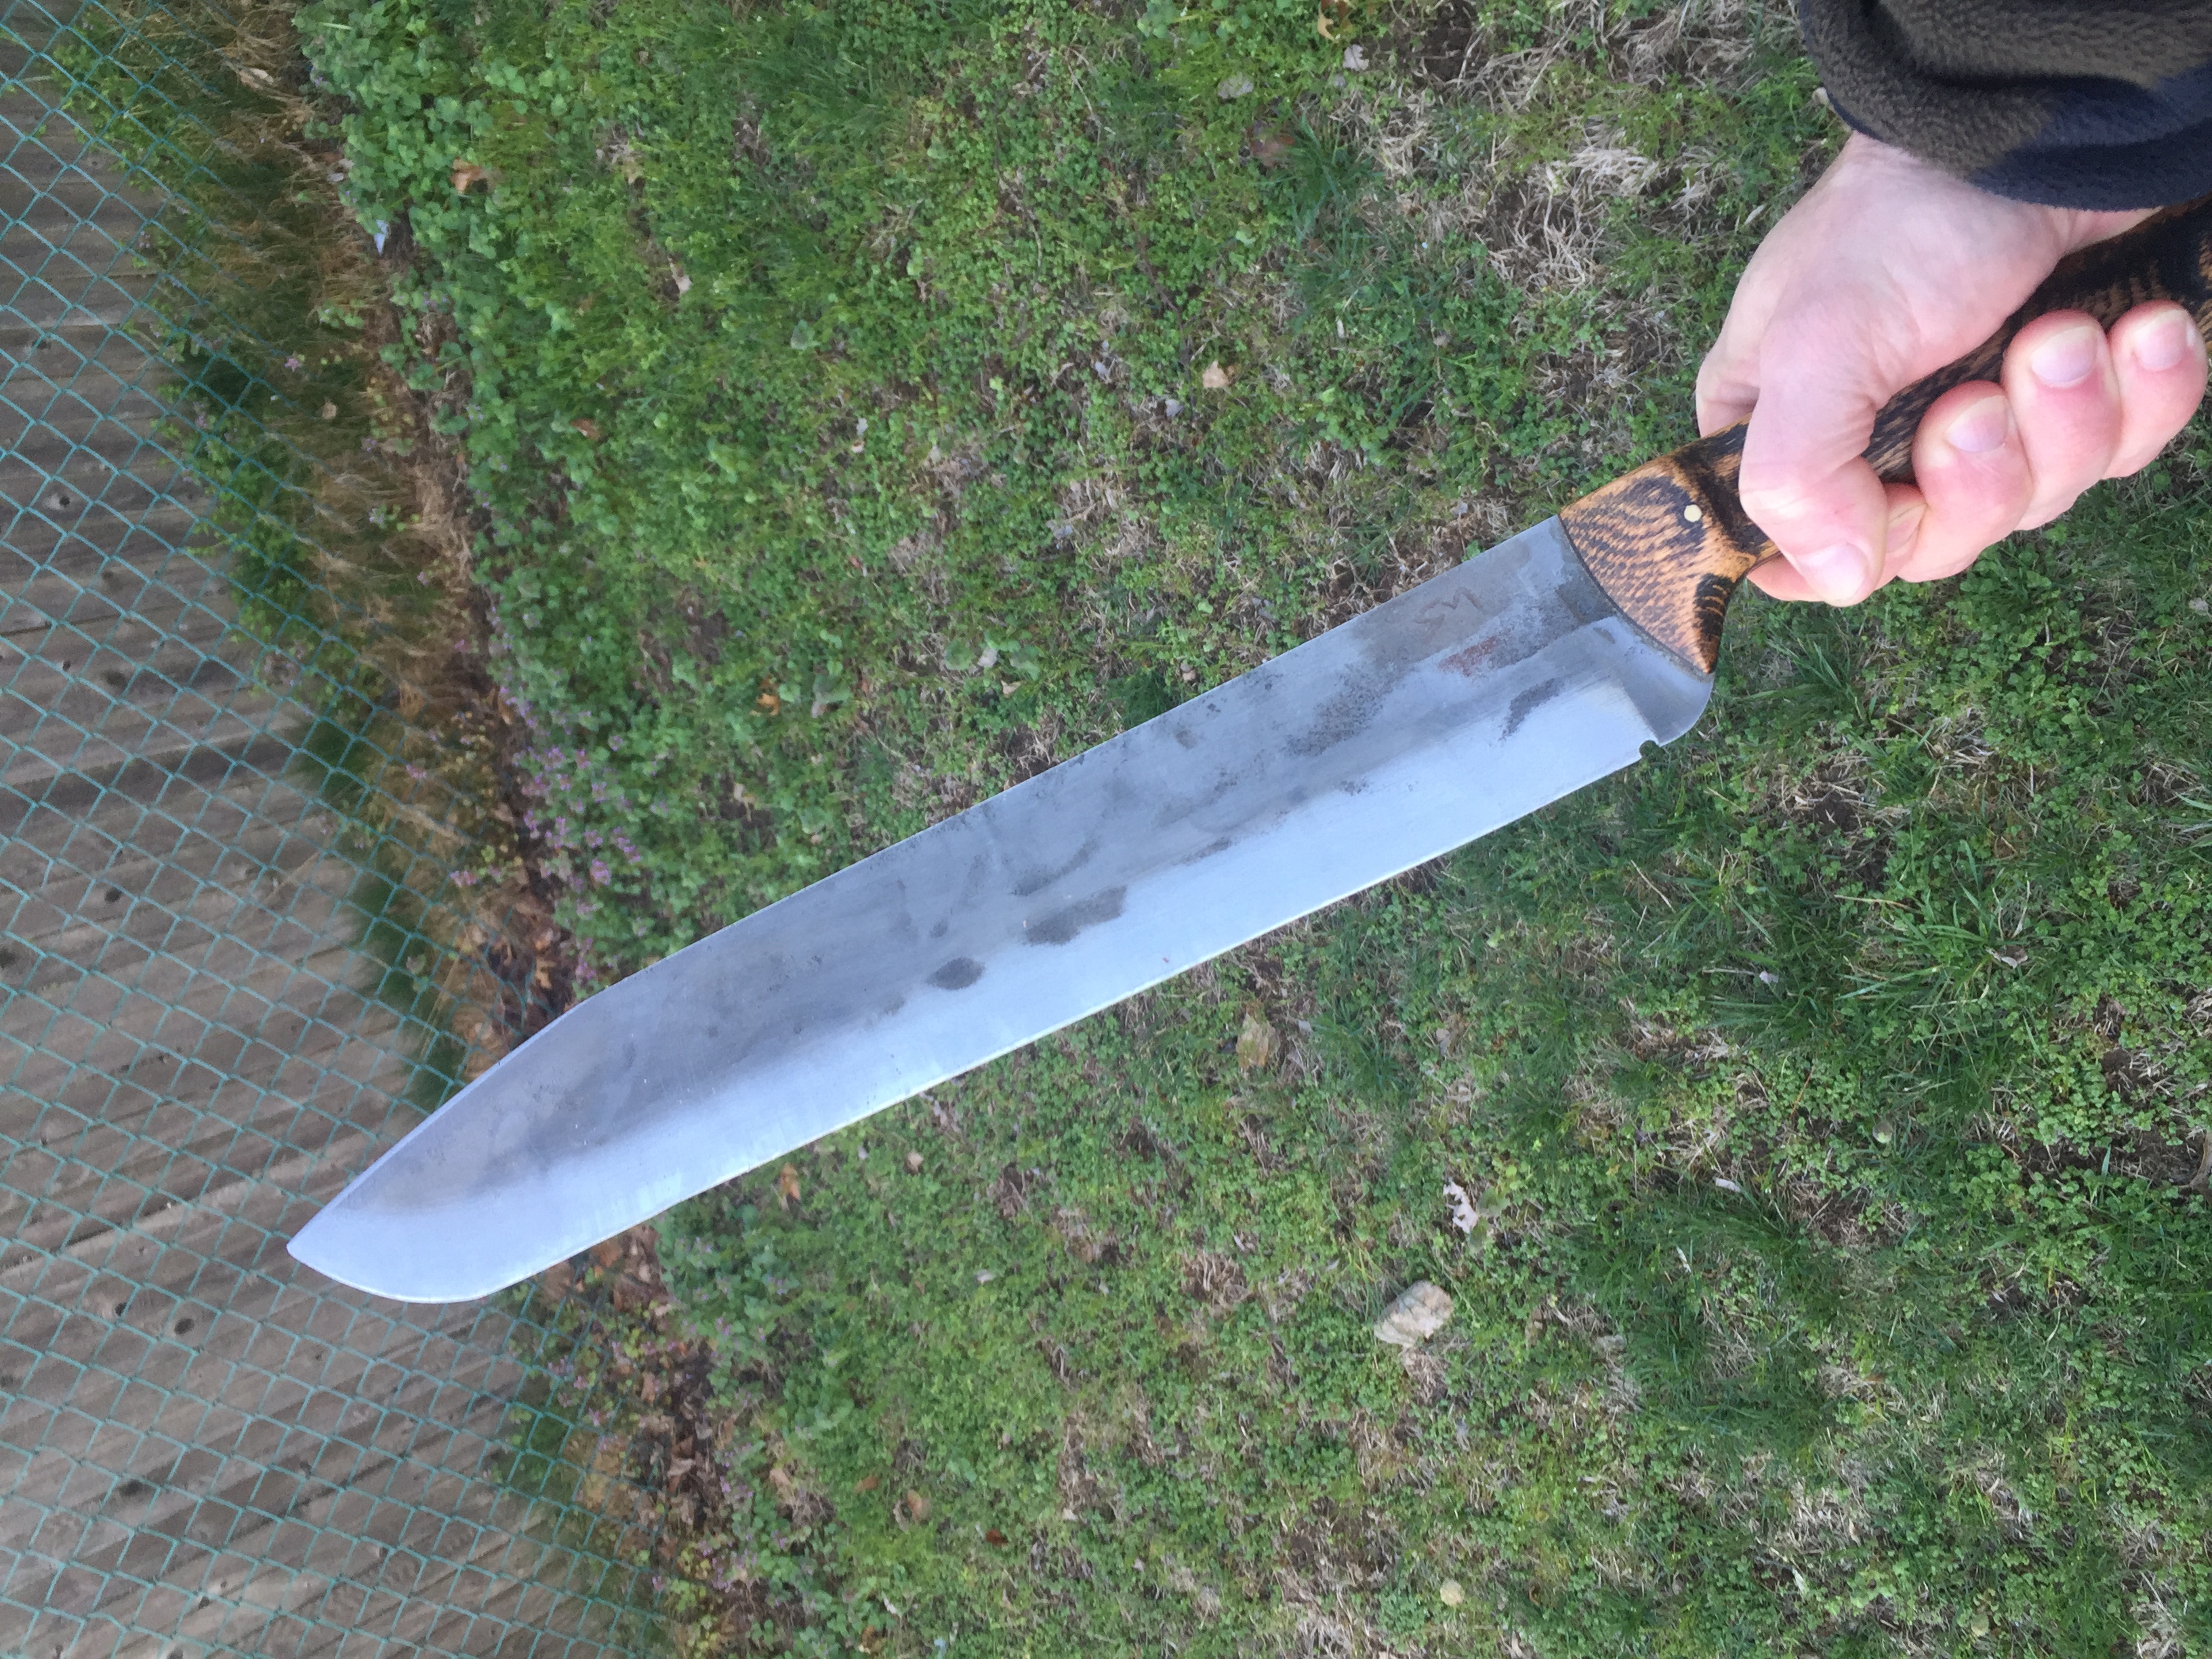
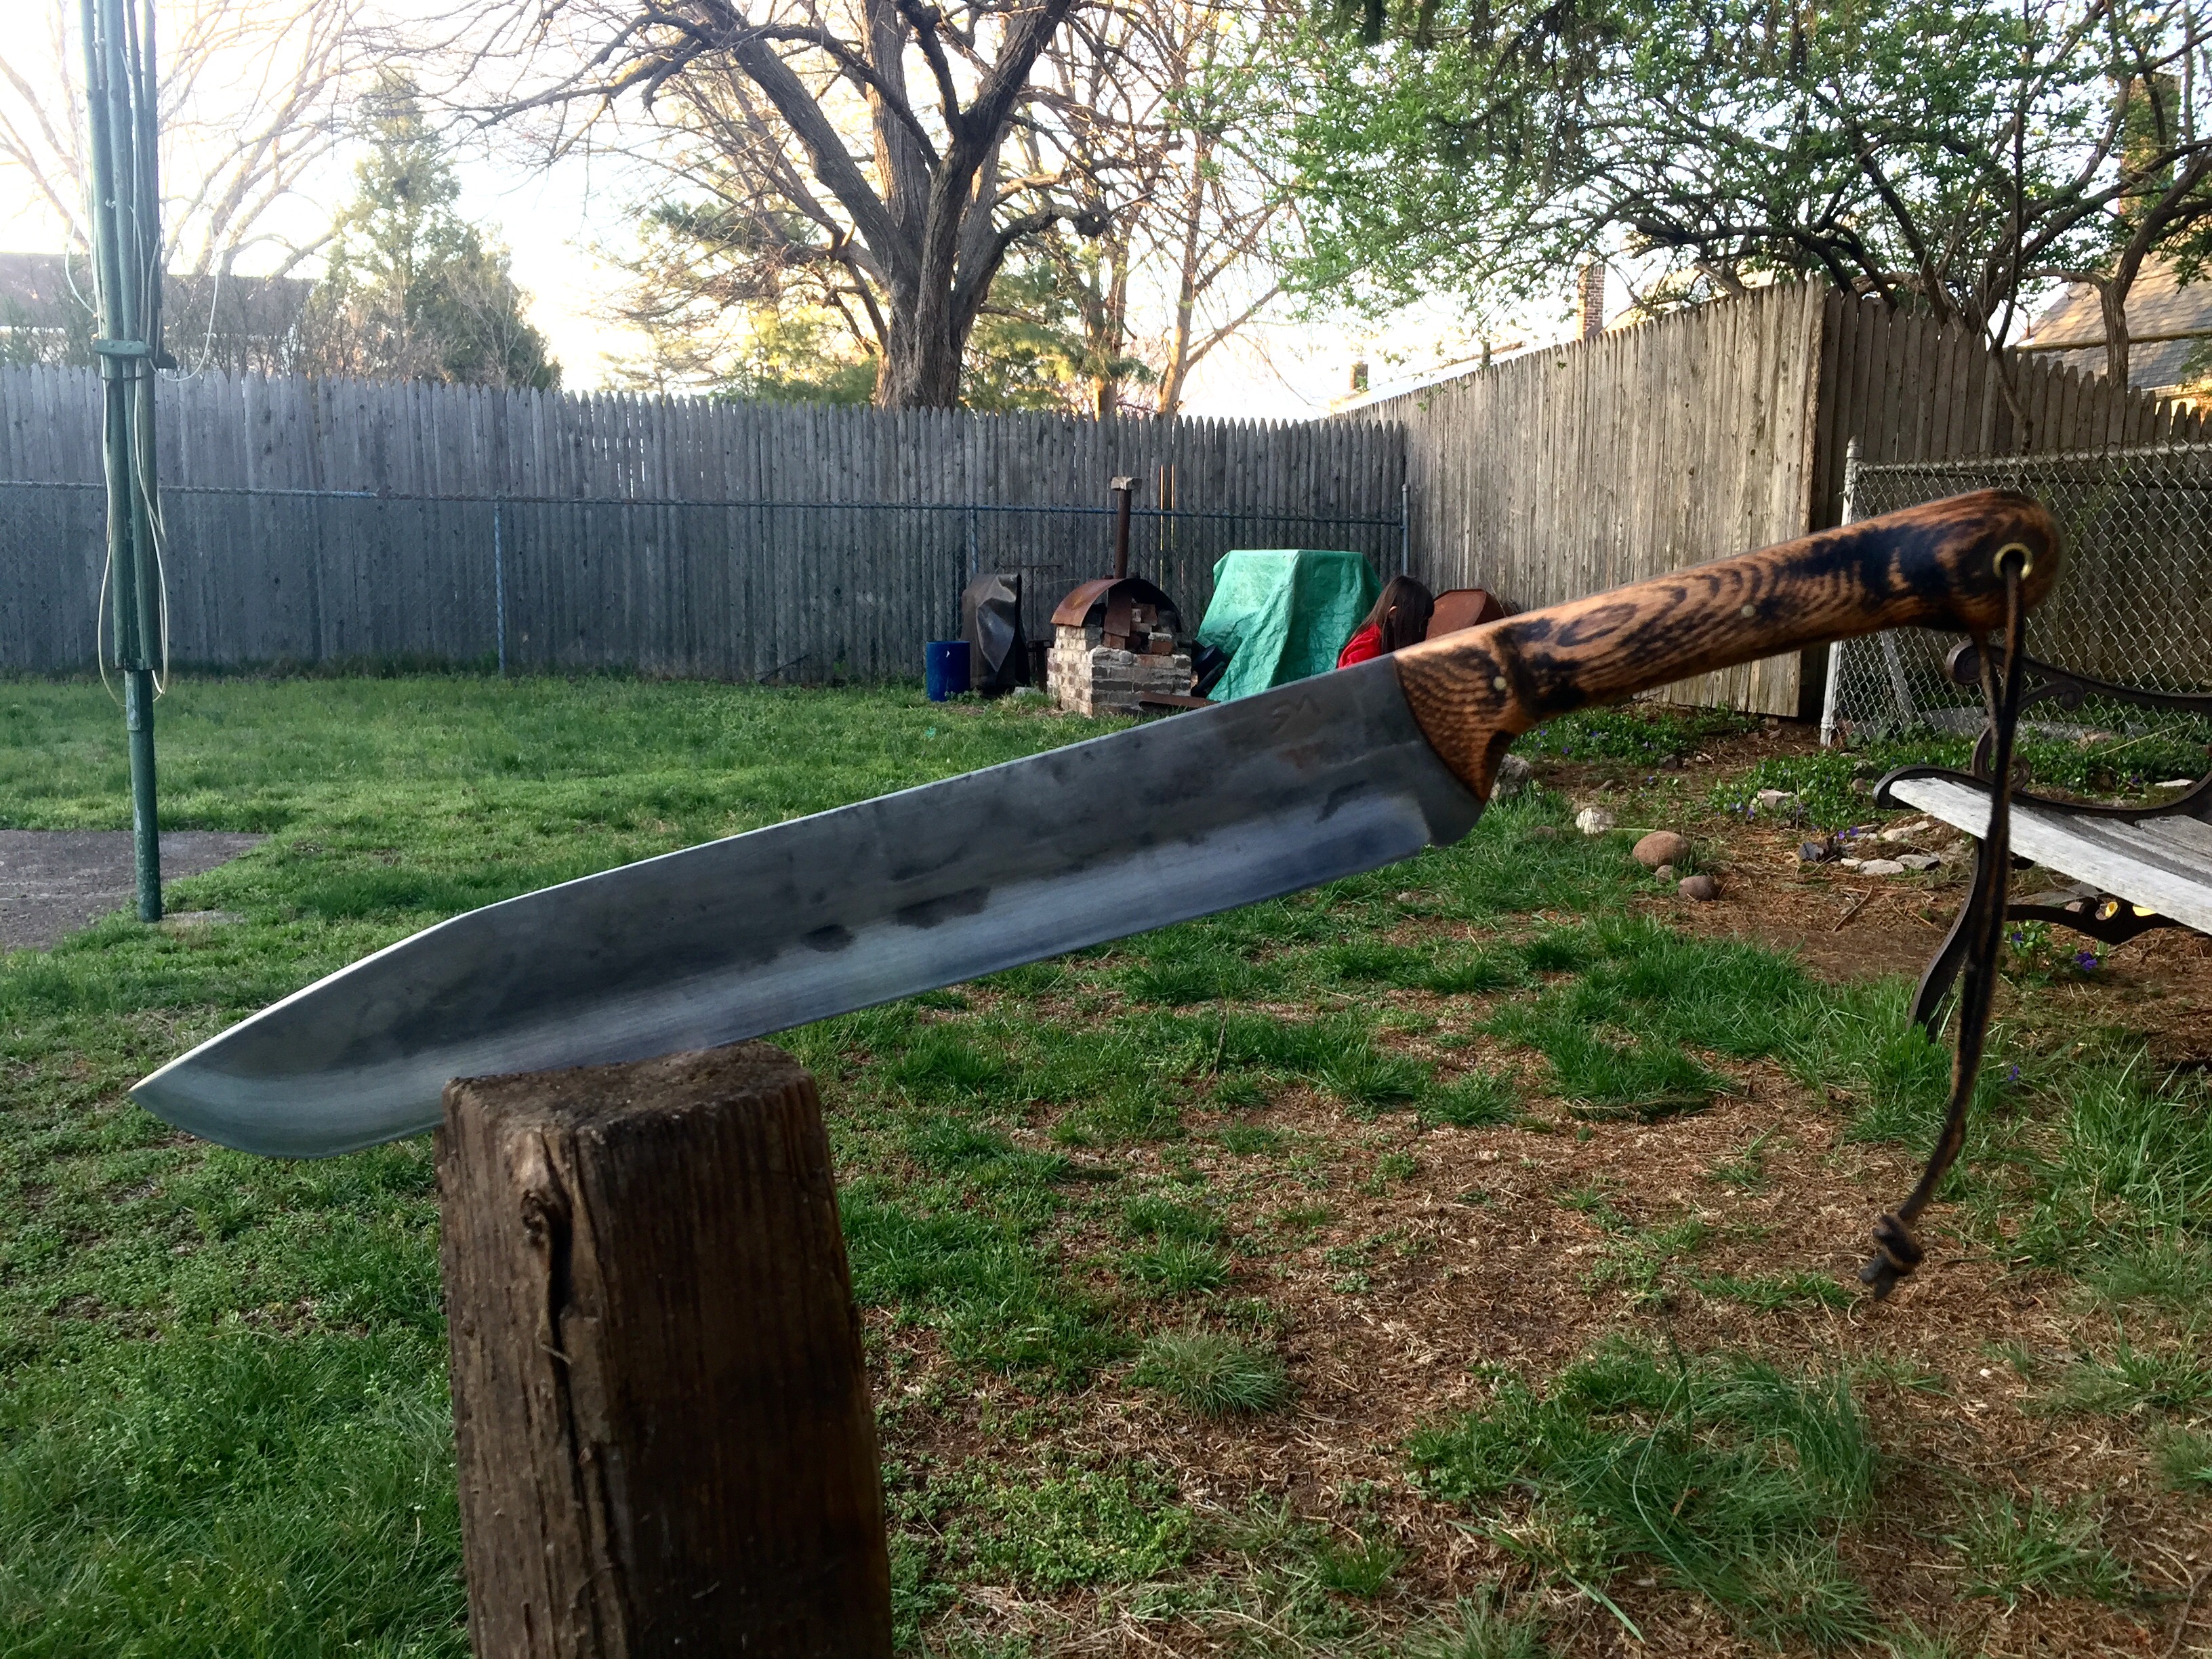
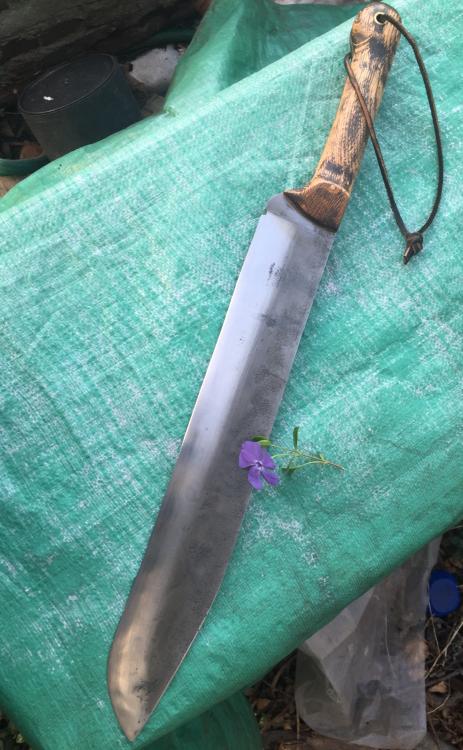
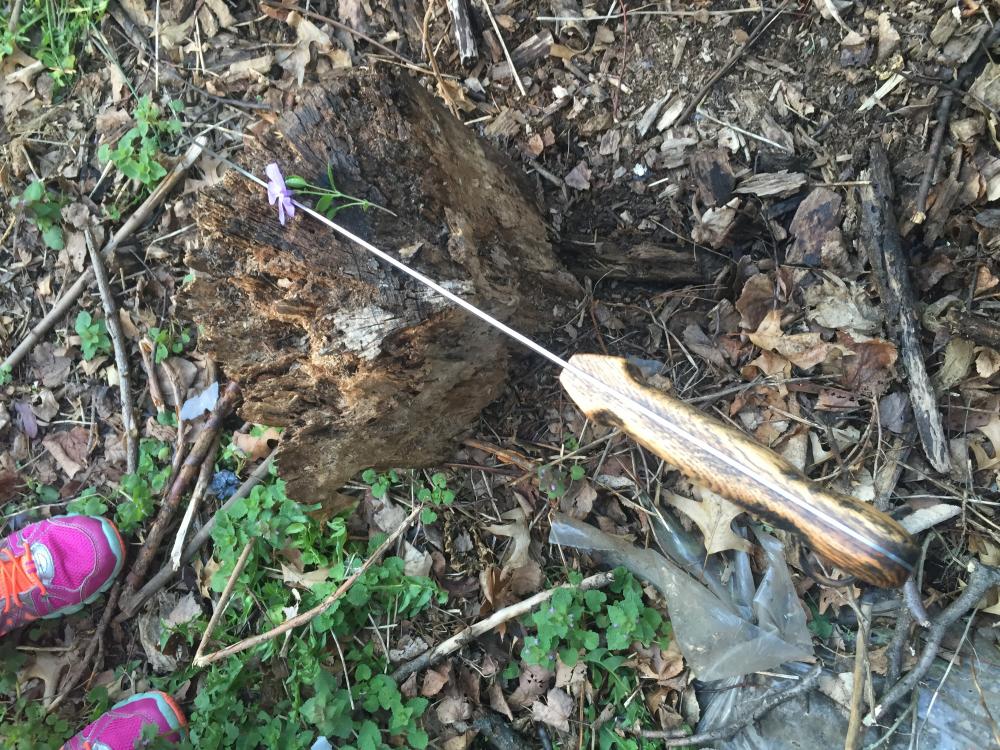
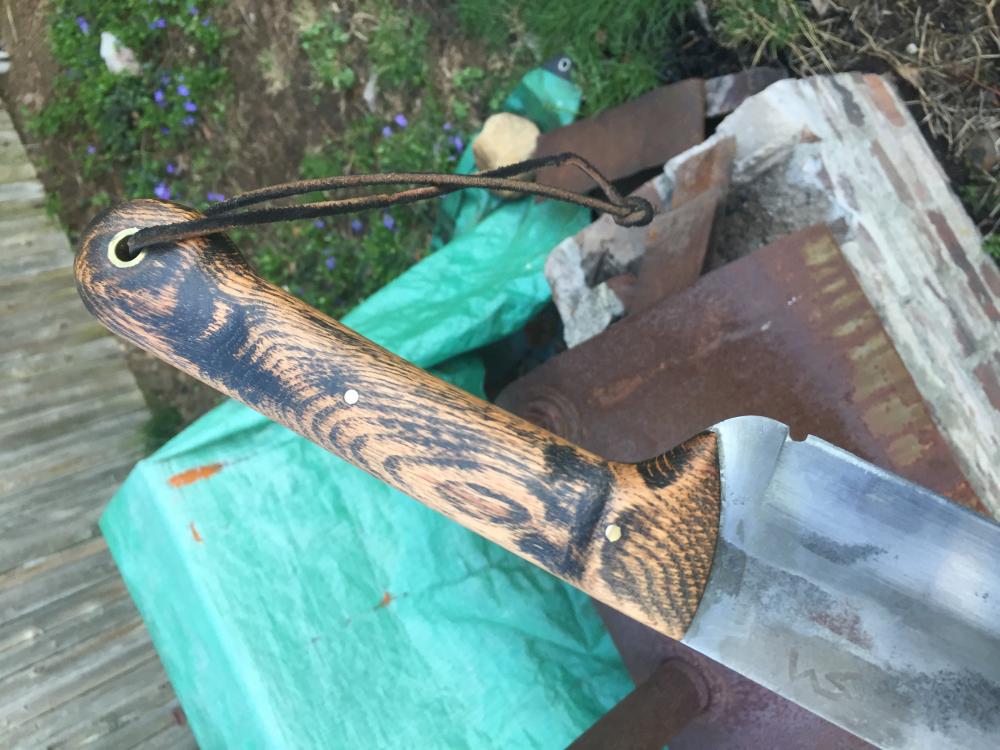
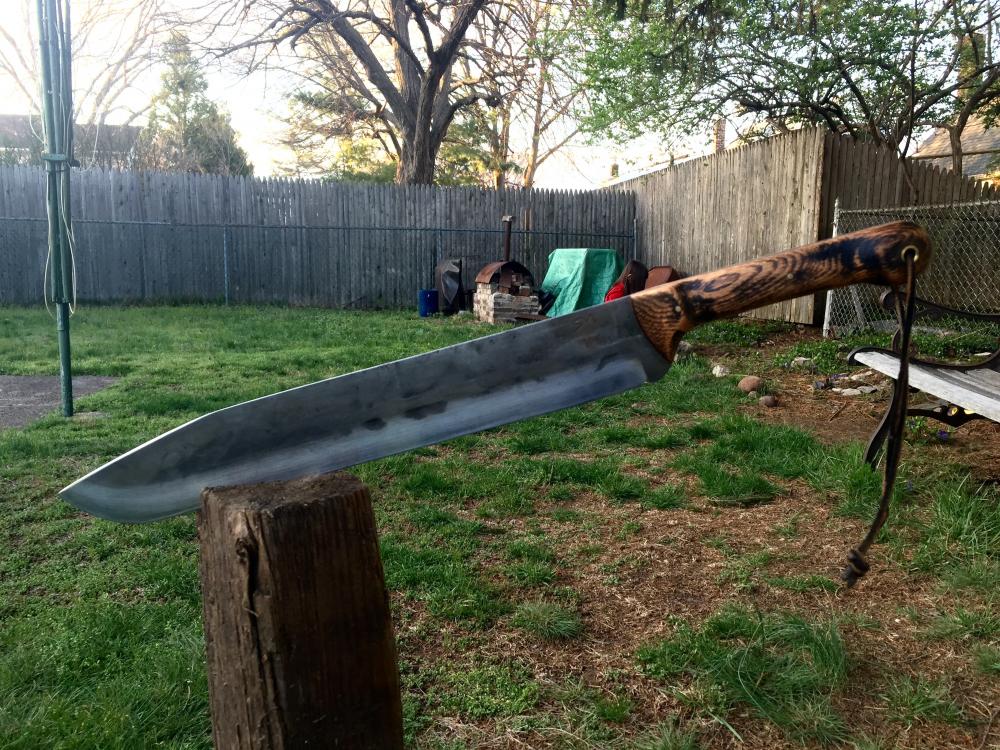
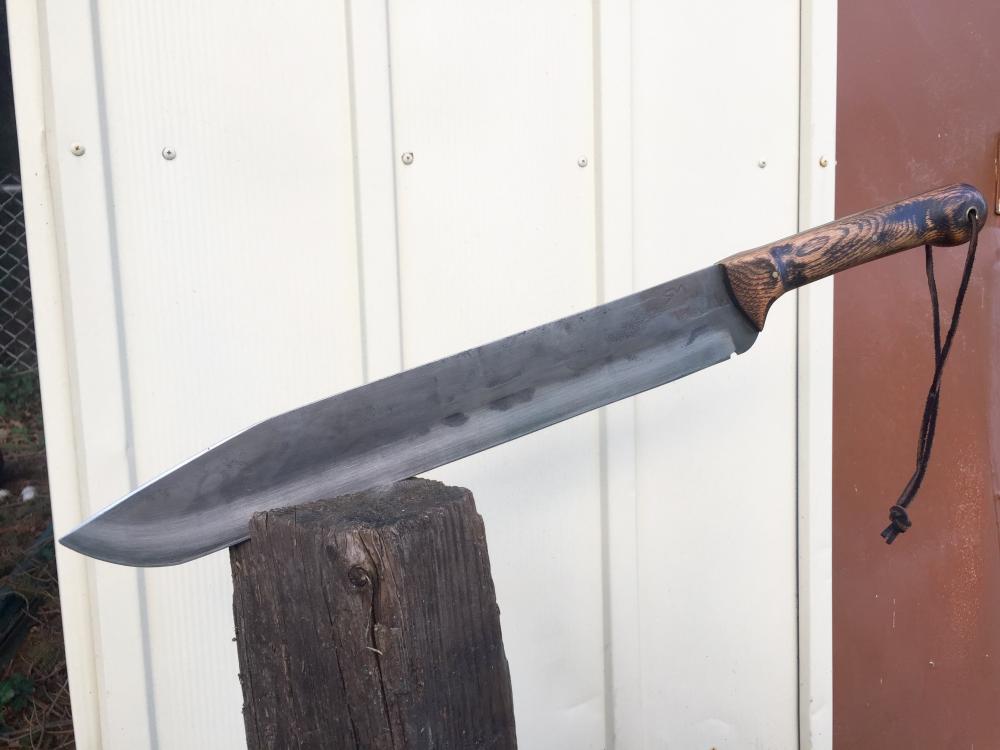
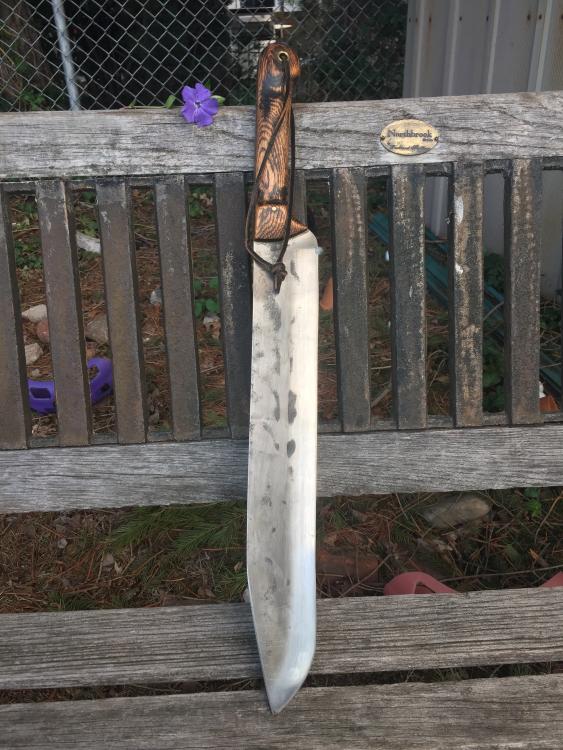
I Haven't posted anything for quite awhile. This chopper is once again made from bed frame steel. Oal: 22" Blade length: 15" quenched in canola oil and tempered at 400F or maybe 425F twice. I don't recall. I wanted it to be flexible and tough. It is. The scales are pallet wood. Smelled like oak. Stained with vinegar used to de-scale the blade. I also wiped on a layer of Japanese ink then wiped it off. A couple of layers of linseed oil and eventually, bowling alley wax. Robert p.s. I'm having trouble uploading the pictures from my phone. I'll just post the text before I lose that as well.

-
This thread was genuinely fascinating and educational. I wonder if he succeeded. I've entertained similar thoughts about including cast iron in canned Damascus.
-
It is really difficult to see your knife, but from what I can see, it looks good. Diffuse lighting is your friend. Flash photography obscures the details.
-
Nice first knife. Looks like a good EDC. No need to chip off the scale, just soak in vinegar overnight. Turn it over half way through so both side get the full effect of the bath. The scaling will brush right off with a wire brush. Wear rubber gloves or your hands will stink. Robert
-
It was an unknown steel. It responded better to water. Using the quench test in oil, it bent before finally snapping. Lower carbon. The water quench was kind of scary. The blade literally screamed. Oil is so much nicer. There is a window of opportunity to straighten out a minor warp if necessary.
-
Lamb splitter. Very descriptive. Wonderful profile regardless. It's a winner.
-
Your style is unmistakable. They are all excellent. Your Bowie has, to me anyway, a hint of Persian styling. That is my favorite. Really great profile. Robert
-
Looks good. I haven't achieved such a dramatic hamon. I was impatient and accelerated the drying time of my furnace cement with a hair dryer. I quenched it in water and most of the cement seemed to just explode off of the blade. The hamon was faint.
-
Nice profile. Good looking first knife. Your "driftwood" is spectacular. How did you attach the scales? Internal pins? You shouldn't need to rely on luck in order to properly heat treat. There are plenty of stickies and knifemaking lessons in this forum to answer such questions. You can learn how to test even mystery steel by experimentation. Robert
-
There is so much to like about this knife. It just flows smoothly from arc to arc. Your pattern welding skills blow my mind. The area that immediately caught my attention was your ricasso. I don't know why. Maybe I see it as a bold statement. I can't explain what that might be. Thanks for posting this. Robert
-
I recall your other thread about this knife blade, and the issue that caused you to modify the profile. It still succeeds. I like the design of your monogram too. Hopefully this comment doesn't disappear as well when I hit "submit reply". Robert
-
That turned out extremely well. Very nice profile too. Are you going with a tsuba style guard? I can't wait to see the end result. I believe that your daughter will love it. Good looking tanto. Robert
-
I don't know why I like this knife so much. Is it the star shape smack dab in the ricasso, or the carved lines on the handle that run through the bolster and pommel? I am unsure. But it makes me smile. I like how you repurposed that lawn mower blade. Robert
-
Those would make handy EDC's. Also really eye-catching. I really like the tails! You could add a lanyard to two of those, or not. Robert
-
All that on again, off again contemplation allowed you to produce an outstanding knife! So many wonderful details. Robert
-
I like your solution, but what I described was somewhat different. Hopefully I can post the pic showing what I attempted to explain earlier. The source material was a piece of RR spike. I rasped it to shape. I finished the inside arc after the handle material was secured.
-
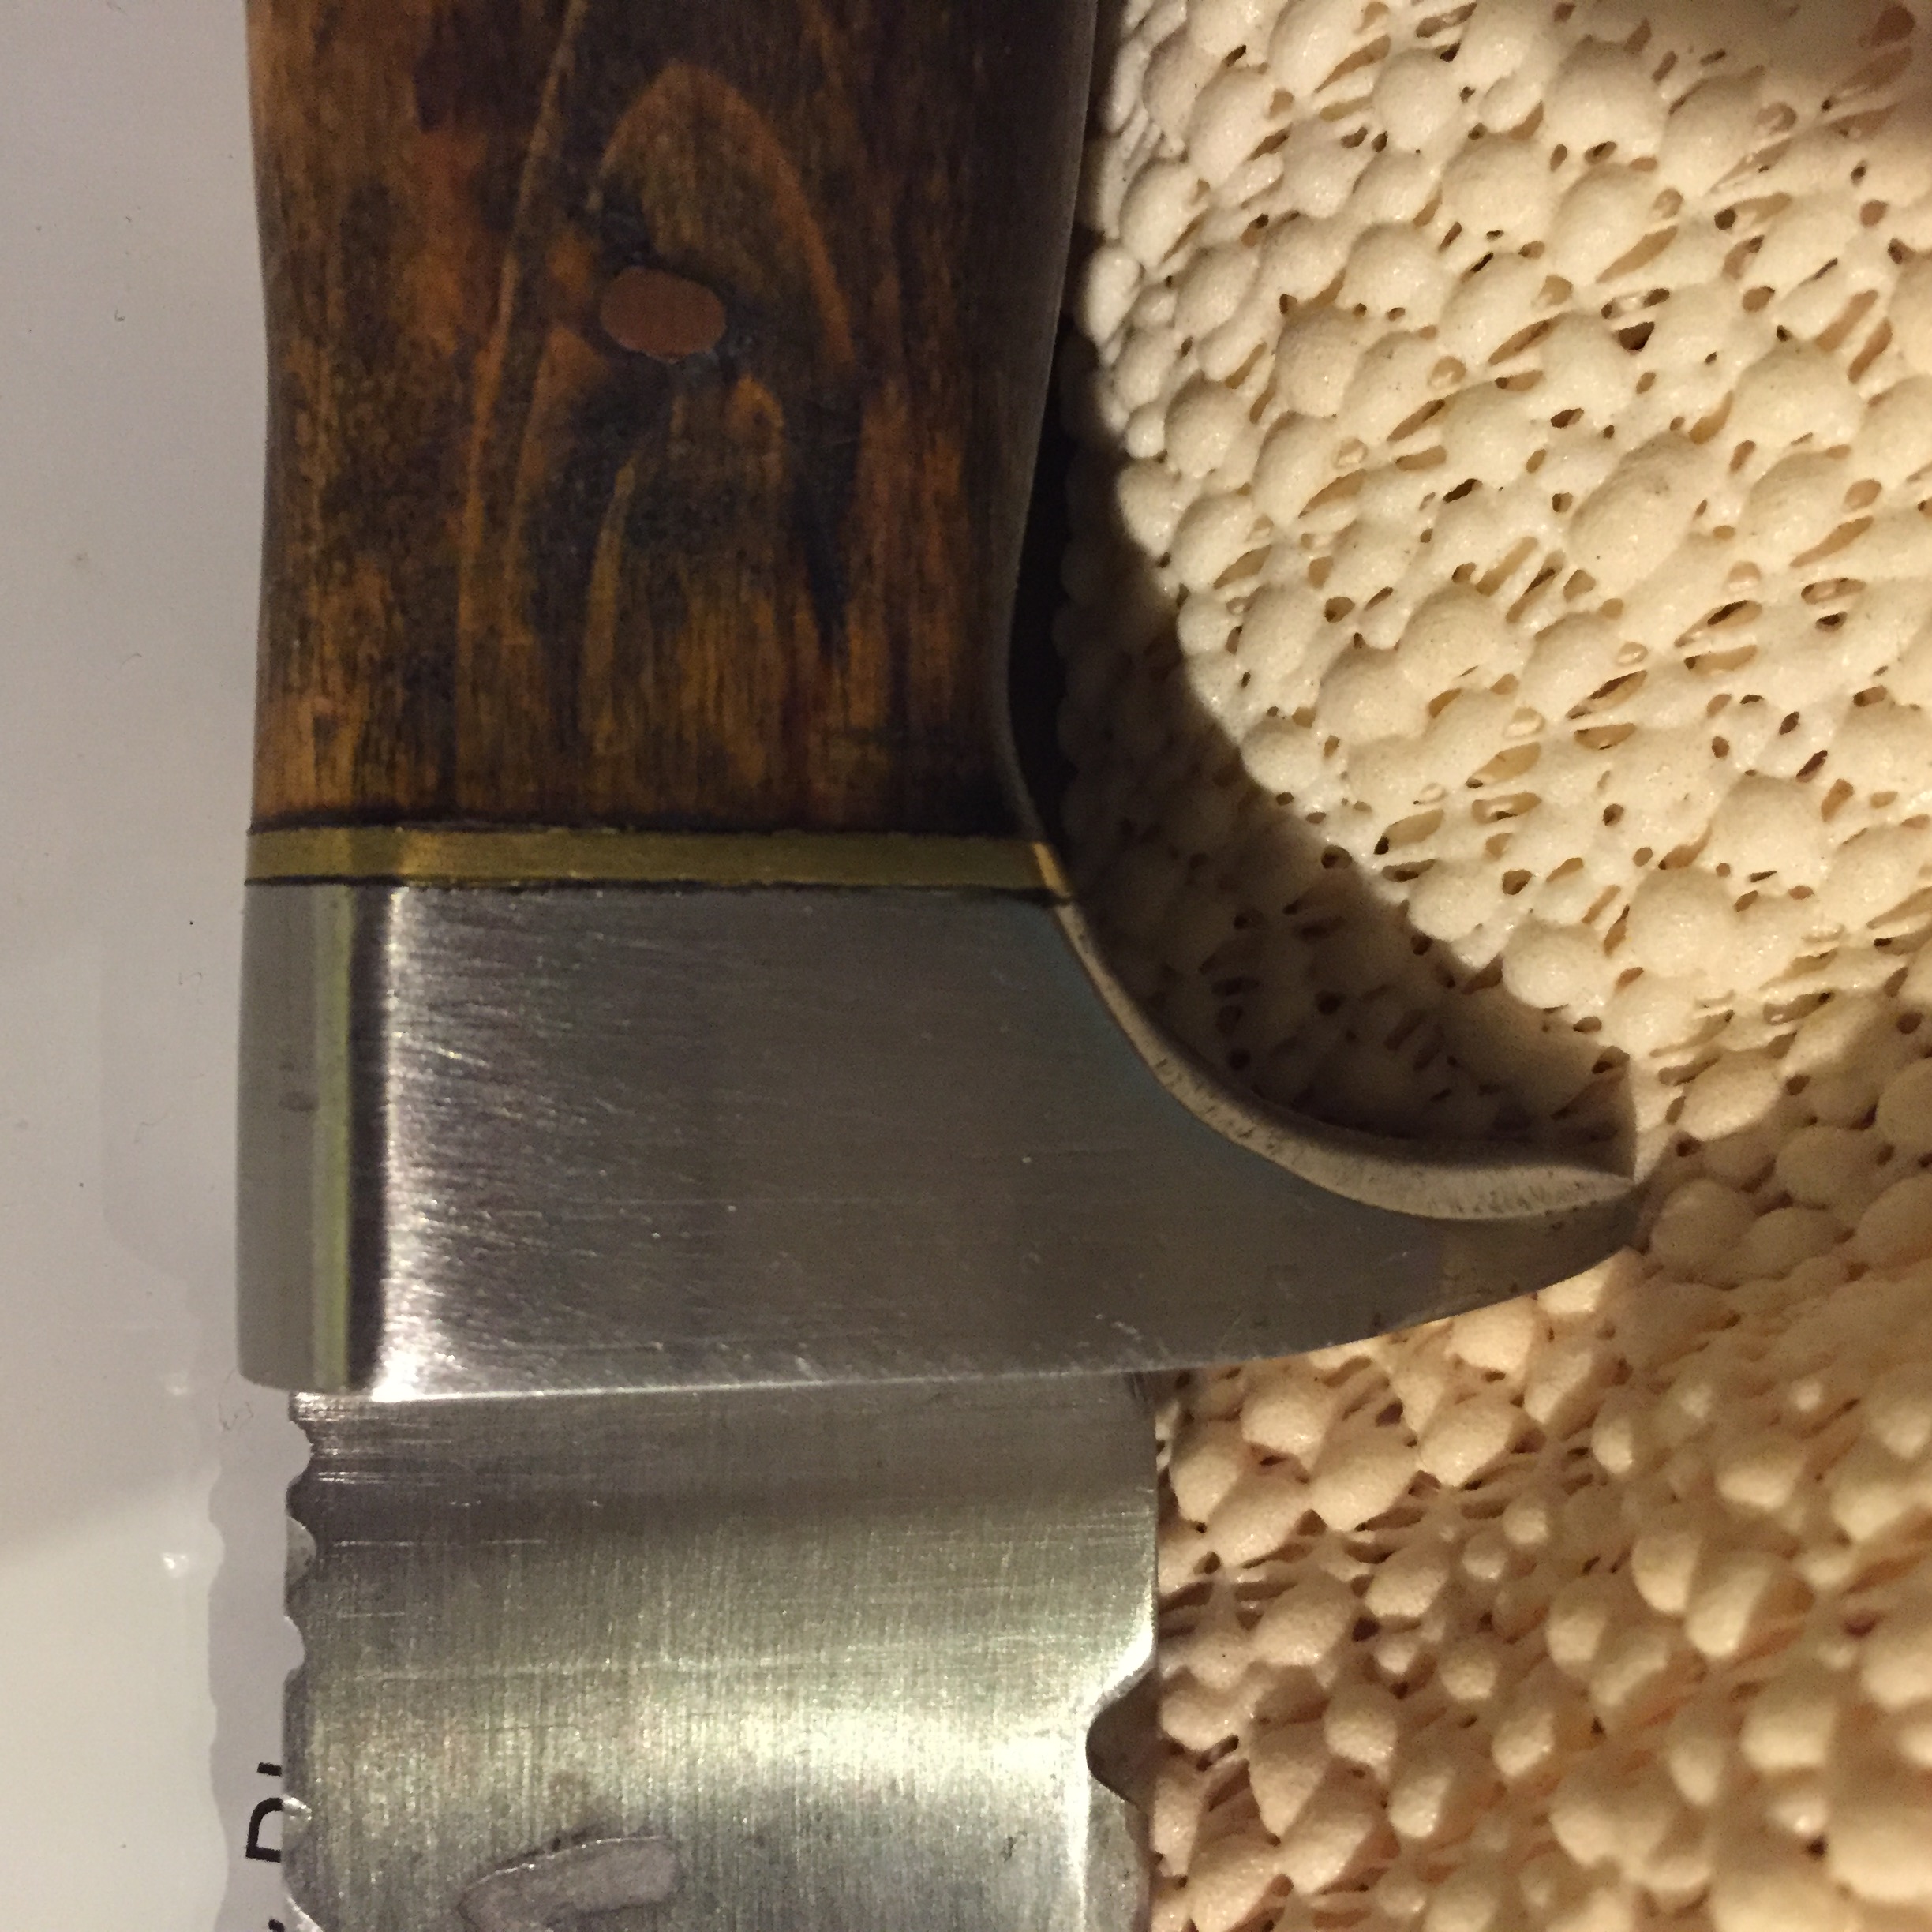
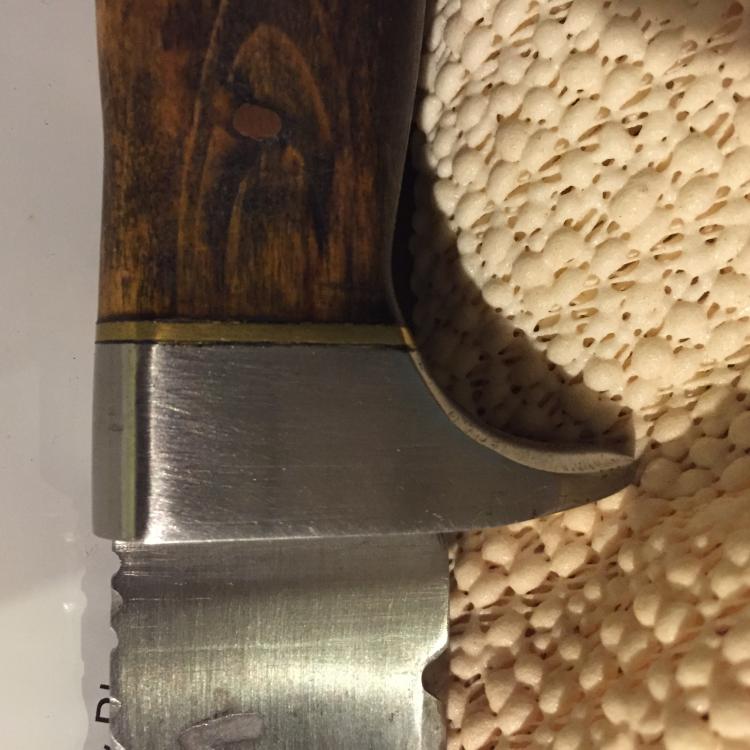
I like the knife overall, but I feel that the guard hasn't been finished. The blade side of the guard is fine, but the handle side needs shaping. A gentle arc carved out with files would make it more comfortable and reduce weight. Then you'd be able reduce the handle section closest to the guard by continuing the arc previously mentioned. Robert
-
You have some great classic profiles disguised with unconventional materials. I especially like the knife you kept for yourself, as well as the one pictured upside down in the picture you described as "not exactly a pair". Outstanding work! How do you achieve the dimpled texture? Ball peen hammer? Robert
-
I like both knives. I like especially, your use of coins as bolsters as well as end caps. Robert
-
80CrV2 integral bowie with black walnut and ebony
Robakyo replied to TheoRockNazz's topic in Knife Making
Theo, your integral guard is awesome! I love it that you always push the borders of normalcy. Robert -
Beautifully done. Your pattern welded steel is striking. I also marvel at the flawless fit of your bolster and pommel. I'm a big fan of file work as well. Robert
-
Thank you BCROB! It went quicker than usual, because I only did file work where a re-positioned thumb might need some extra grip. Robert
-
I really like the movement in your patterns! Robert
-
Come on, you photoshopped that! :) But seriously, it looks great! Robert
-
Uber-classy utility knives! Wow. :) Great looking knives. Robert