


IForgeIron Blueprints
Copyright 2002 - 2008 IFORGEIRON, All rights reserved.
BP1040 Candle Holder 01
by Uri Hofi

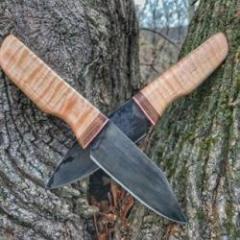
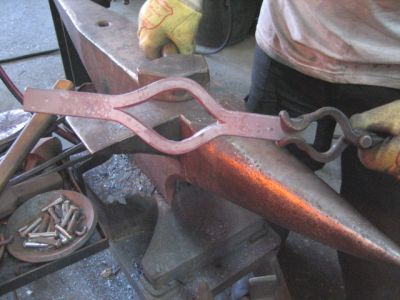
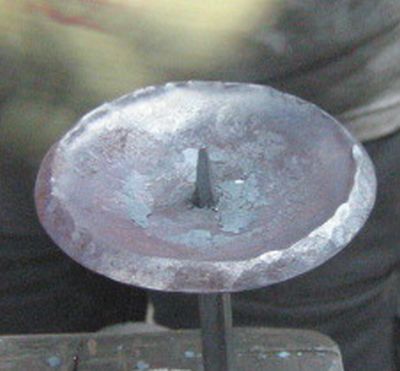
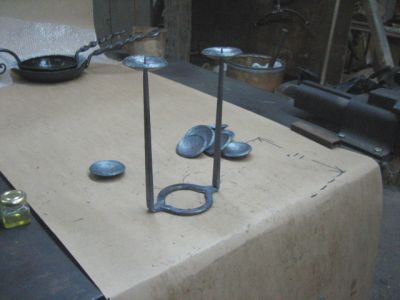
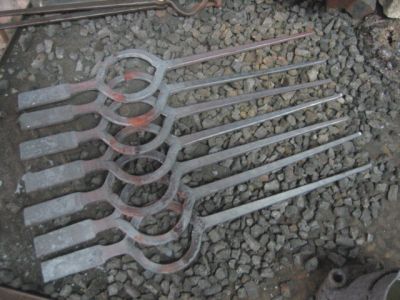
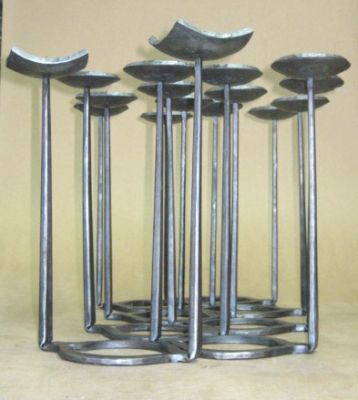
Photo's of the candle holder in two versions.
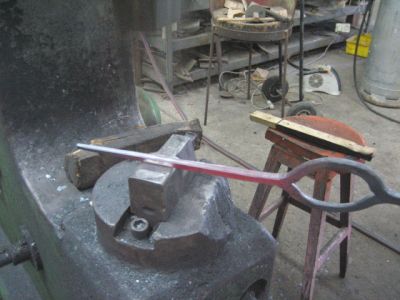
The steel is flat 3/8 inches x 1-1/4 inches x 14-1/2 inches long. In this case I had an order for 8 of them. 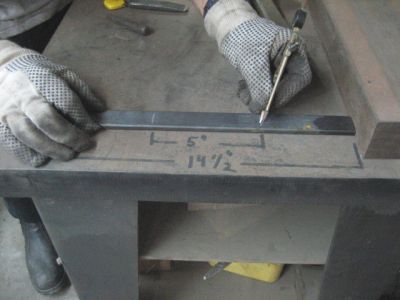
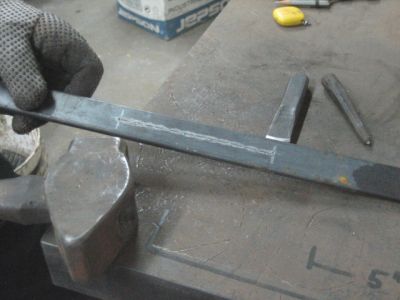
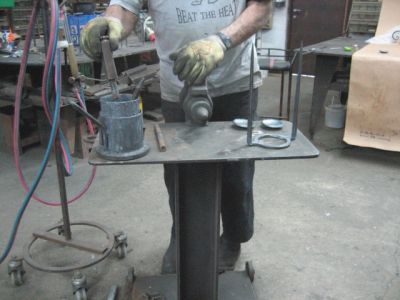
To mark and incise I use the compass to center line, the center punch to mark the end of line and a short cold chisel to incise and a 2.75 pound hammer. 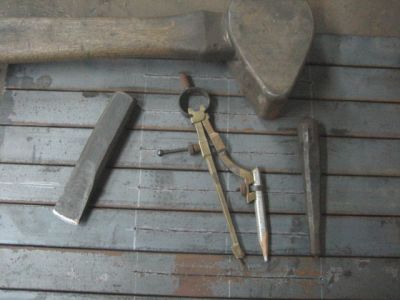
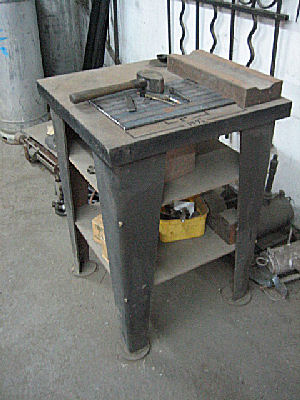
The marking is done on a ''marking table''. The table is a 2 inch steel plate 20 inches x 20 inches and 30 inches high. On this table I do all my markings on the shelves it is having many more marking tools. 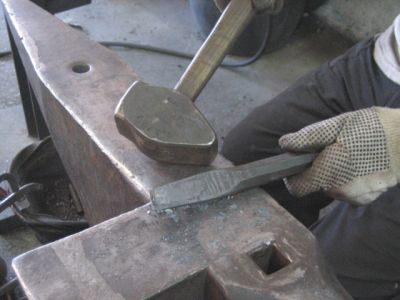
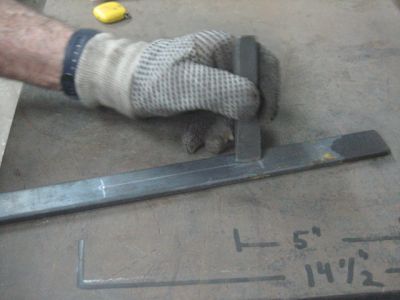
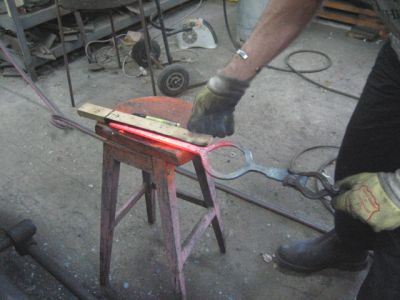
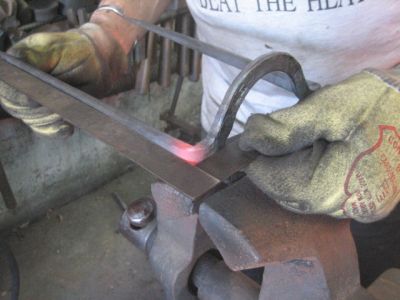
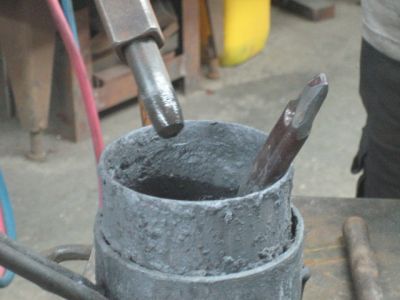
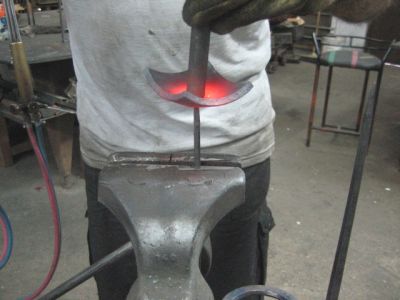
Now I am going to ''hot cut'' in the incised steel with a 5-1/2 pound hammer. And a hot chisel made of h13 steel sharpen to 20 degrees and the width is no more then 20 mm all this to get a very fast and clean cut. And an aluminum plate to protect the chisel.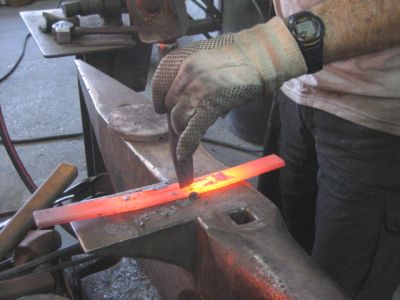
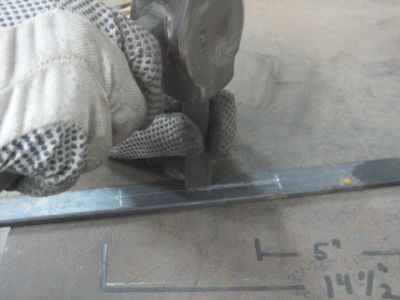
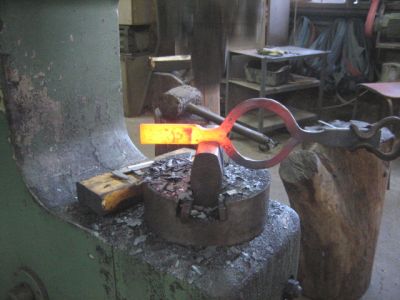
Twice in the fire to finish the cut and to flatten. You could see that when I take it out of the fire, I bend the hot steel a bit. This is to prevent the hot steel from cooling fast - the flat steel will not touch the anvil only in the cutting point and by this I preserve the heat for a longer time. 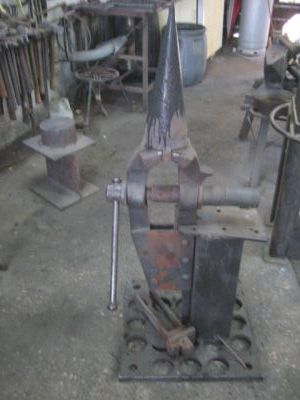
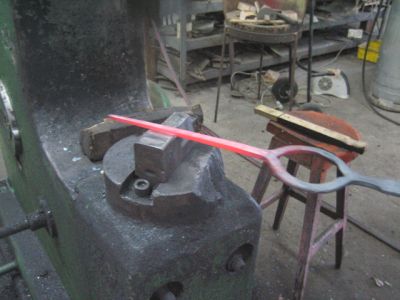
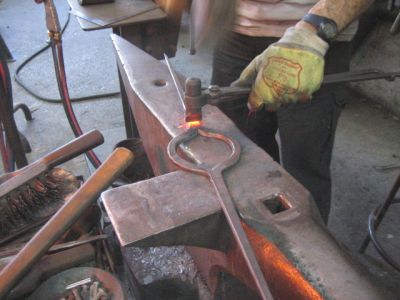
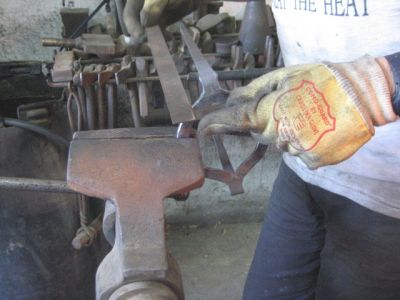
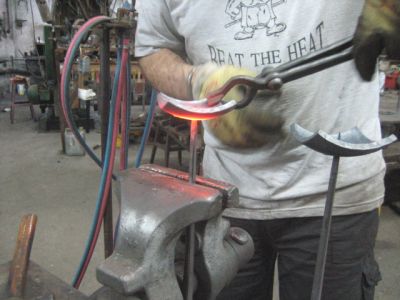
Now I am going to open round the cut on a cone held in the vise. I have two vises. From two sides of my anvil one is 30 inches and the other one is higher 40 inches. To make this work more comfortable I hold the cone in the lower vise. The cone is smeared with ''moly-graphite'' lube to ease the operation. 
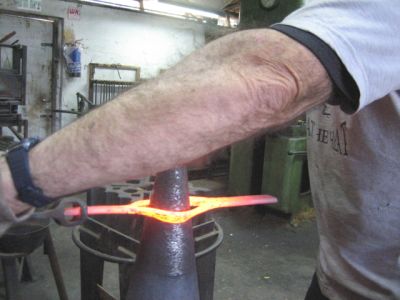
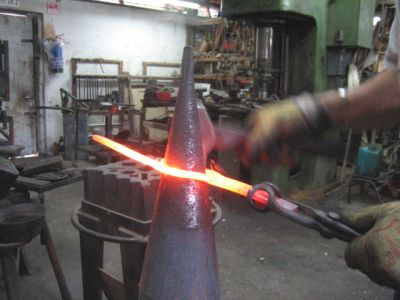
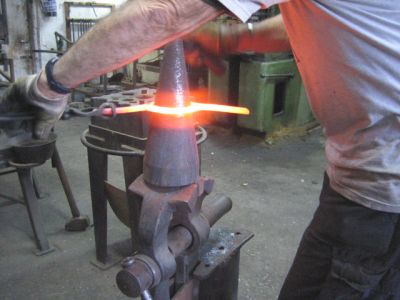
Open on the cone. With the 3 pound cast hammer hitting on both sides and around. And every heat and operation I have to straighten and flatten and bring it to one right line use for this operation the 5-1/2 pound hammer. You can see that I use two different hammers. According to the need, I will use a ball peen hammer later in the process. 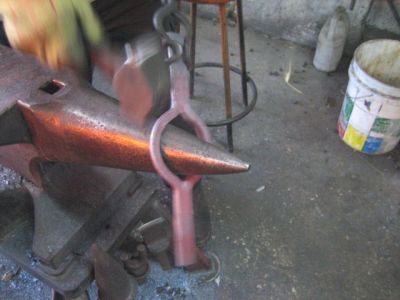
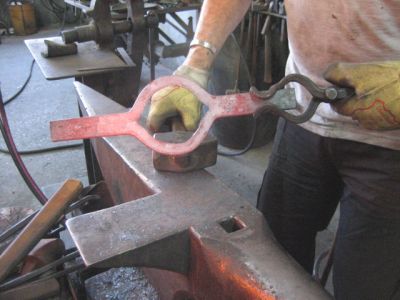
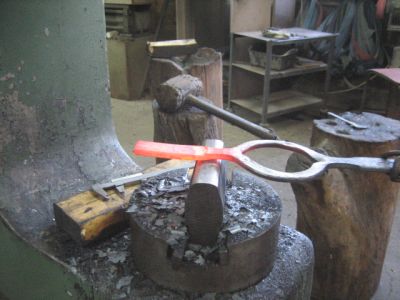
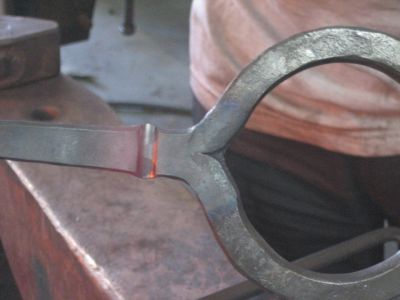
Forging the ''sharp'' corners of the chisel cutting, all around. And on both sides.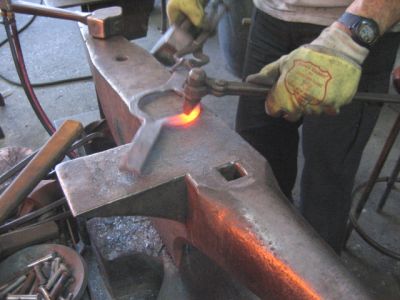
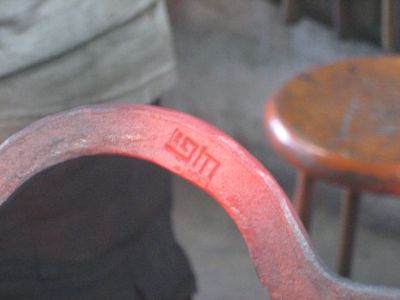
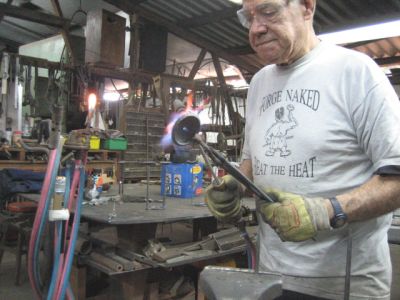
Forging the touch mark again the use of the rosebud for local heat. 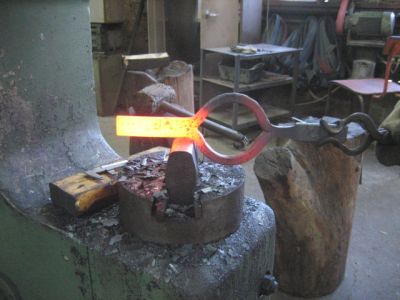
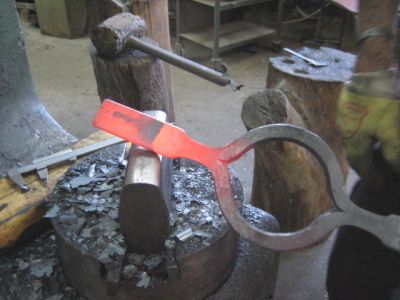
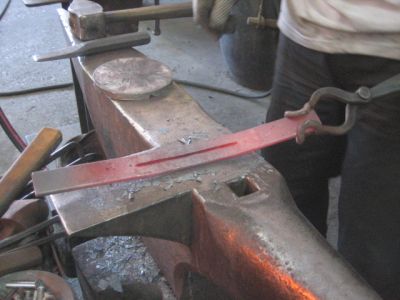
Necking with the air hammer to 20 mm width (a bit more then 3/4 inches). And keep the original 5/16 inches flat dimension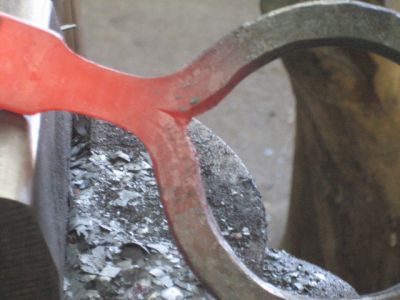
Near view of the nice transformation of the necking and the beauty of the end chisel end cut.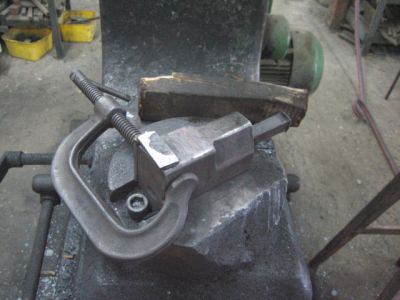
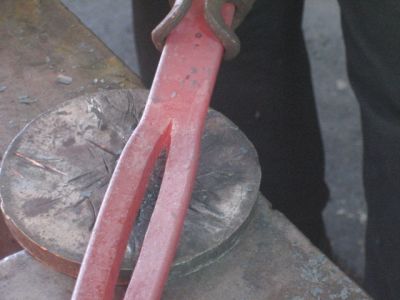
Forging the points on both sides with the second air hammer and different dies. The photo shows the dies and the 1/4 inch spacer on the bottom die to get the right square on the end of the point and the same for all.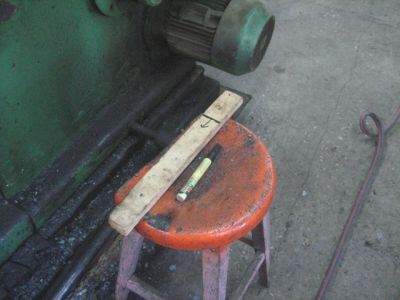
The measuring wood plank with the black mark of 13-1/2 inch length.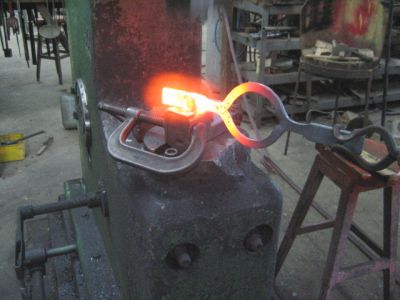
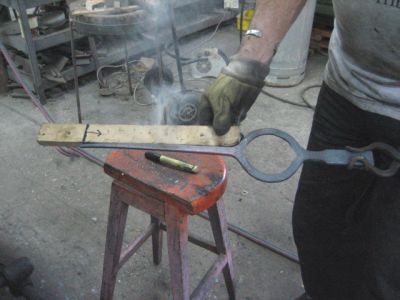
The forging and measuring process on both sides of the holder.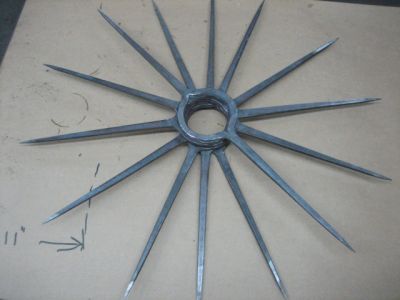
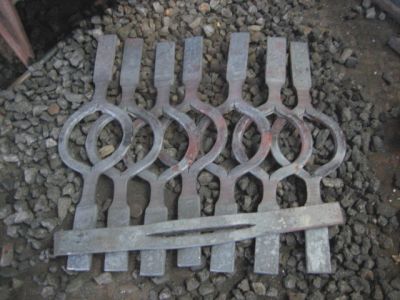
The finished 8 parts. 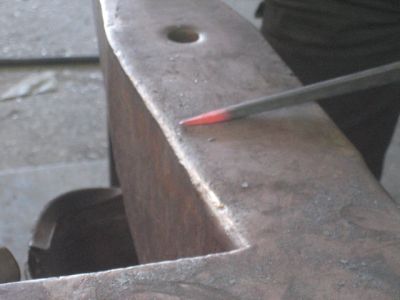
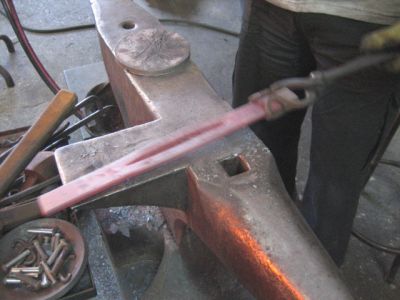
Forging the ''sharp'' point on the end 1/4'' point of the parts. Heat with the rose bud for a local heat. The length of the ''sharp'' point is 1-5/16 inch on all points equal.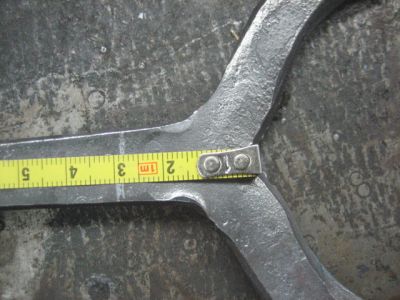
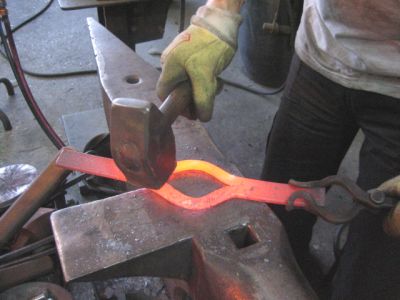
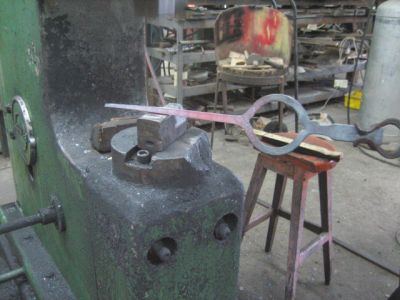
Measure 1-1/4 inch from the end of the cut on both sides and mark with a silver pencil the silver holds high temp. You can use the fuller without first fullering cold. Fuller with a 5/16 inch fuller to the middle of the flat thickness. Fullering a bit more on the sides to get a nicer bend.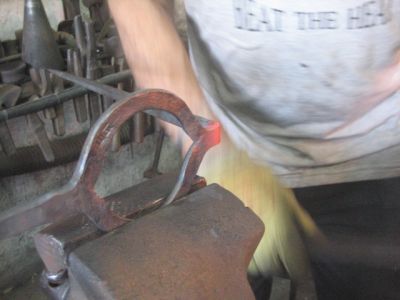
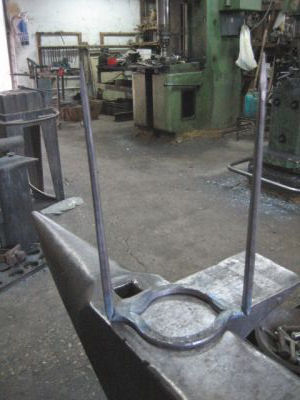
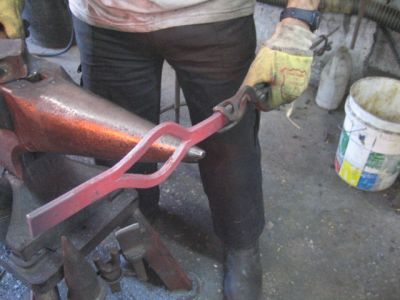
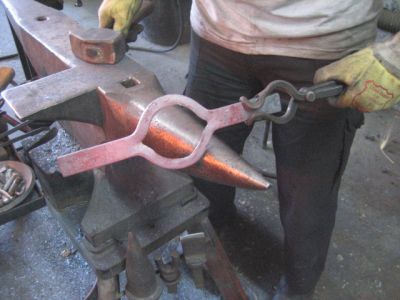
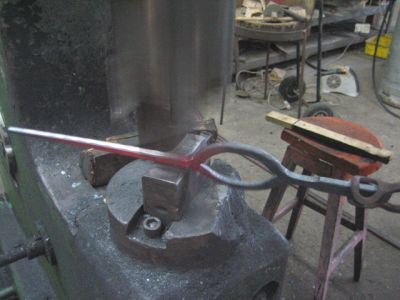
Holding in the higher vice heat the fullered point with a rosebud for a very local heat. Bend to ''right angle'' on both sides and both directions to ''stand up right' when standing on the round base. You may see the use of the ''right angle'' when aligning.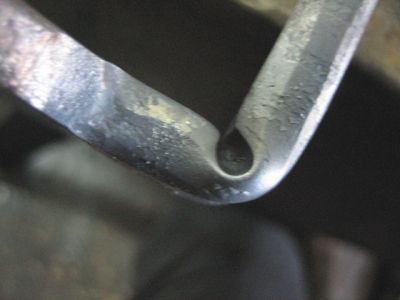
The near view of the bent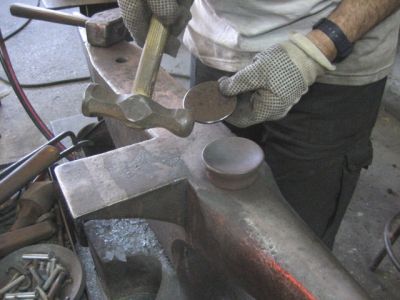

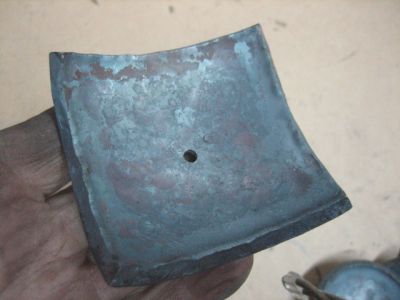
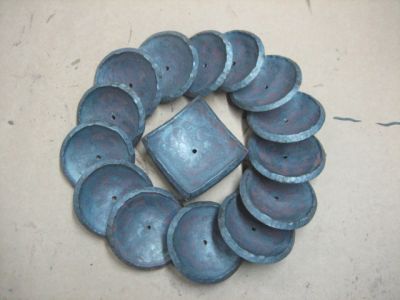
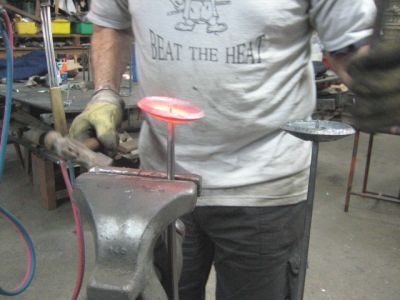
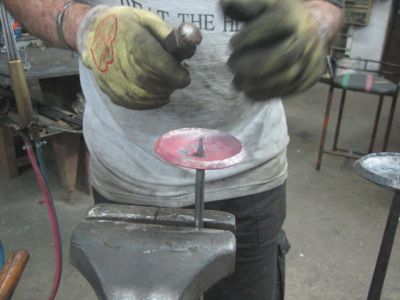
Forging the ''cups'' from round and square punch outs that i get form fabricating com that gives me all the ''punch outs'' they get need. The thickness is 5 mm a bit more then 3/16 inches the OD is 80 mm 2-3/8 inches and the square too. First I upset the circumference all around tilted 30 degrees with a ball pein hammer. That ball peen I forged from a big air hammer chisel and it weighs 2 pounds. The peen is more flat than usual.
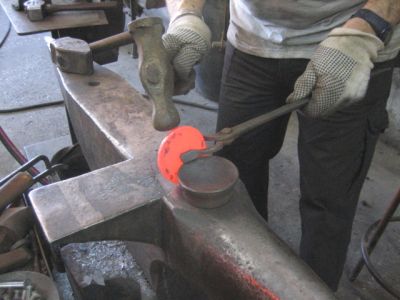
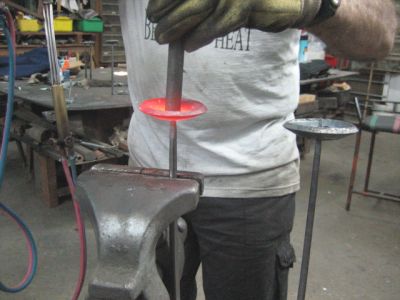
Twice I put the work in the fire to finish the upsetting. 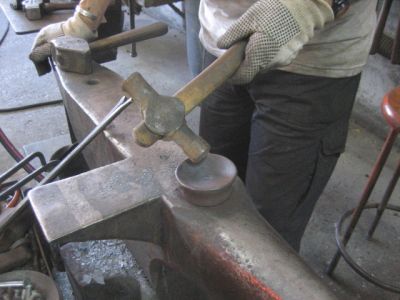
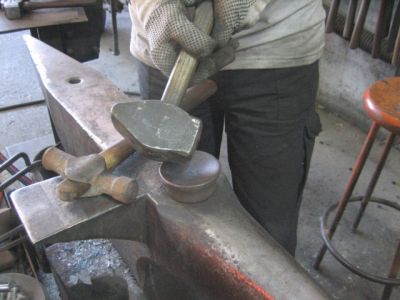


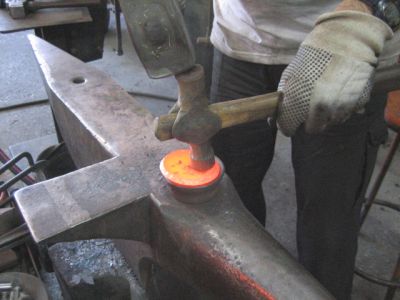
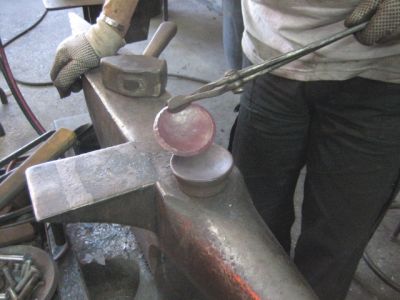
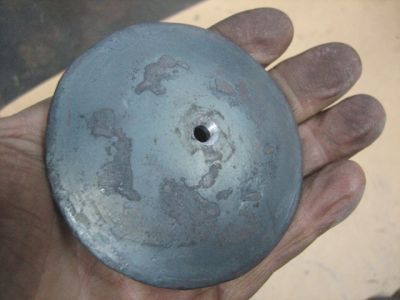
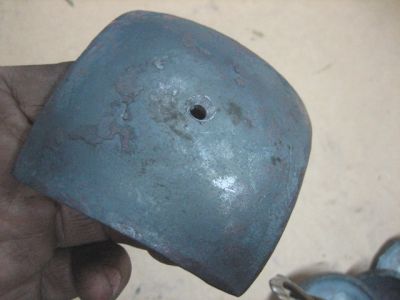
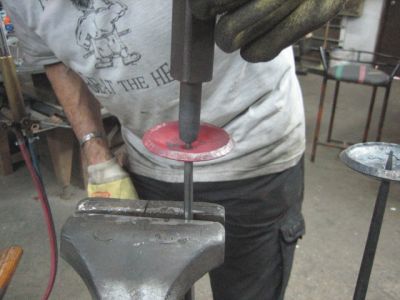
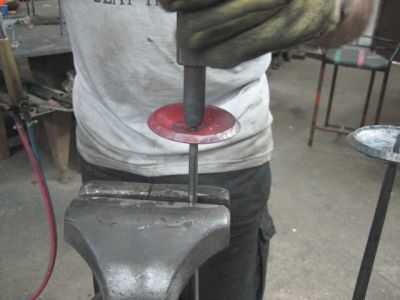
I forge the cup after the upset into the round swage with a rounded fuller and the 5-1/2 pound hammer and drill 4.5 mm hole and deburr. From the other side to half of the steel thickness
The next process is all ready explained in the Blueprint BP1019. With the tooling dimension and the system. I will only show the photos of the process again concerning this ''candle holder''. 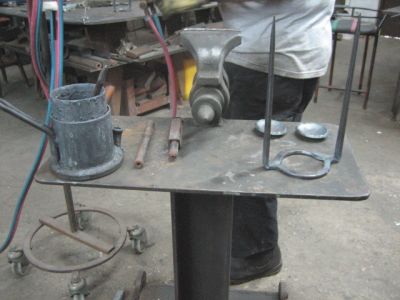

Thank you for your attention.
Hofi
Recommended Comments
There are no comments to display.
Join the conversation
You can post now and register later. If you have an account, sign in now to post with your account.