


IForgeIron Blueprints
Copyright 2002 - 2007 IFORGEIRON, All rights reserved.
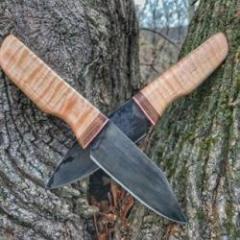
BP1004 Hofi Woop Tongs
by Uri Hofi
The name "WOOP" Tongs started when I demonstrated for the BAM at the meeting of 1998. I forged this type of tongs and the people could not understand to the last operation of the form how it works. Then when I made the last twist, I said ''WOOP WOOP" and instantly they were named "WOOP" tongs.

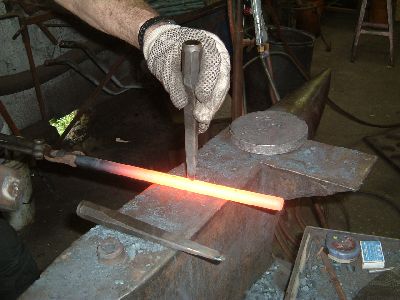
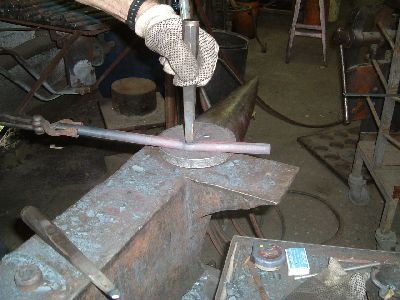
Chisel/punch the hole
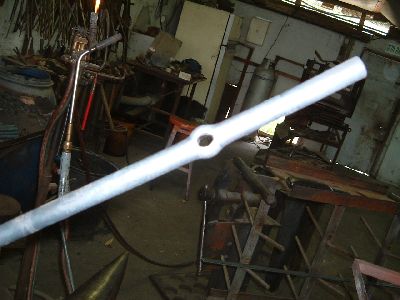
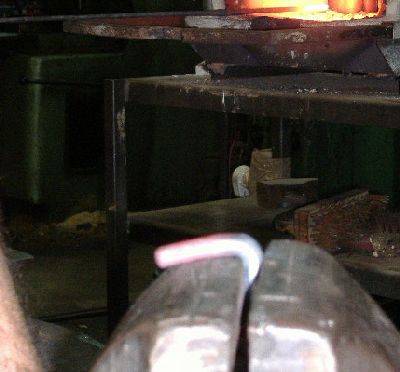
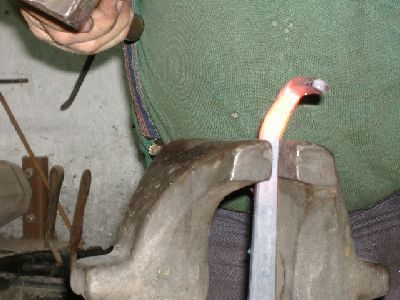
Cut the steel to length (in this case 5/8 x14" to hold 2"square bar. Steel is 1045.) flatten a bit with the air hammer (after when chiseling the steel will not rotate) mark with a squared center punch (you can see the mark when the steel glares see also the system of marking (for 30 pairs of tongs x 2=60 pc).
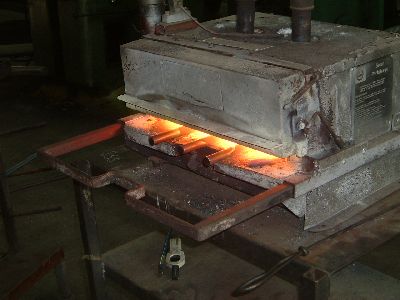
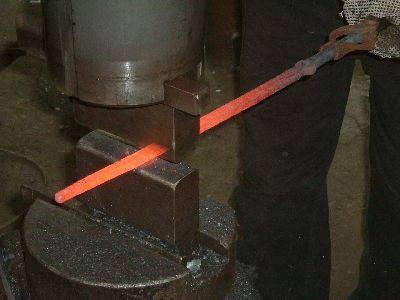
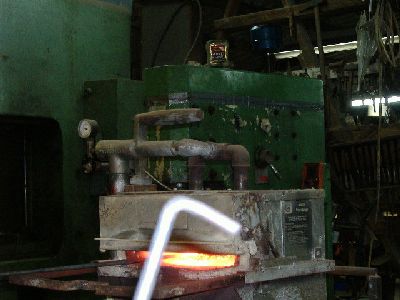
The gas forge, there are always 3 pc in the forge - one comes out - one goes in = progressive entry.
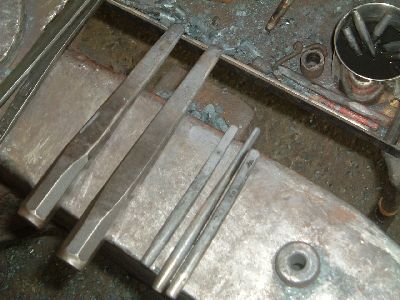
2 chisels and 6 drifts
The tools:
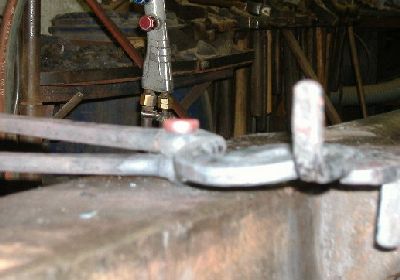
I never cool one chisel in water because if you cool only one chisel, it becomes brittle and brakes some times. To save time, I heat the stock and then punch the hole in one heat. I do not loose time for the cooling the chisel. The 6 drifts are allowed to fall into the cooling water below the prichel hole. From there they are put into the anti seize coolant and we continue the process.
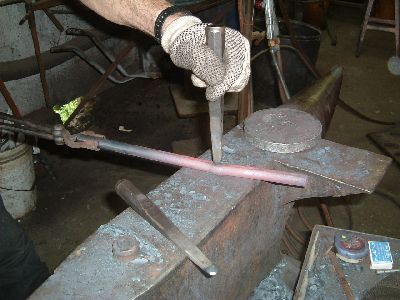
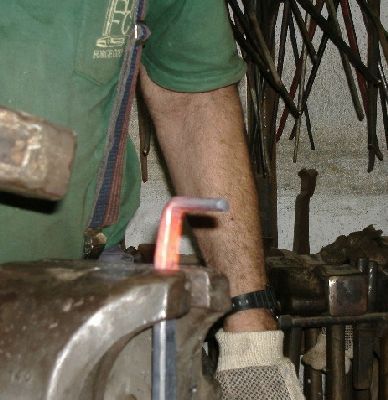
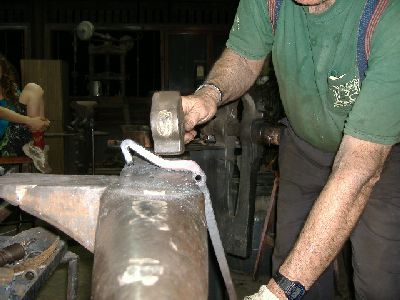
Chisel from two sides and finish on the aluminum.
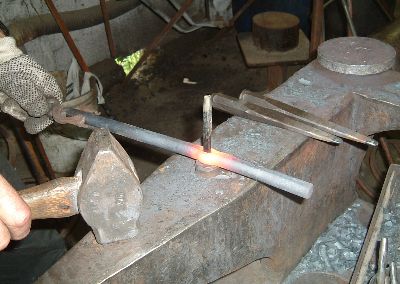

Drifting from two sides.
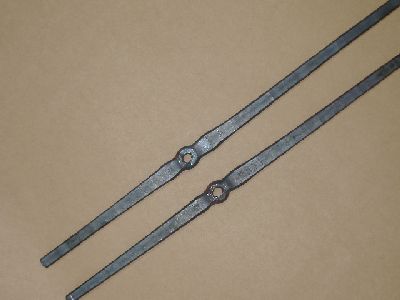
The eye.
For # 2" it is 4" For # 1 1/2" it is 31/2" For # 1" the steel is 9/16" OD and the distance is 3"
The distance from the Center Punch to the end of Tongs is
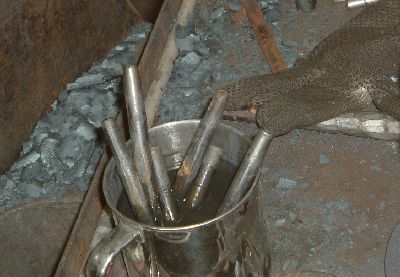
The anti-seize system. After I take them out of the water I put them into this cup.
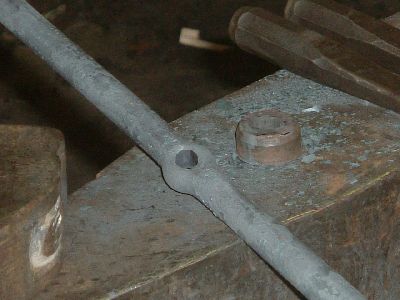
The eye with the prichel hole rosette (adaptor) to bring the hole to the same OD of the drift. The prichel hole is 3/4" diameter and this adaptor redeces the diameter to 3/8" so there is no distortion of the eye.

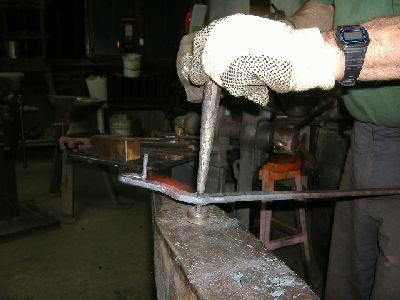
Forging the reins and the side of the the jaws. 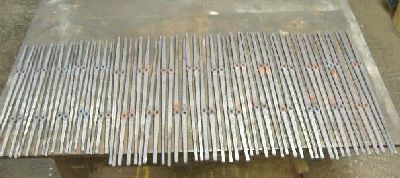
Forge all the 60 pieces both sides to the correct same length (17.5" and 7"). The eye place must be always thicker than the reins and the other side, then when we rivet the two parts they touch one another only in the riveting area.
The air hammer dies are 1 5/8" wide grinded according to the Hofi air hammer forging system (will come some times in the future BP) by this we can forge faster create and maintain the heat for a longer time and again finish the forging of the rain in one heat.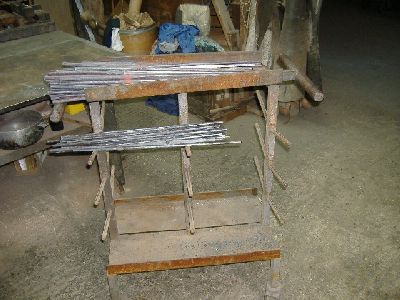
The trolley which moves the finished parts from one station to the other.
Now that the basic form is ready we can start and forge the jaws step by step. 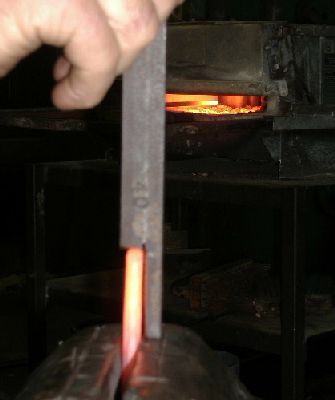
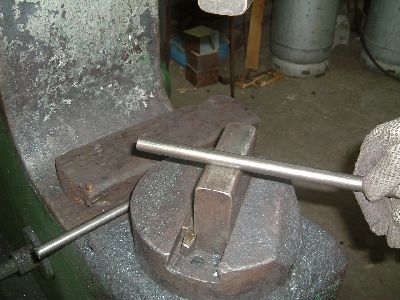
We stick the end of the measurement bar on the flat of the stock in the vice and measure 1 5/8" with the measurement bar. 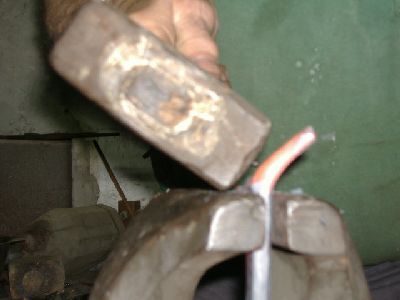
Hammer to the vice to 90 degrees.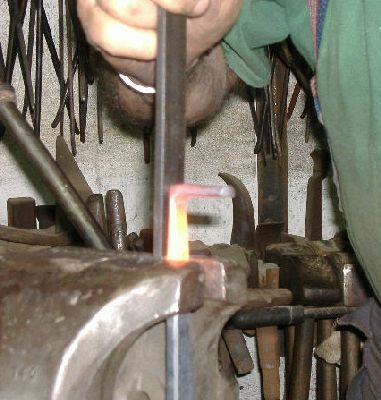
Turn clock wise 1/4 turn, measure to the measurement bar for 1-5/8" again and hammer towards you to 90 degrees again.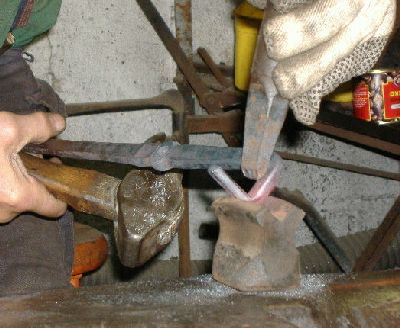
Put on the v swage and with a v fuller correct the corner to be a nice 90 degrees corner.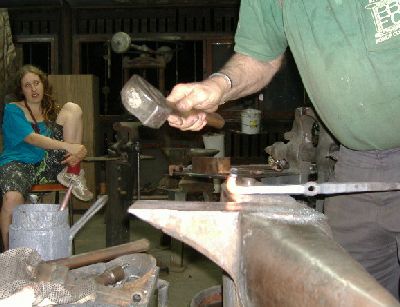
Lean on the other side of the anvil and hammer the metal towards you creating 30 degrees angle. 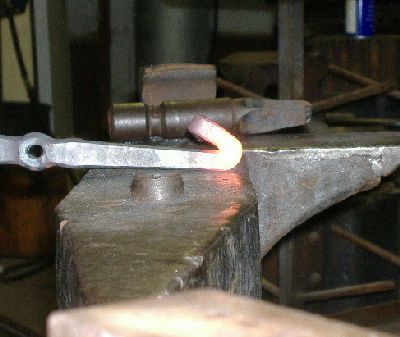
The finished form to be flatted on the anvil.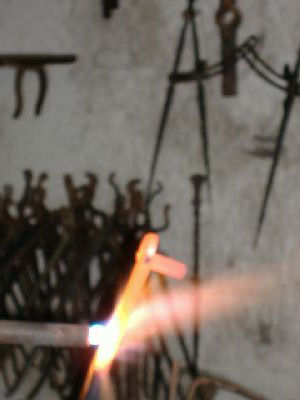
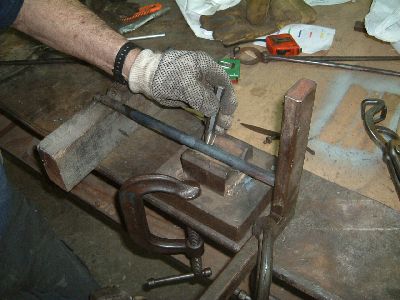
Heat up with the rosebud (many times I use the rosebud to get a higher heat in a certain point and faster).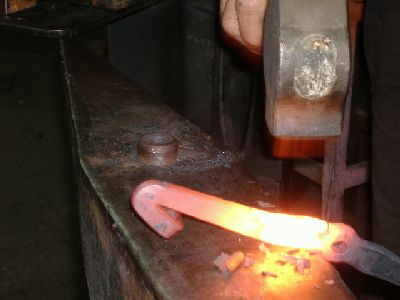
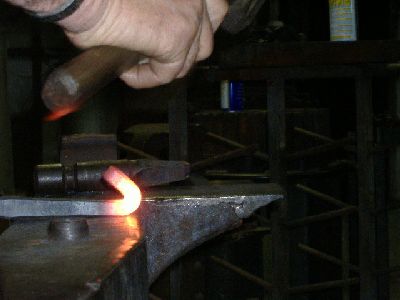
Lean on the near edge of the anvil on a sharp corner near the eye. Hammer down to the anvil when the managing hand is moving slowly down until the hand touches the anvil. 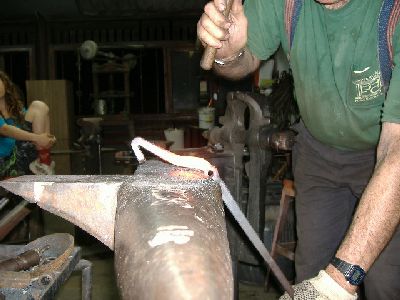
Correcting the eye with the punch to renew and prepare the eye for the rivet.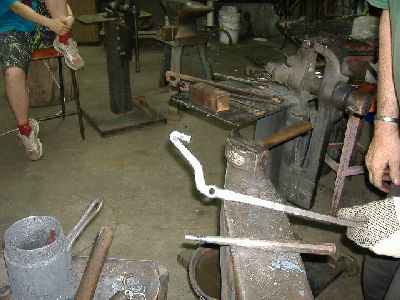
The final form.
Now we are forging the last form before riveting. 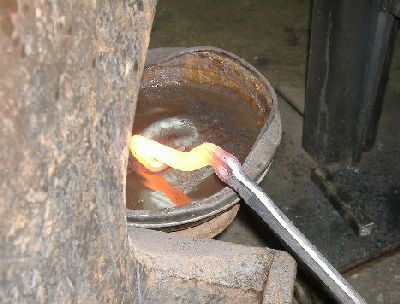
Long heat hotter near the eye. Cool the end in water just the far end. This is the water under the prichel hole that the drifts fall into when being used.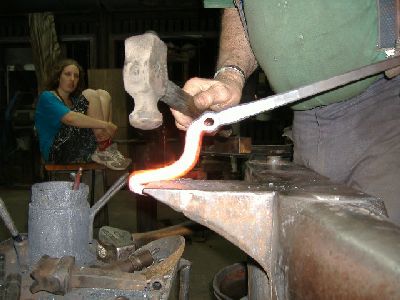
Catch the anvil stage with the end angle that we forged before, and with the rounding hammer we create a horseshoe like form with raising the managing hand up. With a London pattern you can not do this. You will have to make a tool to put into the hardie hole to work with. 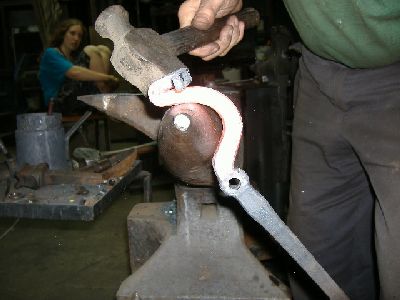
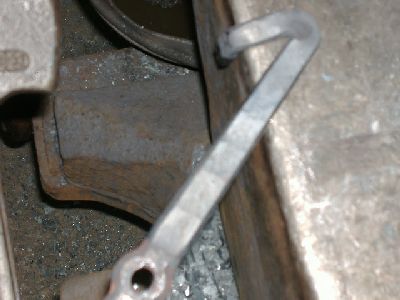
Finish the horseshoe form on the end of the round beak of the anvil.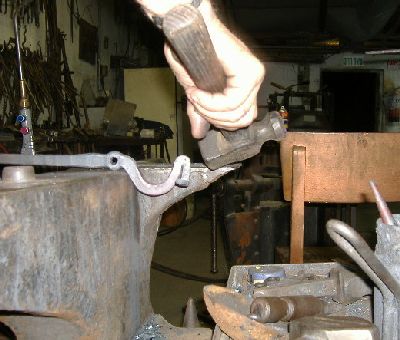
The last touch.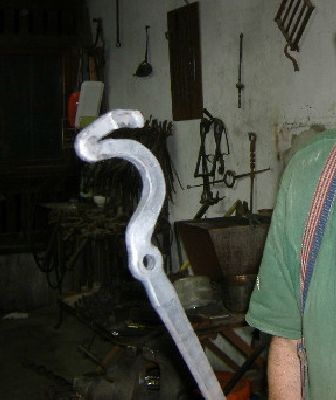
The finished form. 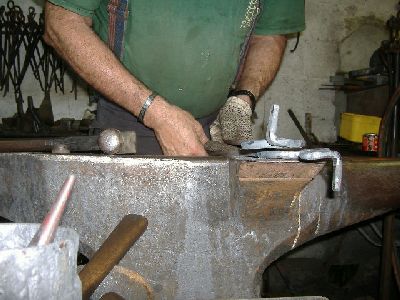
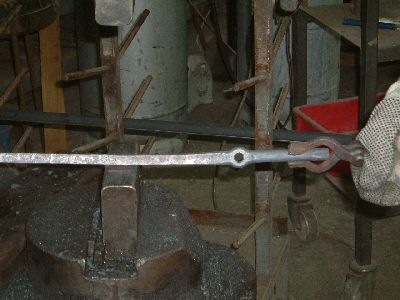
Put one on the other to check. There is no left and right side, both are identical when they are made. 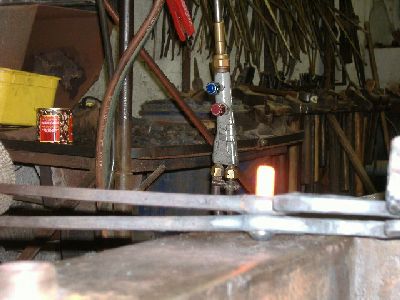
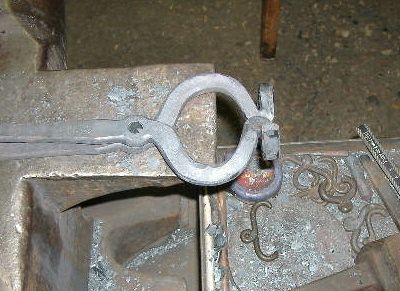
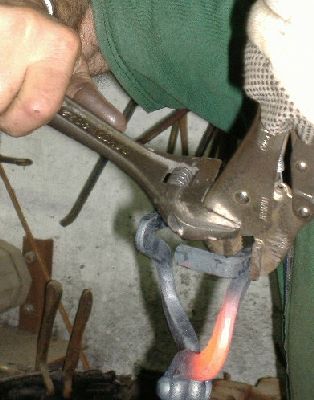
Riveting.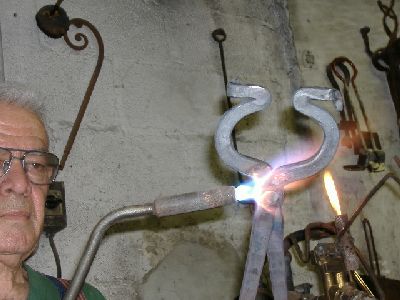
Heat the joint with the rosebud to release the rivet.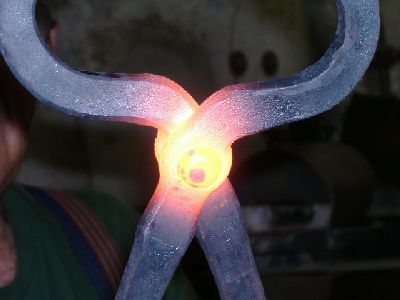 Â
Rivet released.
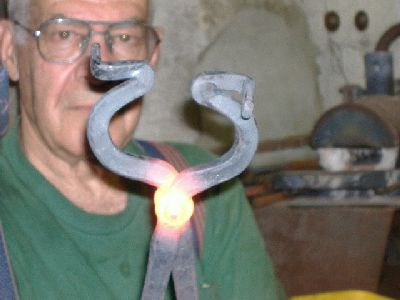
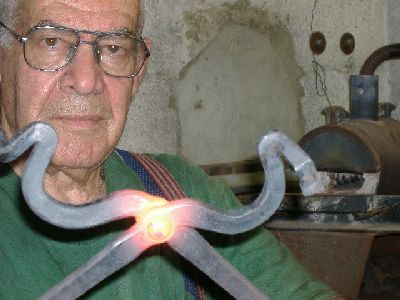
Now the tongs are riveted but not symmetric.
We have to bring them to a symmetric position by bending and twisting.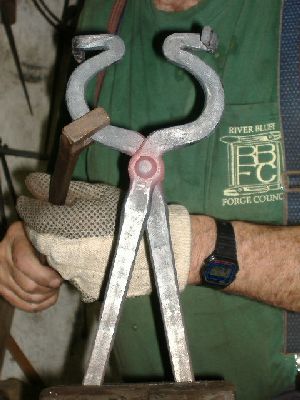
We lock them in the vice when the joint rivet is hot and with that we align the reins. 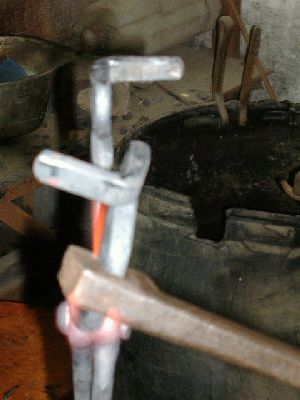
With the bending tool we bend them to be in line. 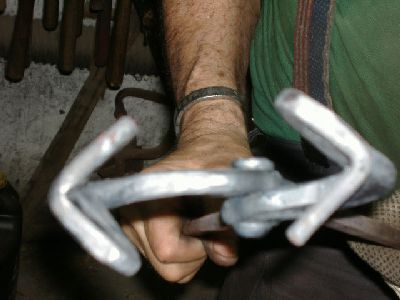 Â
Â
Now we have to twist jaws of the tongs to the right 90 degrees and make them symmetric. To do it we use the vise grip and the adjustable spanner, the first to grip the other to twist. 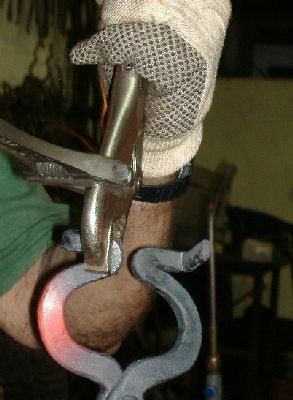
This is where I say "WOOP WOOP" 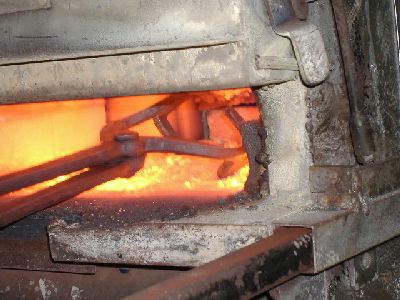
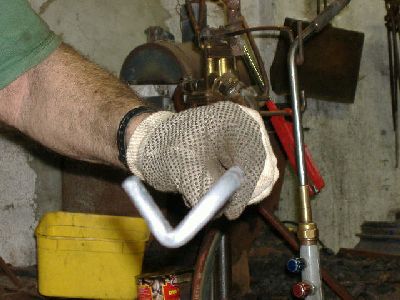
Now we have to adjust the final fit to hold 2" square steel, for this we will put the tongs in the gas forge. The 2"steel is held with the hot tongs. 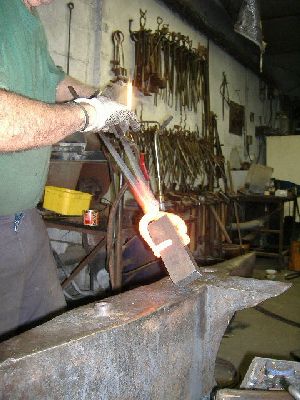
Hammer to fit to the anvil. 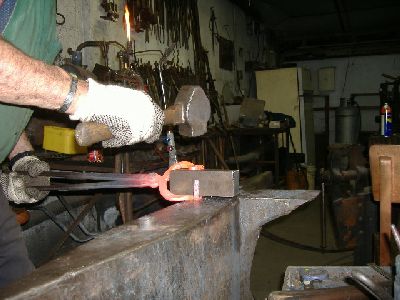
The fit is finished. 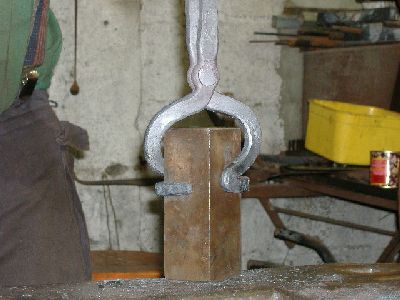
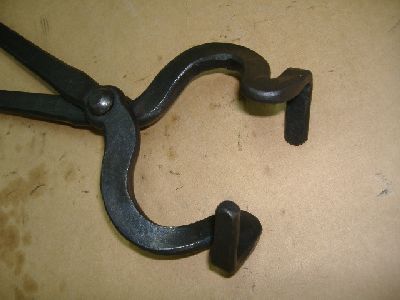
Finished tongs. 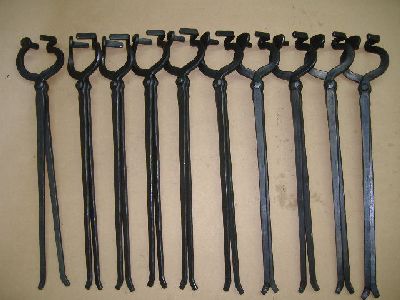
10 pairs of a size. 
30 pairs of 3 different sizes.
The tongs will hold: 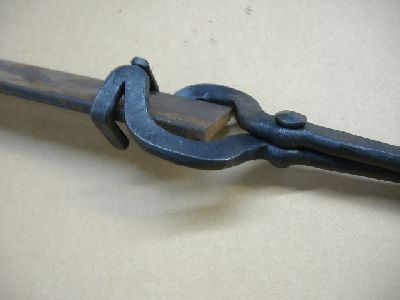
flat steel 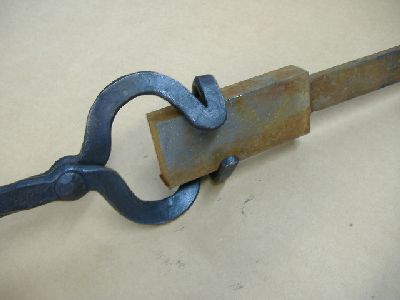
thick flat 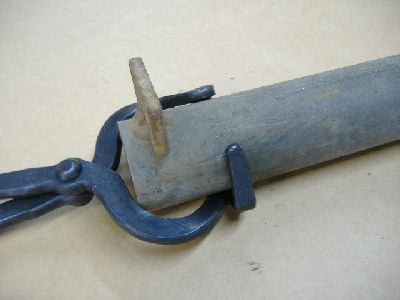
2'' pipe with a piece welded, 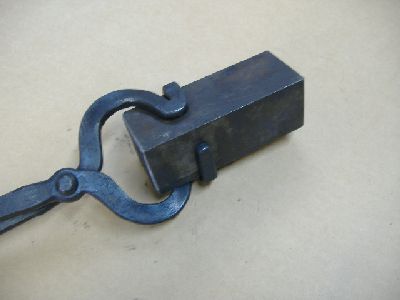
2''square, 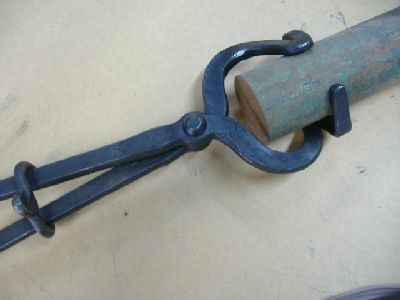
2'' round, 
Many od materials that no other tongs will hold!!!!!!!!
" THE MORE A TOOL CAN DO, THE BETTER TOOL IT IS. "
The final photo is dedicated to all the tools that participated in the party (project). To me the making of these tongs was a party. 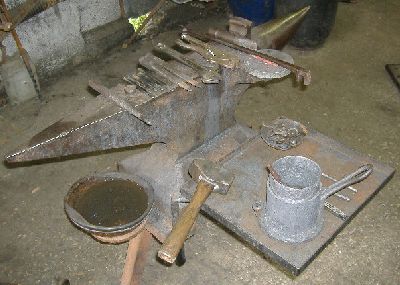
The anvil on three legs with a tray that moves on a shaft to accommodate the tools needed for the project can of ez-lub, a bowl of water for the drift to fall in to cool through the prichel hole.
On the anvil all the tools:
the v swage
the v fuller
the bending tool
vice grip
adjustable spanner
2 chisels
6 drifts
the adaptor in the OD (outside diameter) size of the drift
and last and not least the hammer
All the 30 per of tongs where forged in 35 hours .
I hope that the long journey of this Blueprint is understood and clear, thank you for the attention.
Hofi
Recommended Comments
Please sign in to comment
You will be able to leave a comment after signing in
Sign In Now