will52100
-
Posts
351 -
Joined
-
Last visited
Recent Profile Visitors
5,823 profile views


-
How much do you pay for coal?
will52100 replied to P. Bedard's topic in Solid Fuels: Coal, Coke, Charcoal, Wood, etc
Any source around south MS? What I've found so far is 0.60 cents a pound delivered. It's decent, but got some large and small, have to bust up some of the larger pieces. -
Brick side draft chimney plans?
will52100 replied to will52100's topic in Chimneys, Hoods, and Stacks
Thanks, I appreciate it. -
Brick side draft chimney plans?
will52100 replied to will52100's topic in Chimneys, Hoods, and Stacks
Thanks, I've ben scouring the internet and think I've got the basic dimensions figured out. As for the support, it'll take the place of a 4x4 post and the roof is just a 2x6 tin covered drop shed. Could possibly get by without the use of a support there, but I like sturdy. -
Brick side draft chimney plans?
will52100 replied to will52100's topic in Chimneys, Hoods, and Stacks
Thanks. I'll look in Blueprints and see if I can find it. I've been looking online and through Youtube, the one decent vid I found referenced using a 12"x12" flue liner, so I was thinking of going with that. Also mentioned a shelf to help make it draw better? Main thing is I don't want to spend all that effort and then have to tear it down and re do it. -
I'm in the process of rearranging my smithy layout to be better ergonomically situated with anvil, forge, and equipment. I'm wanting to move my coal forge to the center of the smithy, it's a drop shed closed on one side with a tin roof. I'm wanting to build a brick forge and chimney, one purpose of the brick chimney will be to replace one of the roof support 4x4's. I've been looking for plans, but so far have come up empty. I need inside dimensions, or what measurements does the inside of a brick side draft need to be? I'm planning on extending the brick through the roof, and then transitioning to a stainless steel stove pipe to get the chimney above the peak of my shop roof. Thanks
-
Like the way you have the forge set up, may have to try that.
-
I was thinking I'd be able to reach critical with the gas forge, maybe, by working it back and forth. Maybe not, will try an experiment with a mild steel bar and see if I can get an even temperature. If I was to do very many I'd either build a dedicated forge or HT oven for this. For a one off I may very well end up digging a trench charcoal forge, hadn't thought of that, thanks.
-
I do have a BBQ, and might go that route, or I was thinking of putting a pipe in the gas forge and heating it up to act as an oven. The other option that got me to thinking was putting say 3 toaster ovens in line with holes in the ends and doing it that way. I'll likely go with 5160 since I have it on hand. I'd love to do one in damascus, but think I'll stick to a mono steel to start with and get the basics first.
-
Been a blade smith for over 15 years or so, and have yet to make a sword. I'm thinking of trying a Roman Gladius for the first attempt. I've done a few largish brush blades out of leaf springs, but nothing quite as long or refined as a sword. My concern is heat treat. For most knives I stick with 52100 or 1084/15&20 damascus, on occasion wire rope damascus, and sometimes 5160. I'm thinking that since I don't have a large enough heat treat oven for a sword length blade I would use 1075 for the blade and do the old temper color method of tempering. My reasoning on the 1075 is that it would be more forgiving than the other steels I use. A possibility is 5160, but not sure which would be easiest to get rite. Thoughts? Thanks
-
Recommend stock size for wrapped eye tomahawk?
will52100 replied to Goods's topic in Axes, Hatchets, Hawks, Choppers, etc
I generally use 1 1/4" x 1/4" x 12" 1018 for most of my hawks. -
Thanks, I'm leaning toward H13. If I can find the time that is.
-
I've mostly made punches and drifts from 4140, 5160, a couple from 52100, and some from coil springs and sucker rods. A buddy is wanting me to make him a Brazil style hammer eye punch, and I got to thinking about using H13 for durability. Then I ran up on Brent Bailey taking about Atlantic 33. Anybody used it before? Thoughts? Thanks
-
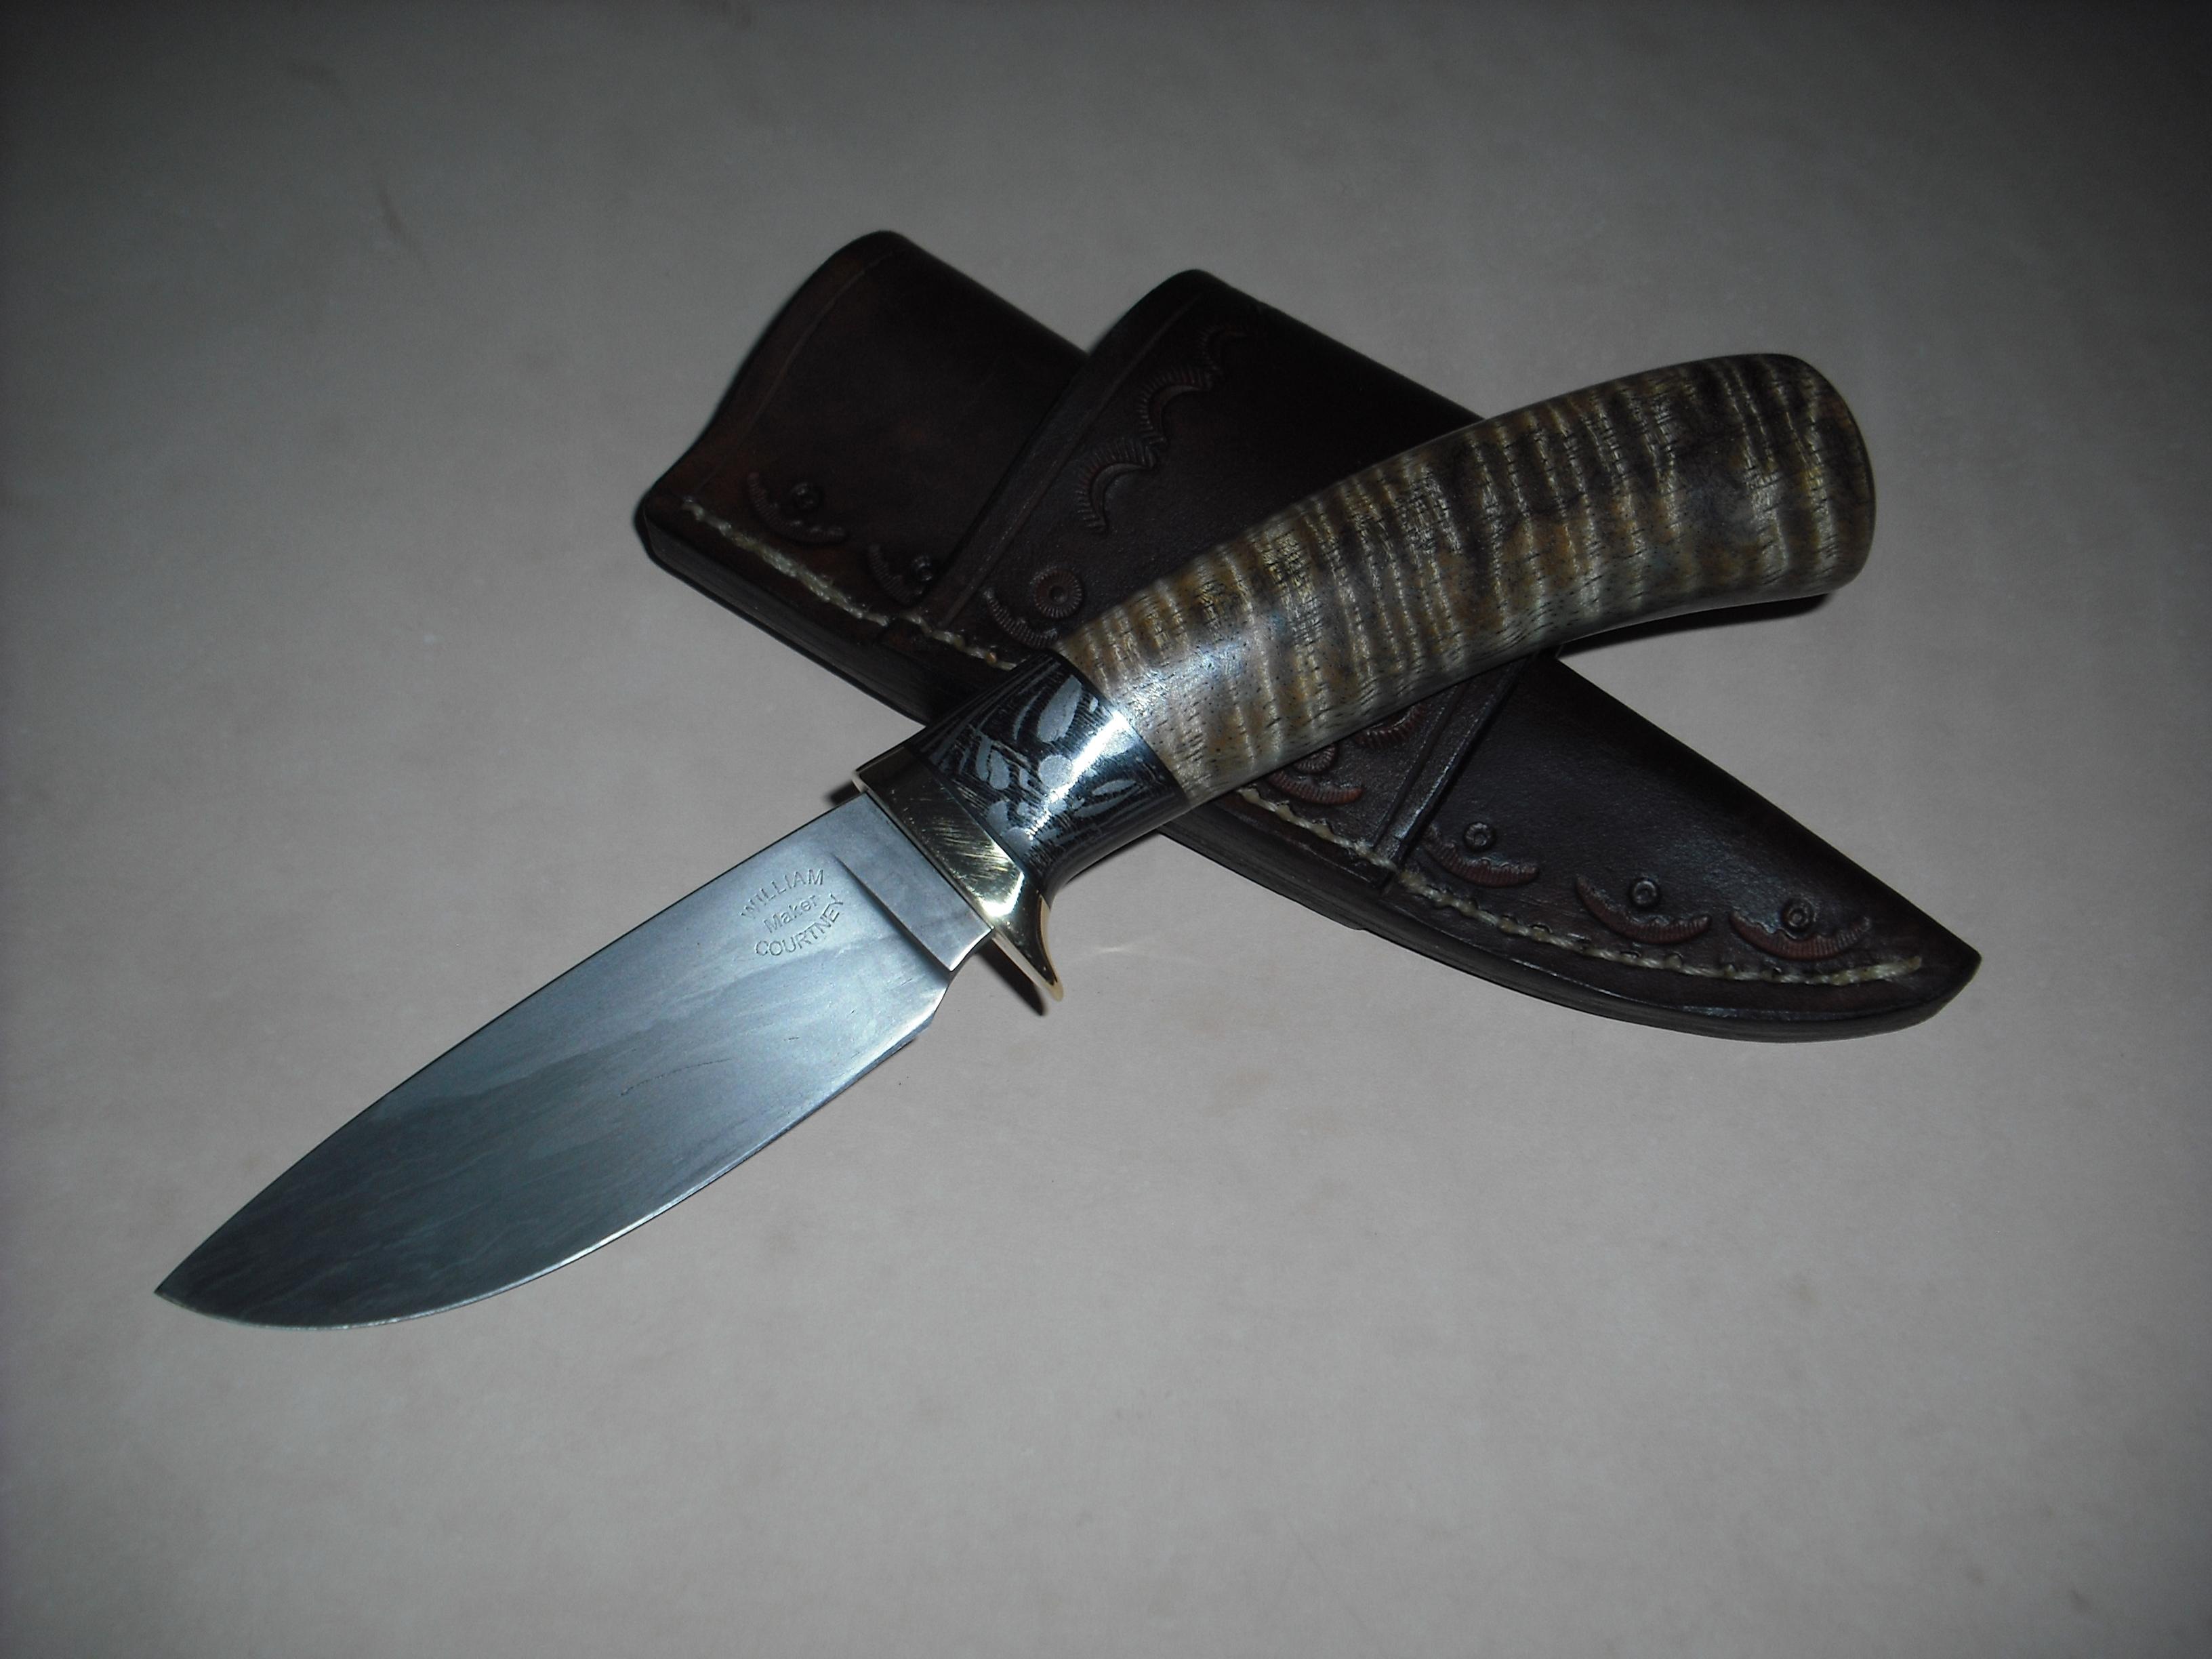
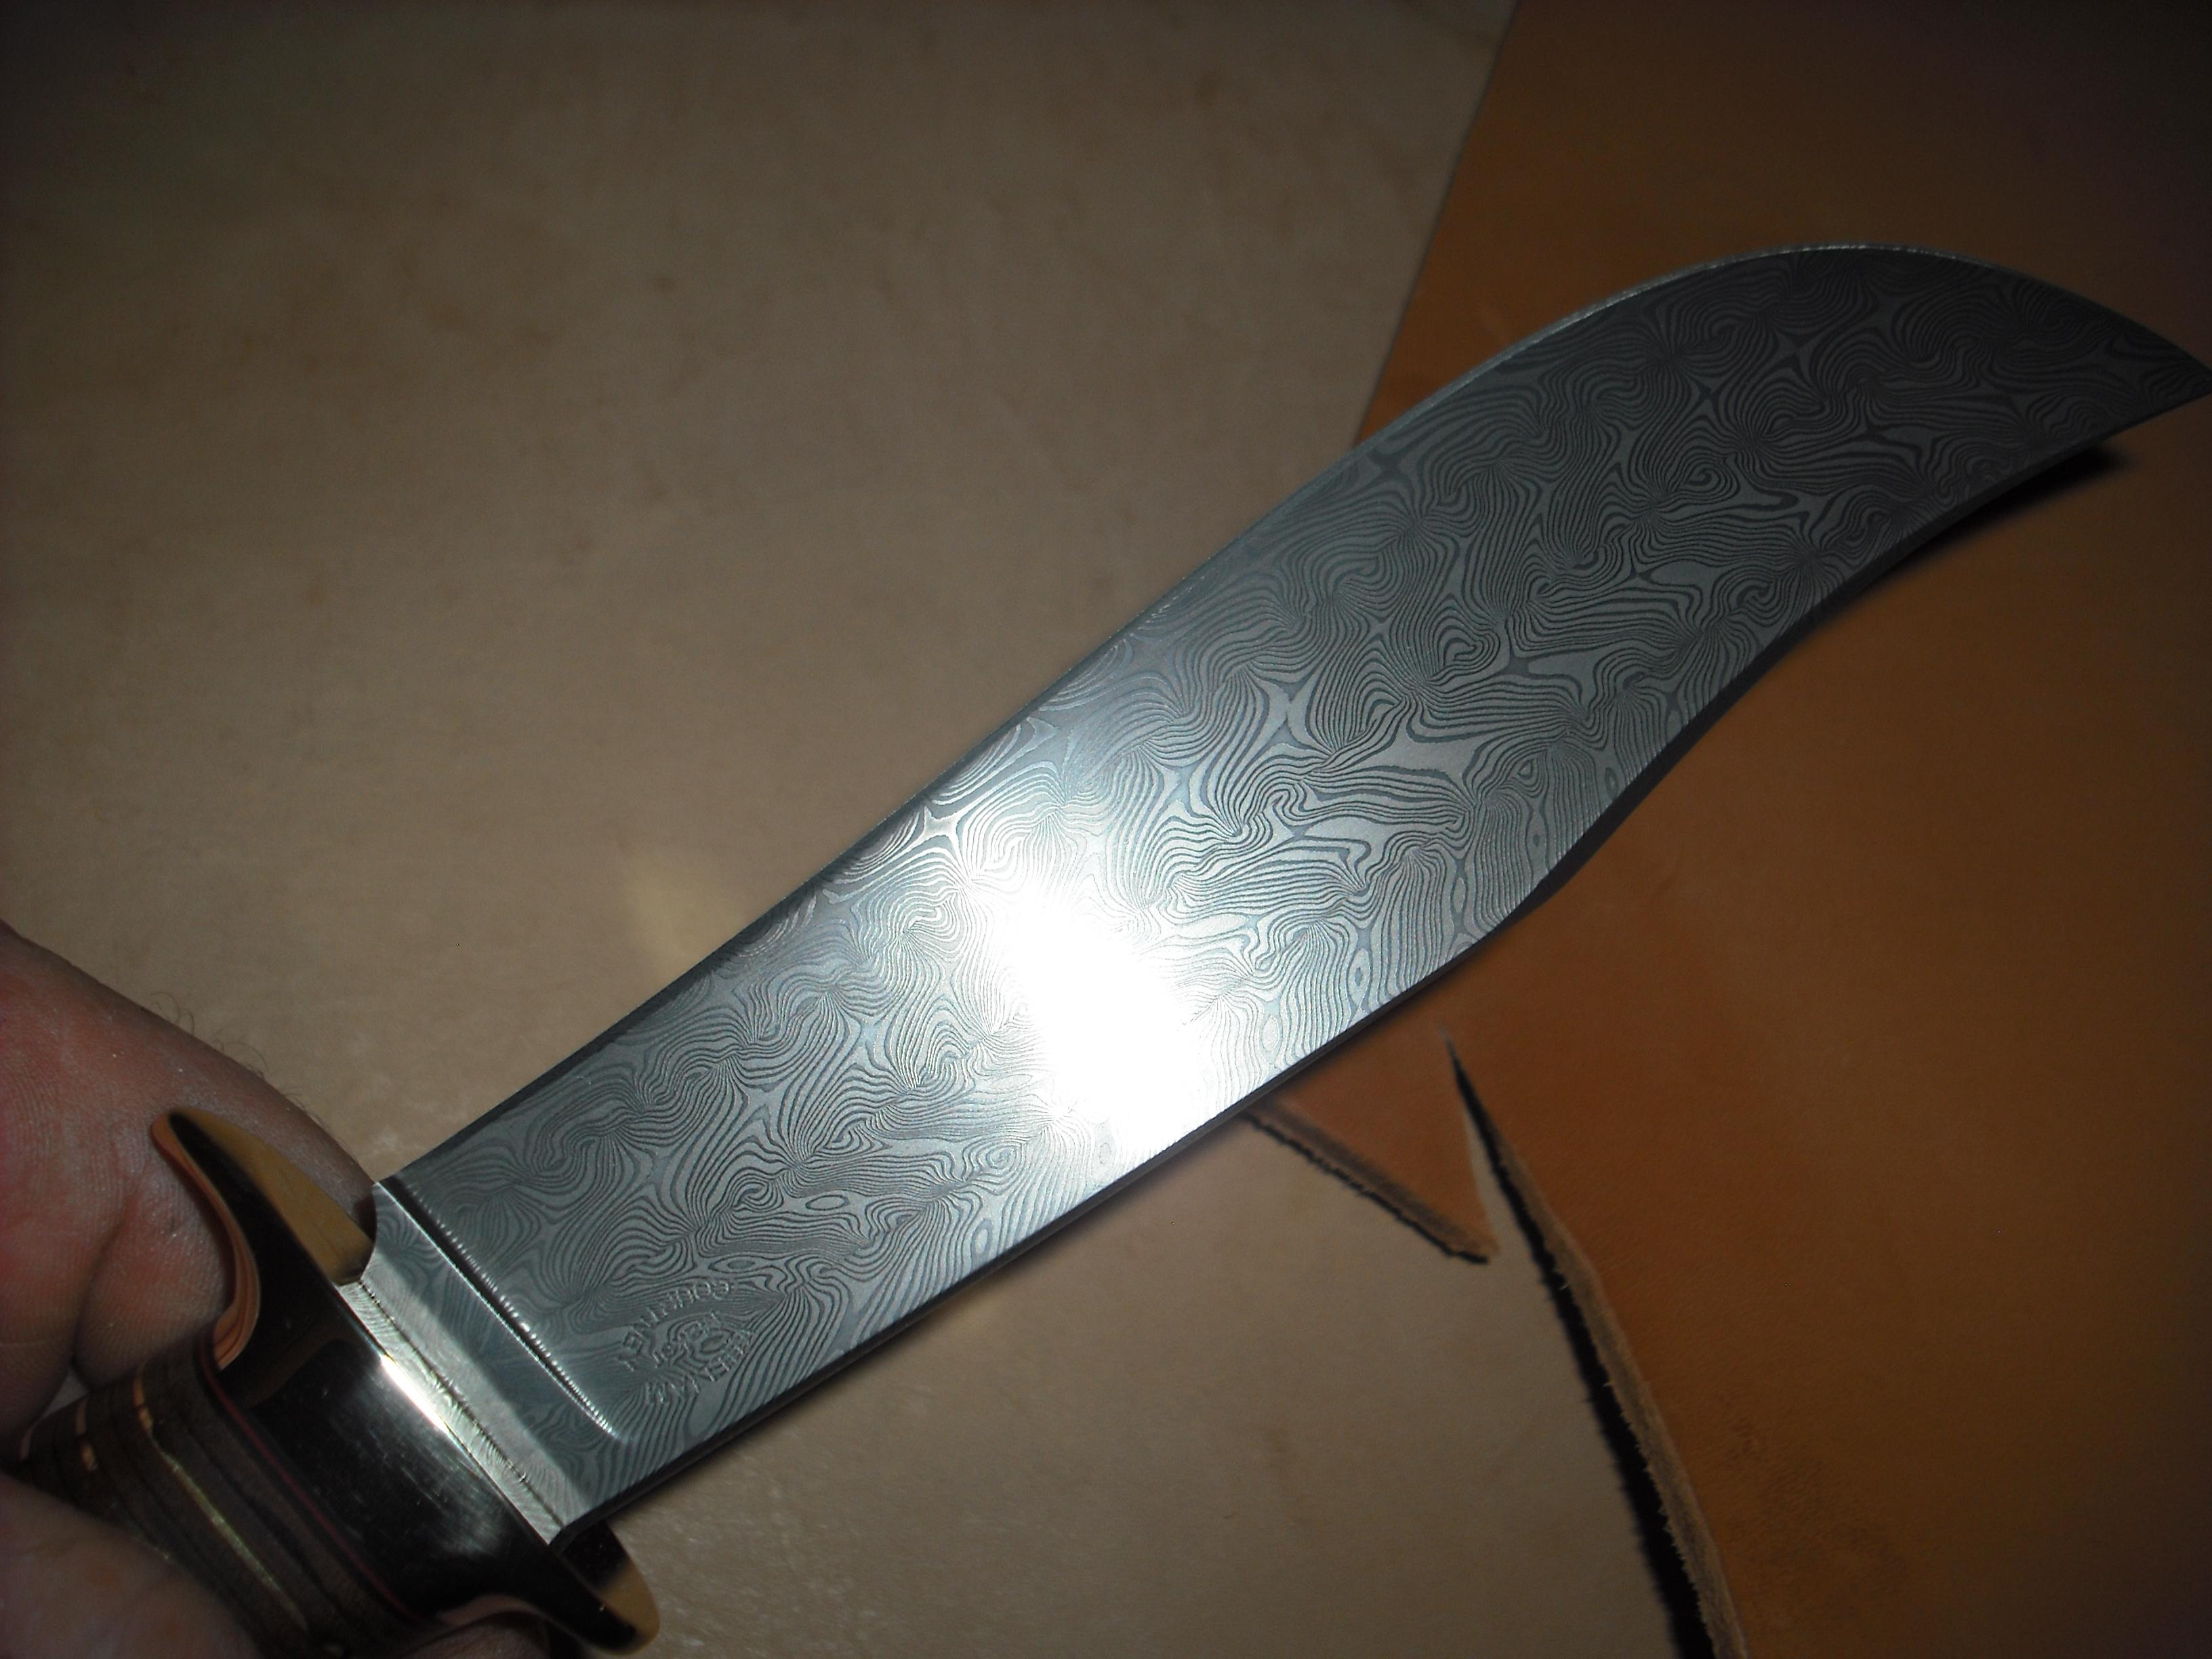
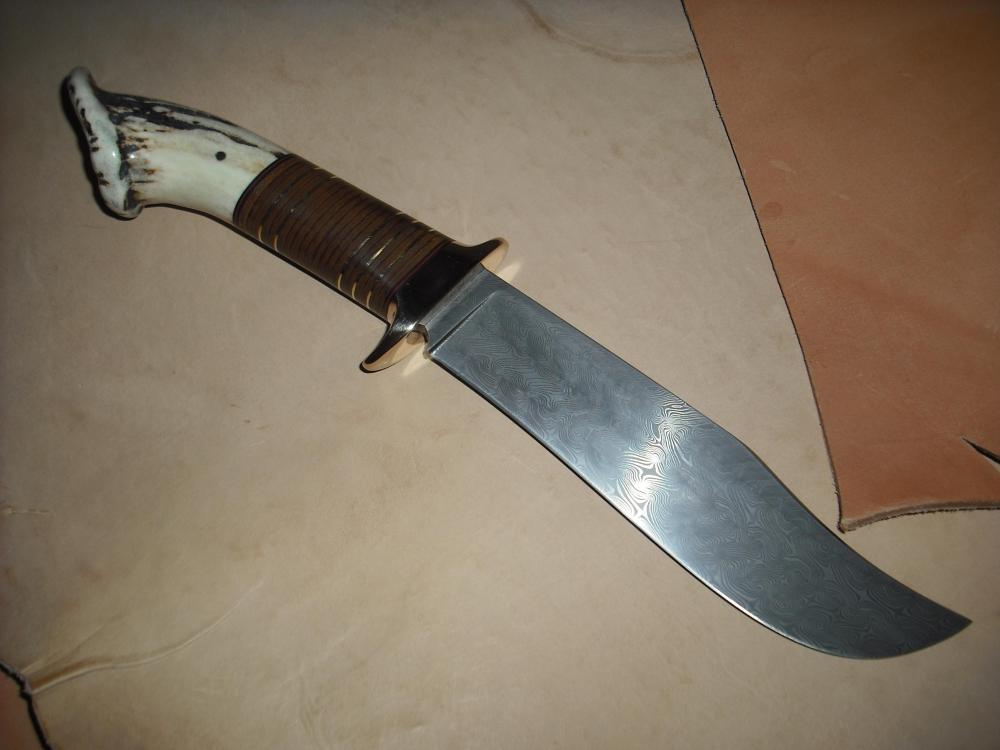
Small utility/hunter out of wire rope, stabilized Sheoak and Hawaiian Koi, brass guard, 3 3/4" blade, my new EDC. Second is a custom order I'm still working on the sheath on, 7" blade, Turkish twist pattern, bronze guard and stacked leather and sambar crown. Rather pleased with this one, it fought me every step of the way, second blade, second handle and guard.


-
Love your work, looks great.
-
I went through the same thing. I did roll the eye around a rod and drifted it to size and then normalized a couple of times. Frankly, that was over kill. If you use it and pay attention to the flex, it really isn't that much flex going on. Mild steel would probably work just fine for a little while. The hardest part of the build for me was getting the head lined up straight and square with the anvil. Took several tack it in place, back up and look at it, ect. to get everything rite. I thought I'd only use it once in a while since I've got a press and a hammer, but it's like having an extra set of hands in the shop.