Walnut Square Iron
-
Posts
47 -
Joined
-
Last visited

-
uncommon/rare Hay-Budden
Walnut Square Iron replied to RHarrison's topic in Anvils, Swage Blocks, and Mandrels
I have the same one. 201 lbs. I believe Frosty called it the lady with the surprised look. I have torch marks too. It is a great anvil.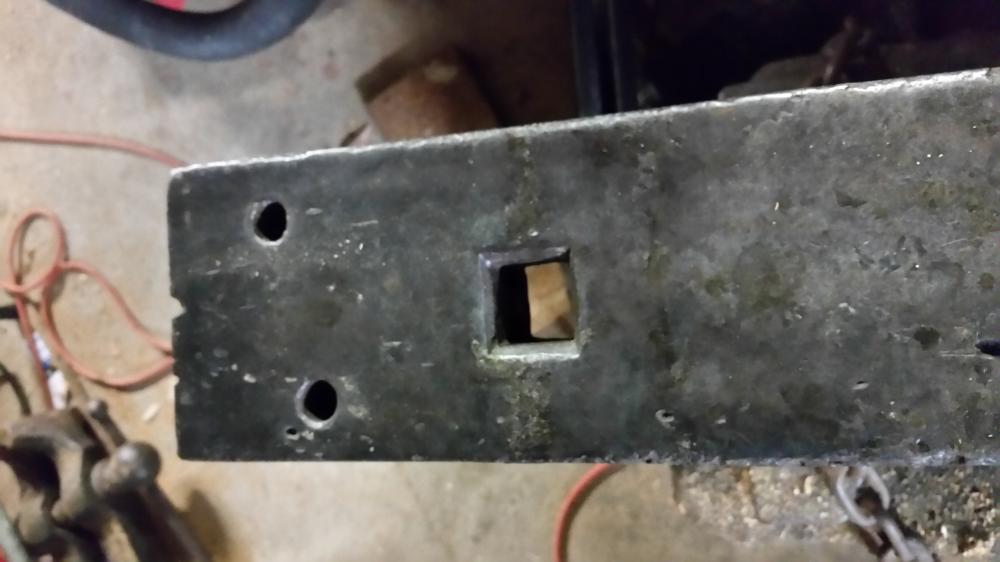

-
 I do also. A stand alone cob oven. I need to make some hooks to hold the rooker and I need a scuffle for bread making. I want to make a forged 3 legged trivet to keep dishes an inch or two off the hot firebricks. It would hold pies and lasagna pans up a little. Rooker is an old bakers term for rake.
 -
Ken, Nice rooker. Do you have an outdoor pizza oven?
-
Columbian D44- unable to tighten vise body to base.
Walnut Square Iron replied to Walnut Square Iron's topic in Vises
Stephen, the sheet metal crossed my mind. I ended up cutting/filing into the head as a temporary fix. Thanks navasky for the confirmation. Thanks everyone for the replies. -
Columbian D44- unable to tighten vise body to base.
Walnut Square Iron replied to Walnut Square Iron's topic in Vises
Makes sense that maybe this is not the original bolt. The threads on this one go right up to the underside of the head. I think I will file into the underside of the bolt to make new shoulders and see if it helps. -
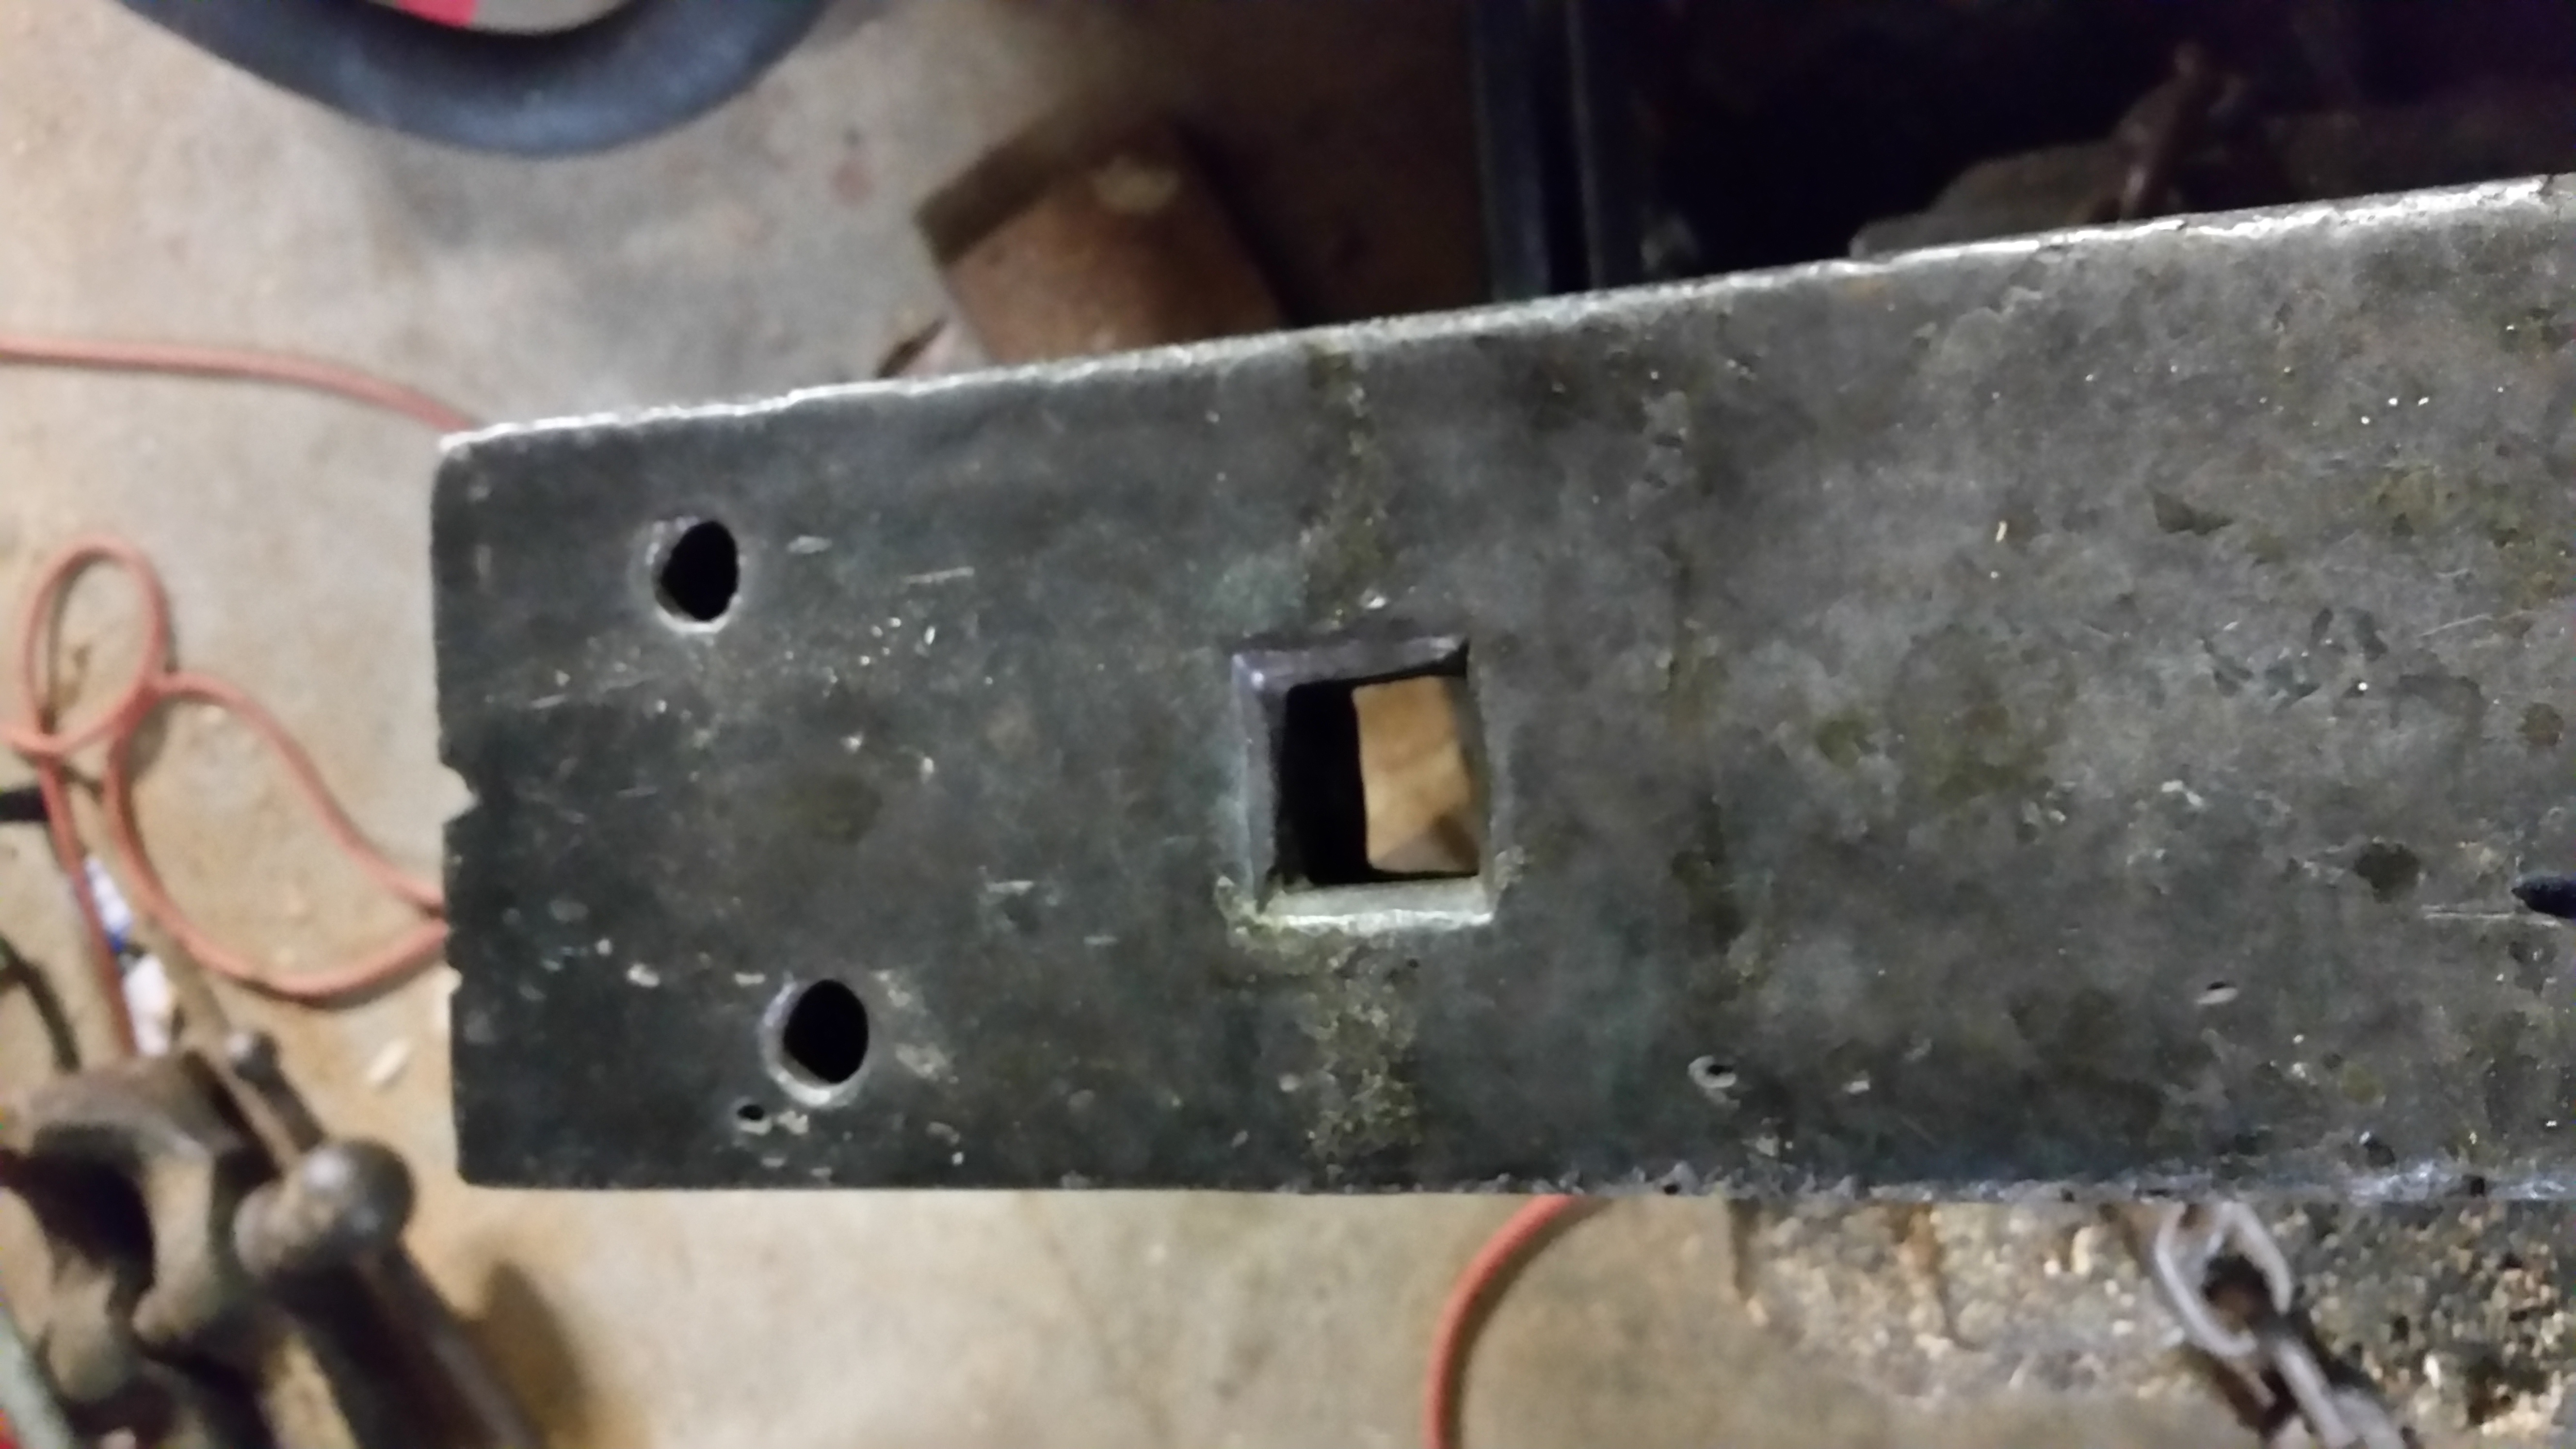
I have a Columbian D44 that was my grandfathers. I have used it for several years now but I am noticing that I can't lock the base like I used to. In this picture, the bolt is unable to spin at this part of the channel, so tightening it is not a problem. Further along, the bolt spins. At the other end of the channel, it spins freely. View of the bolt. I am wondering if this is the original or was it replaced at some point? It would seem that the bolt should have a smaller square under the head to fit nicely in the channel. The corners of the bolt have very little wear to them, otherwise I would just replace it. I was wondering if the underside of the bolt head had some sort of knurl or groves to help it catch better to prevent spinning. Maybe I have a washer missing? This one has me stumped. I appreciate any help.
-
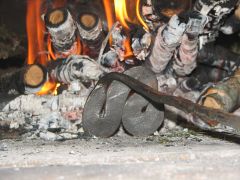
Switching from coal to charcoal
Walnut Square Iron replied to Nick's topic in Solid Fuels: Coal, Coke, Charcoal, Wood, etc
I have worked with charcoal, bituminous and anthracite. I use charcoal for start up or for forge welding as I feel it burns the hottest. The sparks that jump have burned into my skin on occassion. I use anthracite mostly to be a good neighbor for smoke reasons. Do any hardware/feed and grain stores carry anthracite stove coal? The ones around here have it in stove, nut and I think rice size. How about stove shops that sell coal stoves as a possible source or can direct you to one? -
How I forged a new spring for my leg vise
Walnut Square Iron replied to Timothy Miller's topic in Vises
Good post. I pinched my hand a few weeks ago since mine does not have a spring. This may be the kick in the pants to get one done. -
A redo of a Galileo Thermometer
Walnut Square Iron replied to Walnut Square Iron's topic in Member Projects
Thanks Frosty. I am always looking for items to repurpose to the style I like. -
A redo of a Galileo Thermometer
Walnut Square Iron replied to Walnut Square Iron's topic in Member Projects
Thanks all. I got the idea from a door knocker at Plimoth Plantation. -
I saw this door knocker at Plimoth Plantation in Plymouth, Ma. I put the basic shape into a recent project.
-
A redo of a Galileo Thermometer
Walnut Square Iron replied to Walnut Square Iron's topic in Member Projects
Thanks Vaughn. The other change would have been to use a longer piece of stock so the legs on each side could have gone all the way to the bottom of the lower block and wrapped under it for more security. The screws have polyurethane glue in the holes to keep 'em tight. -
I am kind of new here and this is my first contribution of a small project. The thermometer was a gift from my in-laws, but they knew that I would not like the original base. It is a bit tippy and cats or kids will eventually knock it over. I took a piece of driftwood and cut it in half and used a forstner bit to make the hole that holds the foam pads to secure the glass tube. I used a piece of 1/4" square stock about 36" long. I had a post going the other day about symmetry and this is the result. The ends met up well, just the twist was off. I would have liked the top where it hooks not as wide, but it am happy with it. Original thermometer. Cored out block with foam pad. Made a top one also. I ended up flattening the ends and doing opposite twists while it was still straight. The twists ended up being a 1/4" off from the opposite side. It was good practice though. I bent the rod in the middle and made a bell shape bend to hang it on the hook. I secured the bottom block first and then the top. I made a simple scroll end hook to hang it on. It will end up in the house, up high and away from danger of being tipped over.
-
Marking metal for symmetry?
Walnut Square Iron replied to Walnut Square Iron's topic in Blacksmithing, General Discussion
I did not even think of the direction of the twists. Towards or away from each other will look great. Thanks -
Marking metal for symmetry?
Walnut Square Iron replied to Walnut Square Iron's topic in Blacksmithing, General Discussion
Good idea. I may heat with a torch in the post vise for the twists and do the rest of the work in the forge.