Jonah k
-
Posts
119 -
Joined
-
Last visited
Content Type
Profiles
Forums
Articles
Gallery
Downloads
Events
Everything posted by Jonah k
-
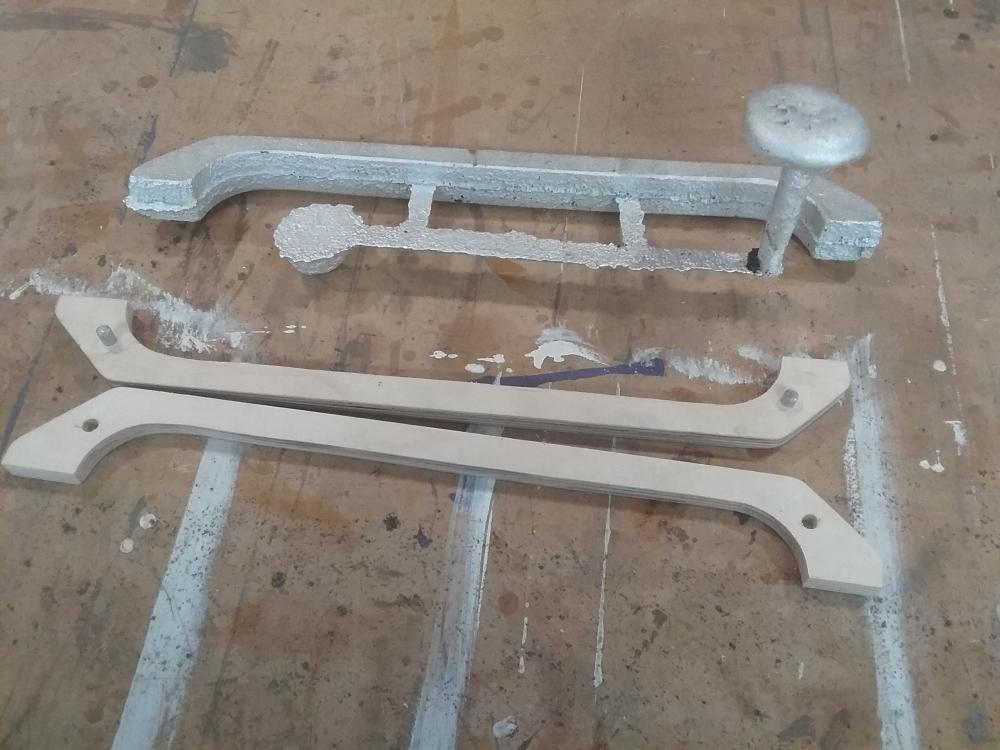
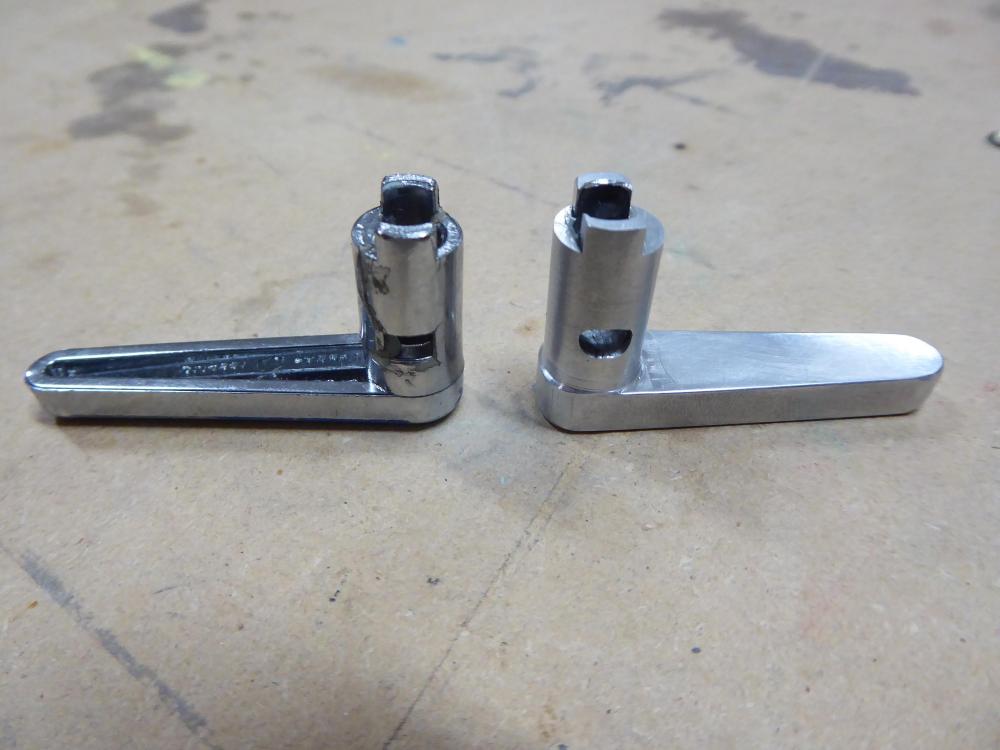
FINALLY cast my first project today. This is a new handle to replace the broken one on my wife's grooming dryer, this one shouldn't break. Casting went well for my first time and I learned a lot. Need more draft on my model part so the sand does not tear up when I remove it for example. The greensand was more work to prepare than I anticipated and I read you should do 70/30 sand to bentonite mix and i found that was way too much bentonite. Also I need to pack the sand into the sides of the mold better for a better surface finish, but the casting turned out with very little porosity. Cheers Ps: what's the best way to store the damp greensand for next time I have it in a 5 gal pale right now. Should I dry it out on a tarp.
-
Aluminum and brass. I made some flasks from 3/4" plywood and I have some sandblasting slag and powdered bentonite I was gonna make green sand out of. Now I just need to figure out a good first project. Thanks
-
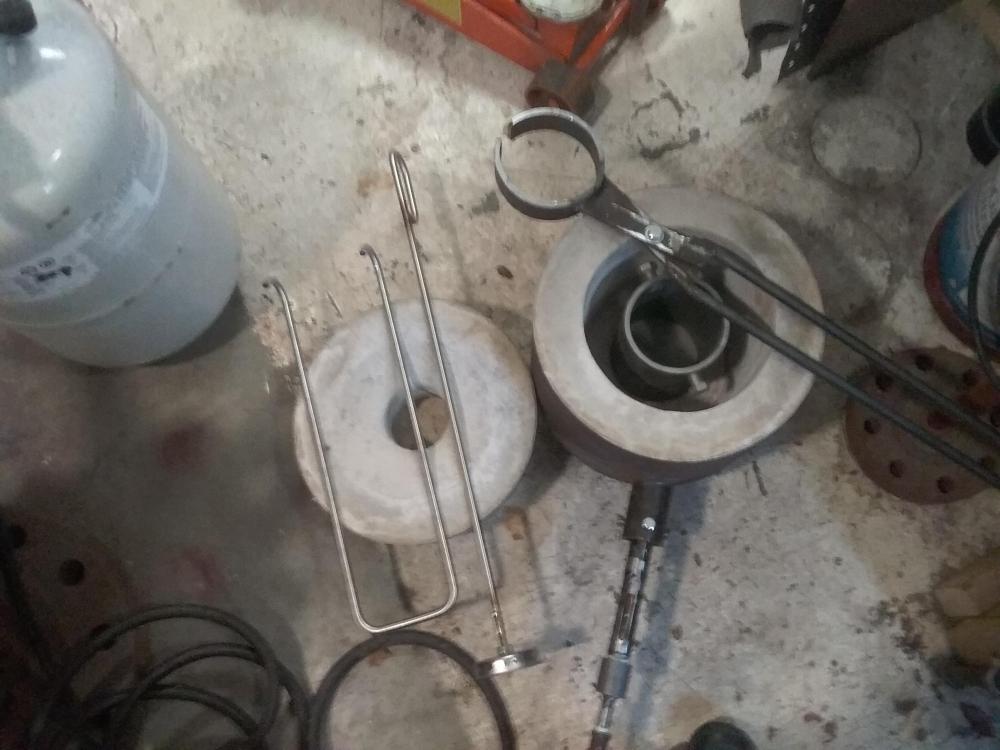
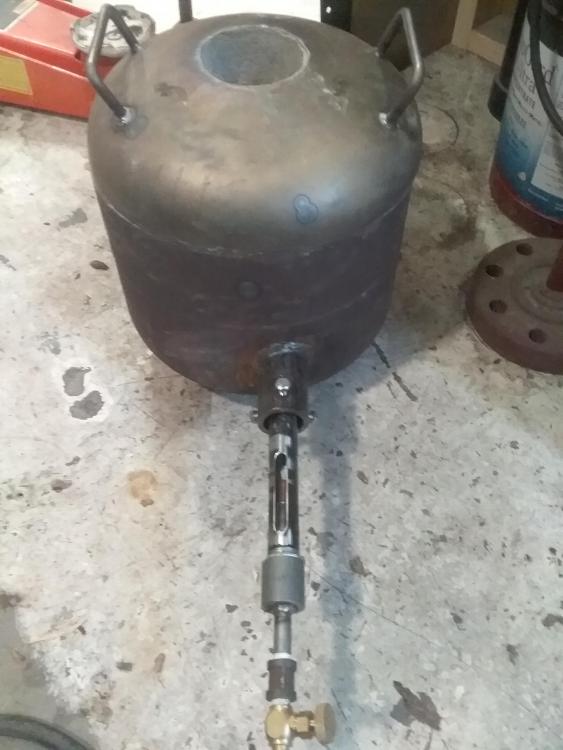
Hey everyone Finished this new foundry and tools last weekend. Refractory has been drying for 3 weeks so I did a cook out firing for about 2 hrs on lowest flame I could sustain until it stopped steaming. Seemed to go well i didn't get any spawling really. I used 2 types of castable refractory because I ran out on the bottom section and didn't have enough for the lid, they both seem to hold up well.I can't remember what types they were, they were industrial surplus from a job at work partial bags that they throw away. I welded several refractory anchors inside the tank, seems to hold up well so far. Orifice is a mig tip and the propane parts are salvaged from an old tiger torch. I've done a small amount of casting with a small crucible I made for my forge but it was all just pouring round stock for my lathe. But I'm new to this so it should be an adventure, lots of possibilitys with the lathe and mill. Cheers
-
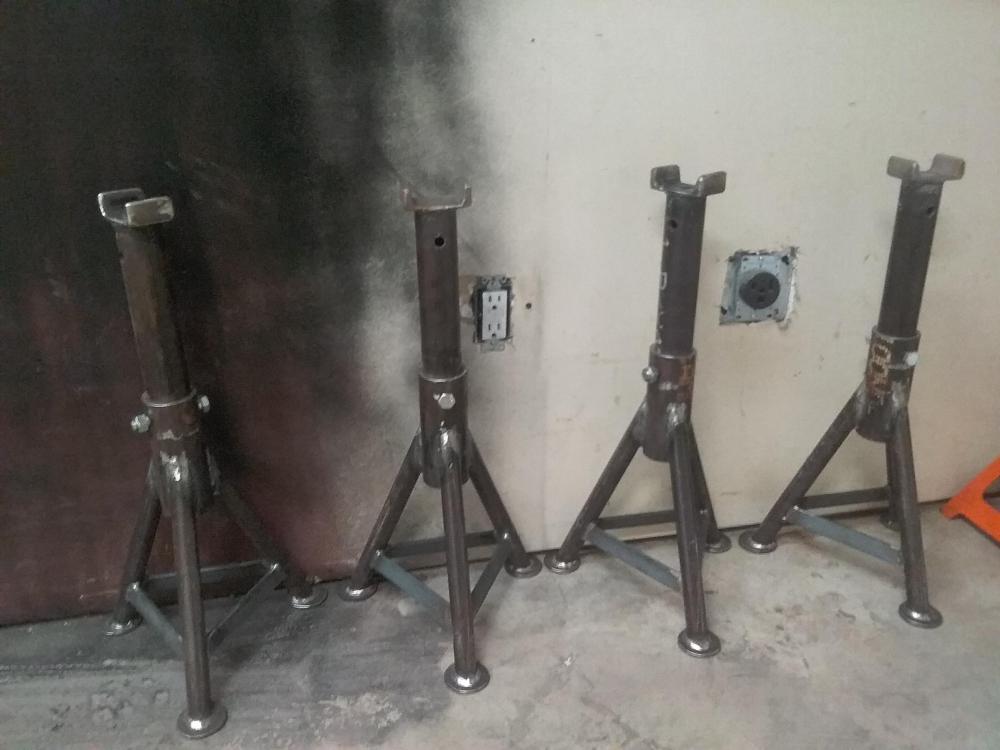
Jackstands now finished before paint. Probably try them out today on the truck to put a grease nipple in the slip yolk on my rear driveshaft.
-
Dont know if you figured this out but my guess is you are cooking the flux off and the surface is oxidizing before you apply the solder. It is hard not to do this with a cooler torch like a mapp torch especially with a butt joint. Most solder joints are lapped like previously stated. This is easier with a cooler torch because the capillary action sucks the flux into the joint where it is not burned off as easily. With a hotter torch with a carbonizing flame such as a presto lite acetylene torch this is not as much of a problem and open joints can be brazed. A turbo torch with mapp also works a little better but not as good as acetylene. Also it is better to heat from the back side as not to burn off the flux you can also reapply flux while heating to clean the surface to dissolve oxidization and improve whetting. I'm not a brazing pro but I'm a plumber and the same concepts apply for silver solder and brazing. Also I like the sil phos idea previously staled because it has flux on the rod. Anyways good luck that's my 2 cents.
-
Yea I think I will bead blast them at work and prime and paint the bases. The sliding top section will have to be just bare metal and polished up otherwise i think they will bind because the 1 1/2" pipe in the 2 " is a pretty tight fit. The pins will be 1/2" grade 8 bolts. I might try to mill a ball detent with a set screw into the bolt pins but I'll see how that works out. The sheer strength of a 1/2" gr 8 bolt on a tight fit like that should be quite a bit, actually probably stronger than the legs. Anyways. thanks guys.
-
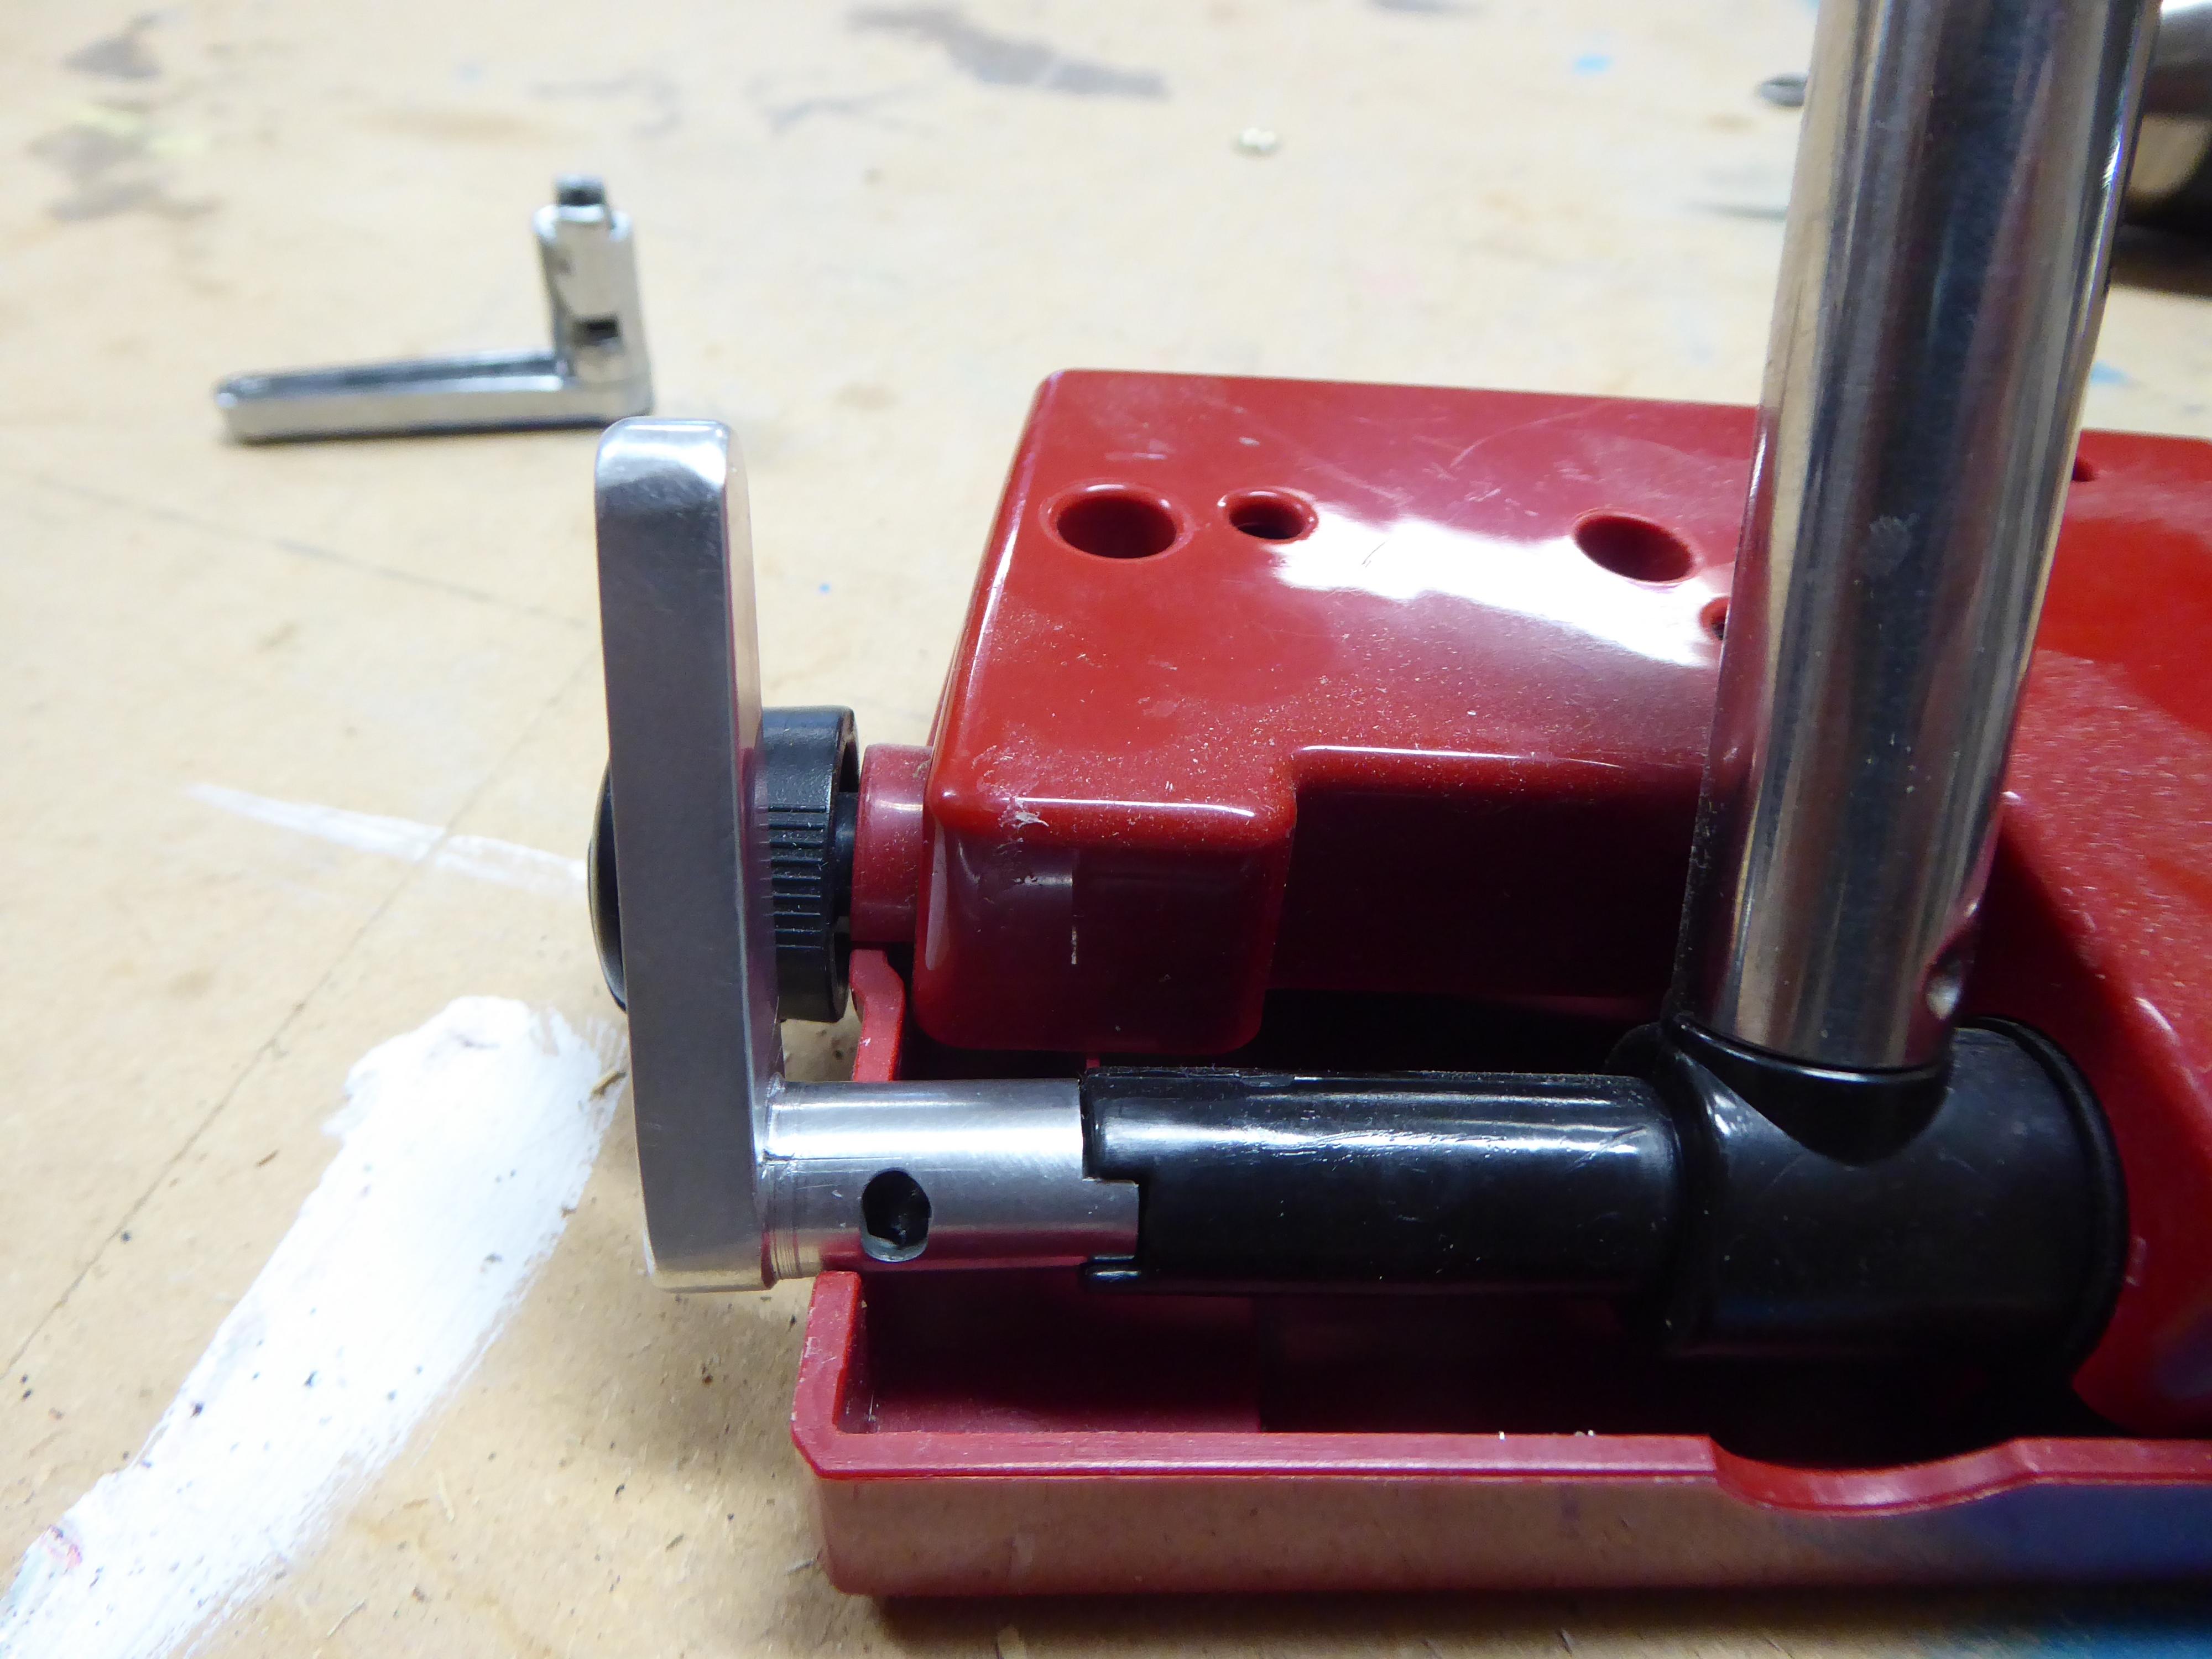
I like it. Take an extremely overcomplicated project and make it more complicated. But I think the new switch will now outlast the rest of the plastic parts on the machine.
-
Thanks
-
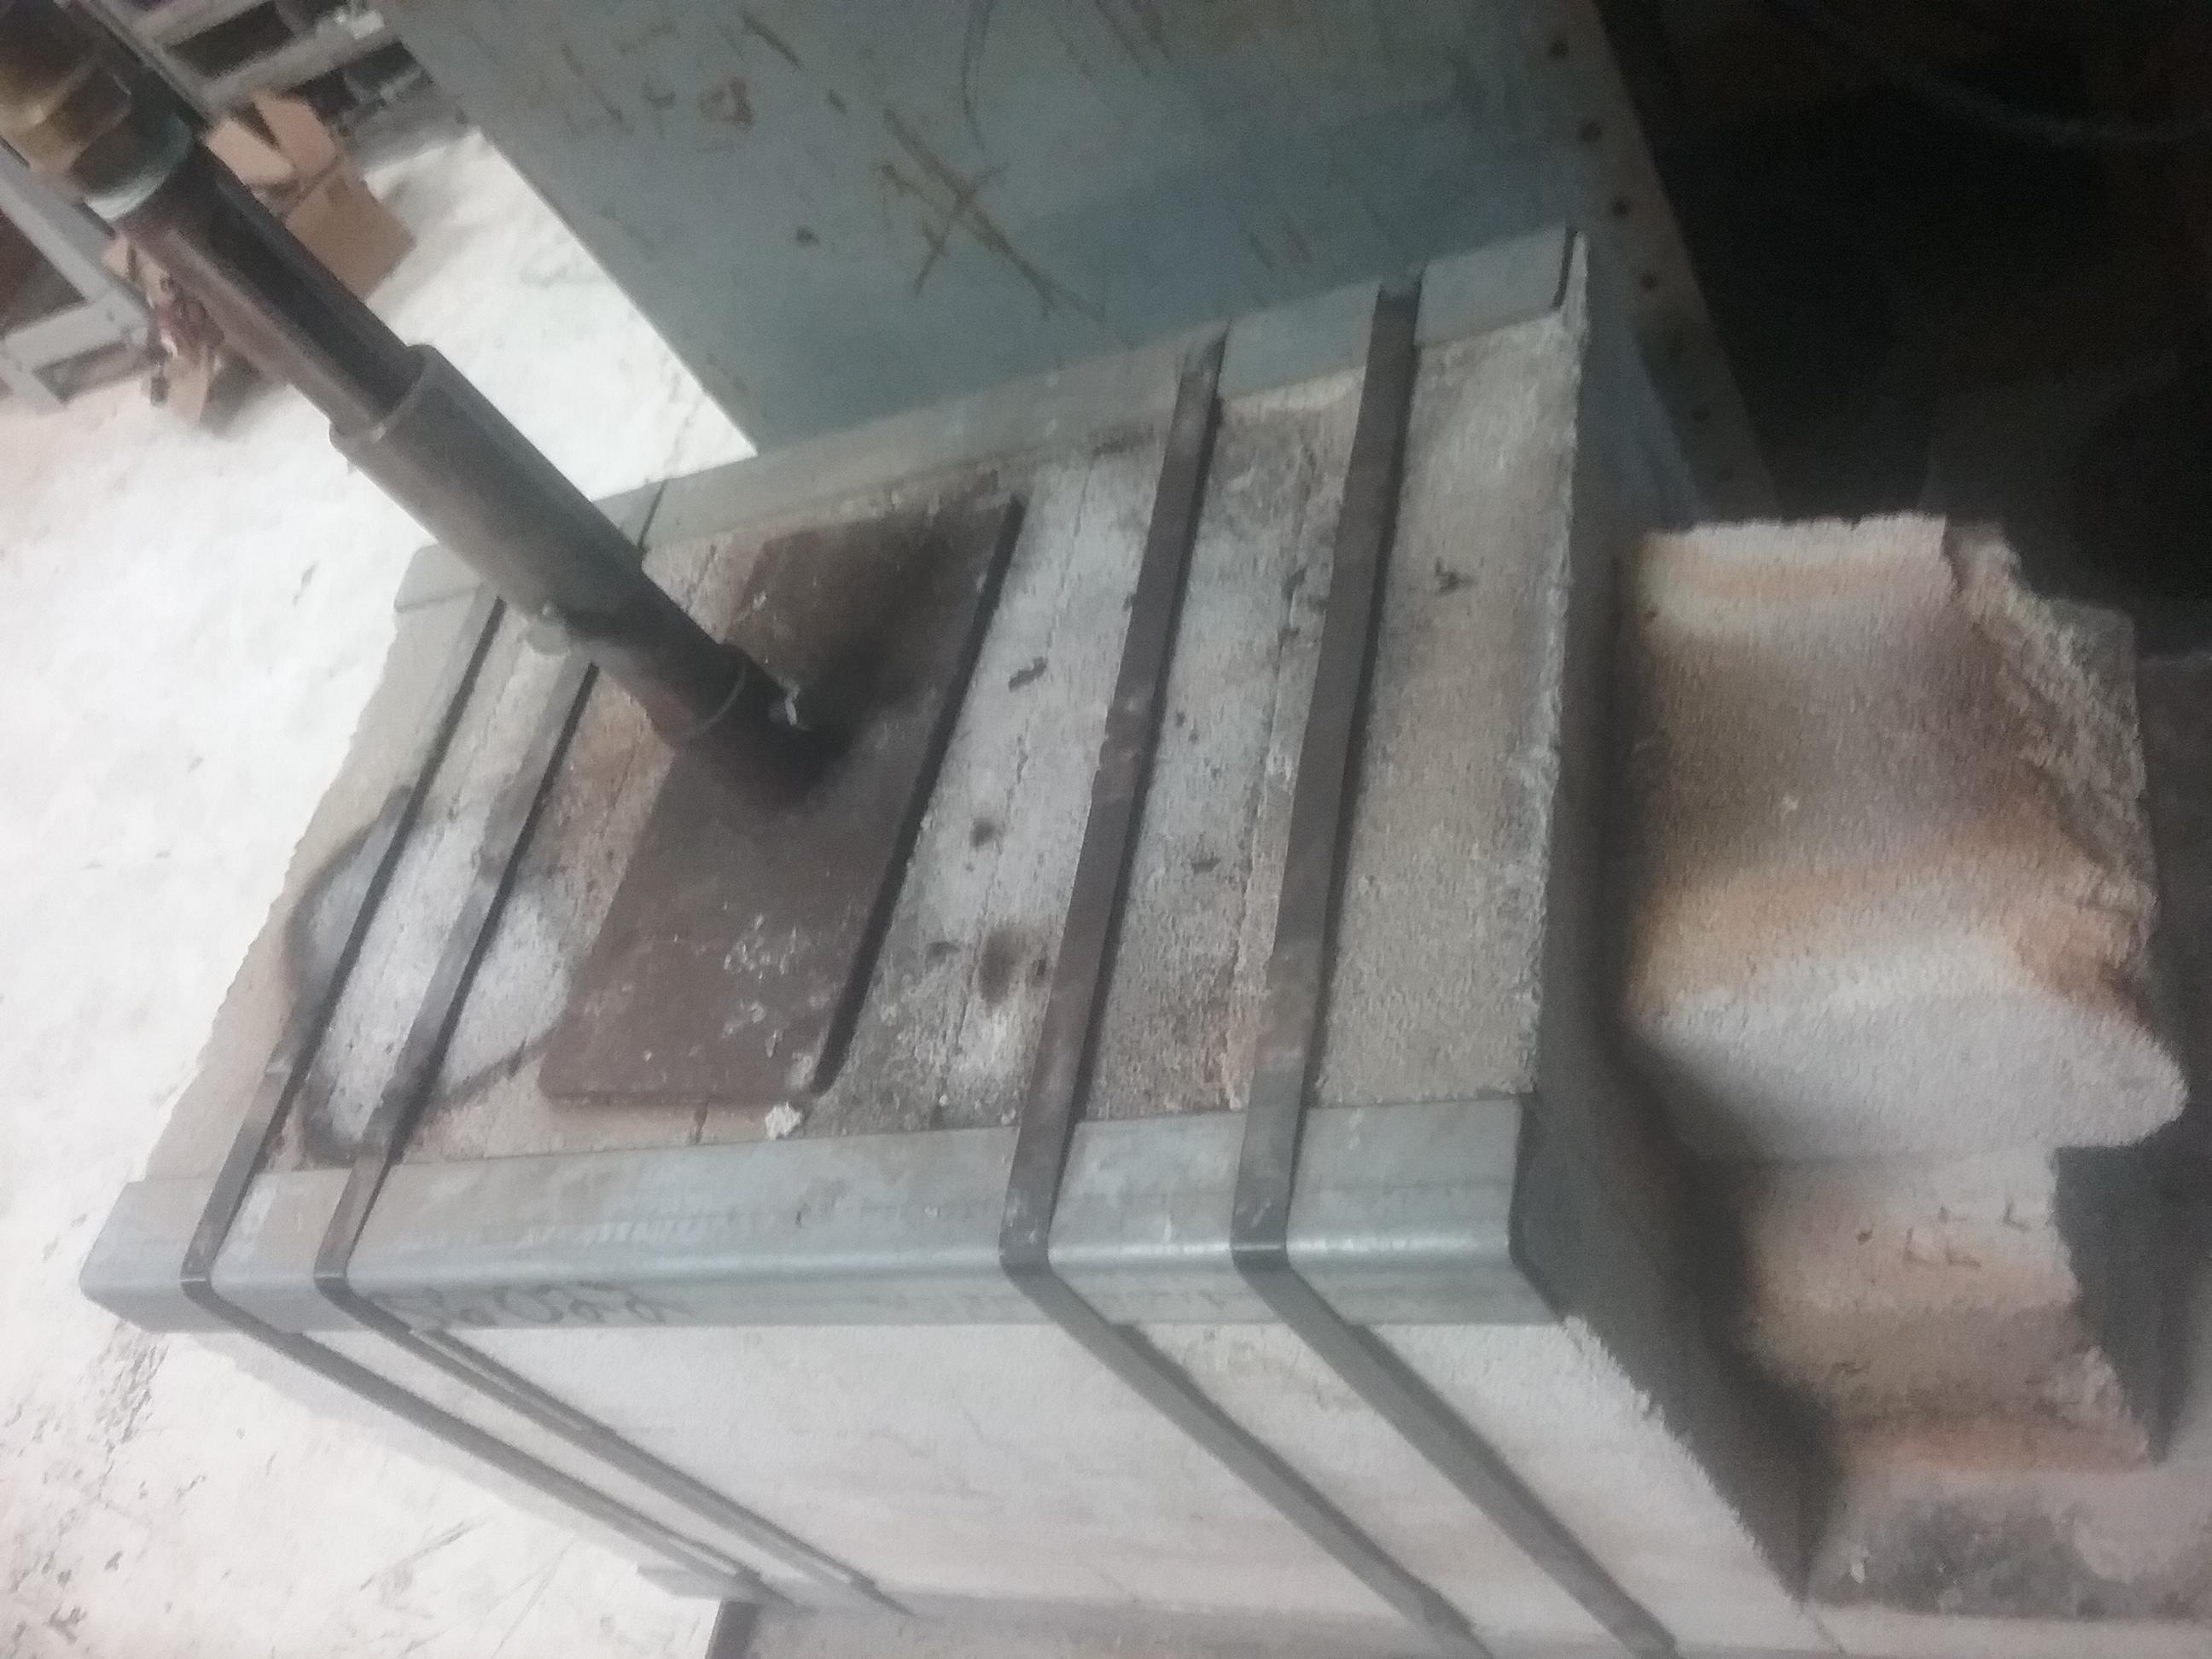
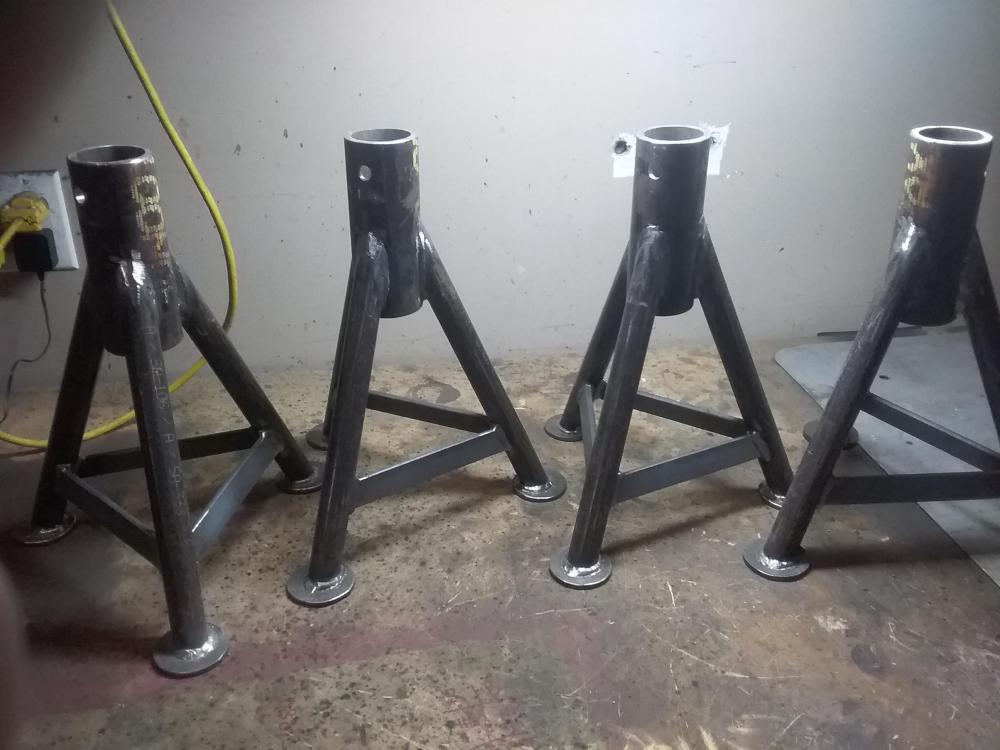
Hey Made these tall jackstands the other day for working on cars. They are not quite done yet but the bases are complete. I made a couple jigs so they all turned out the same and I'm pretty happy with how they turned out. They are made out of sch 80 seamless pipe some 1"×1/4" flatbar and 3/16" plate. Finished they will be adjustable from 15" to 22". Let me know what you think.
-
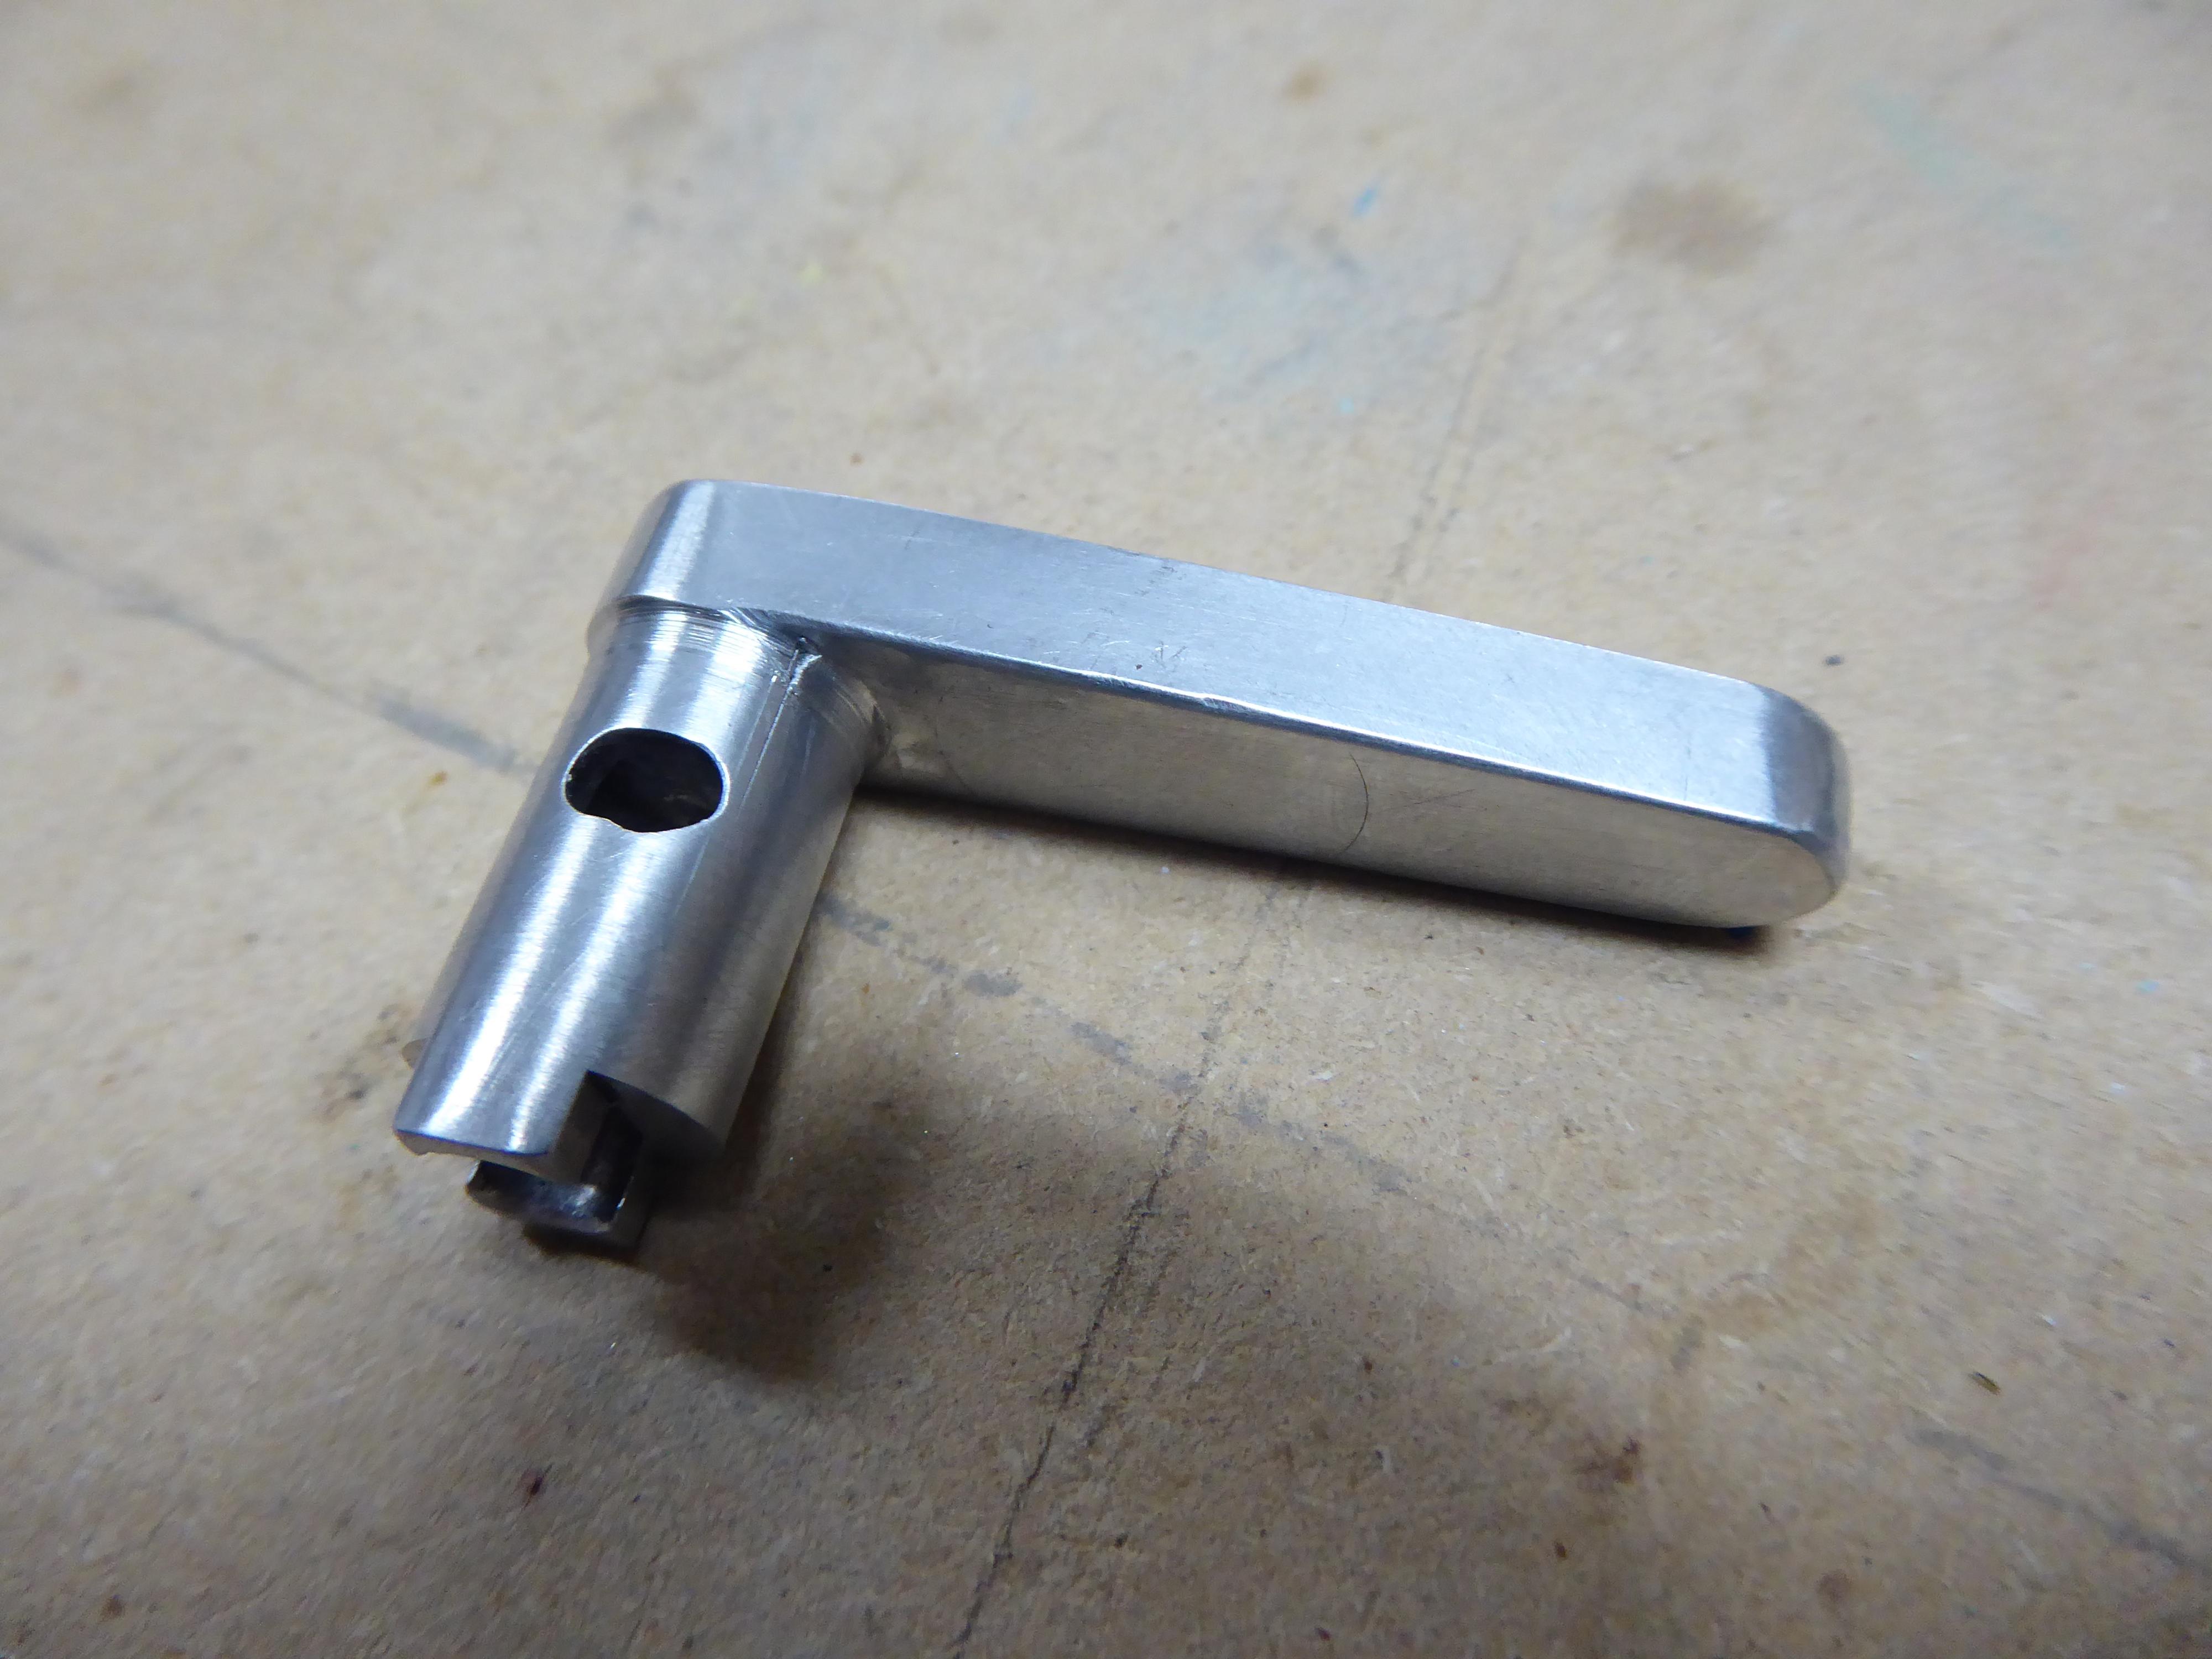
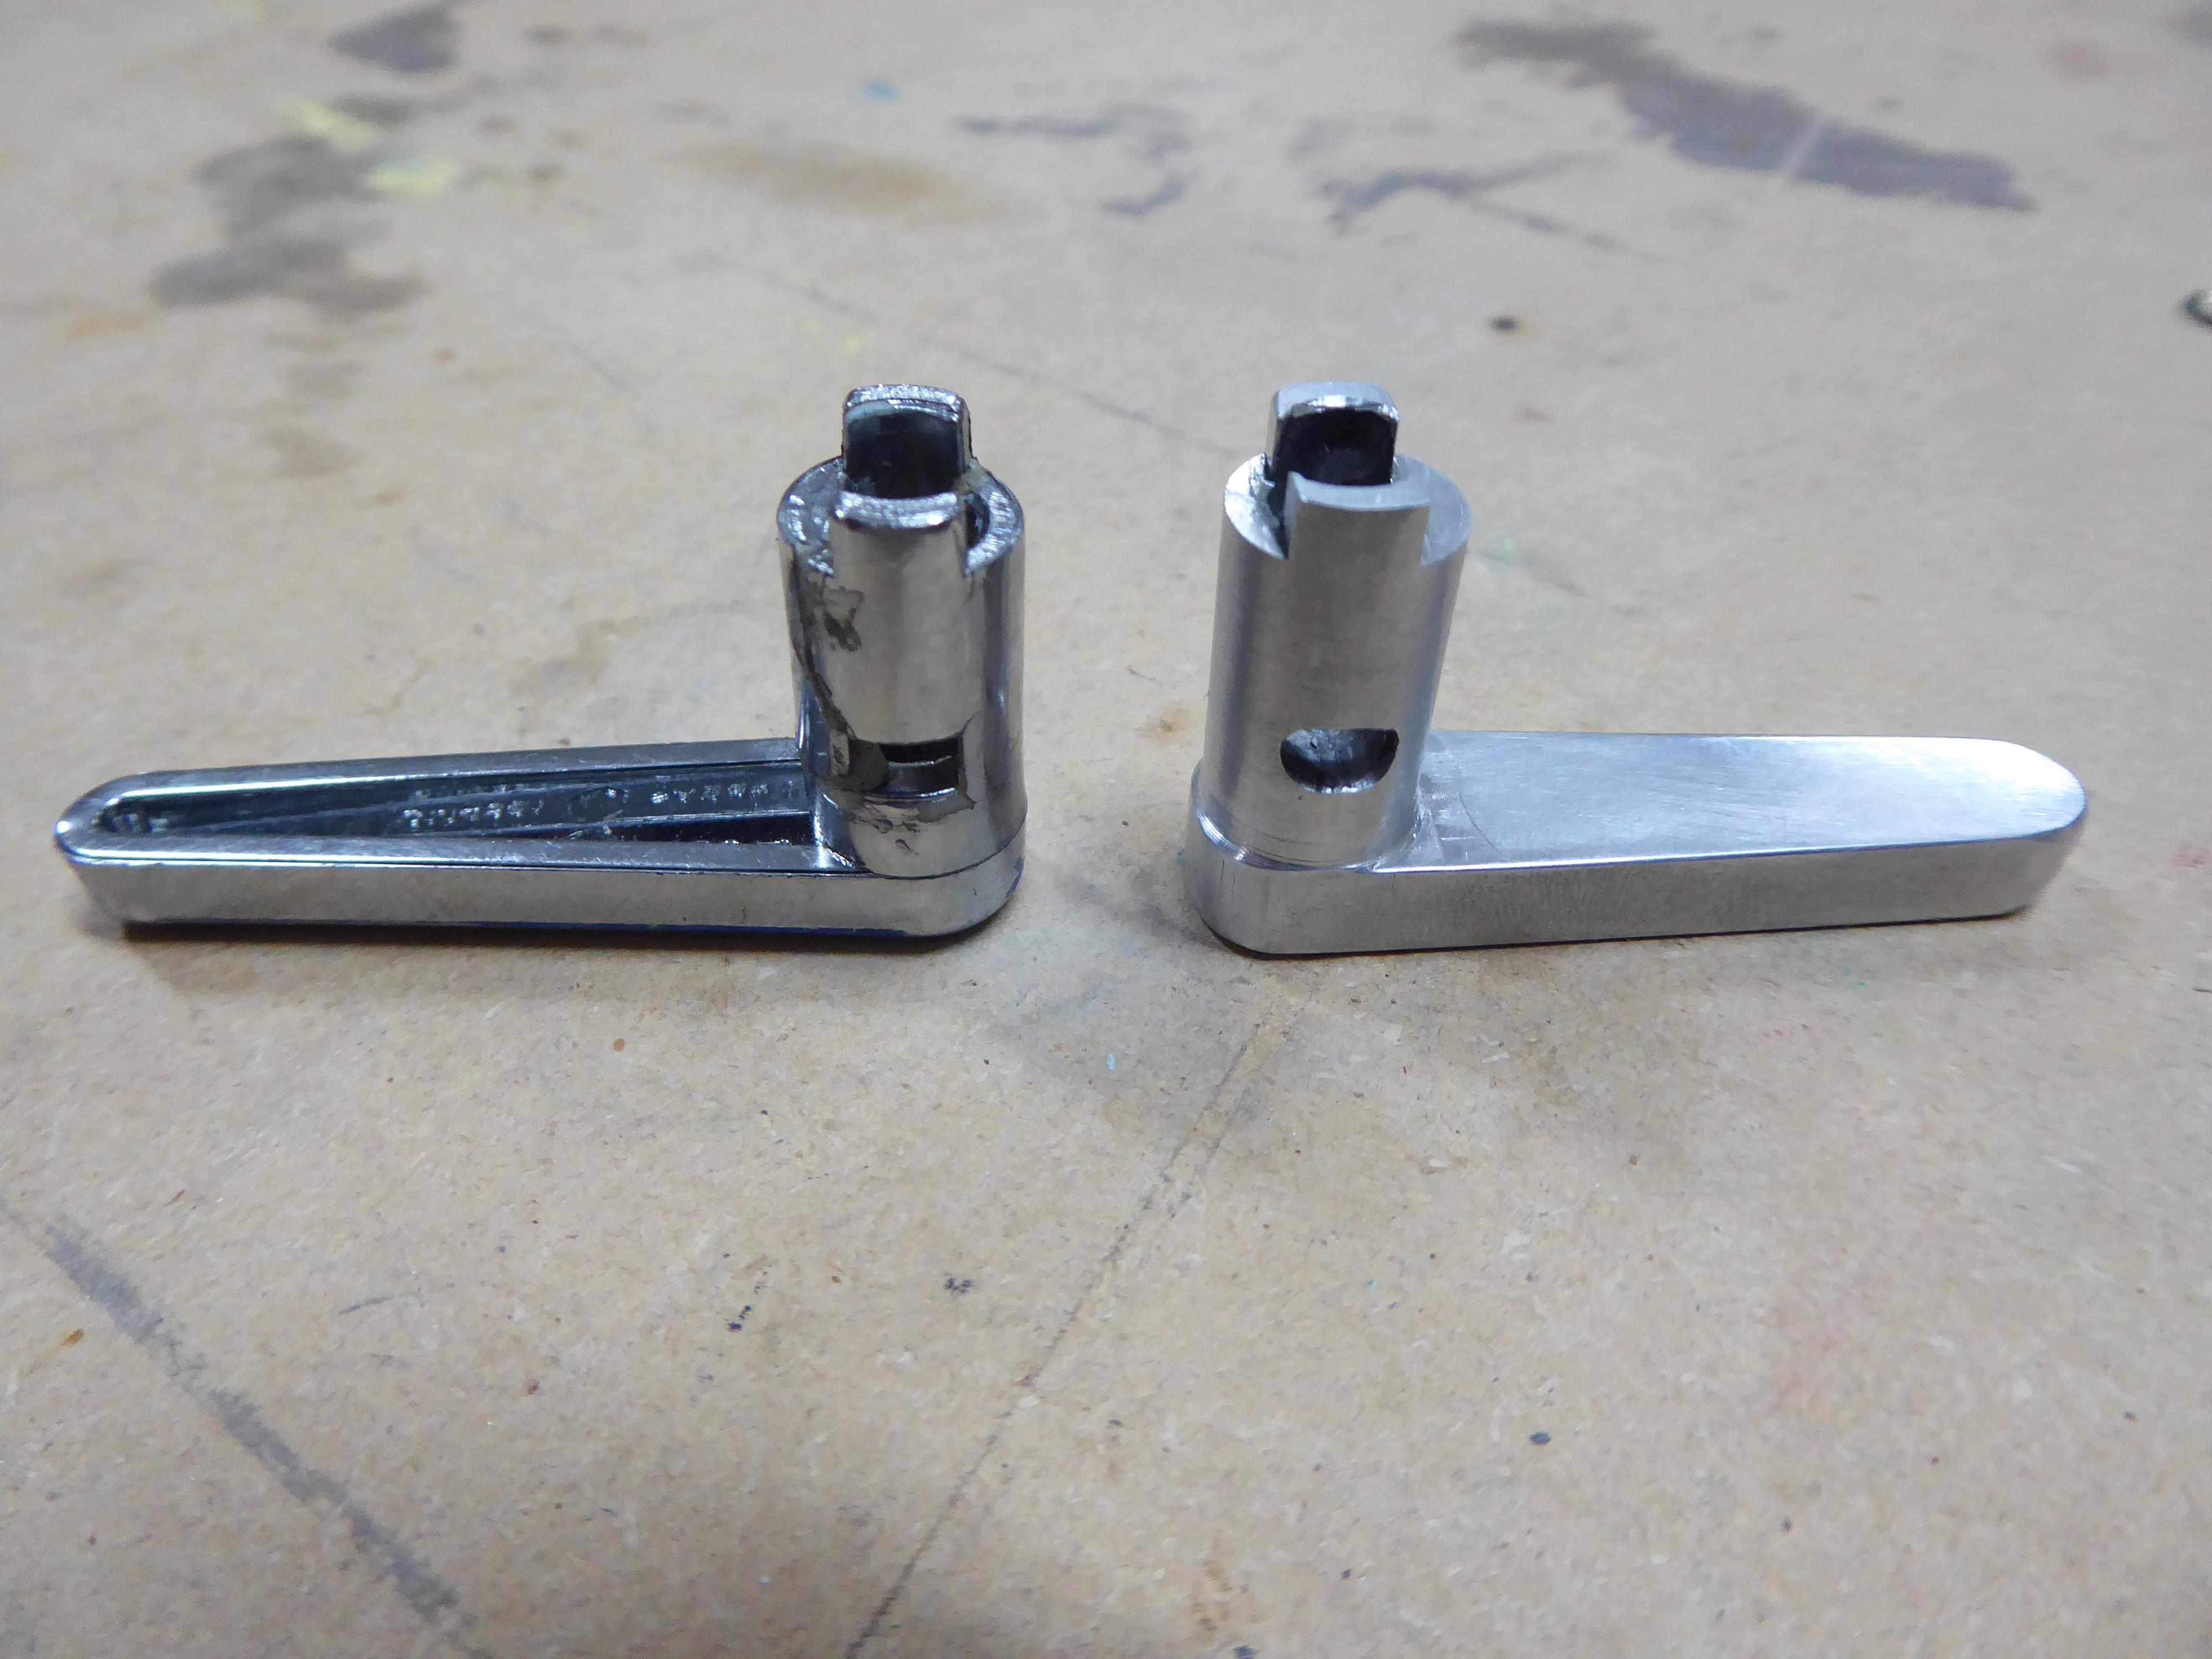
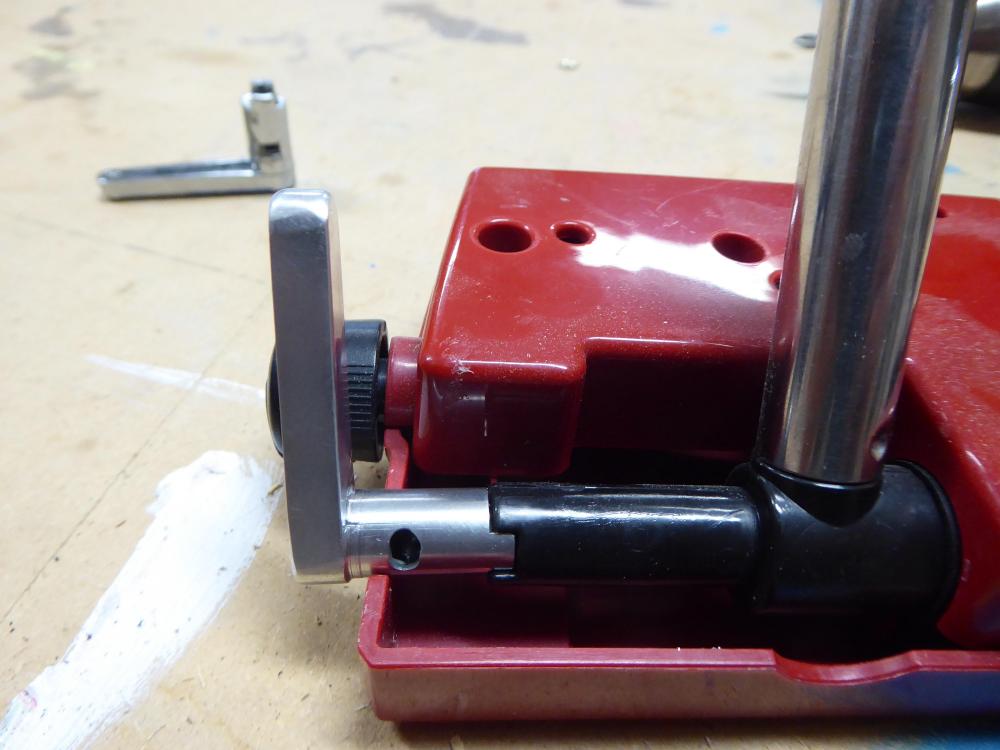
Hey everyone I got a small lathe and a mill last winter and have been quite busy with other obligations so I haven't really been able to use It that much. I have made a couple simple projects since I've had it just some shop chores but this is the first somewhat complicated project I have made. I thought it was pretty cool. This is the milk selector switch off of my wife's expresso machine. It broke about a year ago and I tried to glue it with epoxy a couple of times but it broke as soon as I put it on. So 4000$ worth of machine tools and 6 hrs of shop time later we have a sweet billit aluminum switch for our 30$ used espresso machine from the swap and buy. The project wouldn't have been that hard except the hole Dow the center is not round its half moon shaped, I dont have a rotary table yet so that was a bit of messing around. Anyways, this was a great learning experience project especially turning the eccentric portion on the lathe. And my wife was happy to get the expresso machine back. Cheers

-
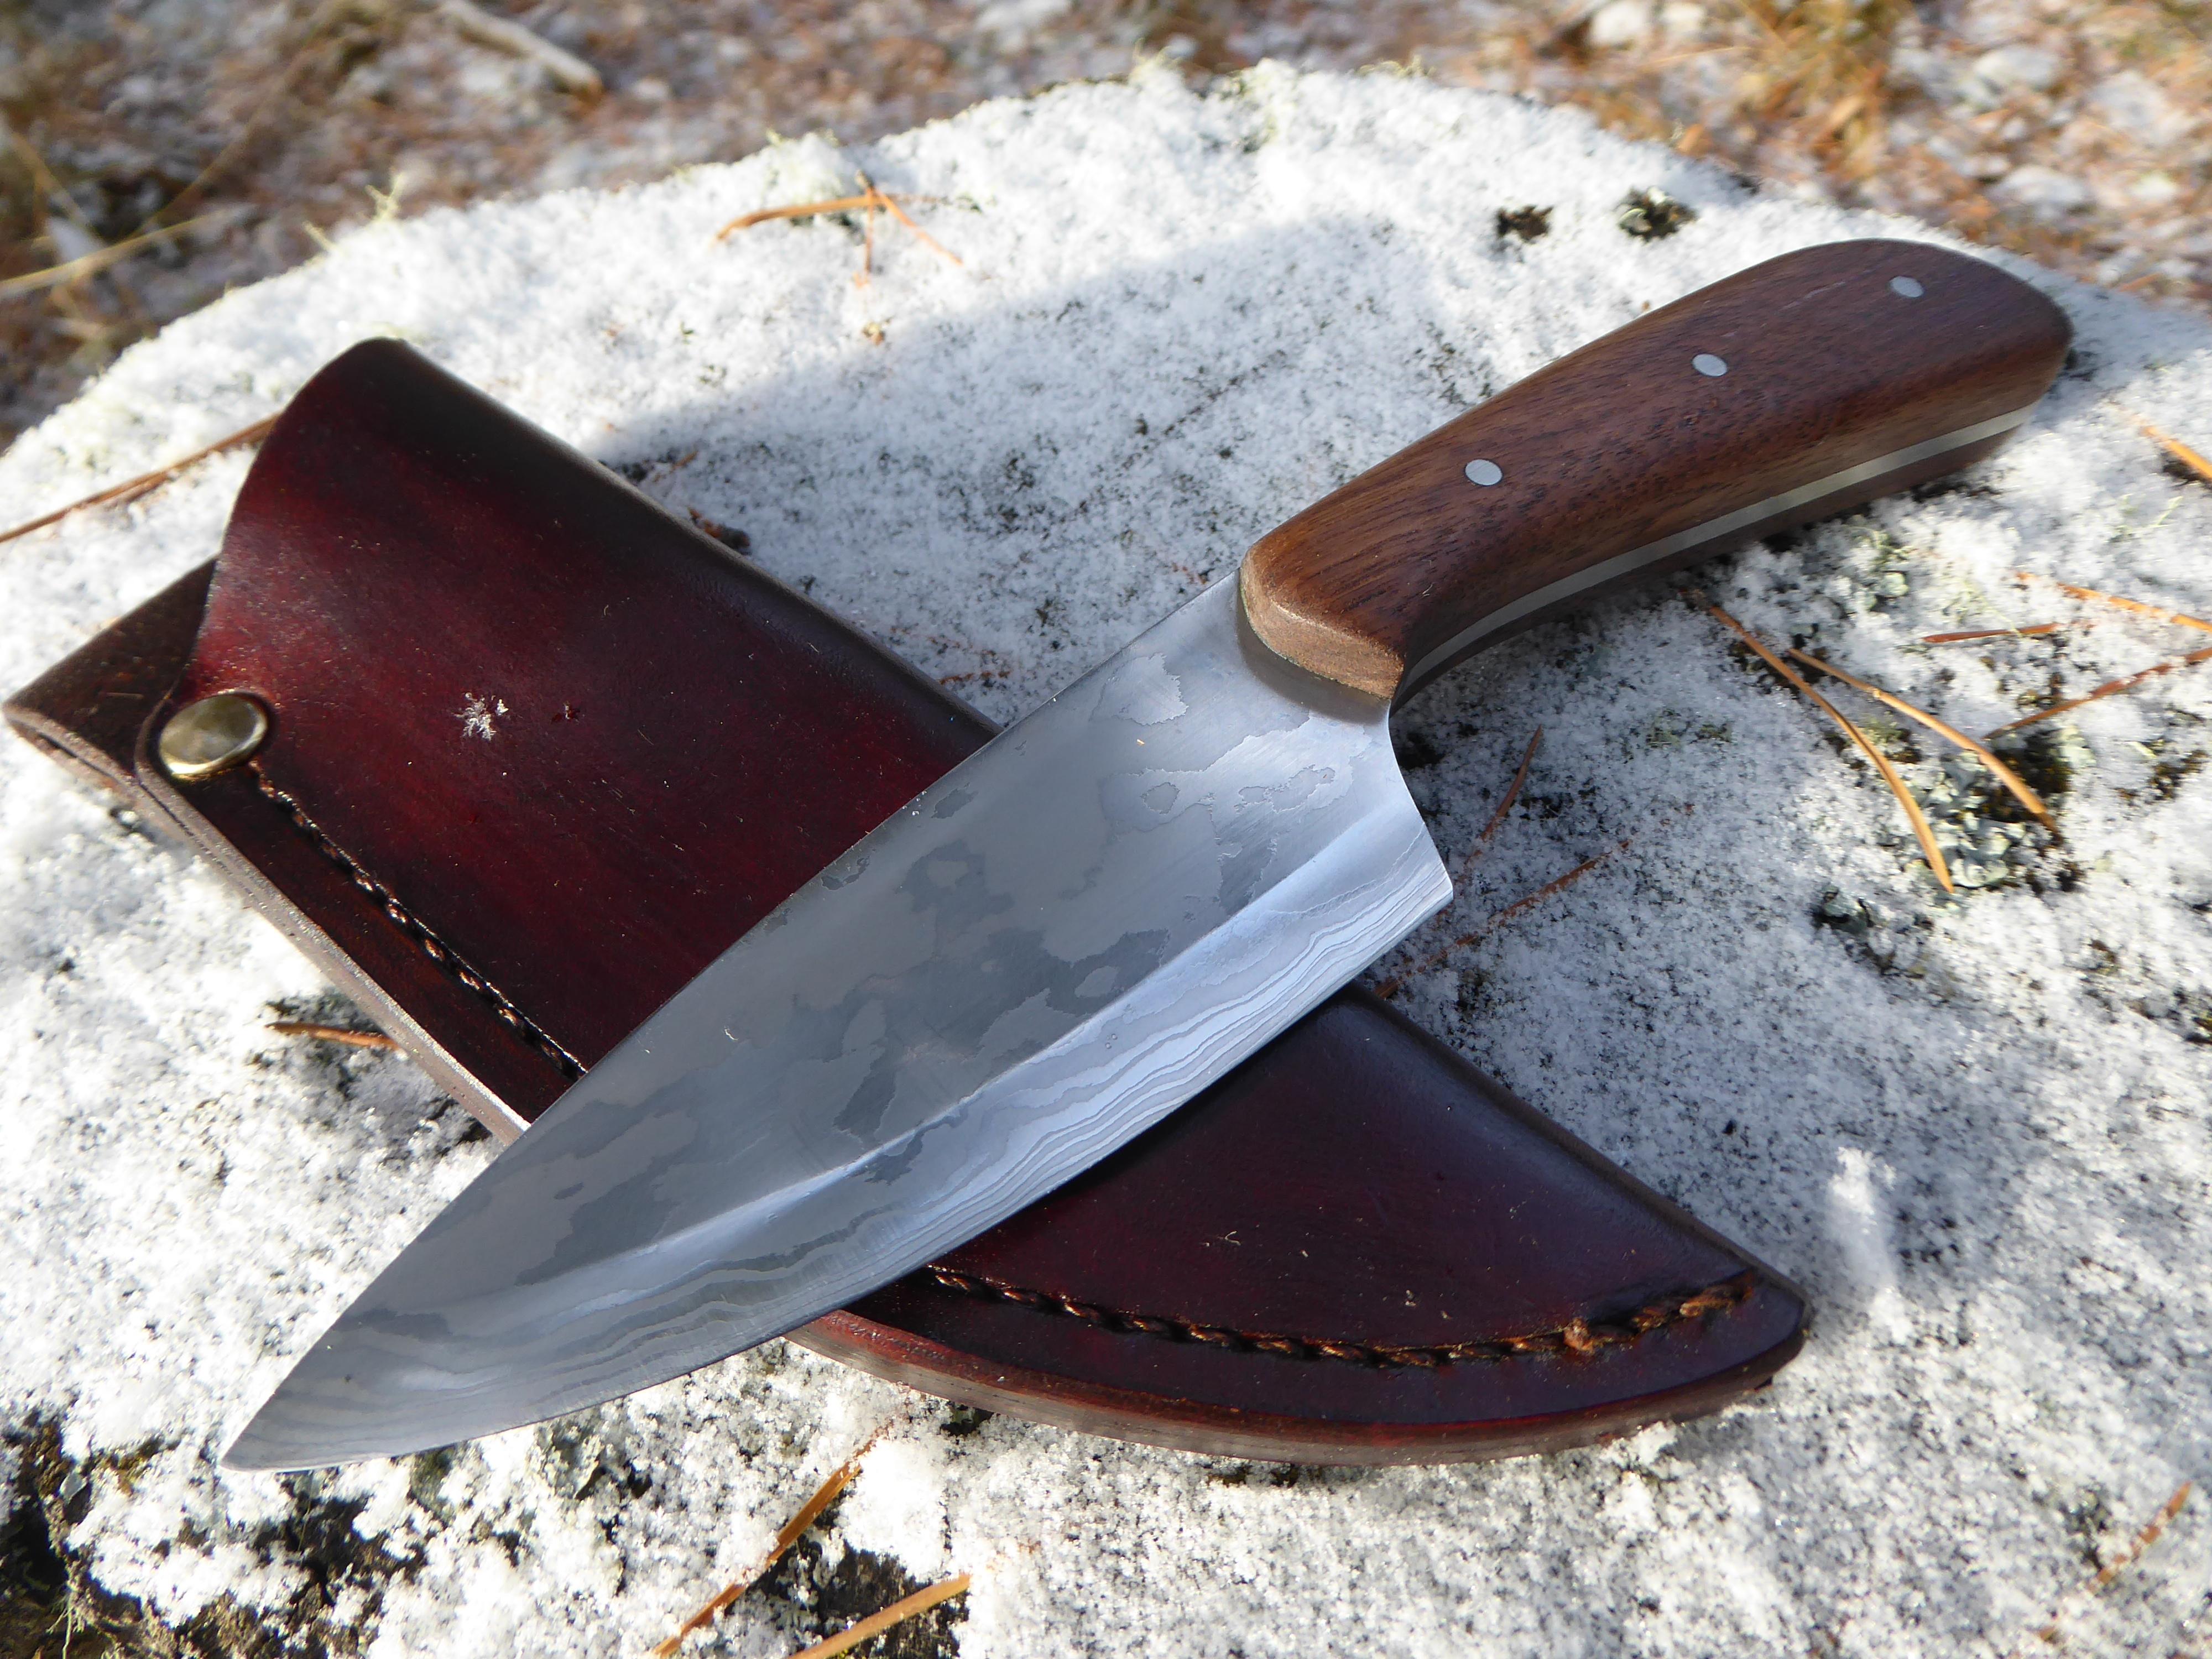
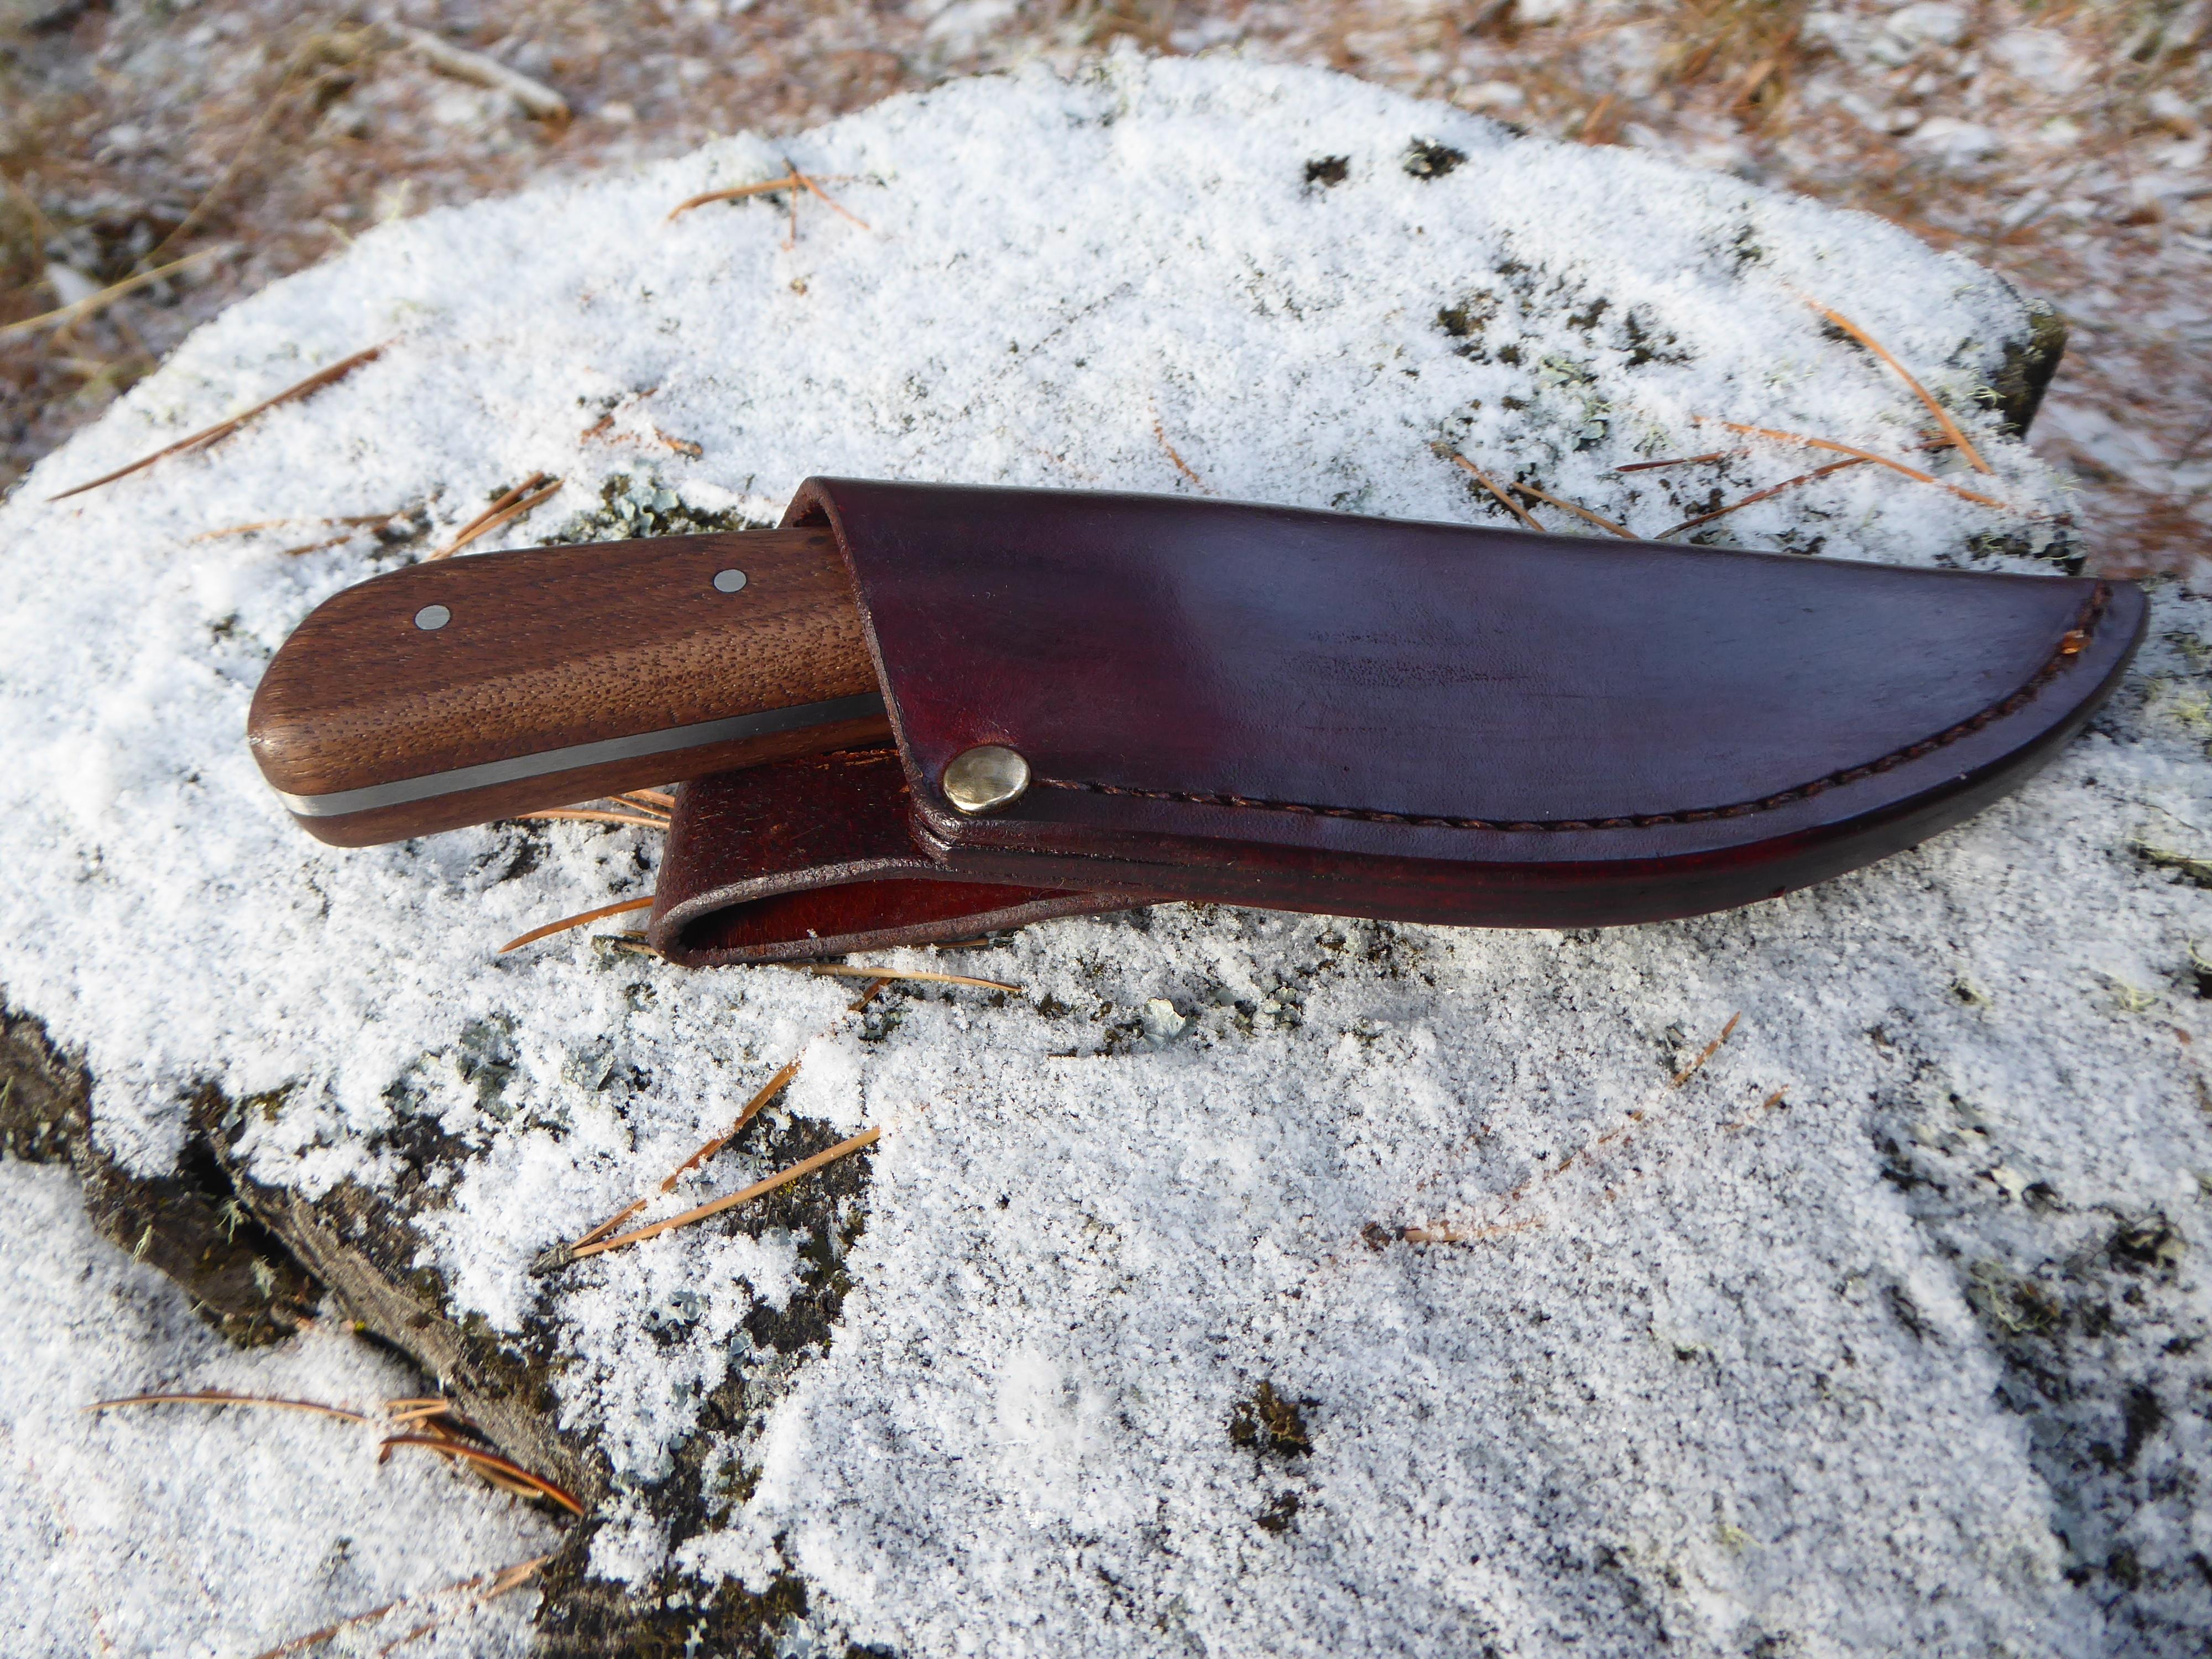
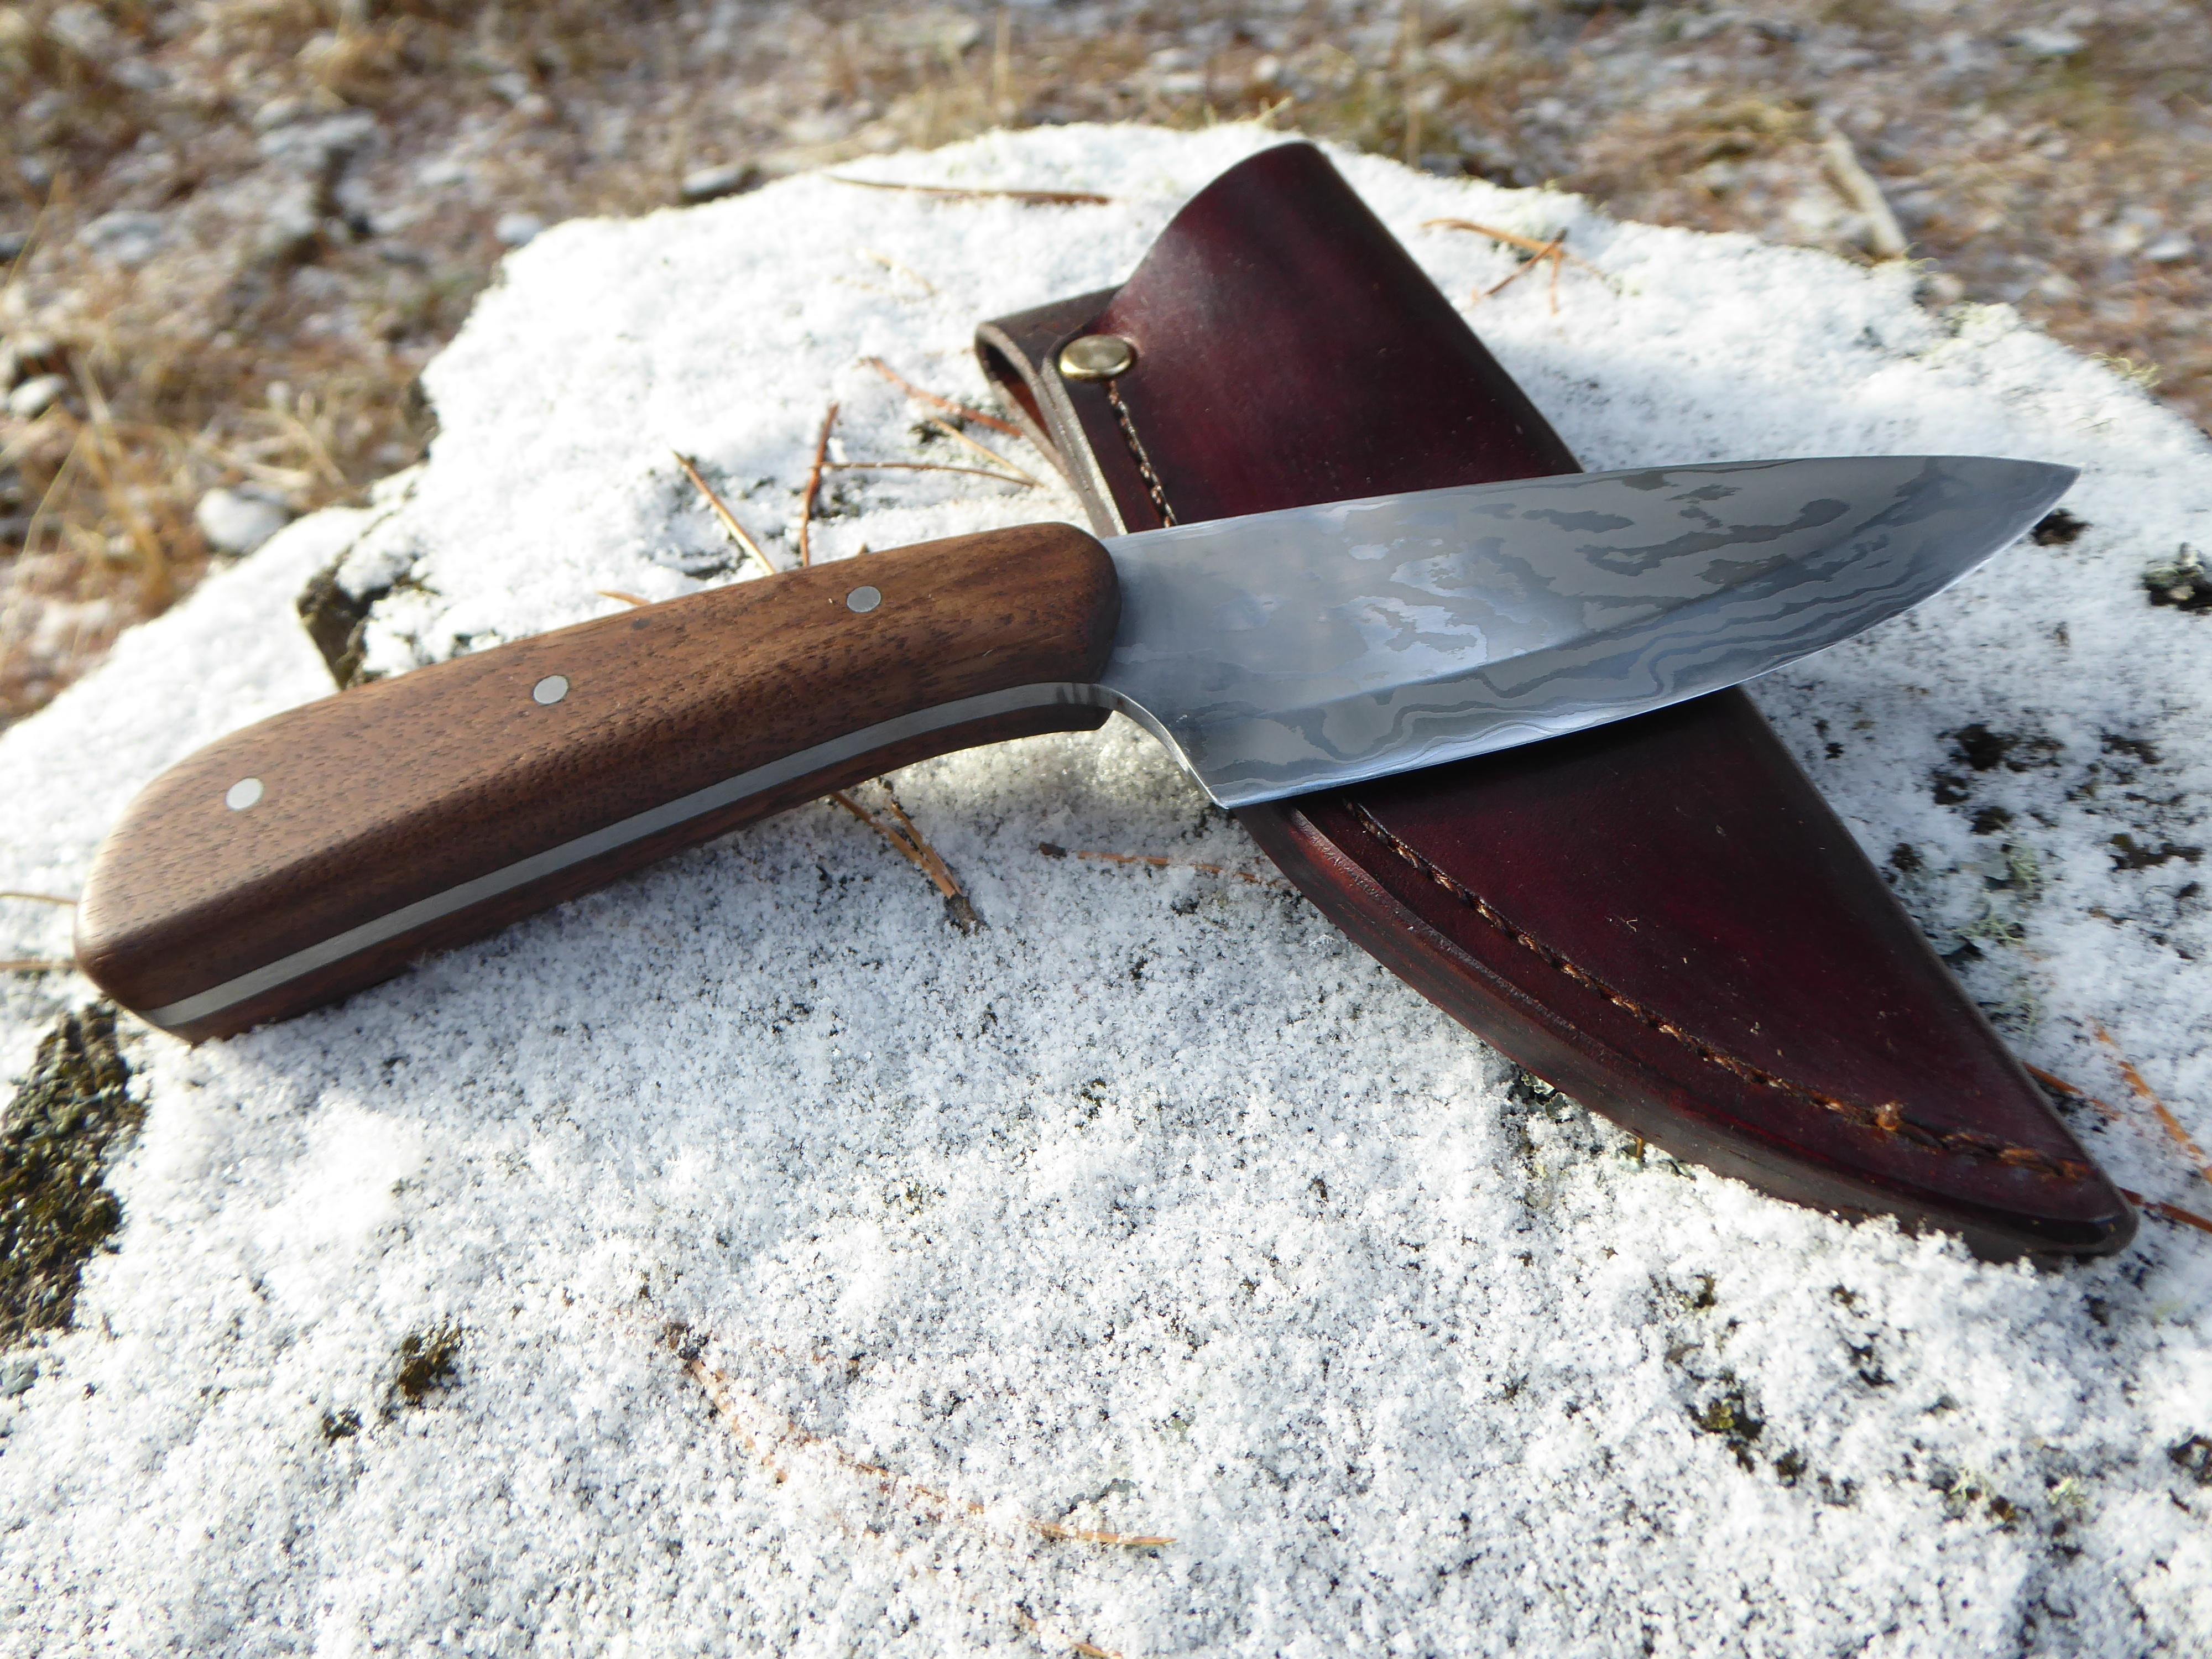
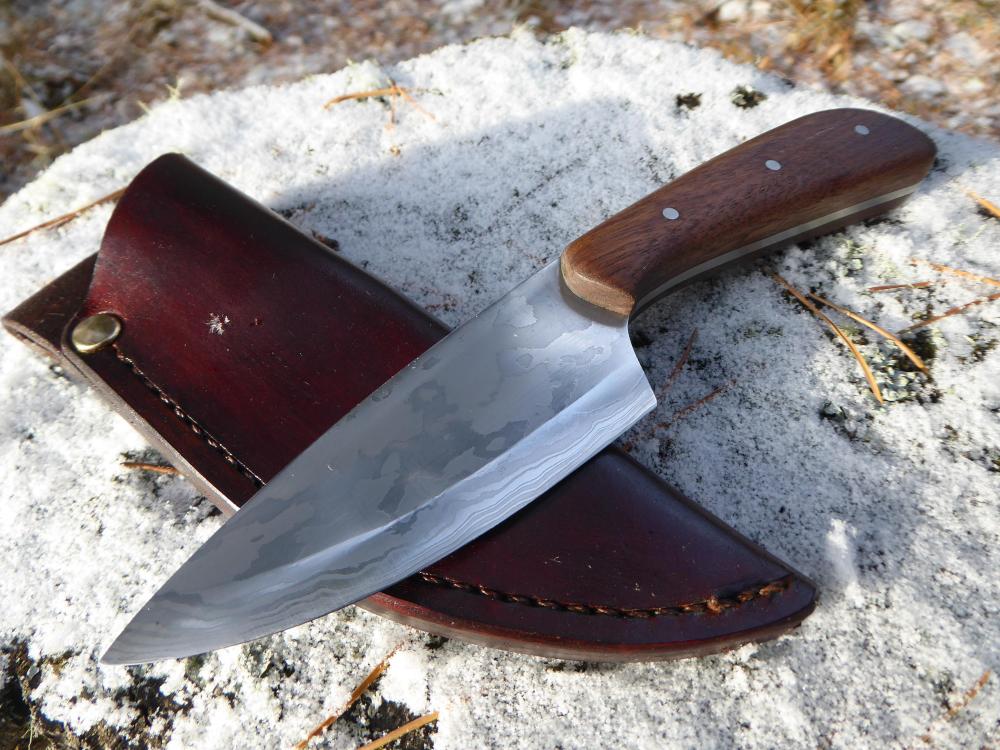
Hello everyone Haven't posted in a while but this is a project I finished earlier this winter. I forged this knife this spring while I was making a knife for my dad's 70th birthday, I had abandoned it because it had formed a crack up the inside of the spine by the front finger groove. So it sat on my workbench for the summer until about December, when I decided to have another go at it. I managed to grind the crack out without taking too much of the handle material out. I had to take out about 3/4" of length out of the blade and about a 1/4" out of the width of the front of the handle. Actually I really like the profile that I ended up with, really nice skinning pattern. The blade is forged in about 29 layers of 1084 and 15n20. Etched for 15 min in muriatic acid, and has a walnut handle. Cheers

-
Not sure what brand they were. They were left overs from a boiler repair at work.
-
He liked it. It definitely made for a good conversation piece at the party. And i hope he uses it.
-
My forge is made of insulated fire brick and I just friction fit it together. It is held together tight by putting angle iron on the 4 edges and then I have pallet banding ratcheted down in 4 spots. Only down side is you need a pallet bander. But it seems to work good and has held up for about 5 years so far. I have a piece of hard fire brick In the bottom that I change out every once in a while to stop the flux from eating the bottom too much. You can kind of see the idea in this picture. HERE IS A BETTER PIC

-
Thanks.
-
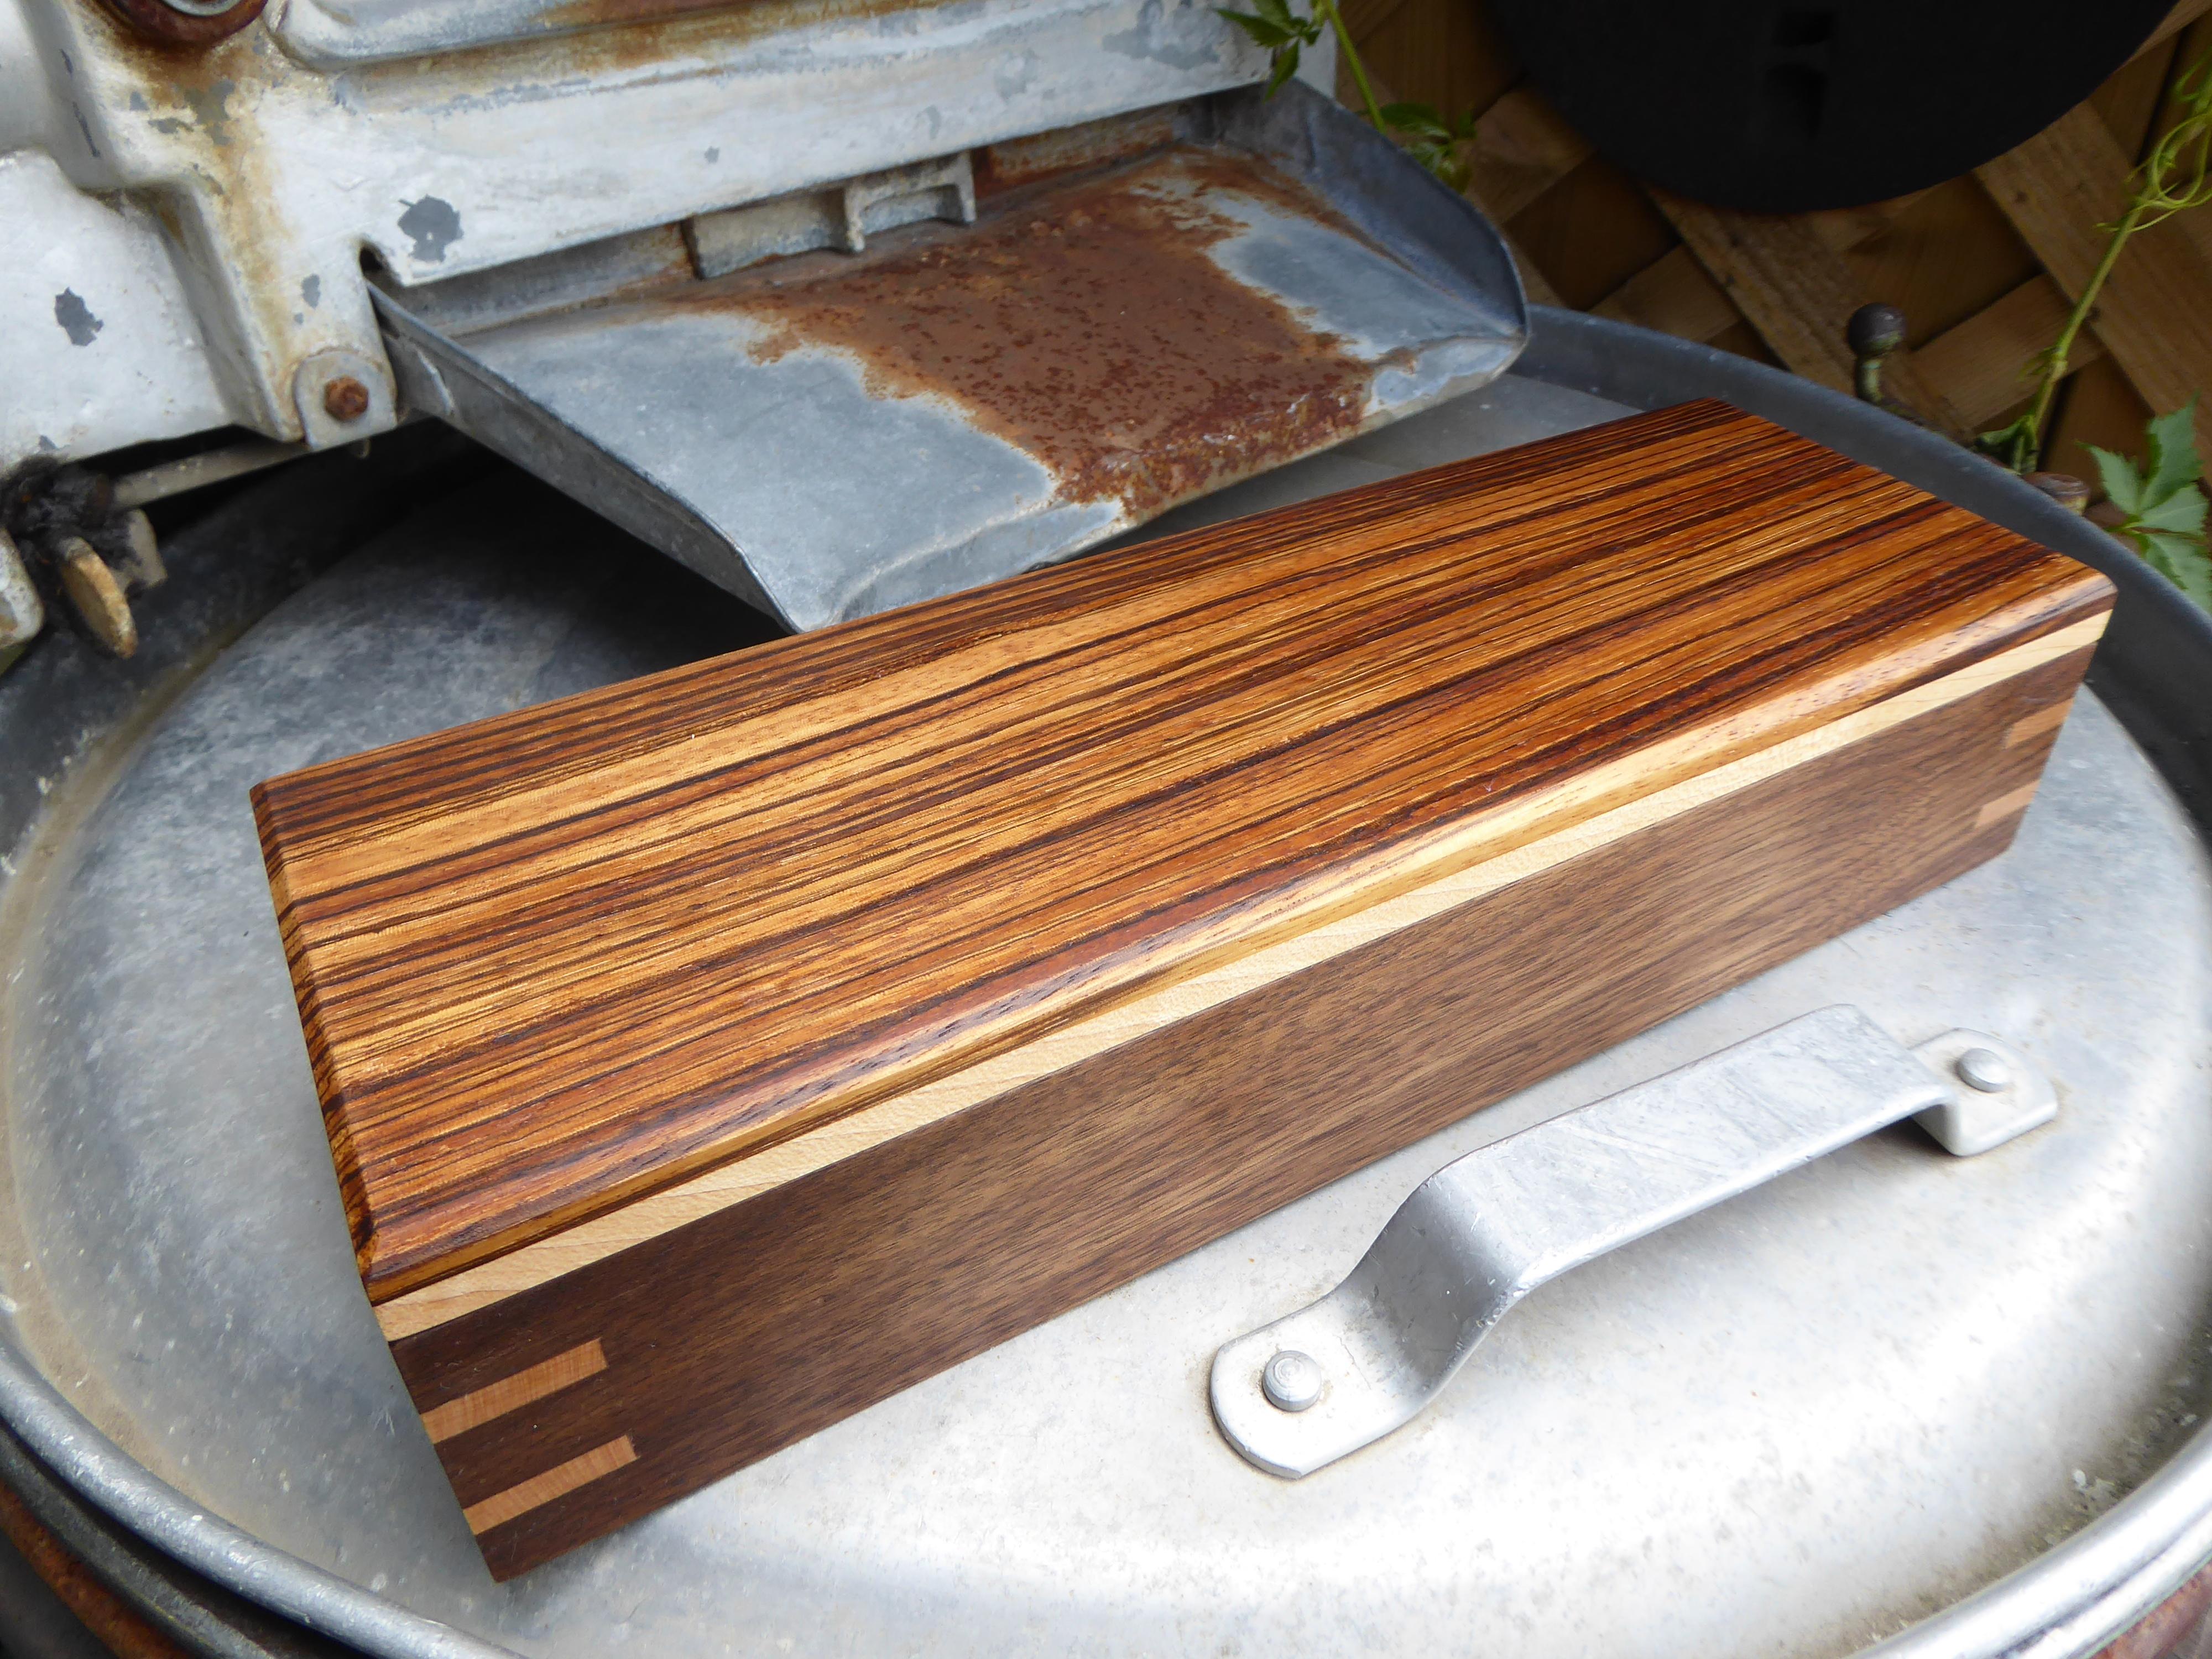
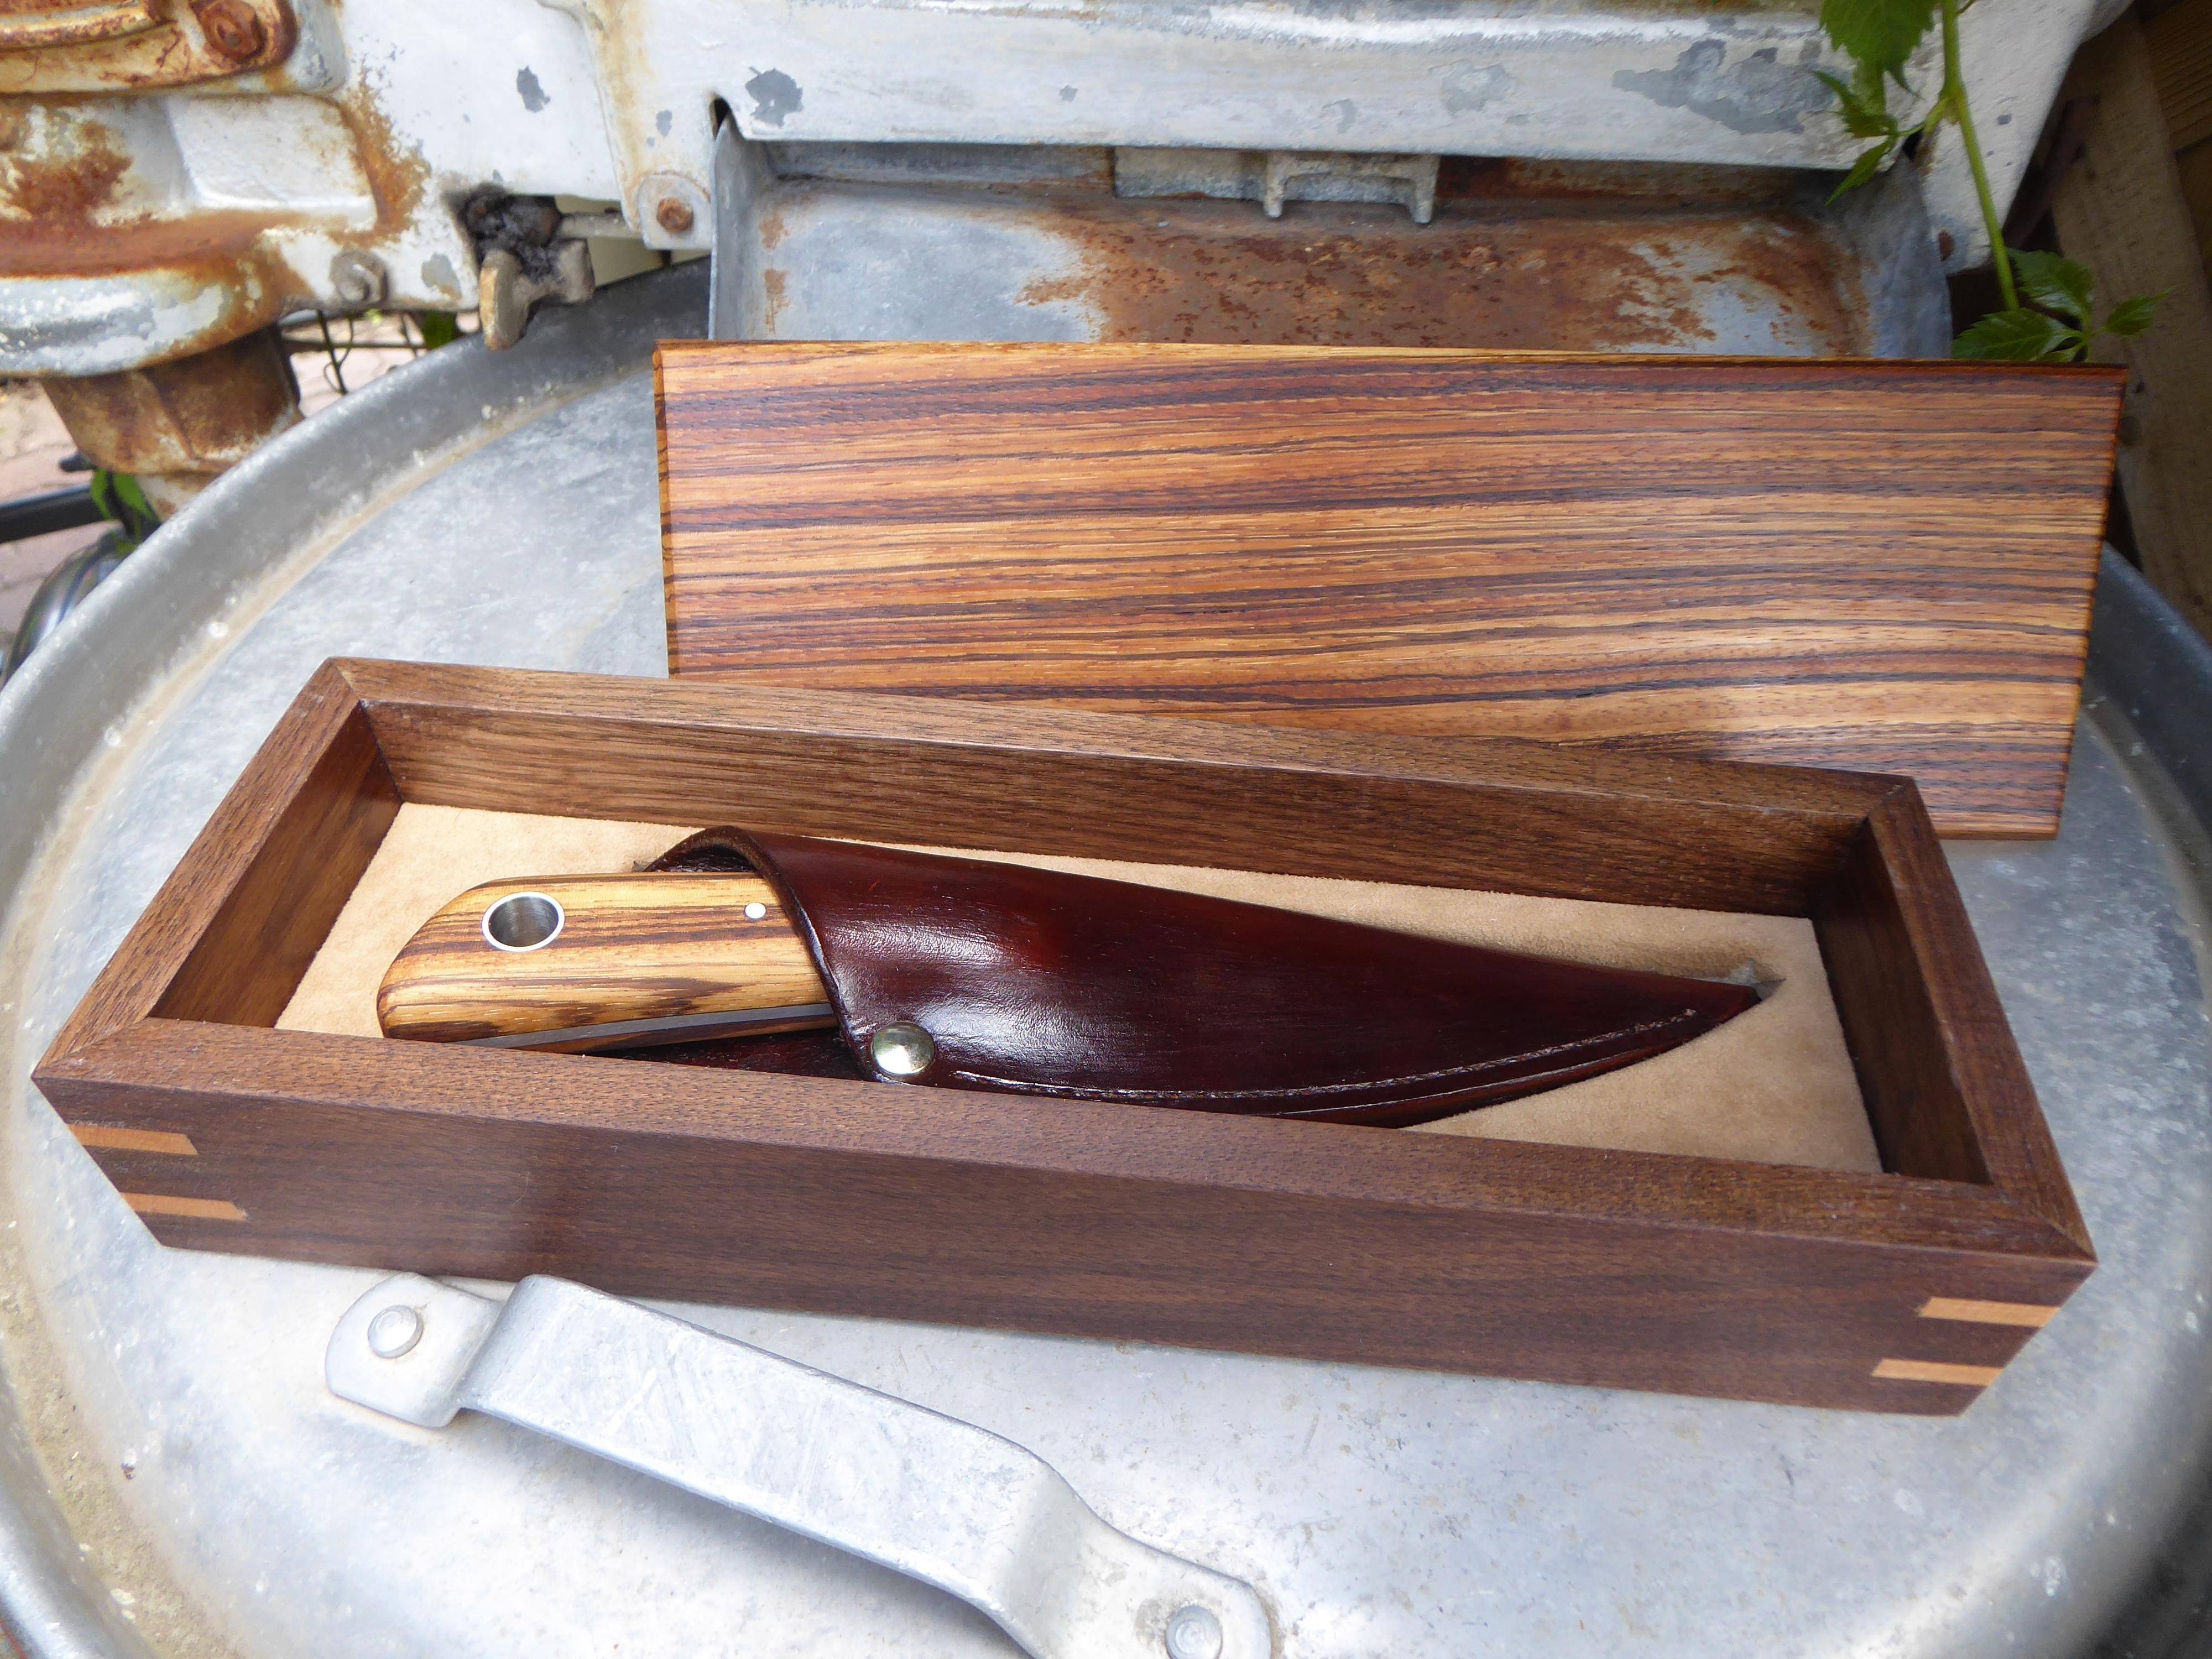
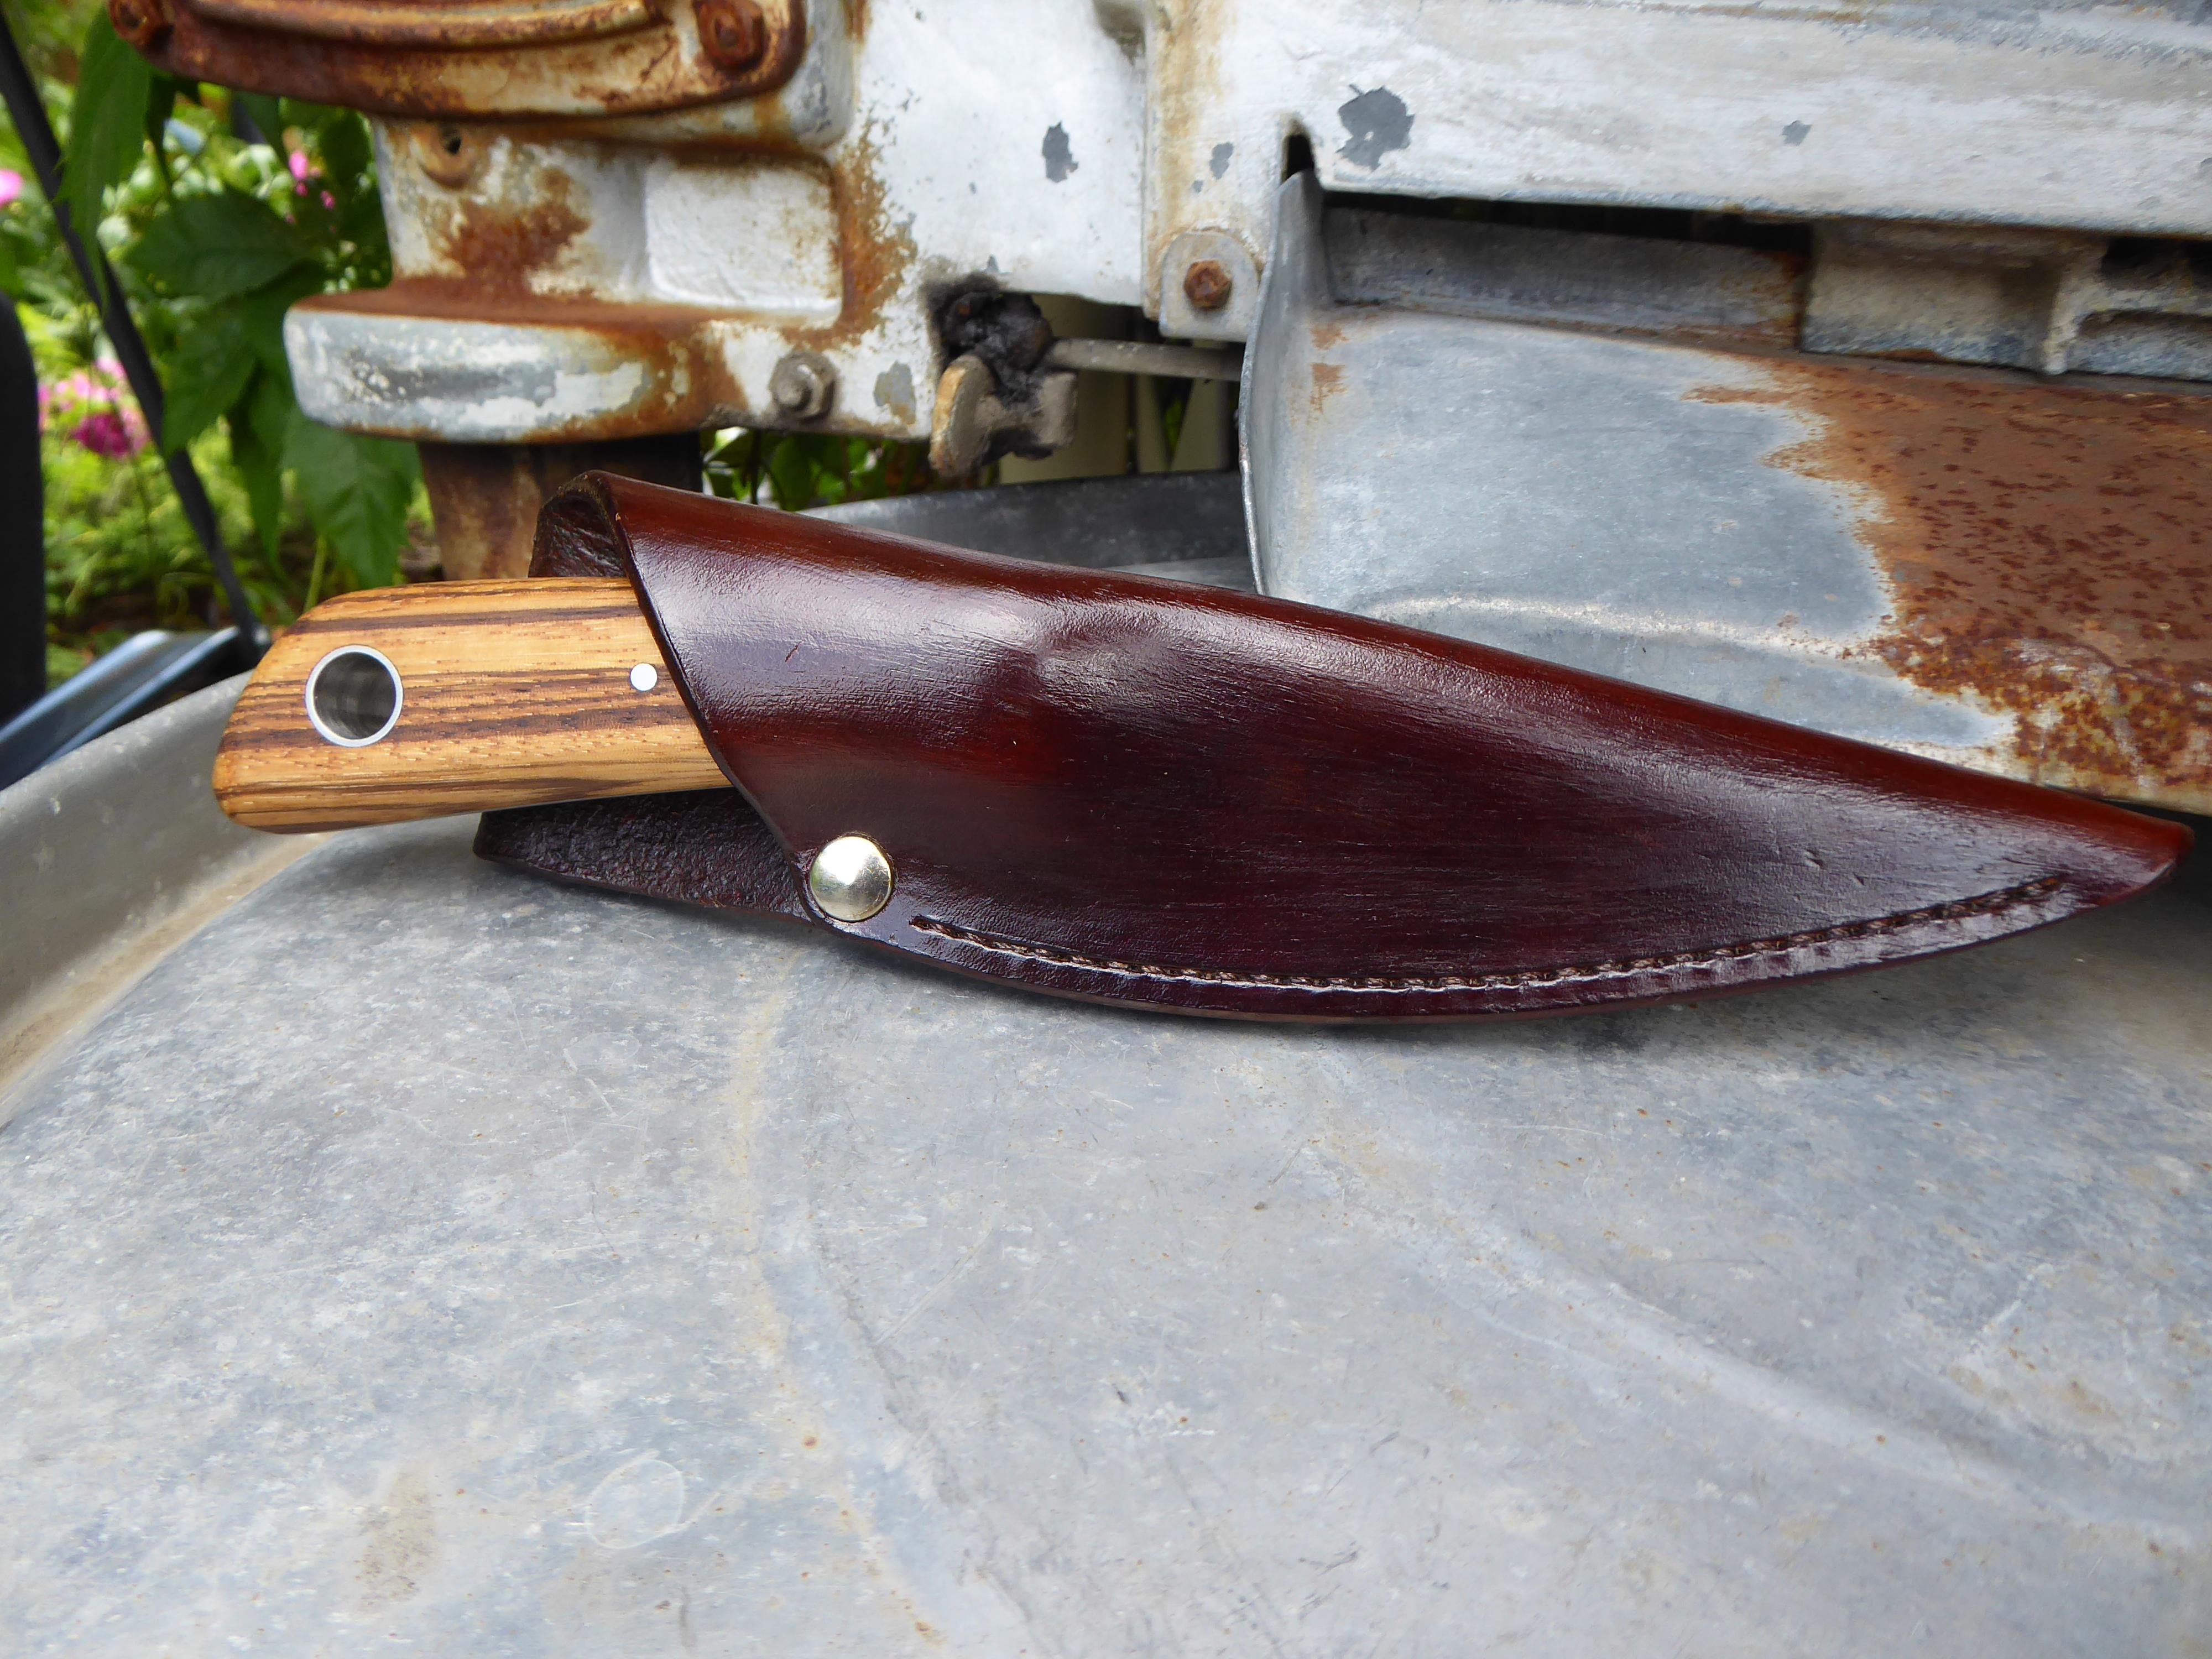
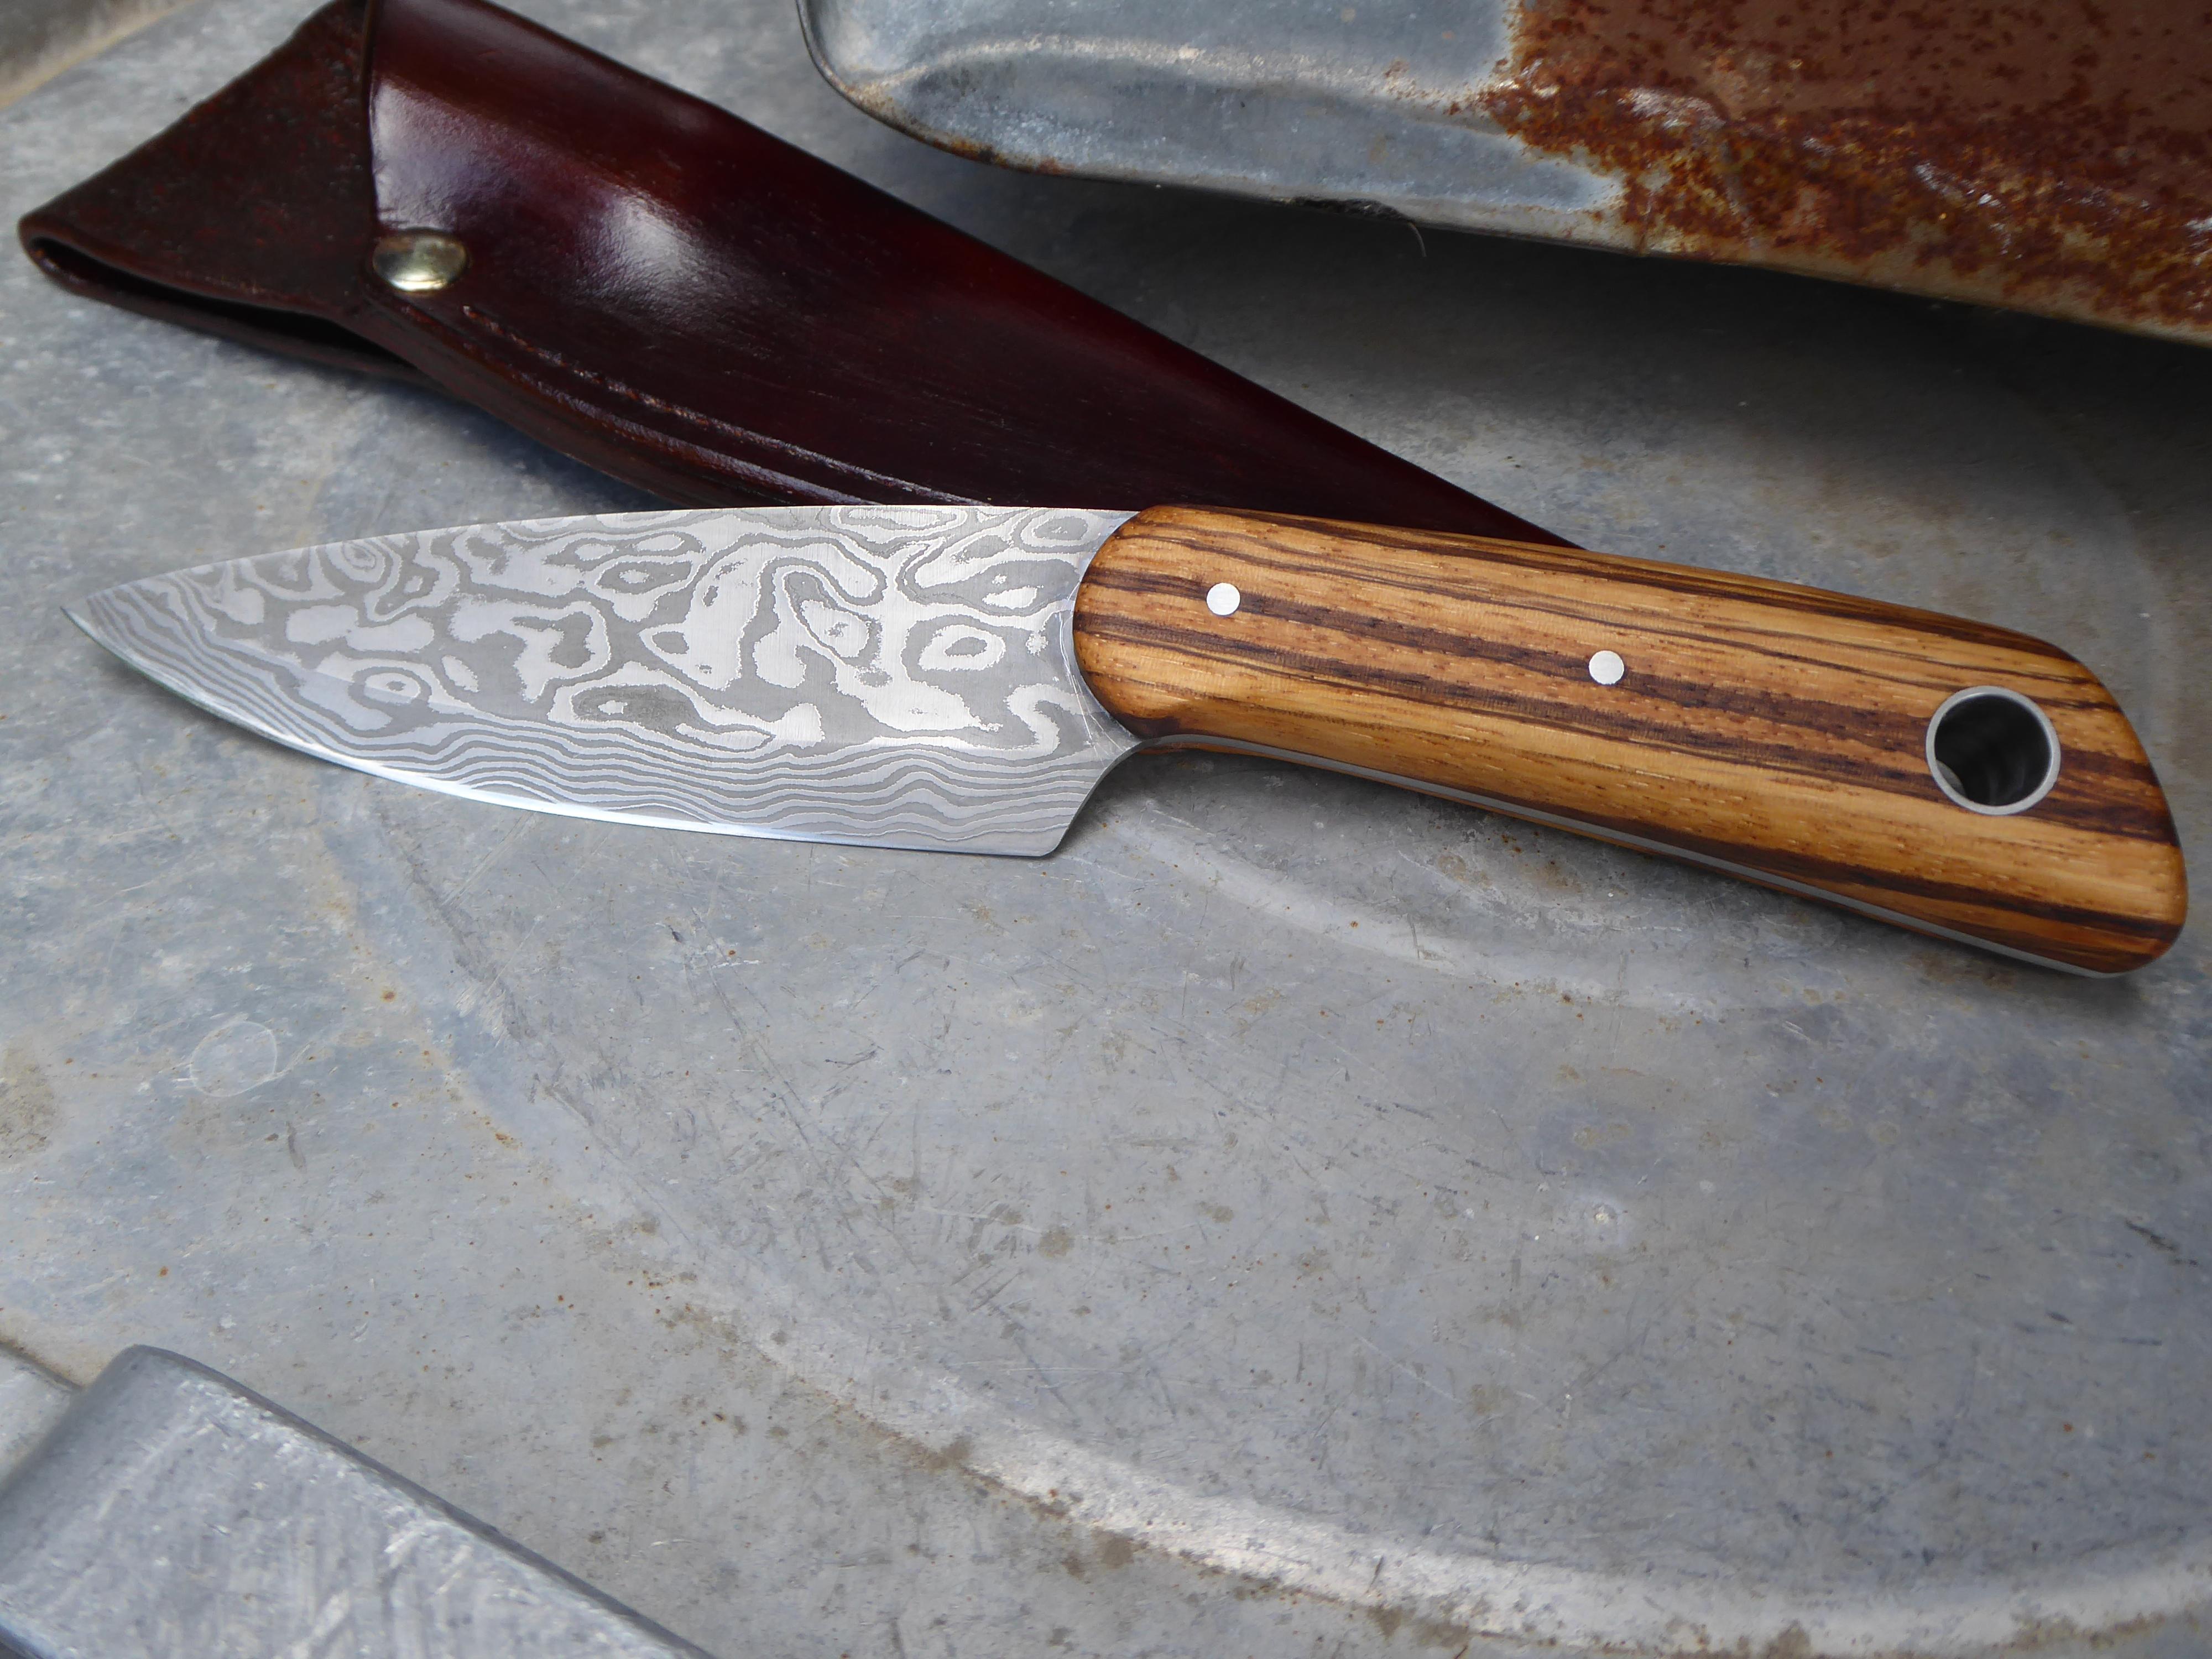
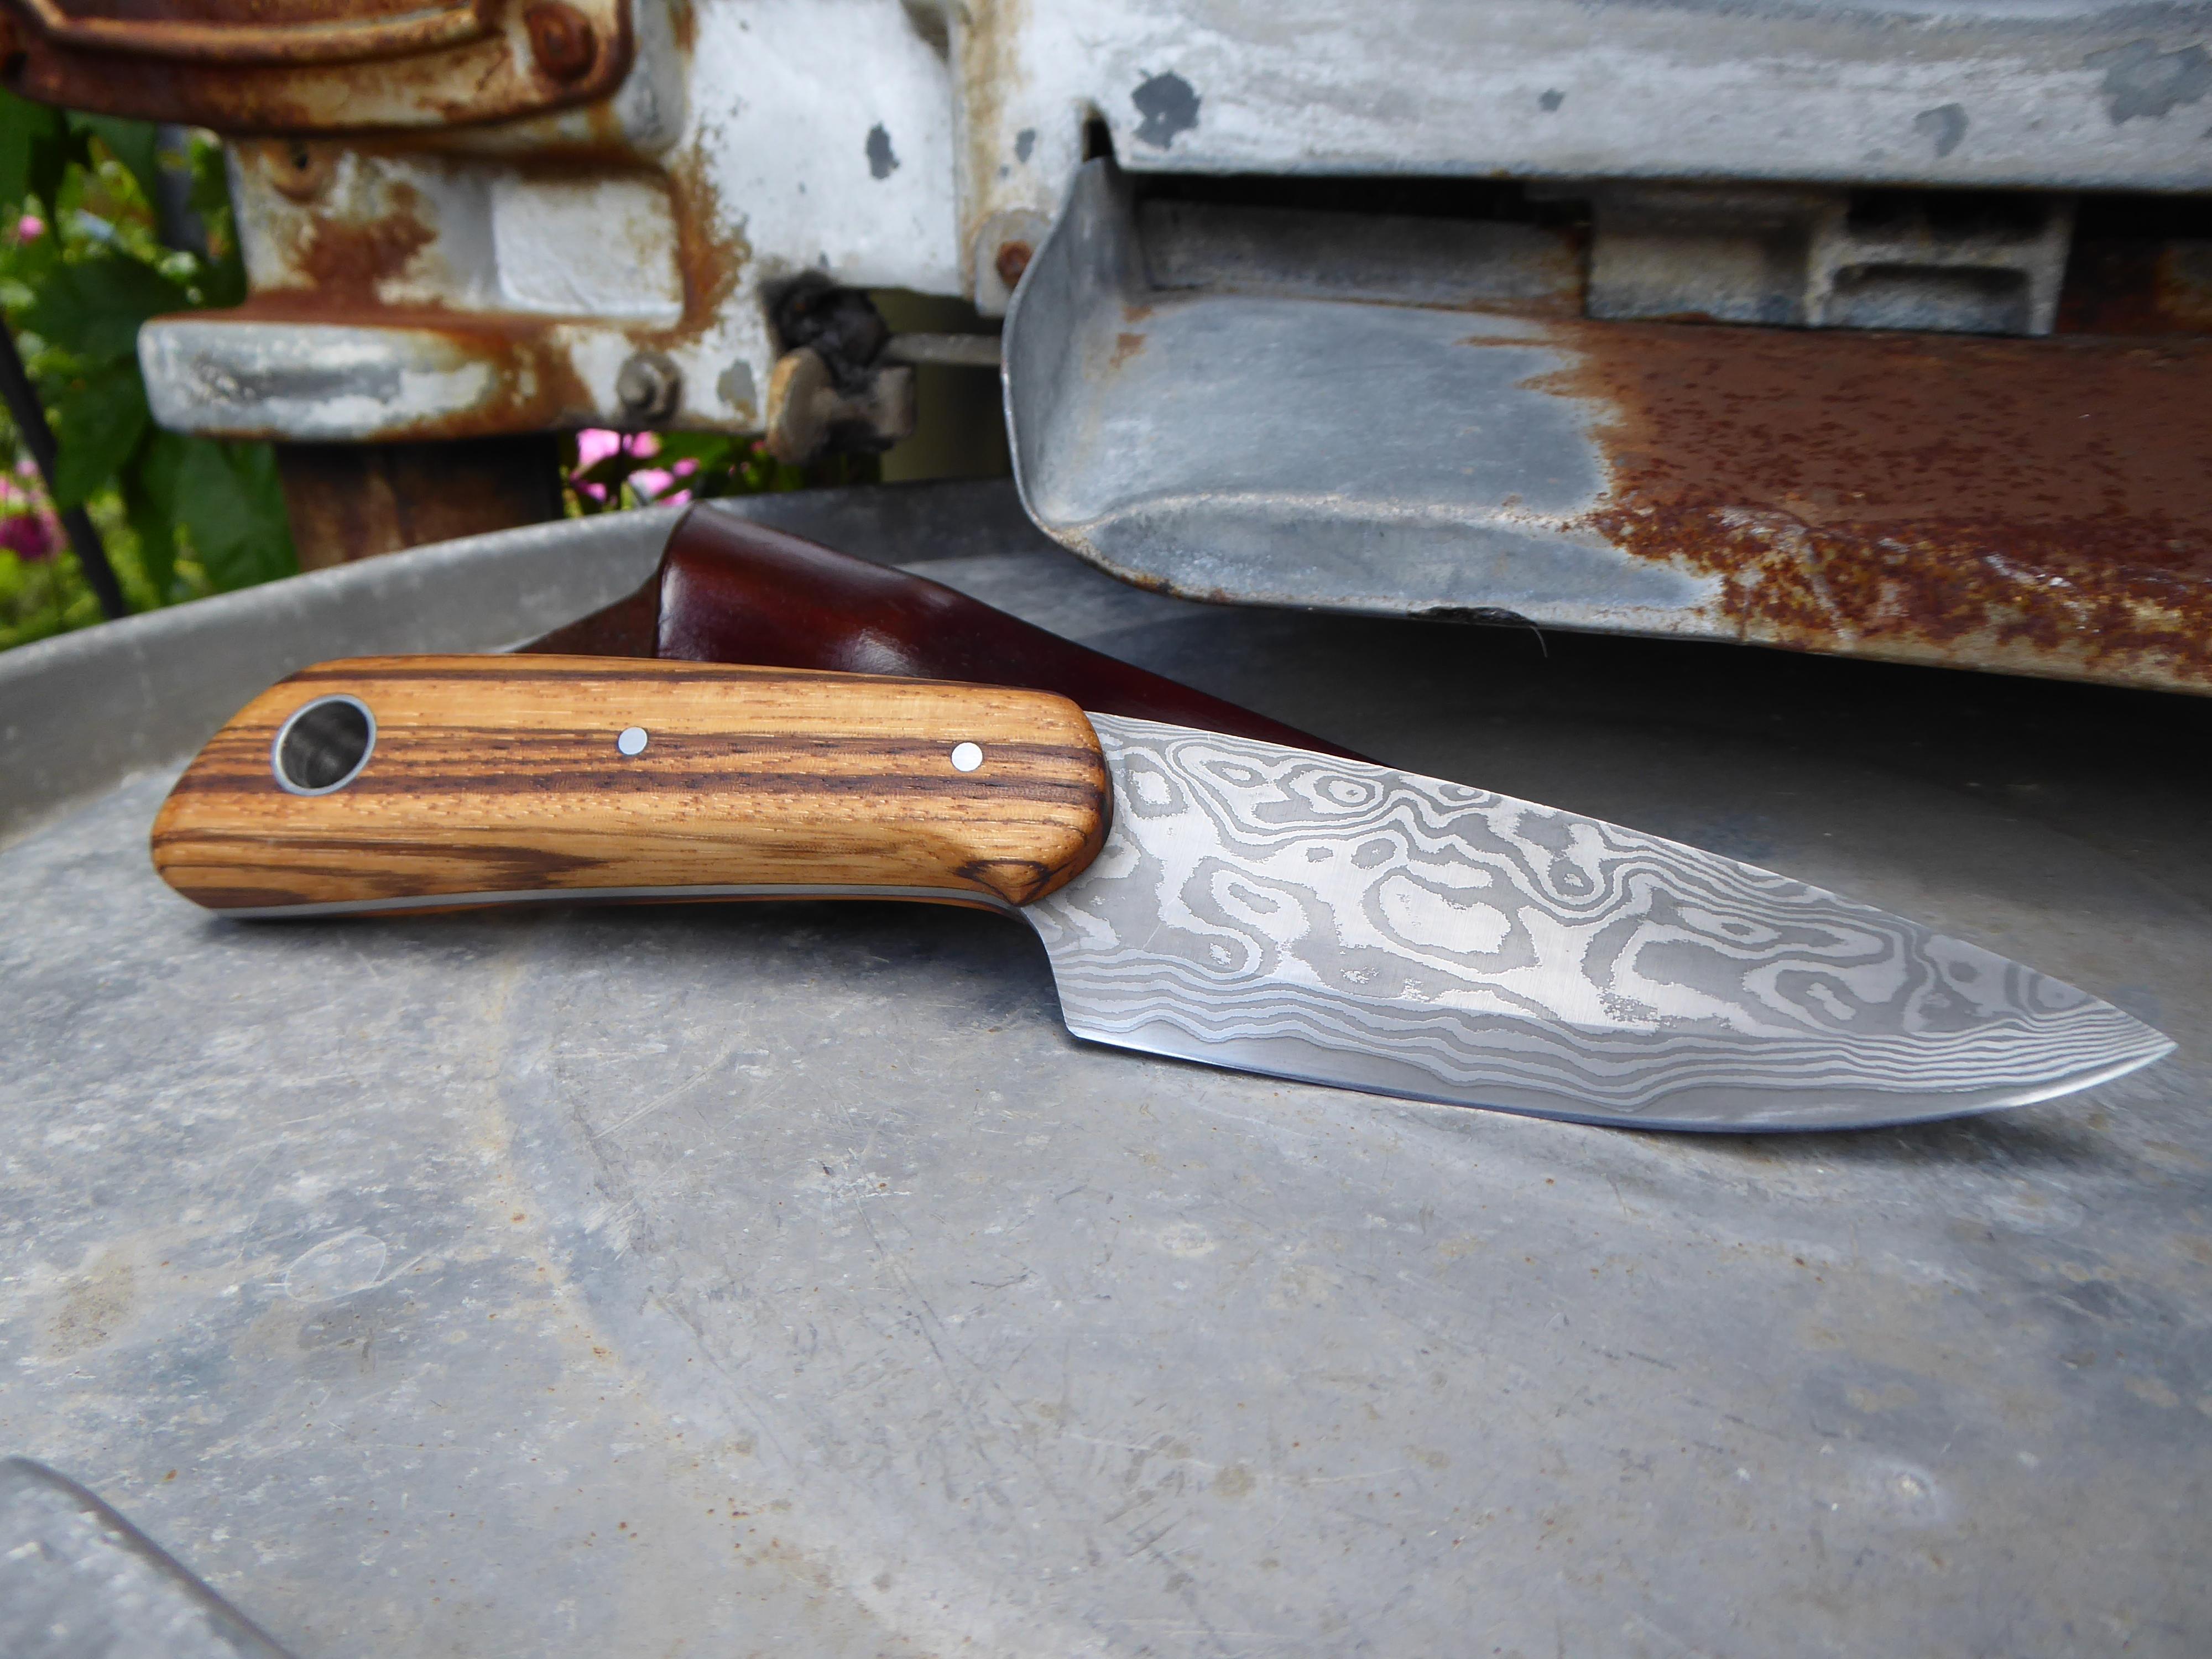
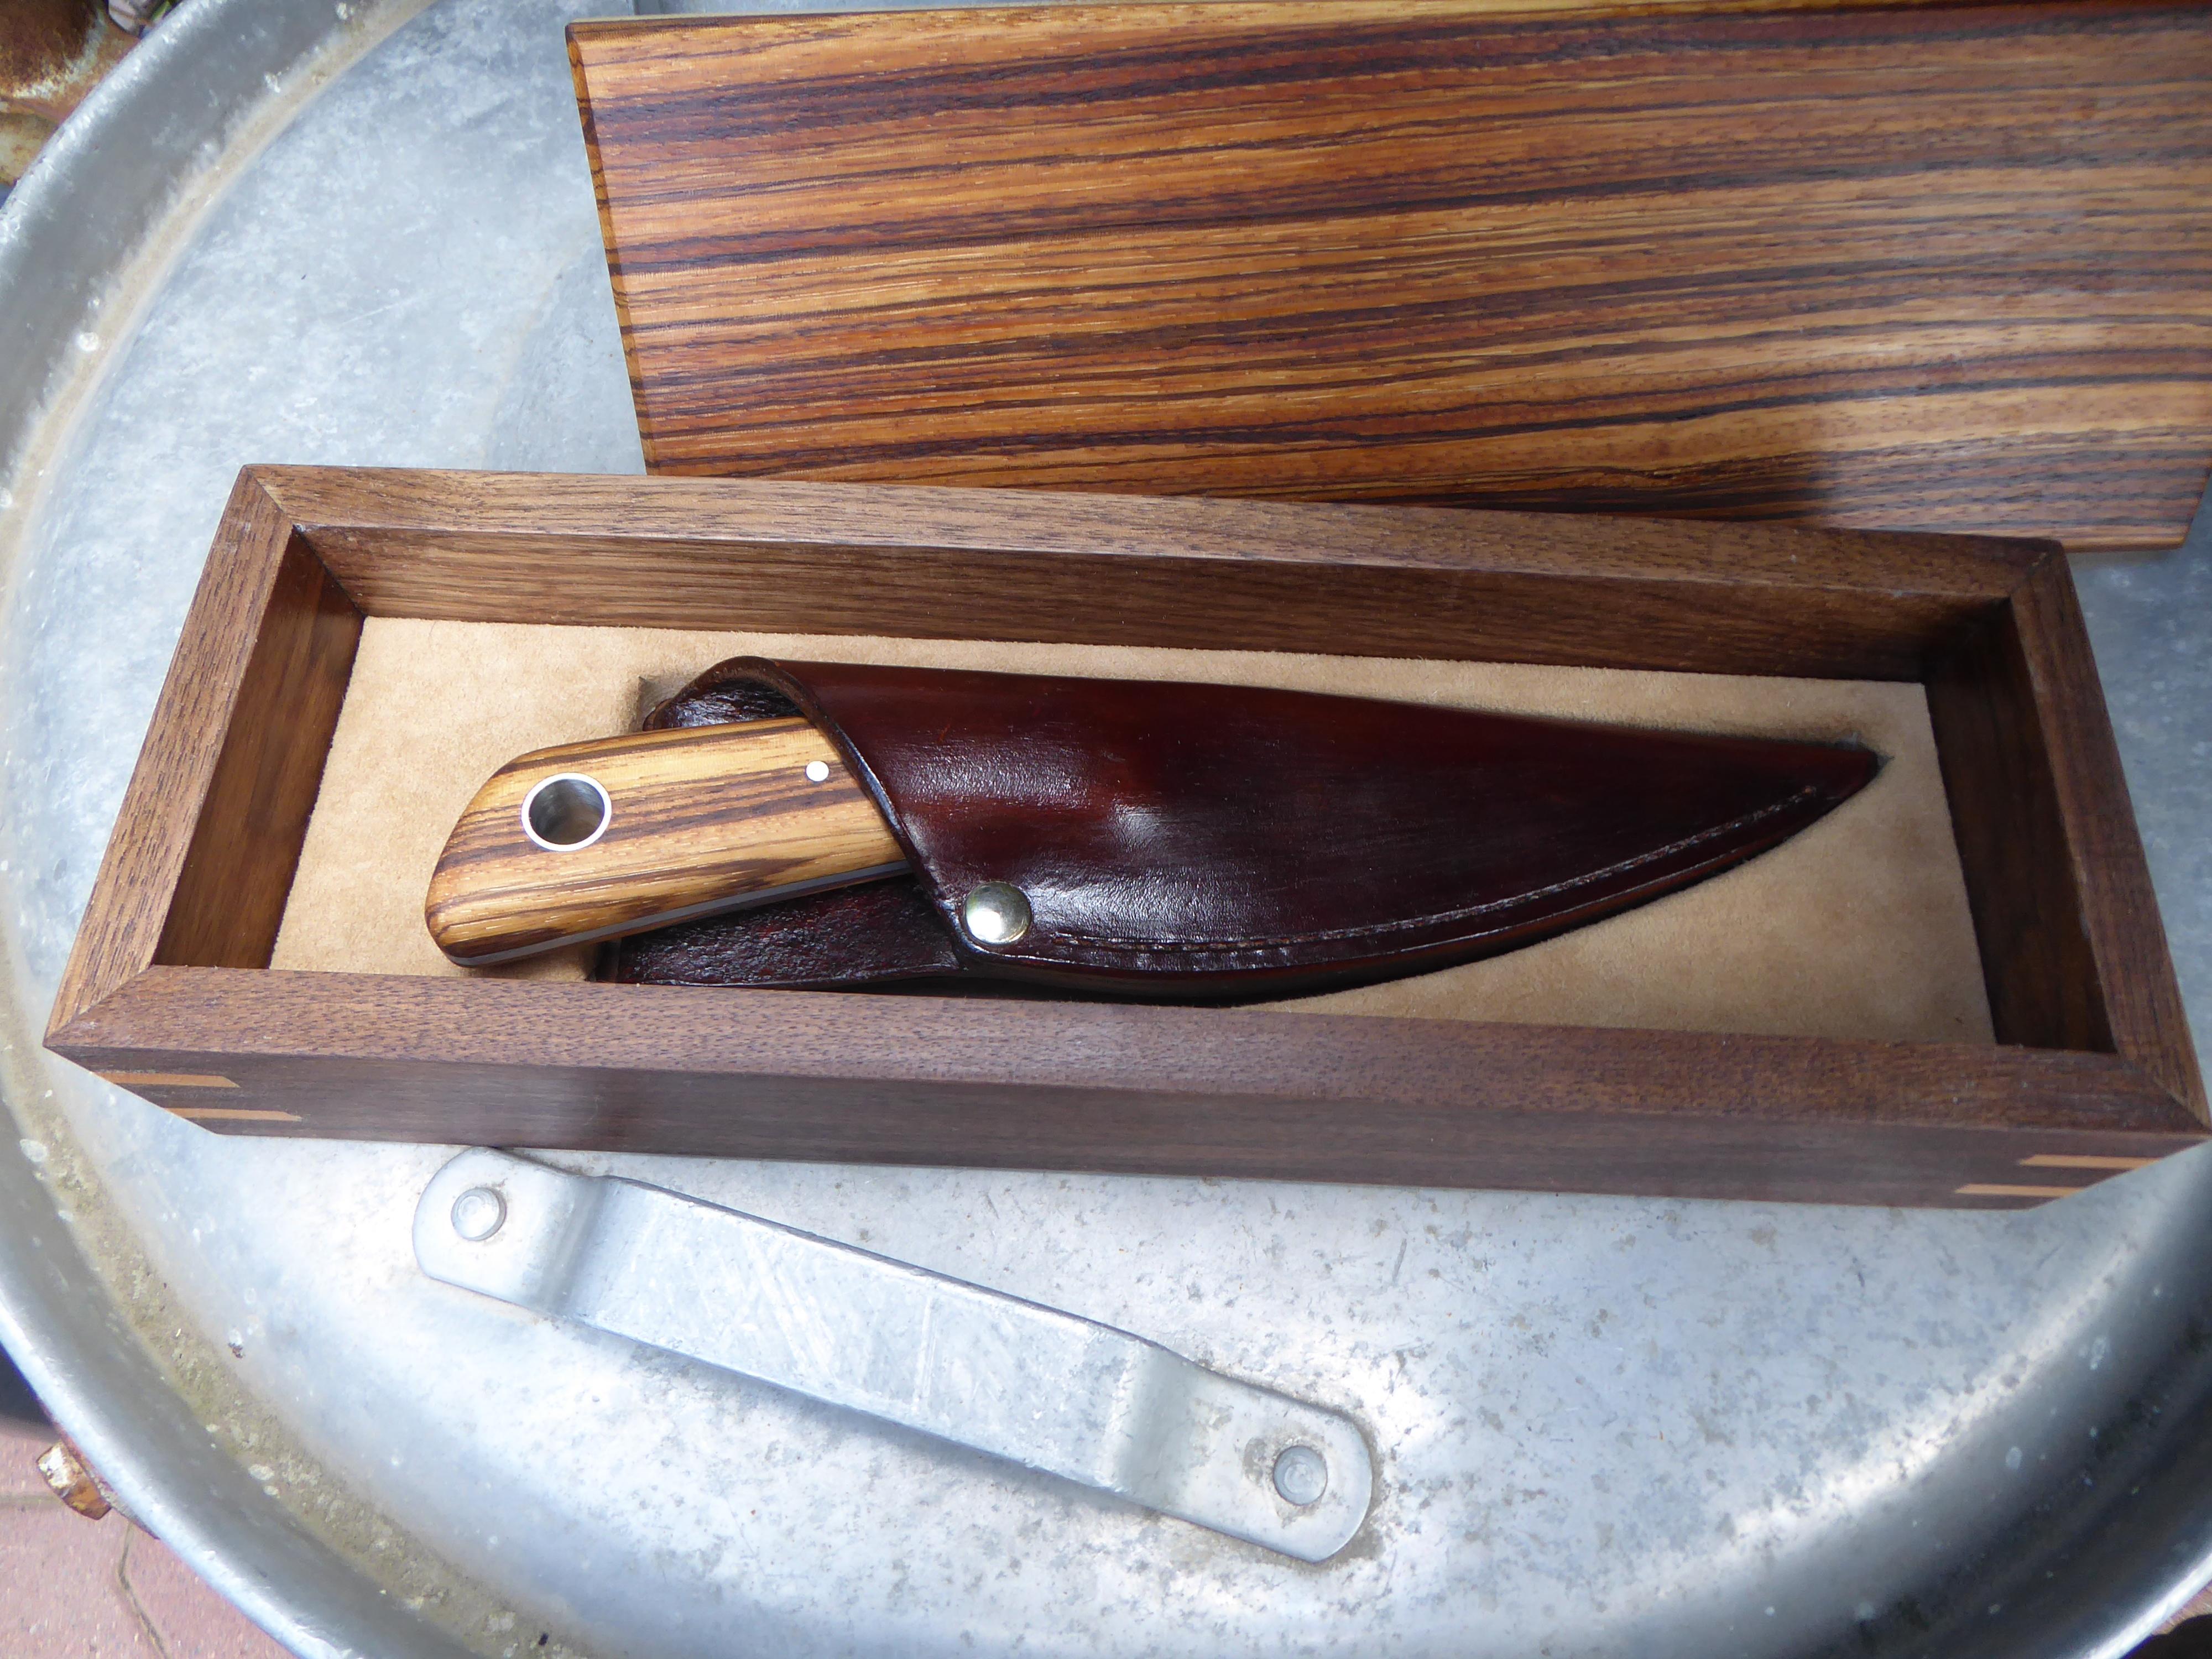
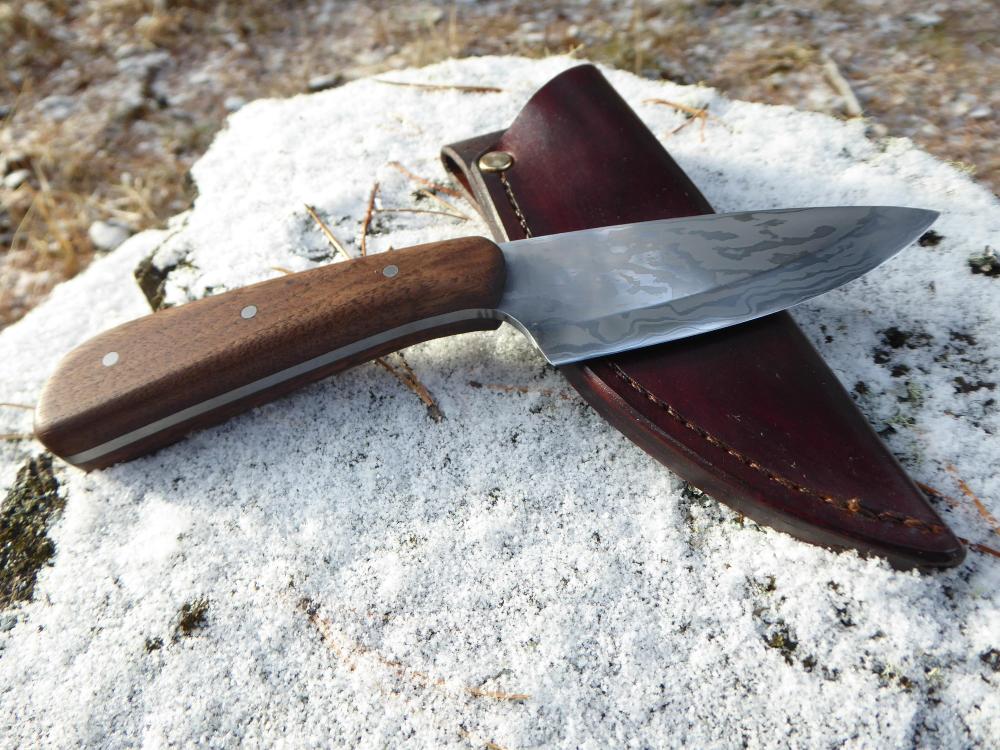
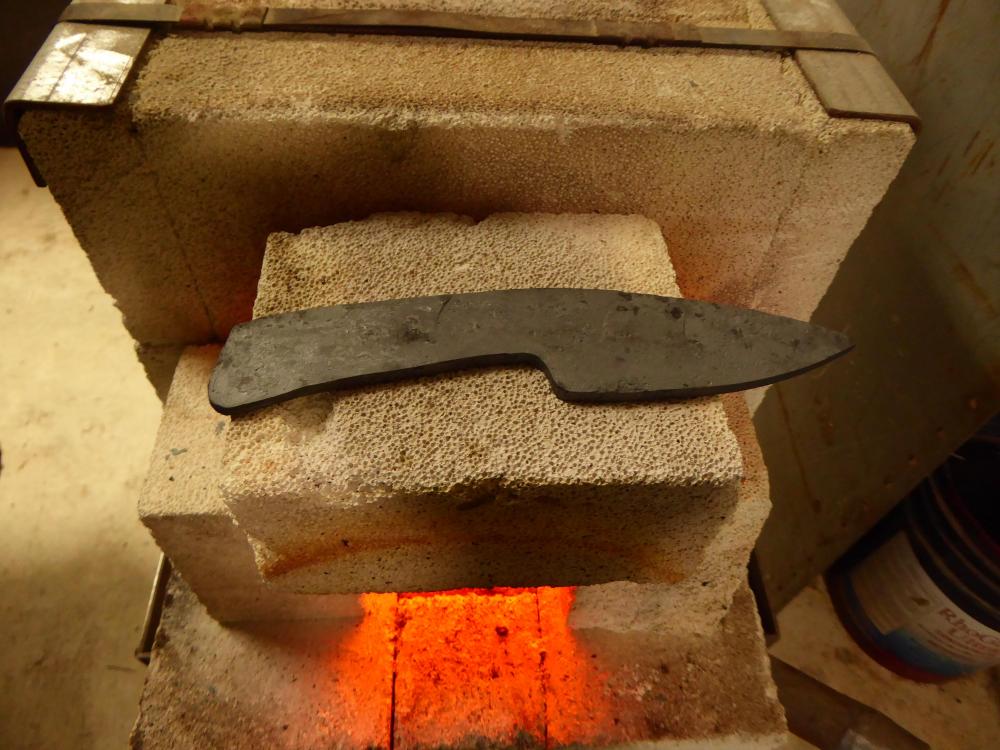
Finished this knife for my dad's 70th birthday this week and gave it to him this weekend. This was my first go at stacked pattern welded steel. To say the least , it was an adventure that took me to the edge of my sanity. I forged 3 blades before I got this one to work, the first one I forged to shape and it cracked at the handle to blade transition but I did like the shape, I believe it had about 29 layers. Then I gave it another try but I thought diddnt have enough steel. But I went ahead anyway and finished forging the second one. No supprise I did not have enough steel to make the shape and size I was after. So then I ordered some more steel to give it another try. While I was waiting for that I made the box and sheath. Then i made the 3rd blade and it cracked in the same spot as the first one. This one had about 126 layers and I think I forged it to long and lost too much carbon because it wouldn't harden properly. So then I ordered some more steel. "Running out of time now". Anyways, finished the 4th blade 2 days before the party. It has 73 layers but I ground quite a few away as I did not really forge this one to shape to avoid cracking. It is made of 1084 and 15n20 with a 80crv2 San mai center layer. The box is black walnut and maple with a zebra wood top, handle is also zeebra wood. The blade was etched in warm muriatic acid for 10 minutes. Also had some cracks and cold shuts in this blade but was able to grind them out. In the end I was happy with the knife and it was quite the learning experience.


-
Very cool
-
Good call. Didn't think of that.
-
Hey Haven't posted in a while but had some thing happen a while ago that I thought I would mention. I have a cotton wheel on one of my bench grinders that I use for poishing and it sits by my other bench grinder and belt grinder. Anyways, It caught fire from grinder sparks the other day and I diddn't notice until I came back in the shop 20 min later and it was full of smoke. Just a reminder that they catch fire very easily and can smolder undetected. Also is something most people have at there grinding stations. I now take mine off when I am not using it. Cheers
-

Show me your Bottle Openers!
Jonah k replied to Arbalist's topic in Blacksmithing, General Discussion
Made this as a gift this weekend.
-
Nice knife. I like the sheath very nicely done.
-
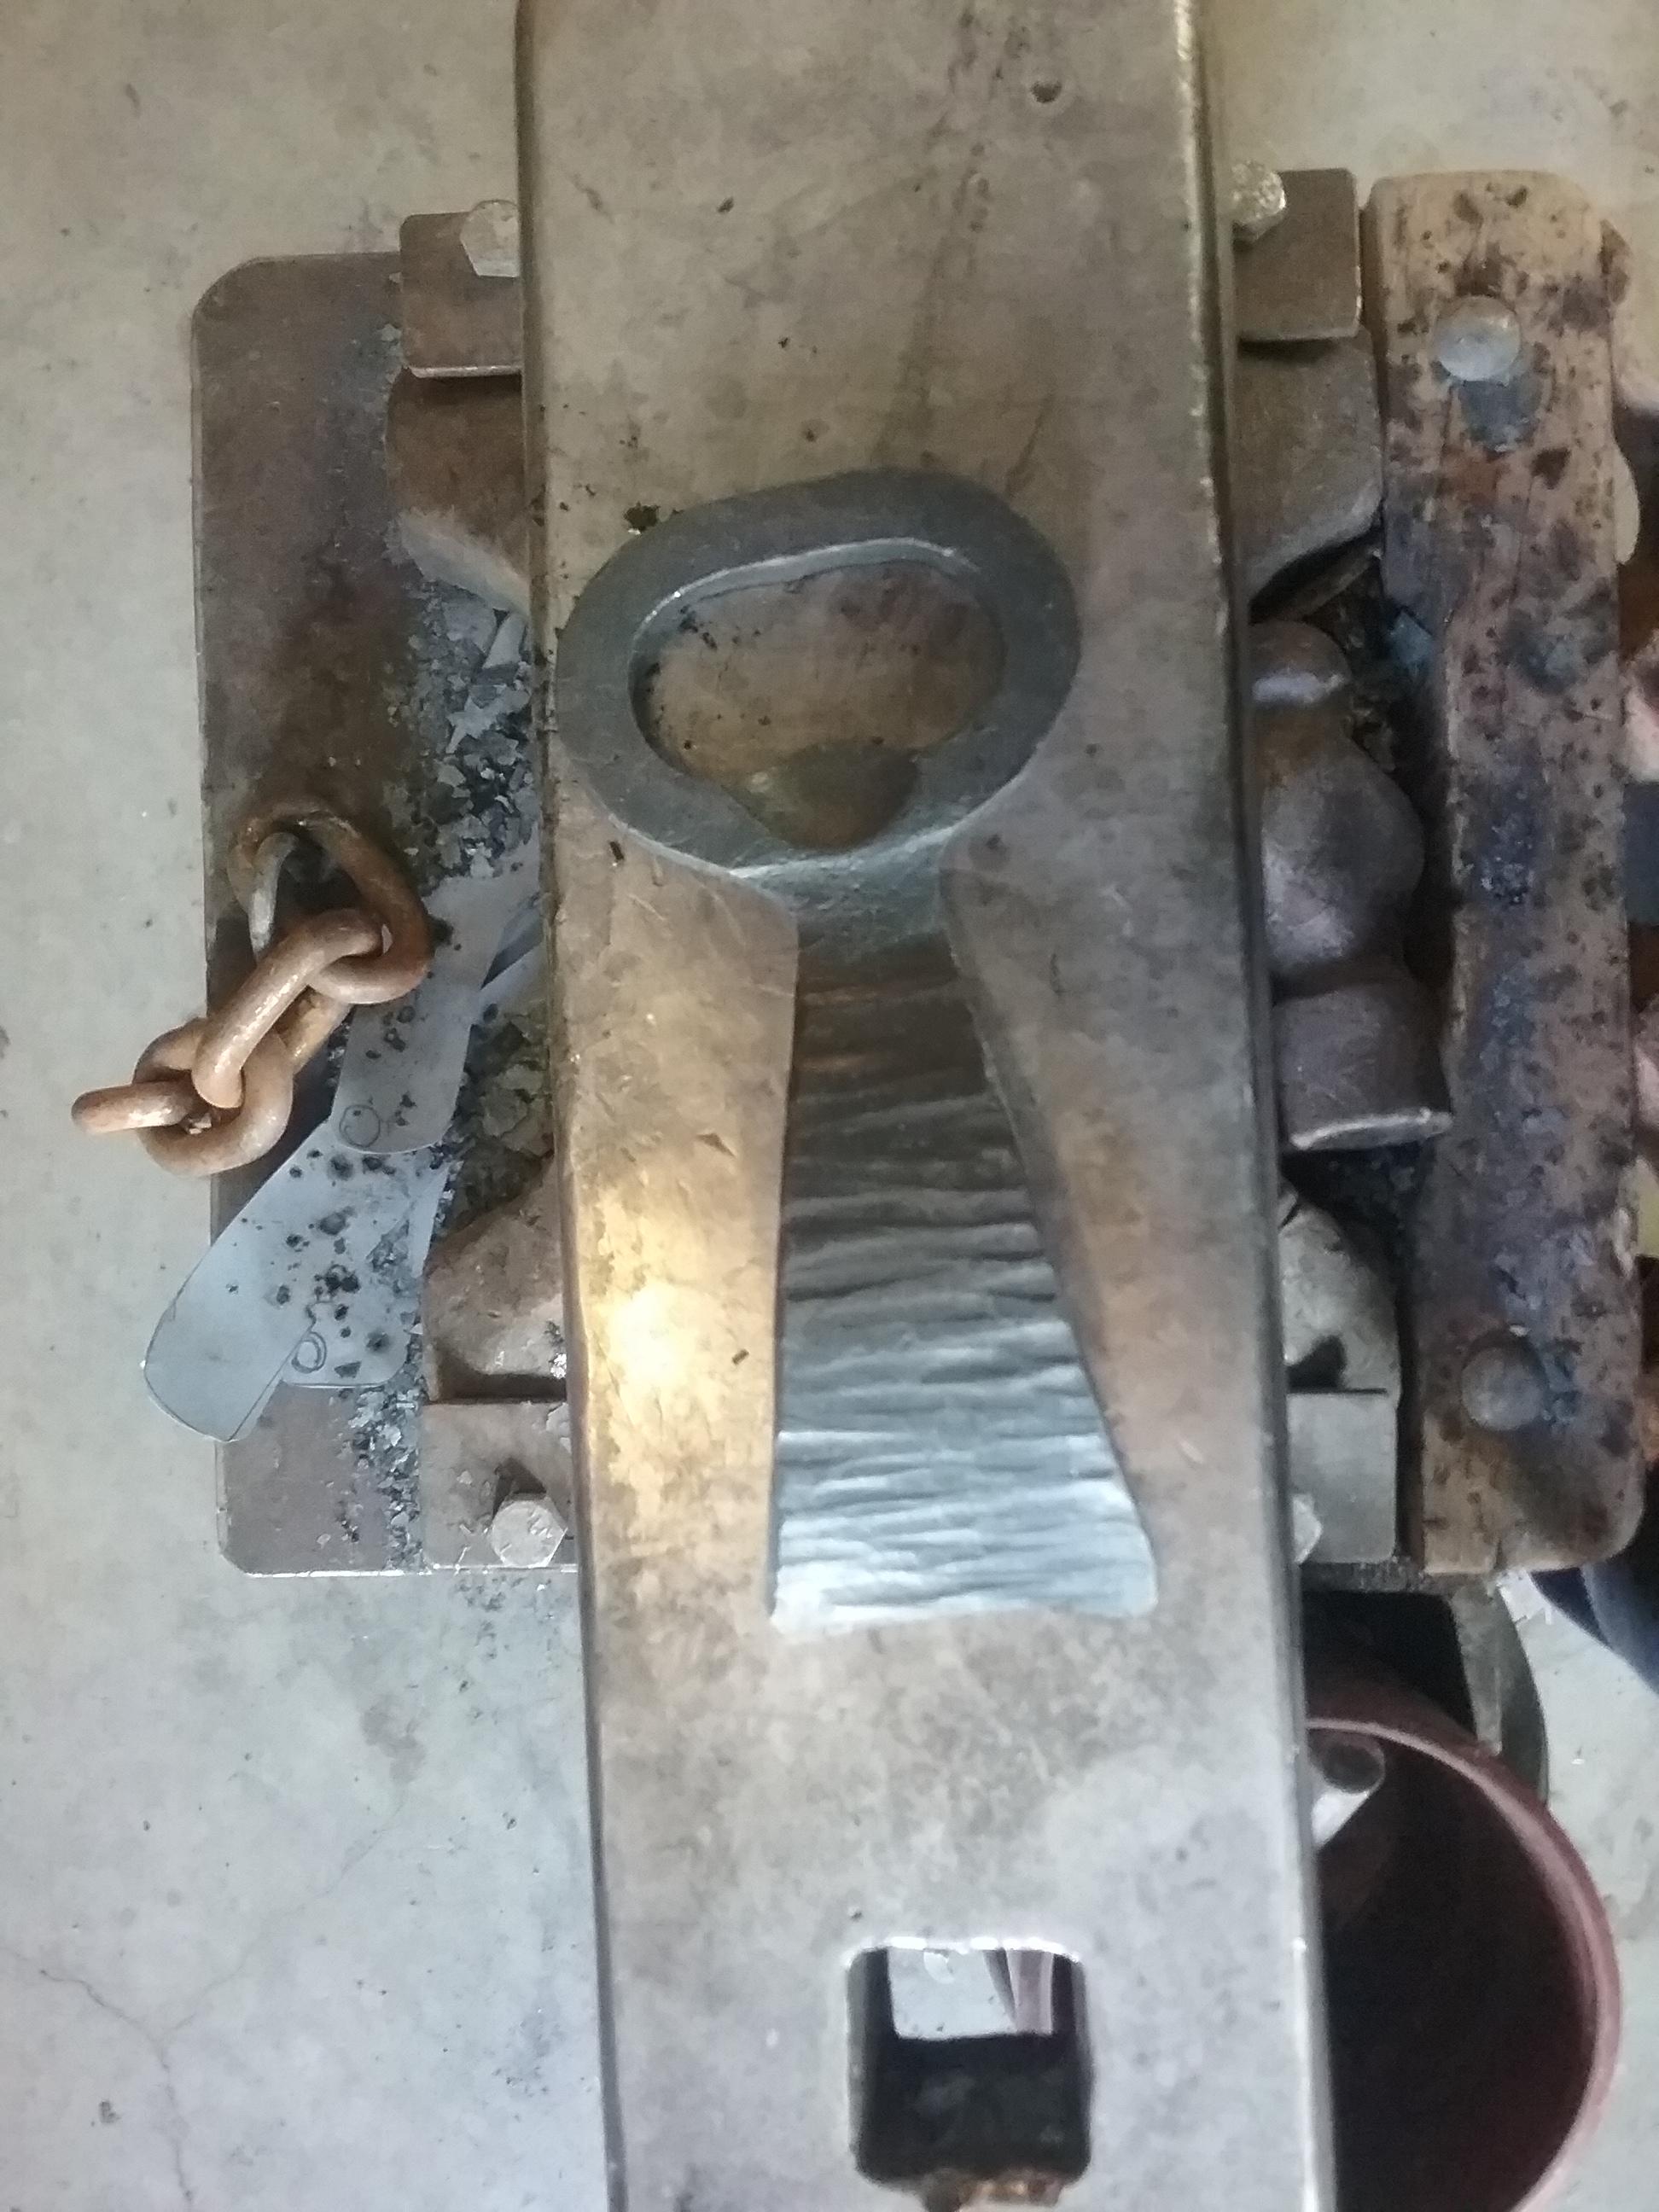
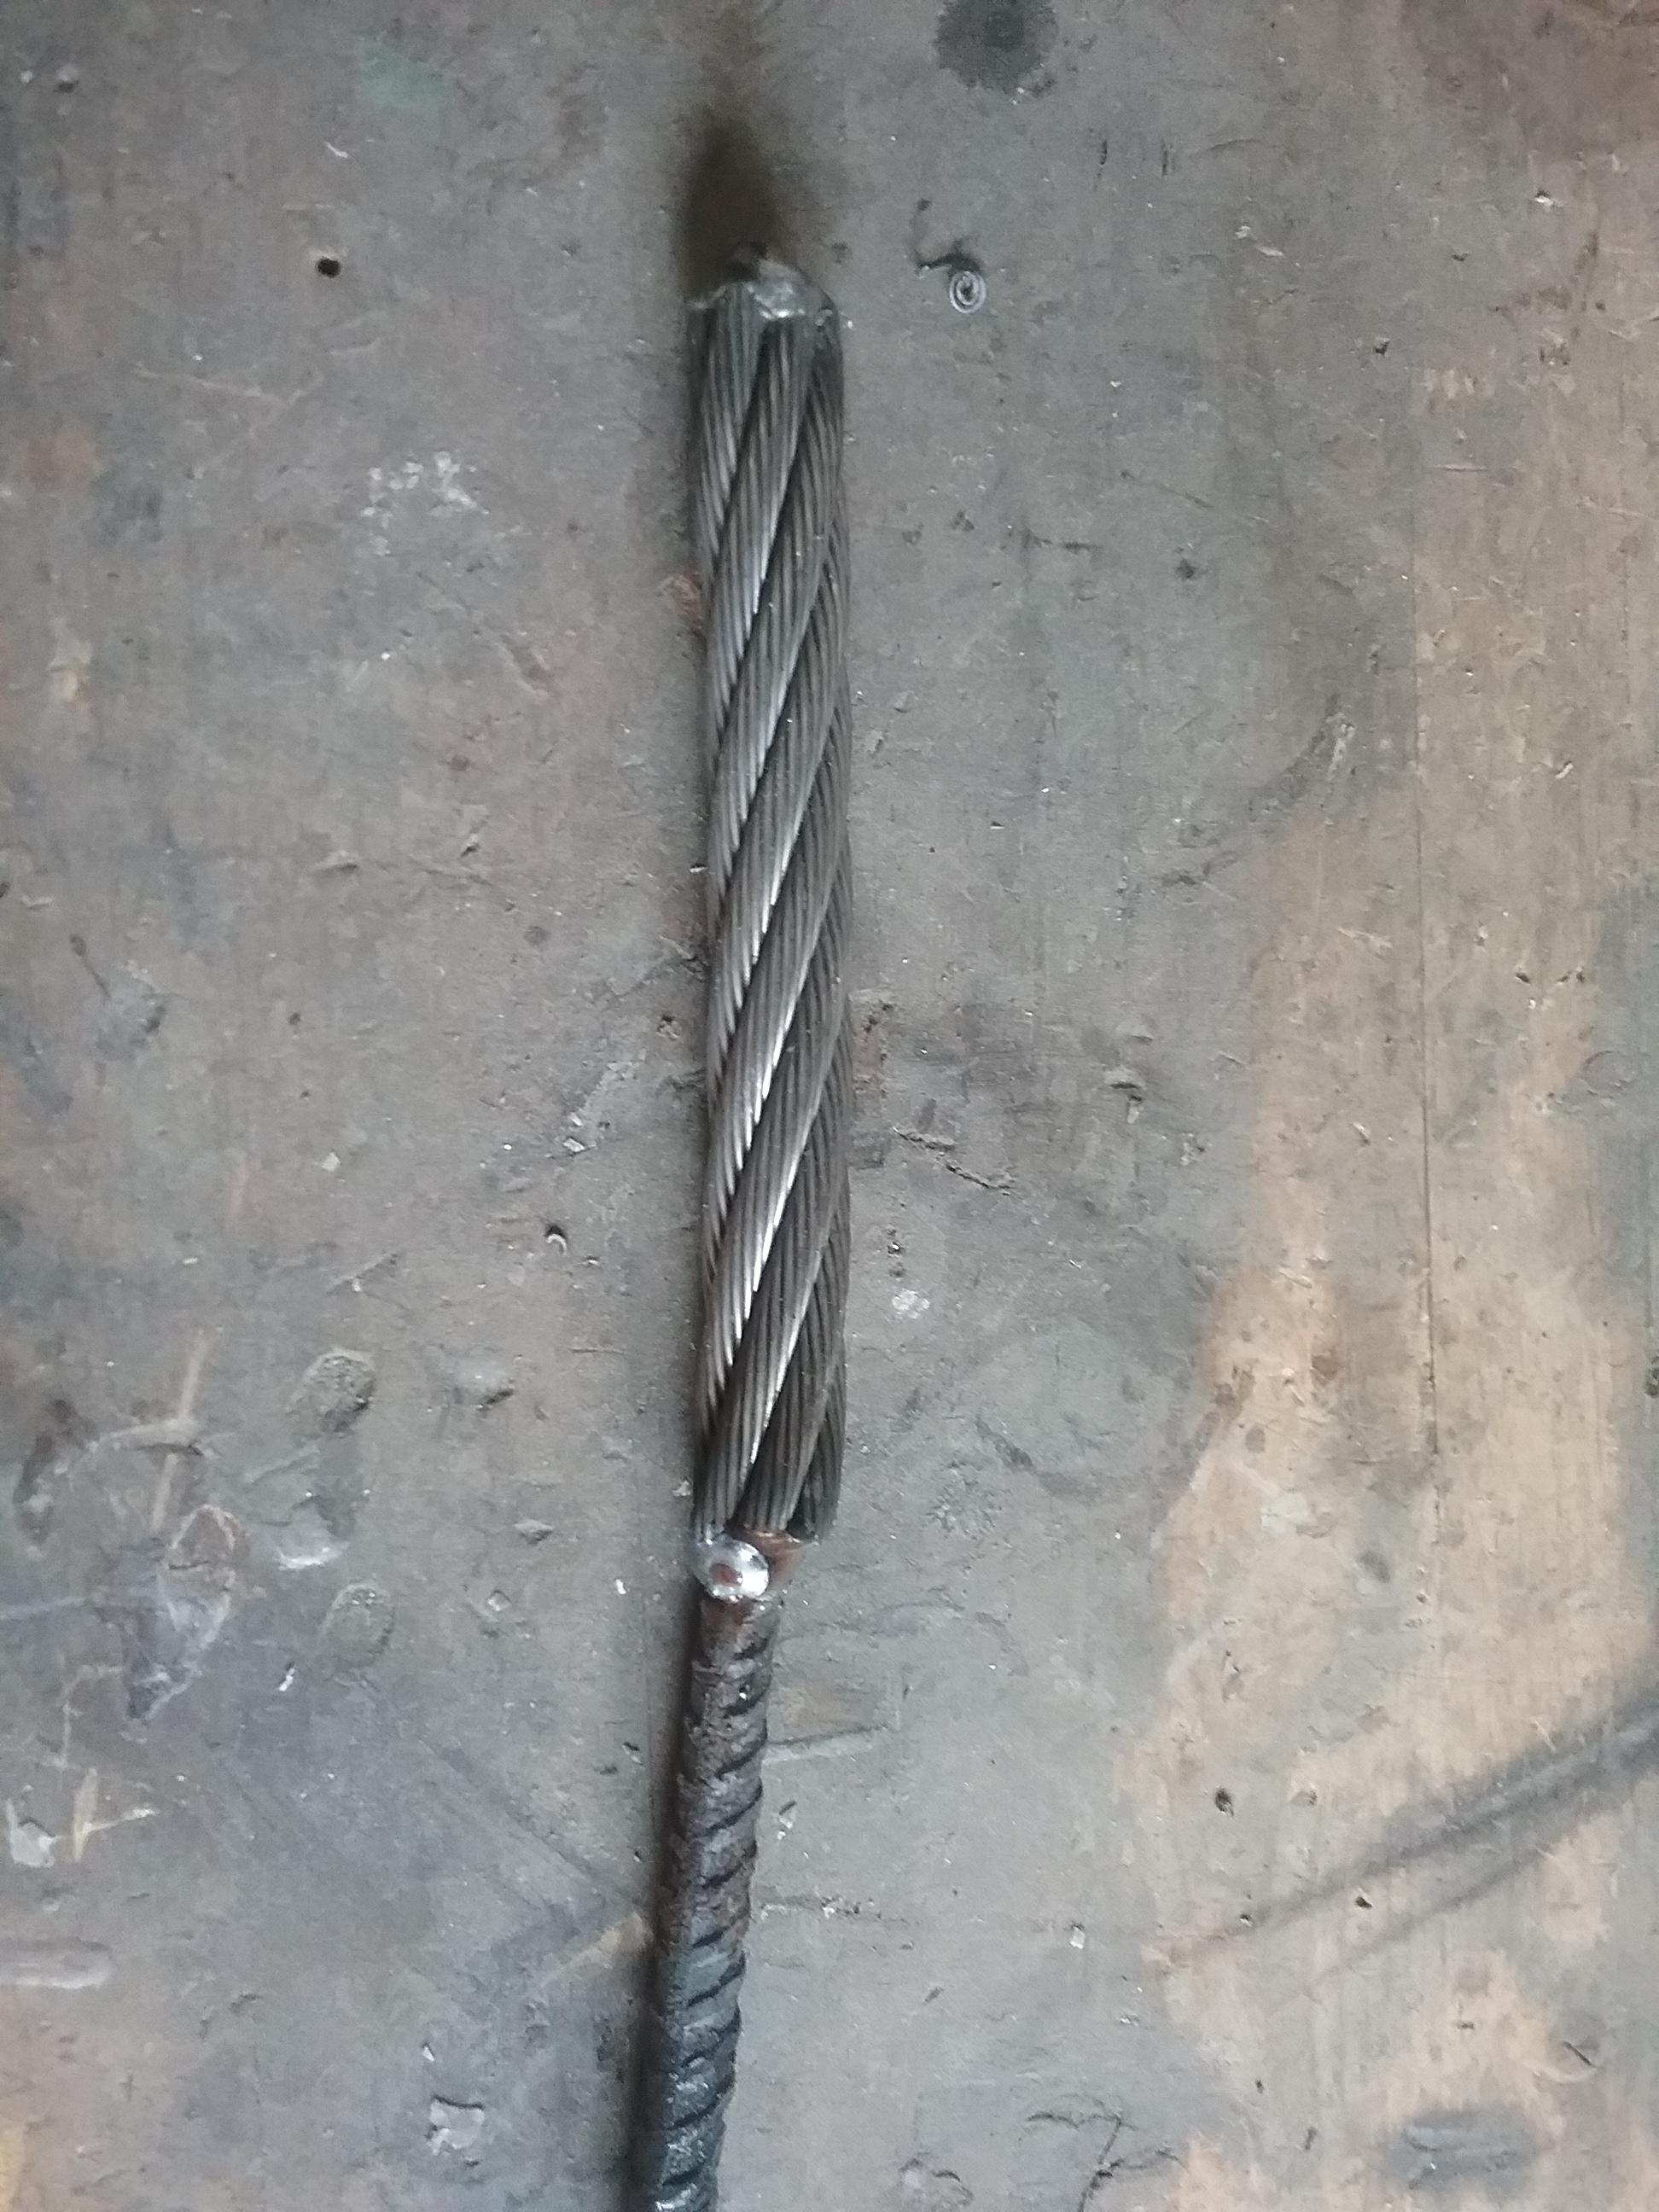
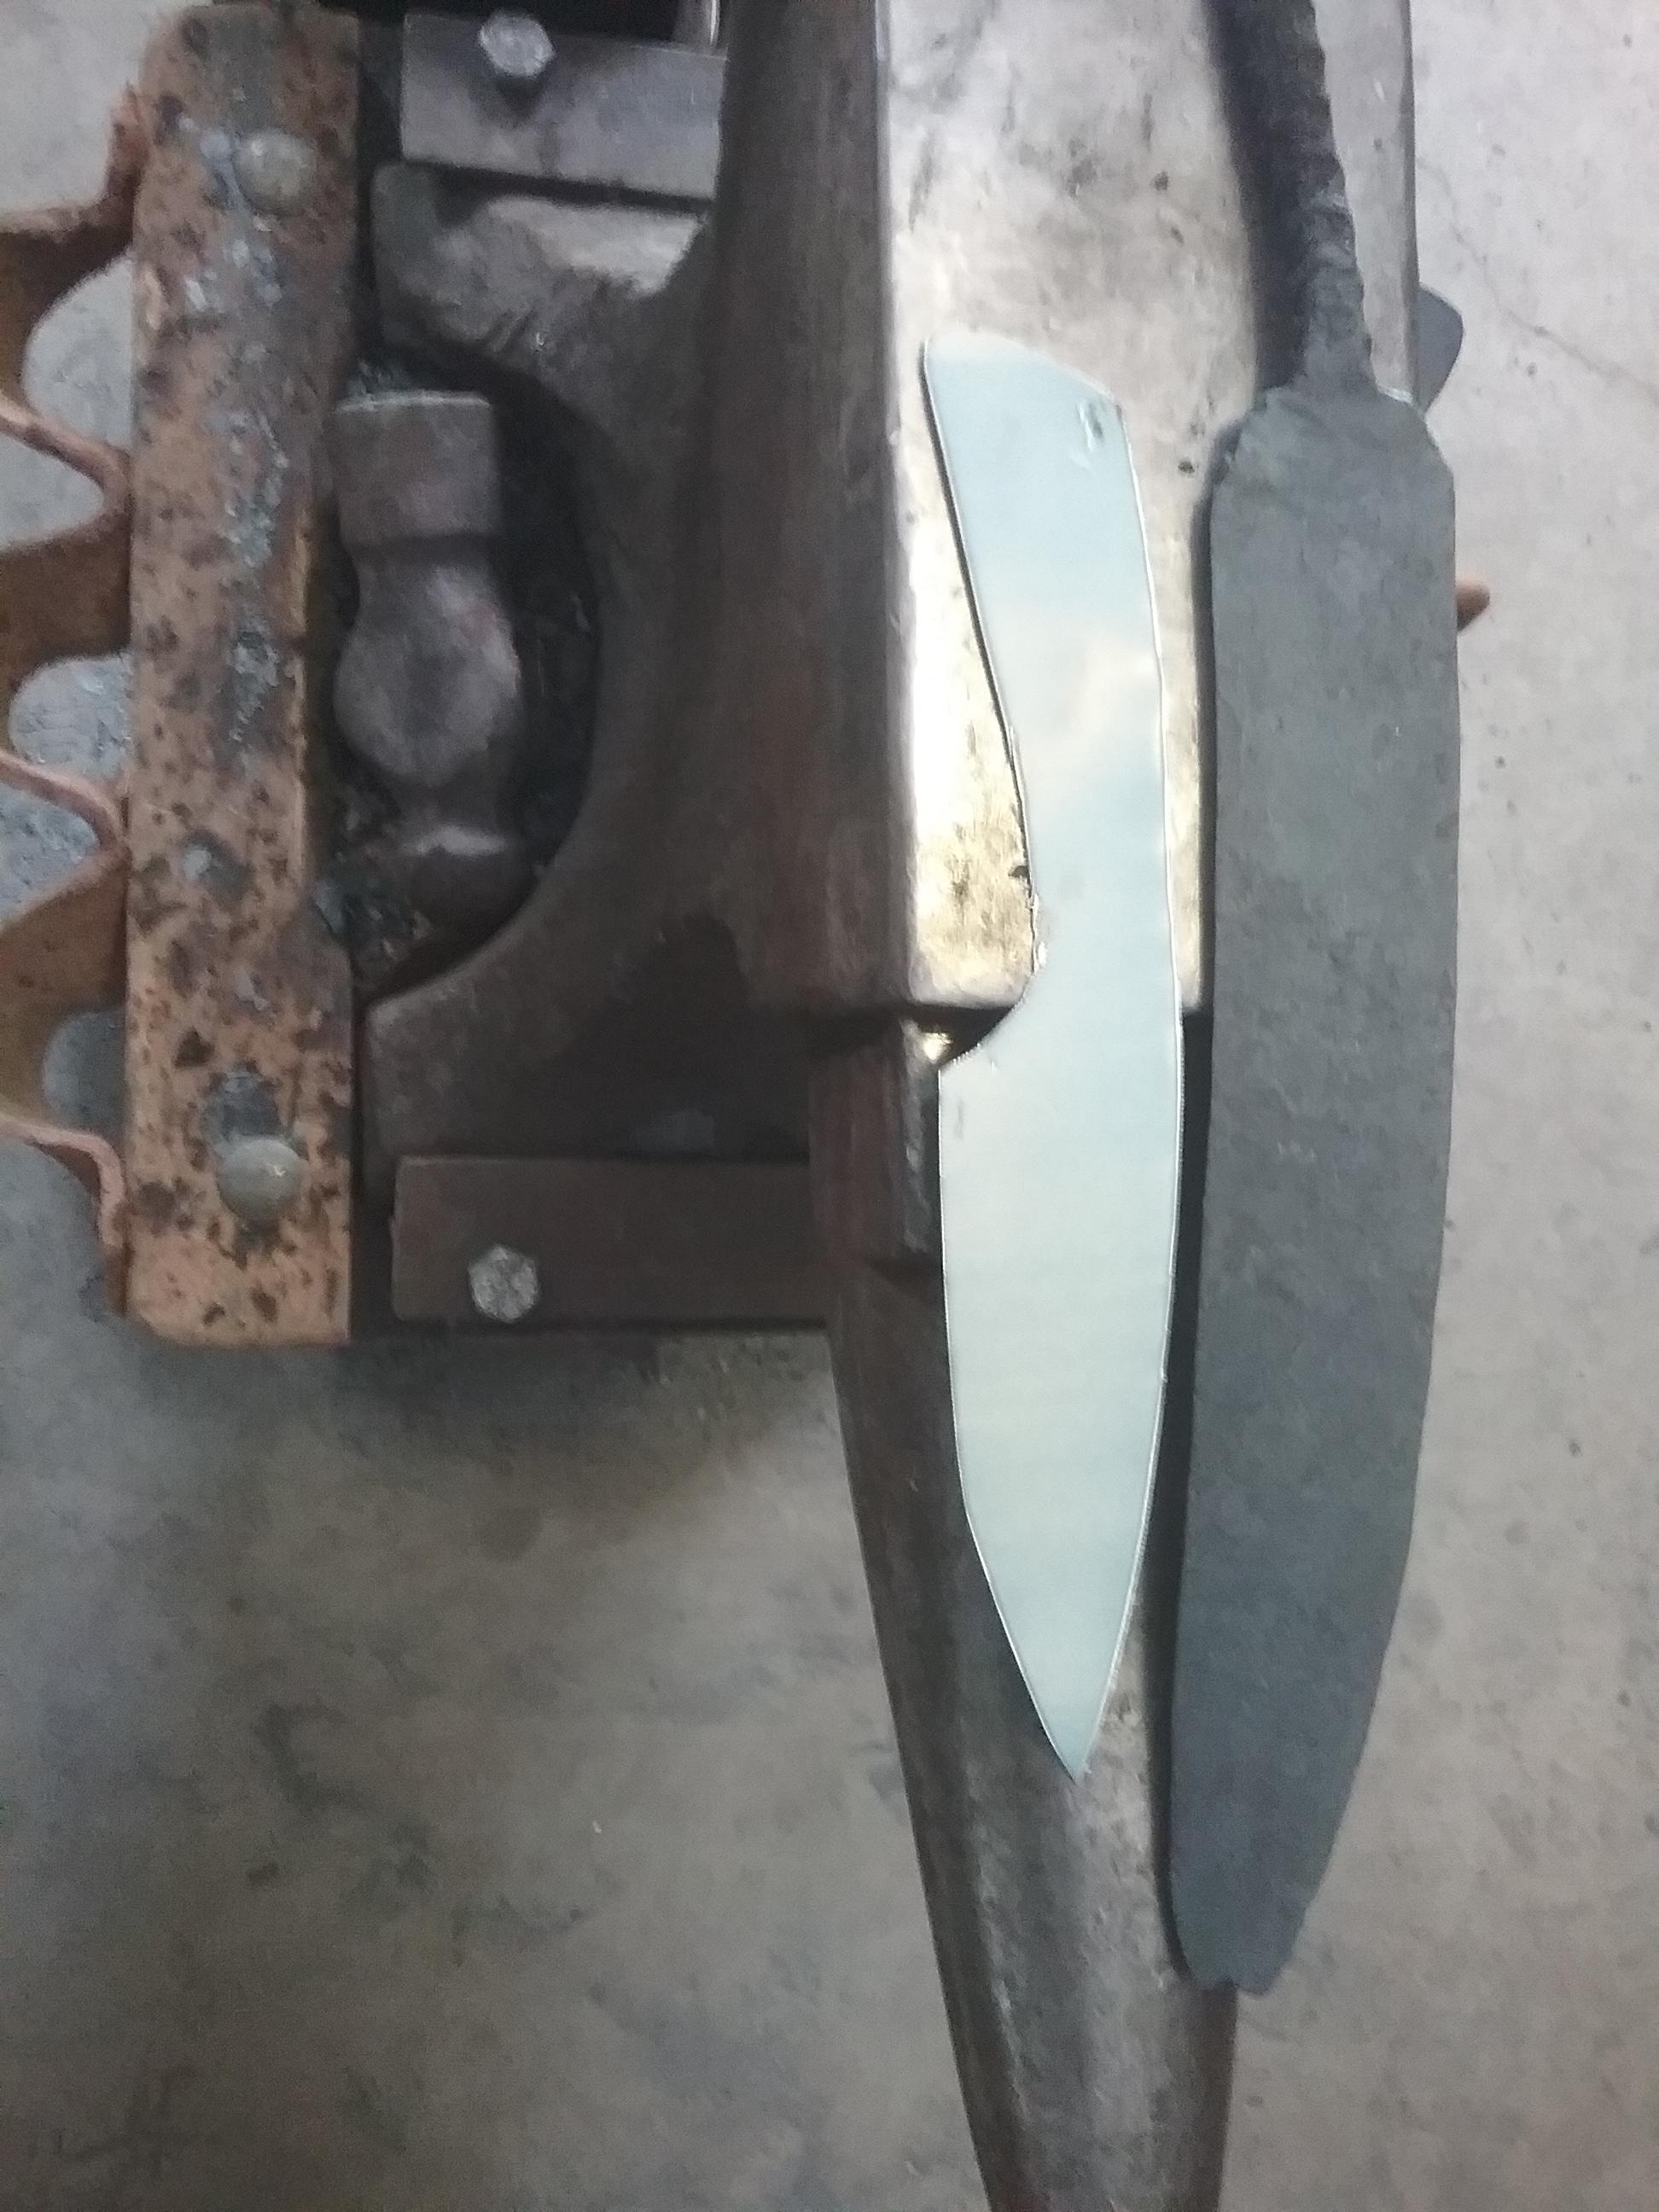
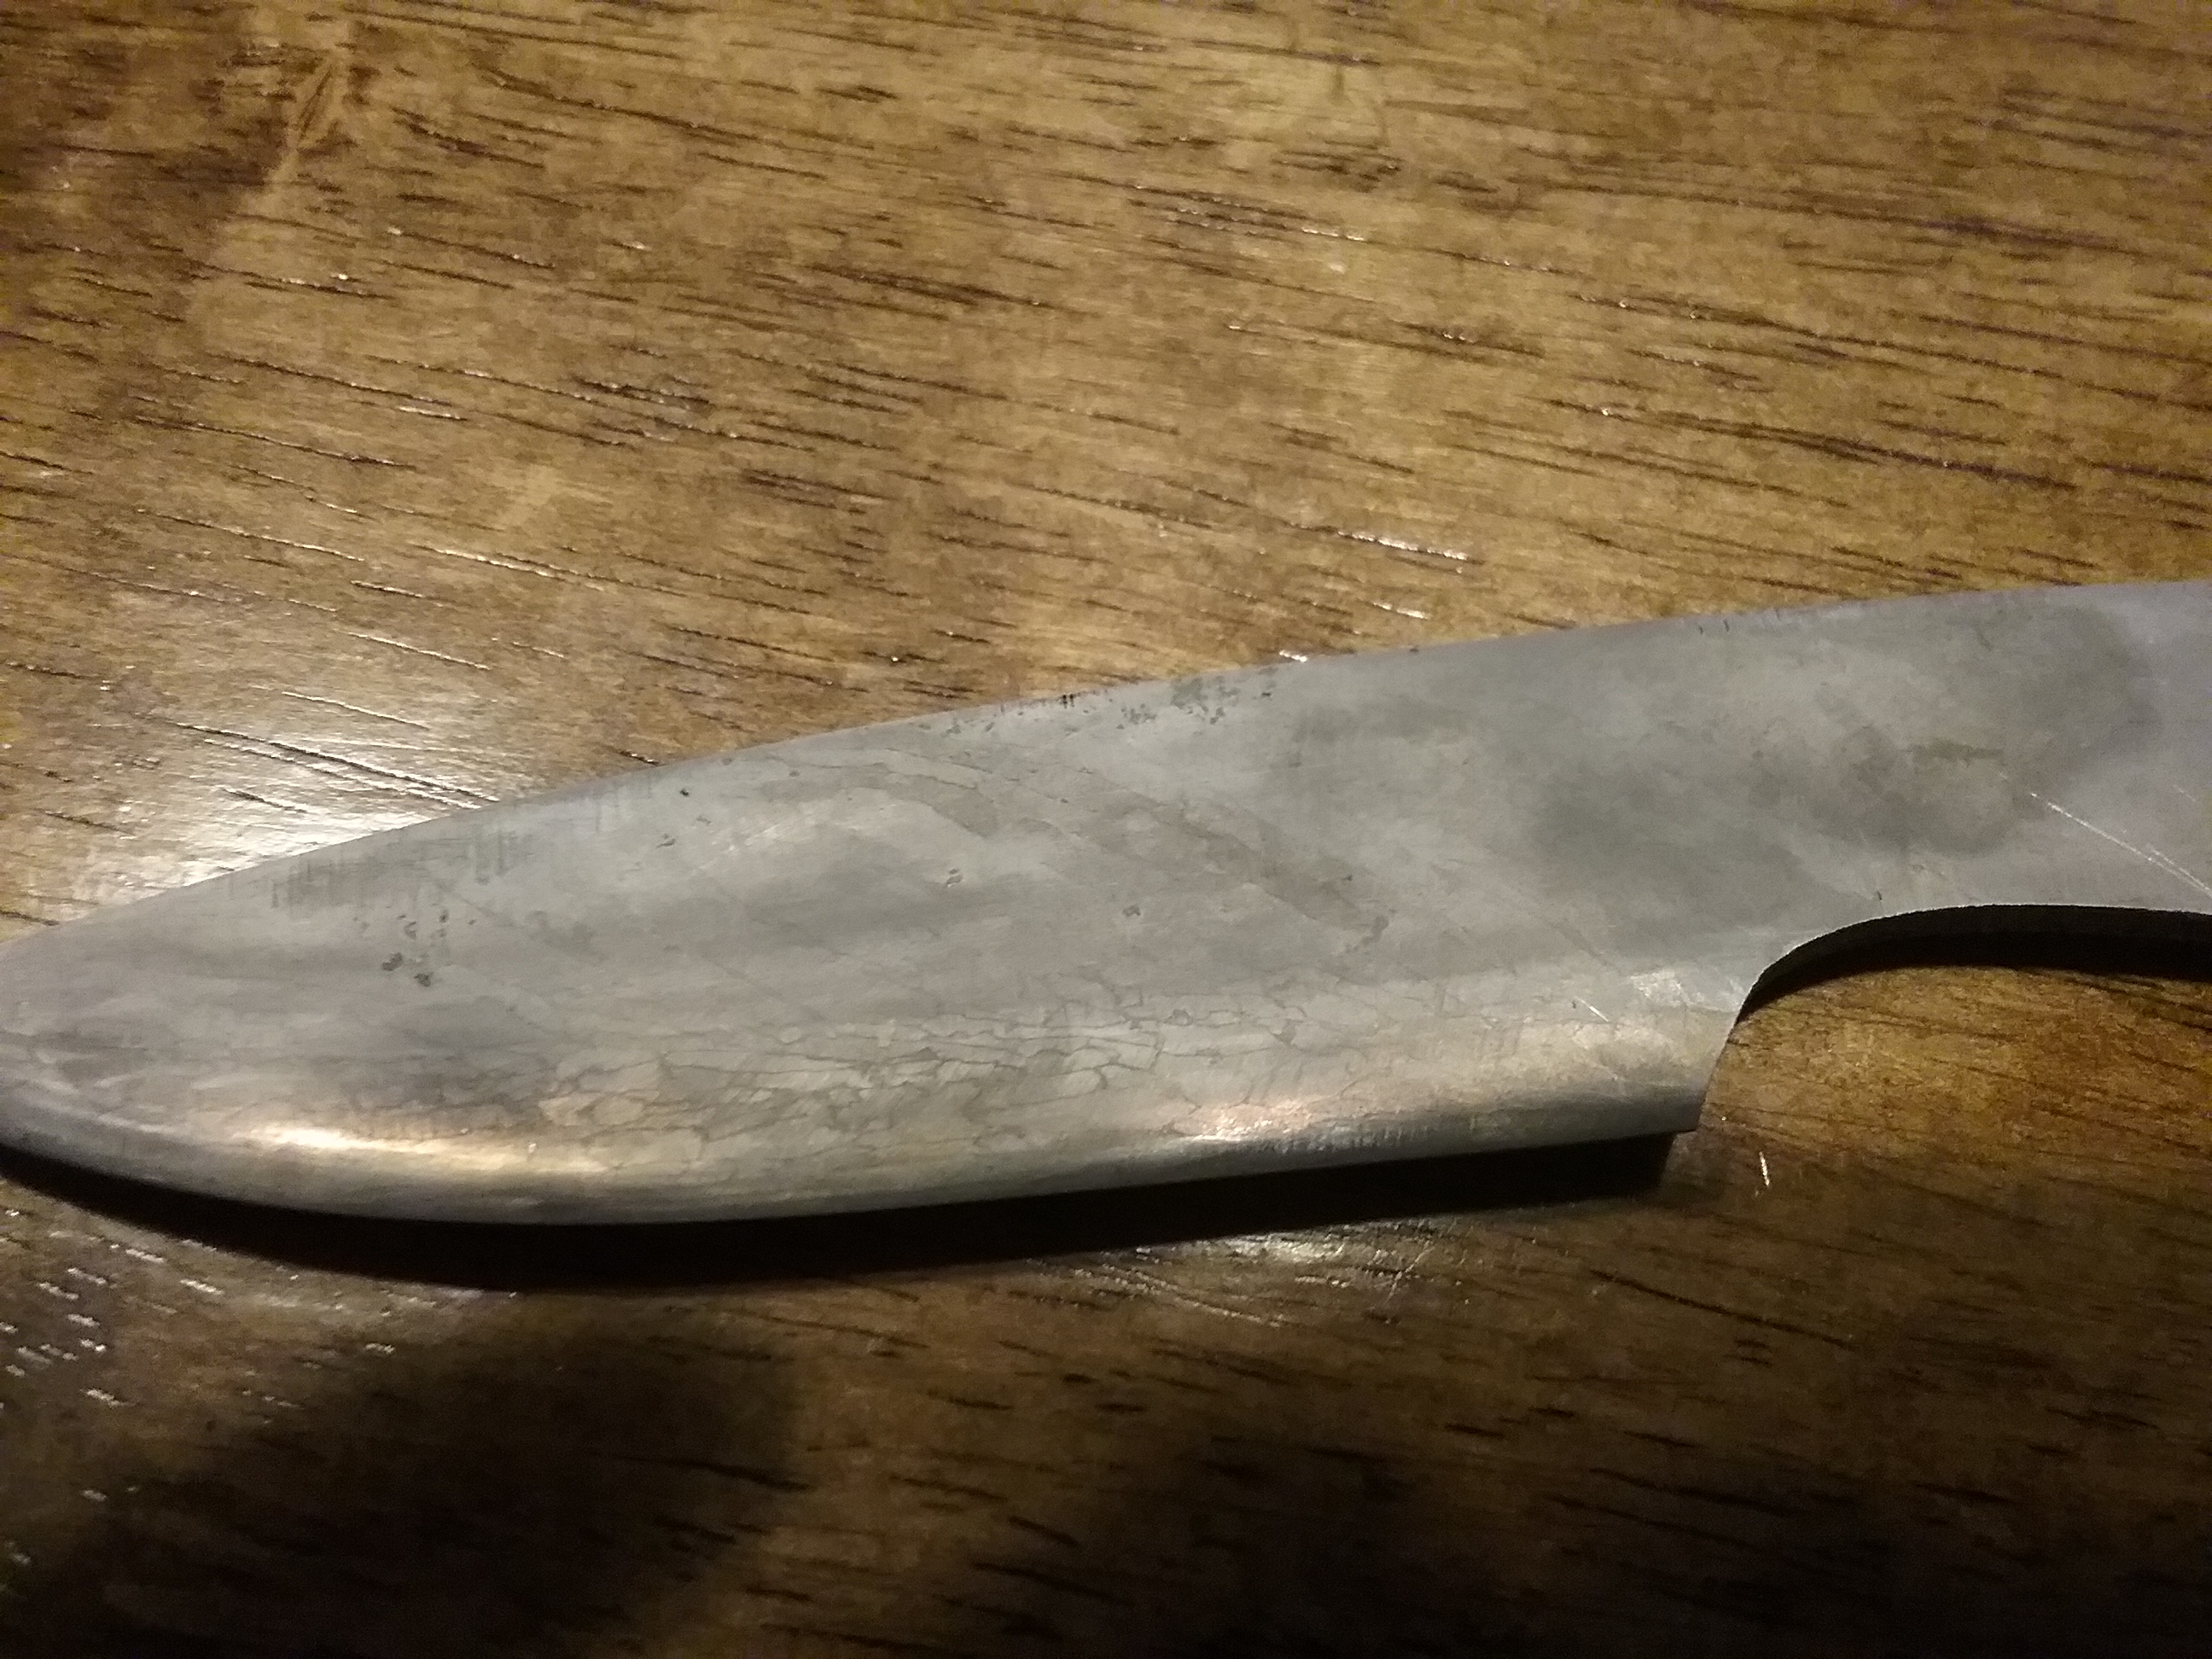
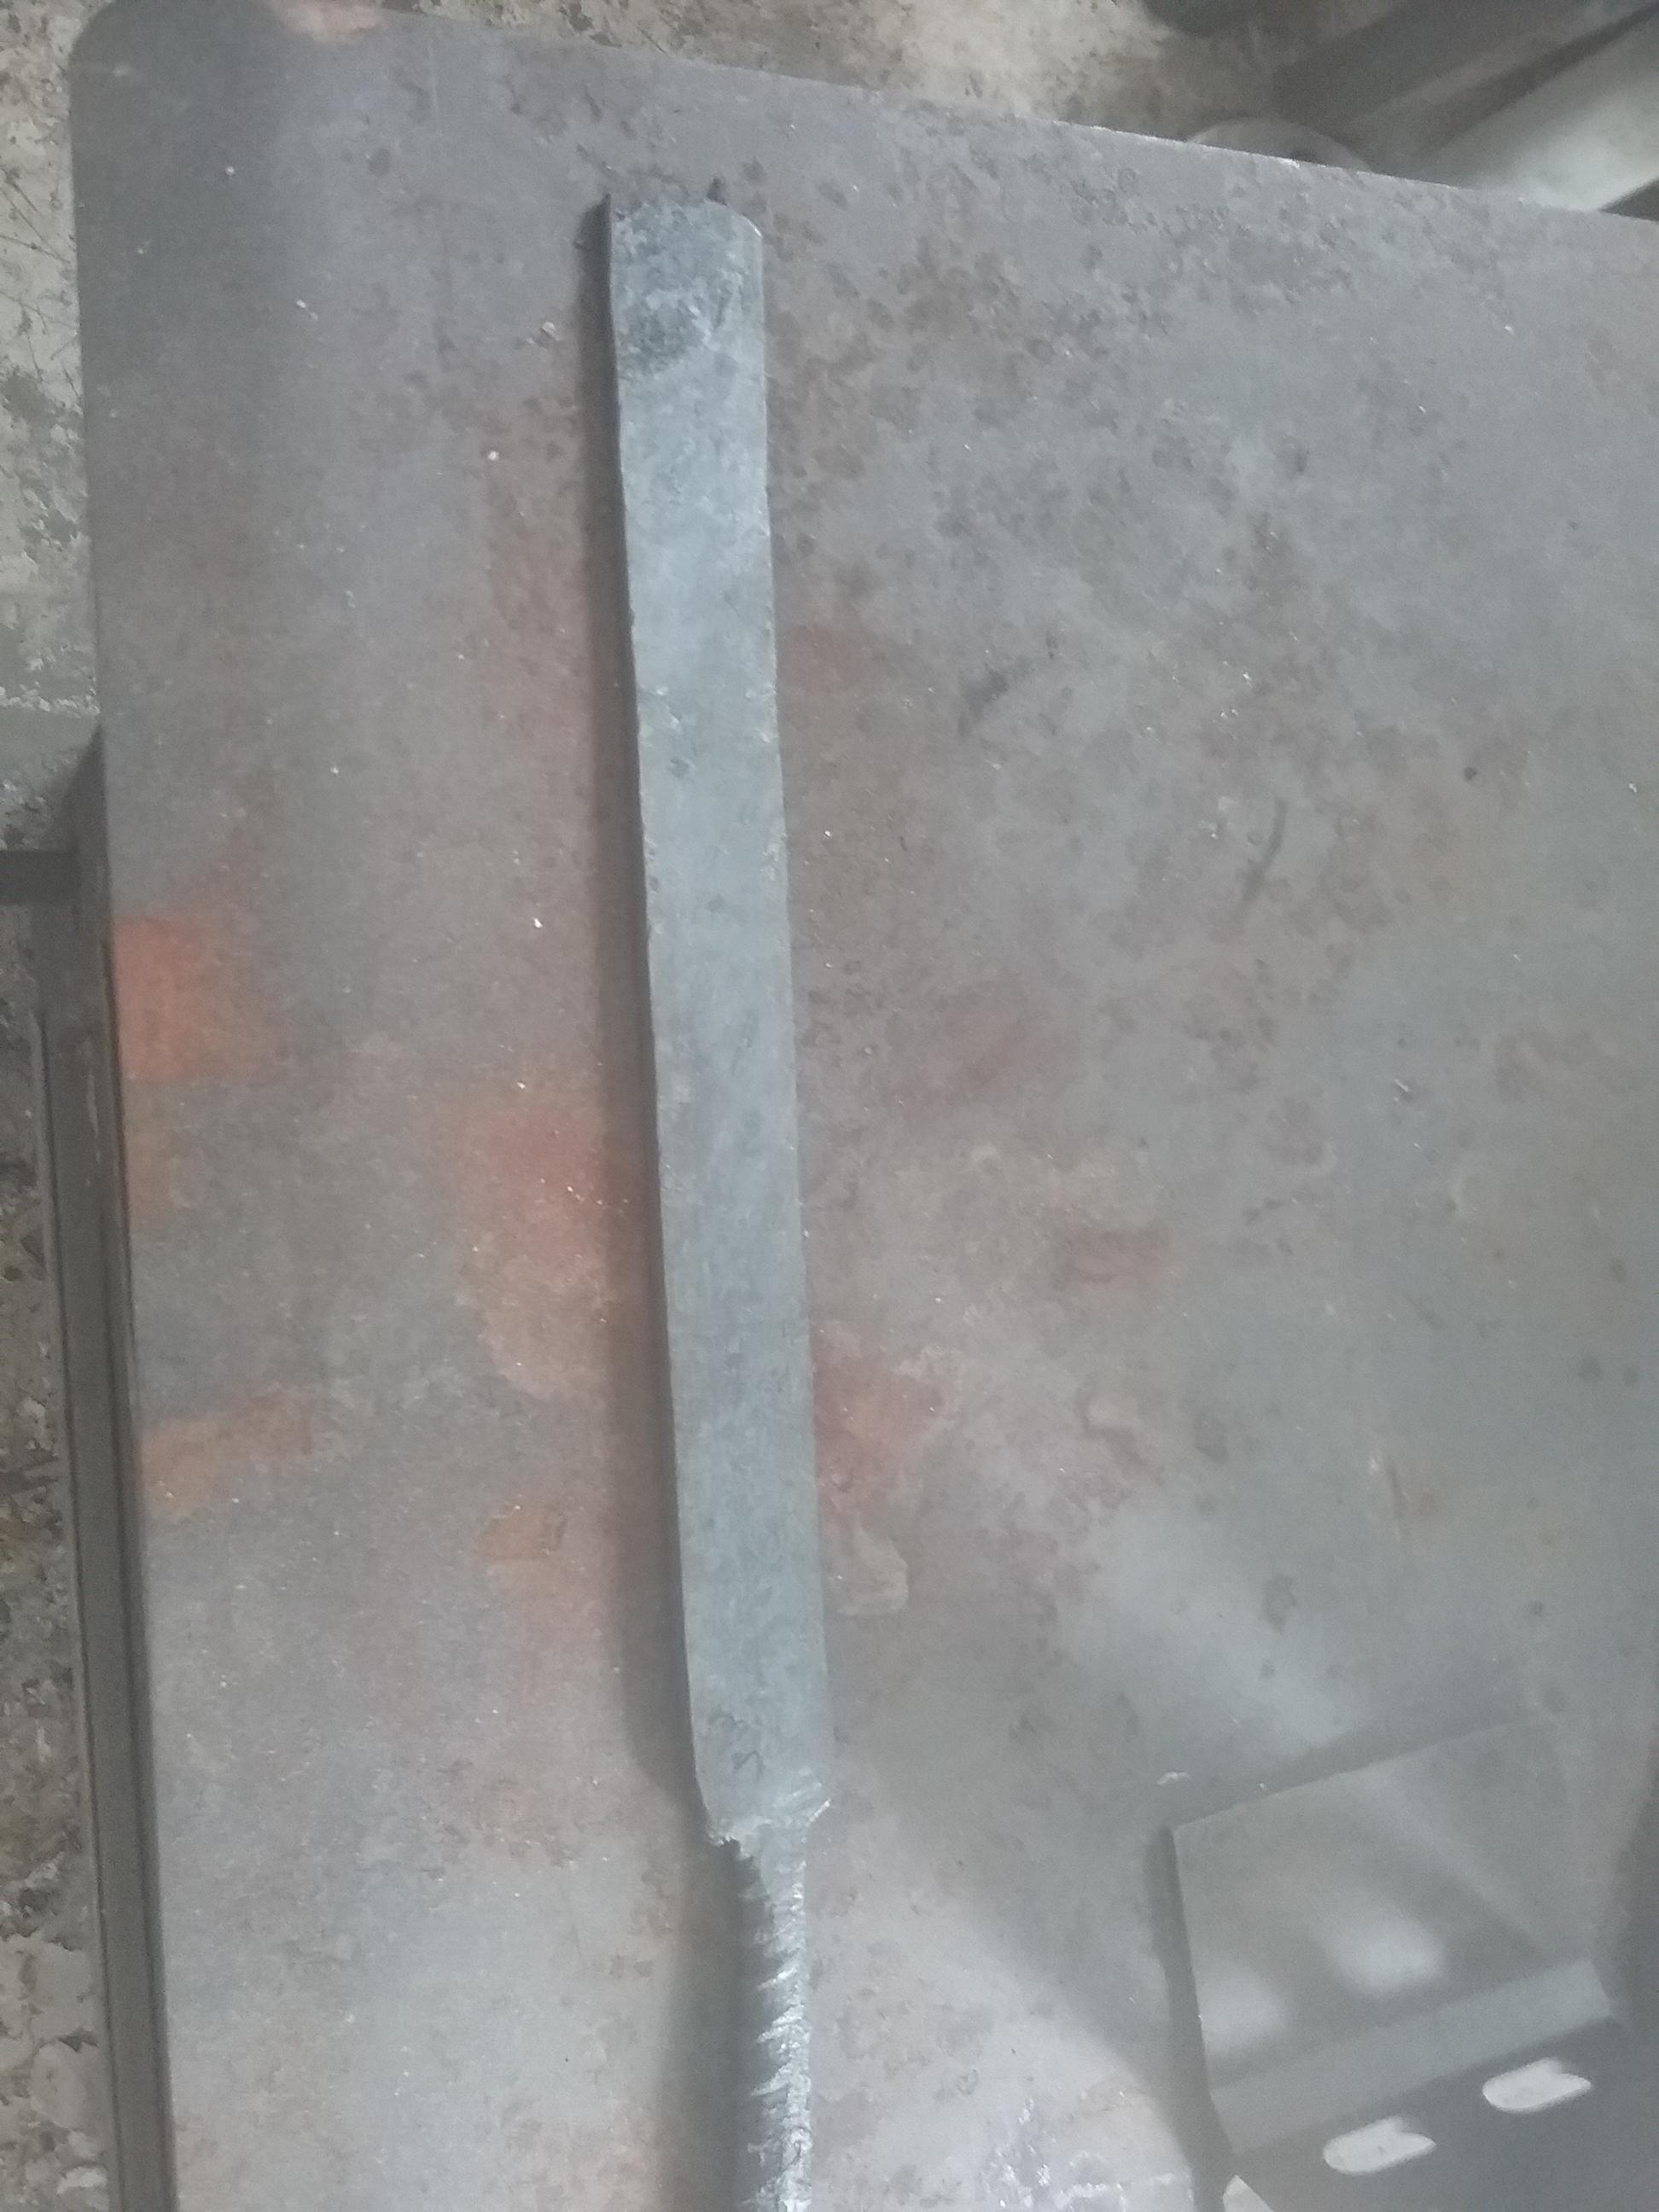
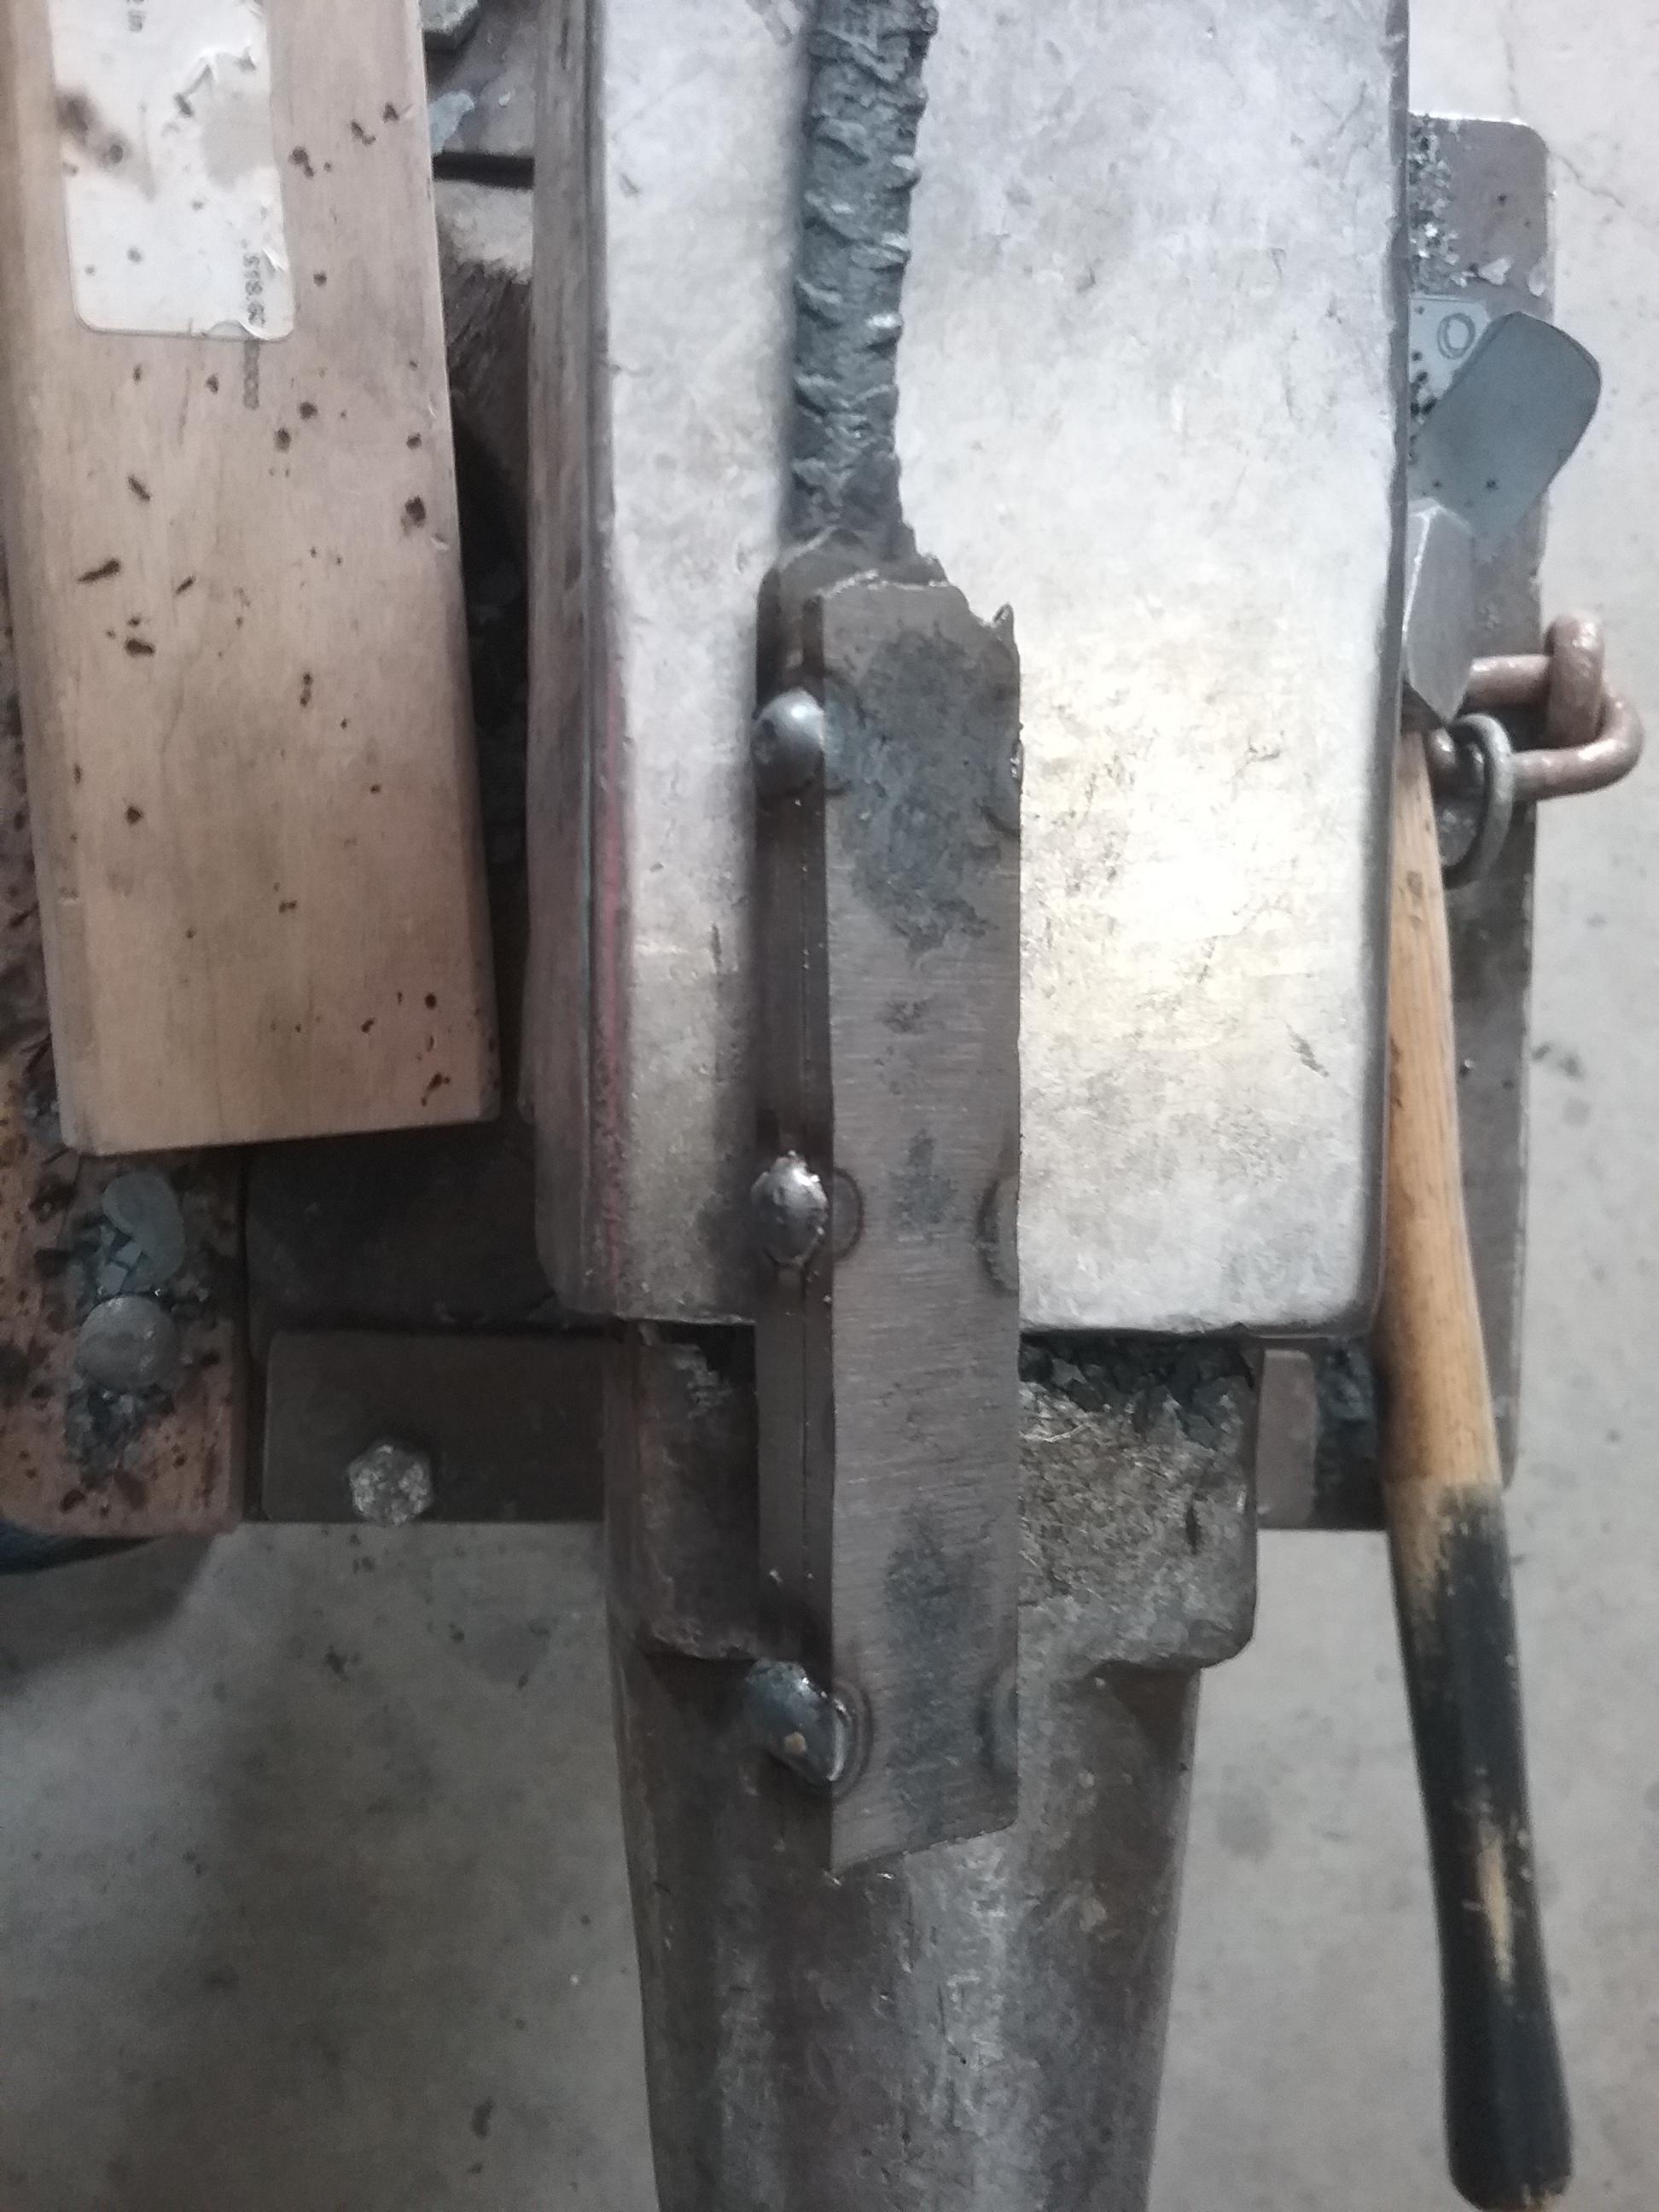
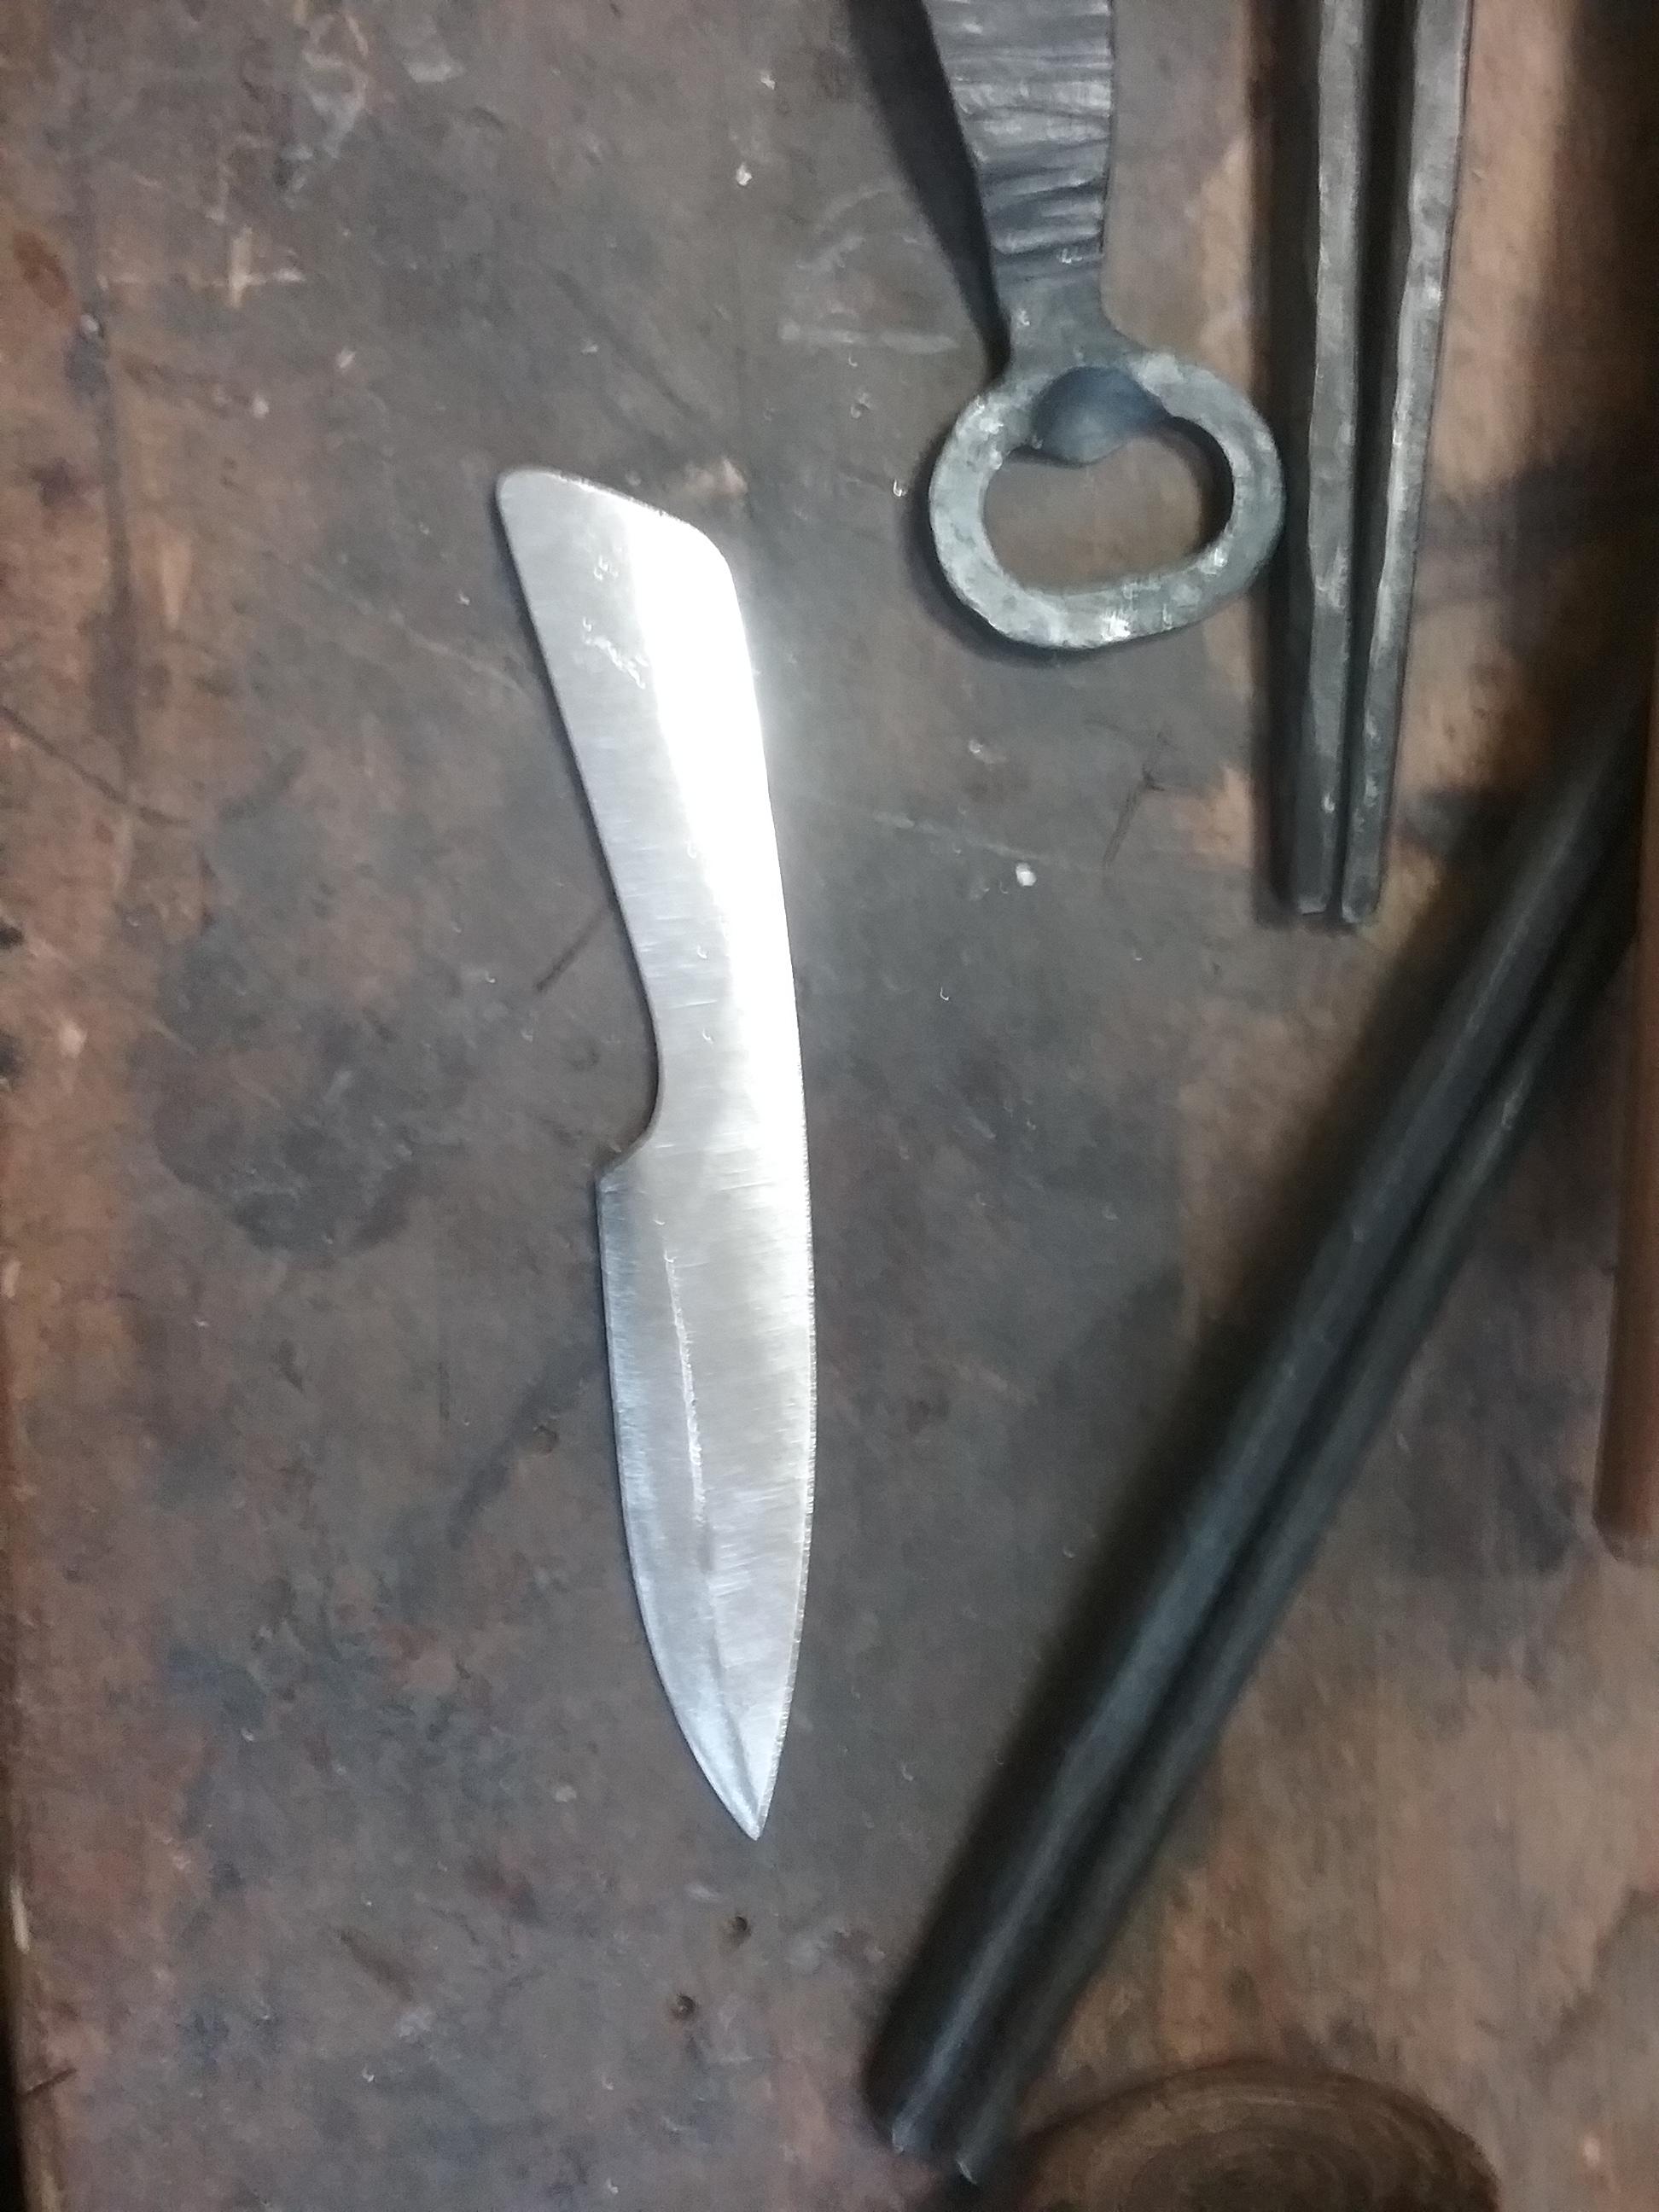
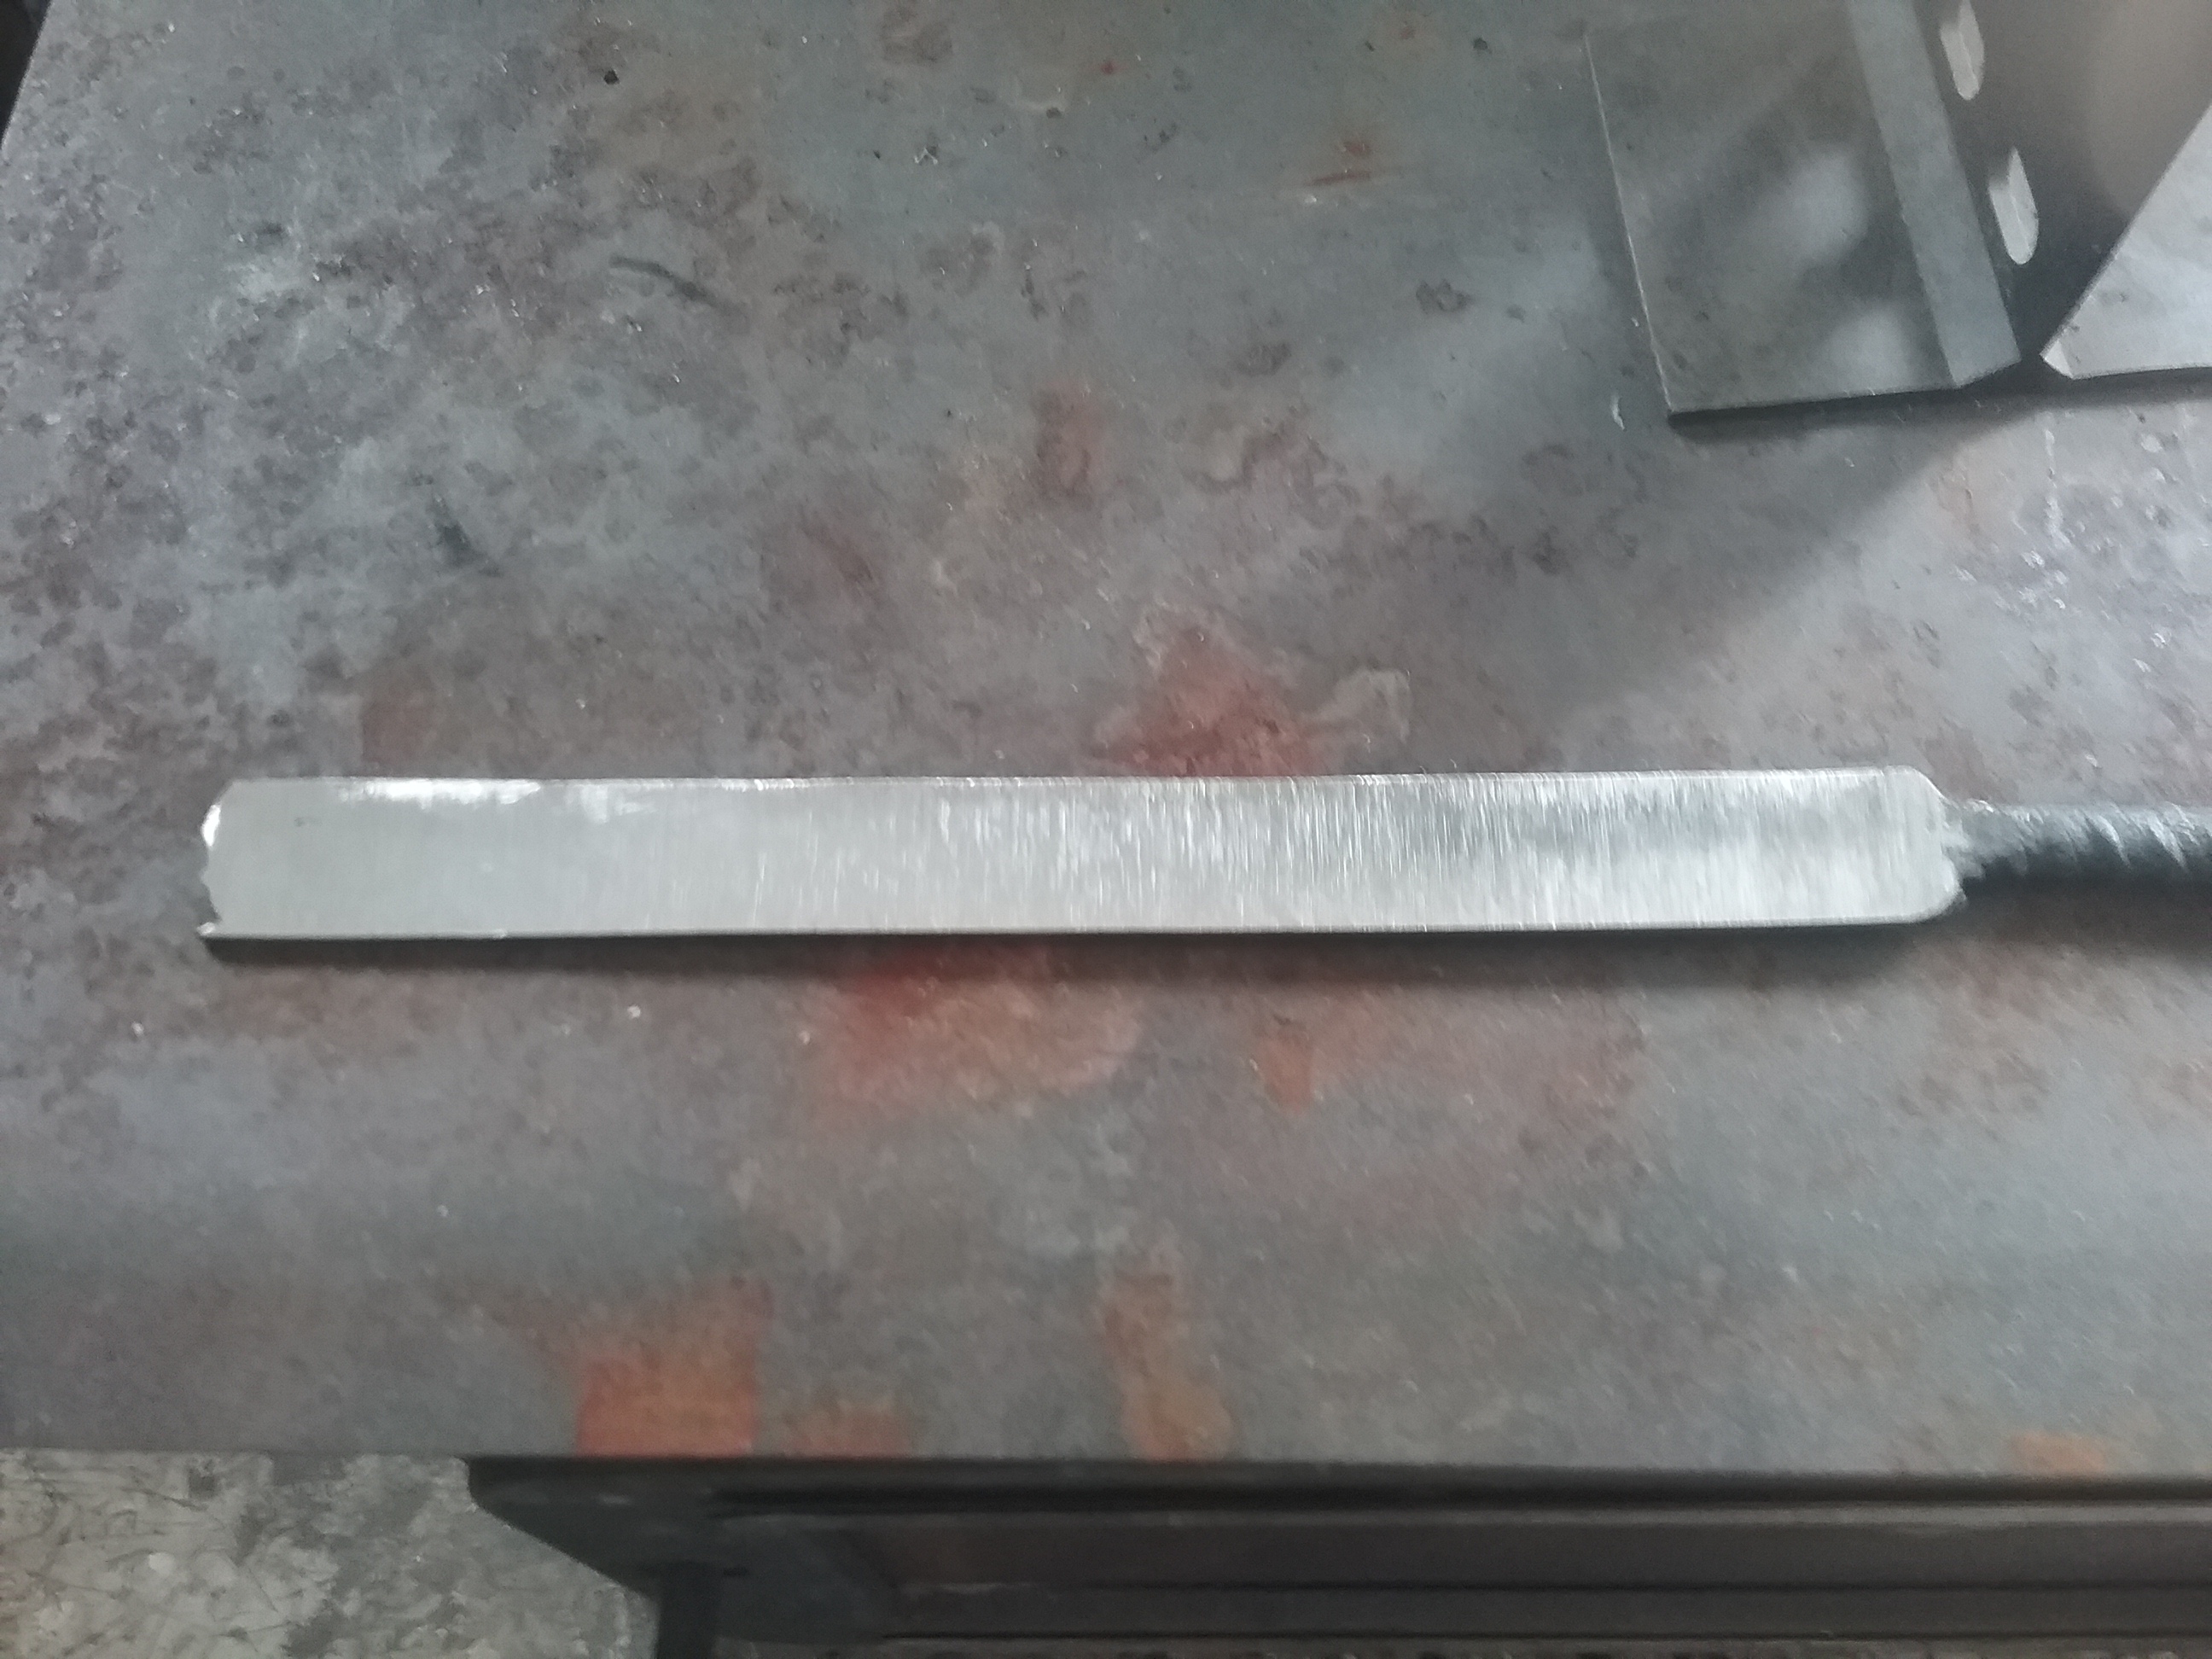
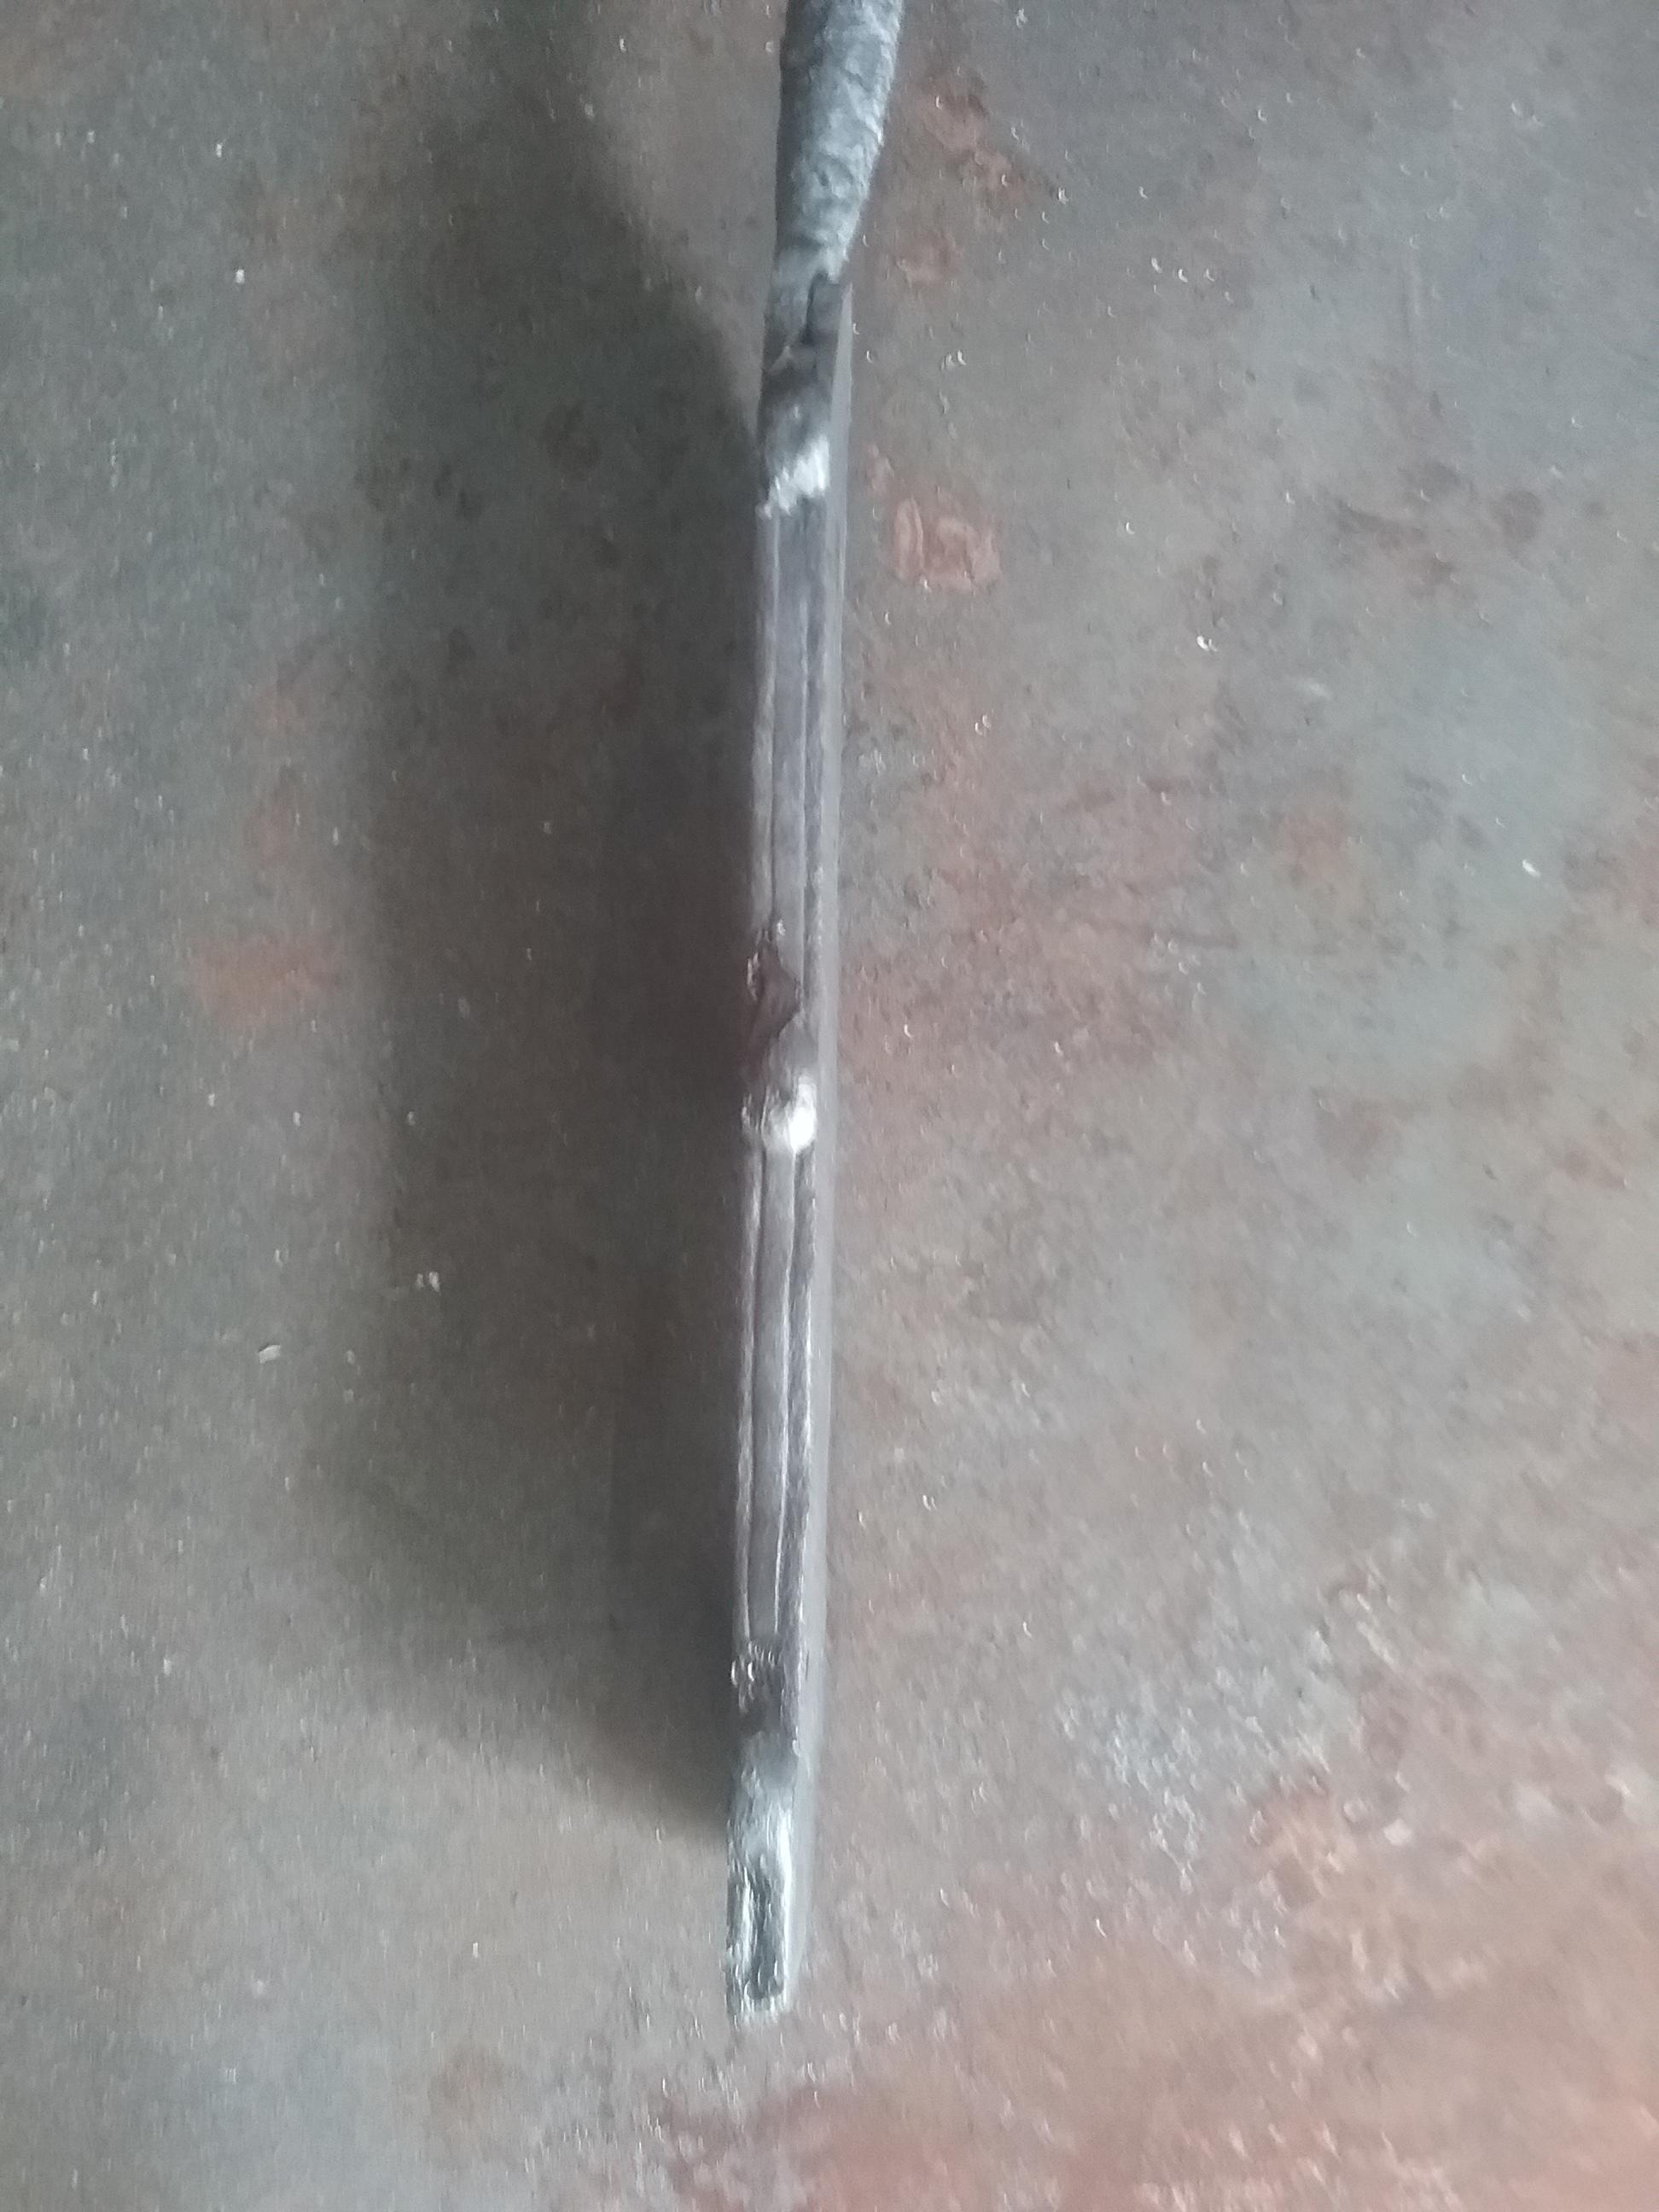
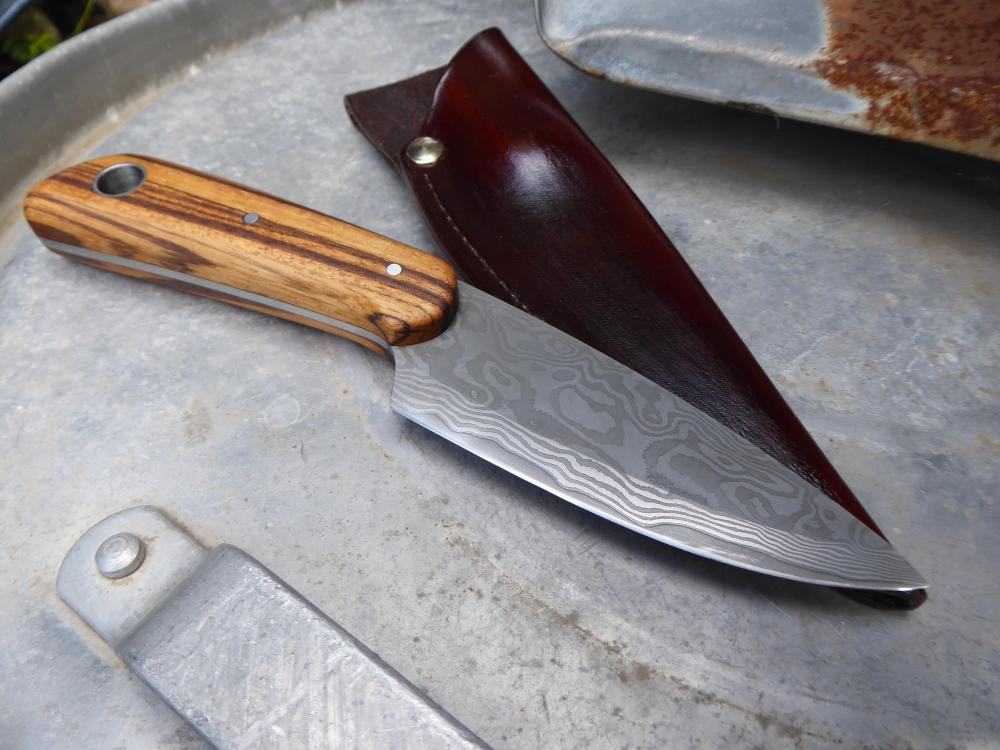
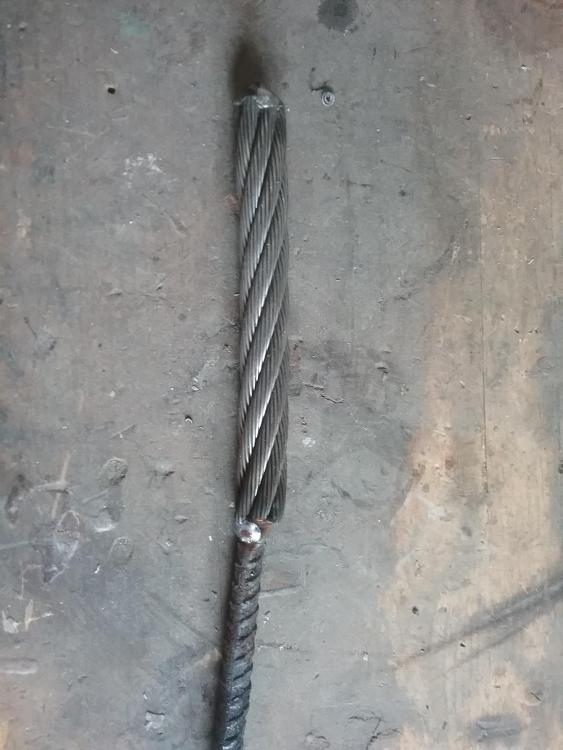
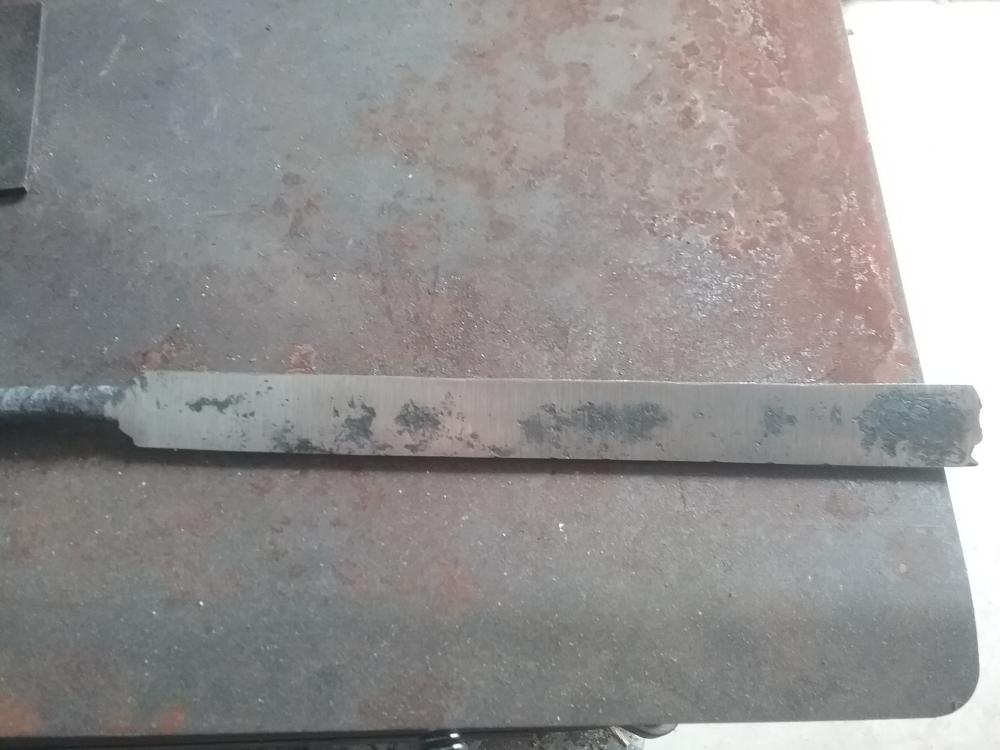
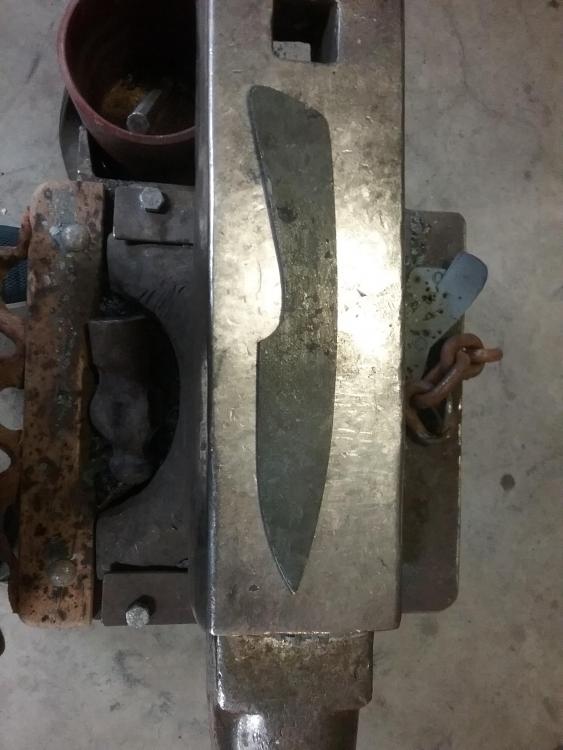
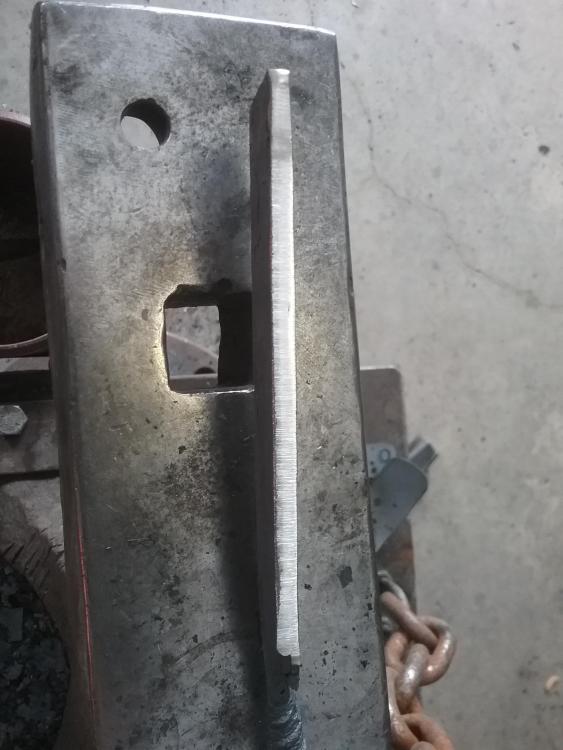
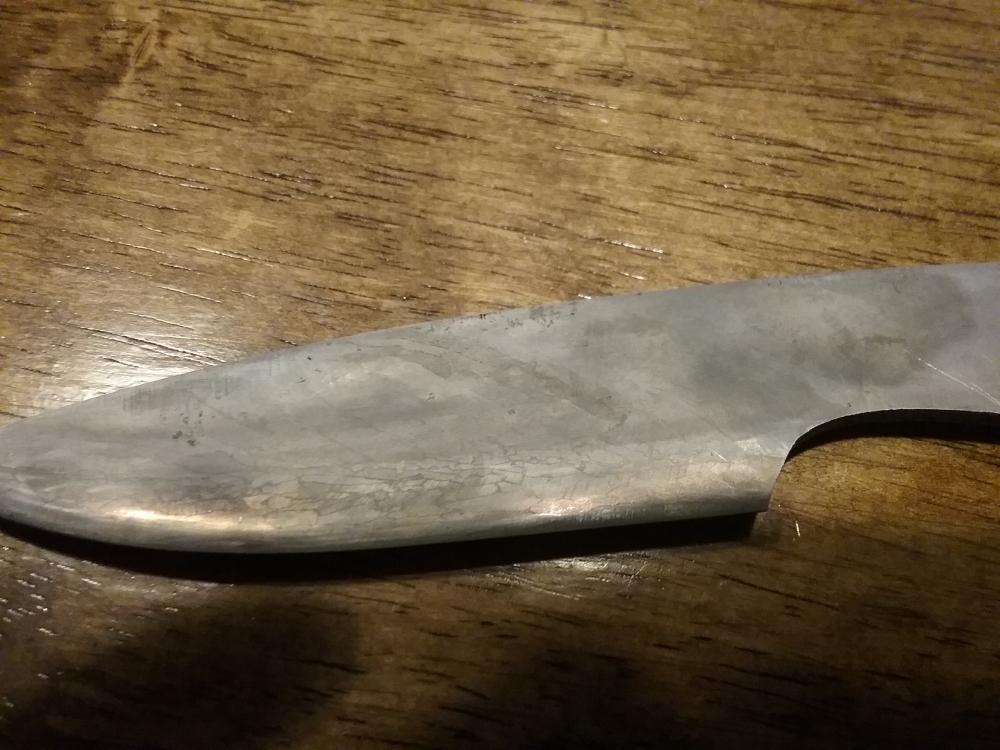
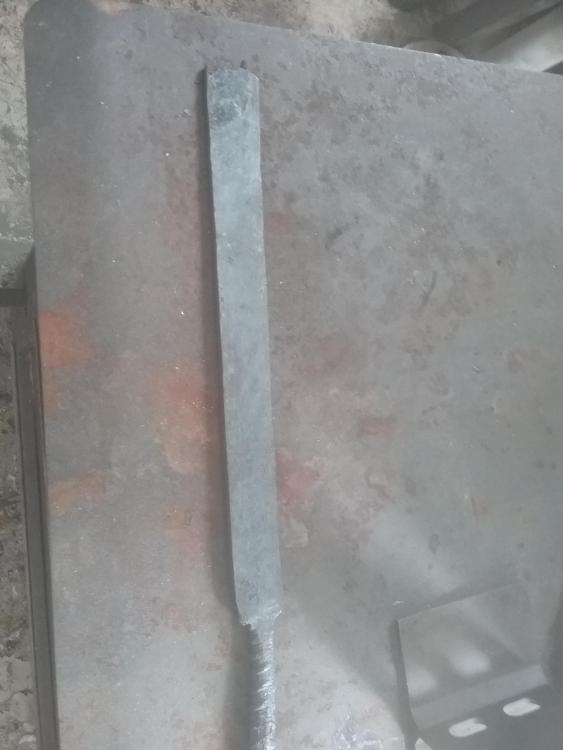
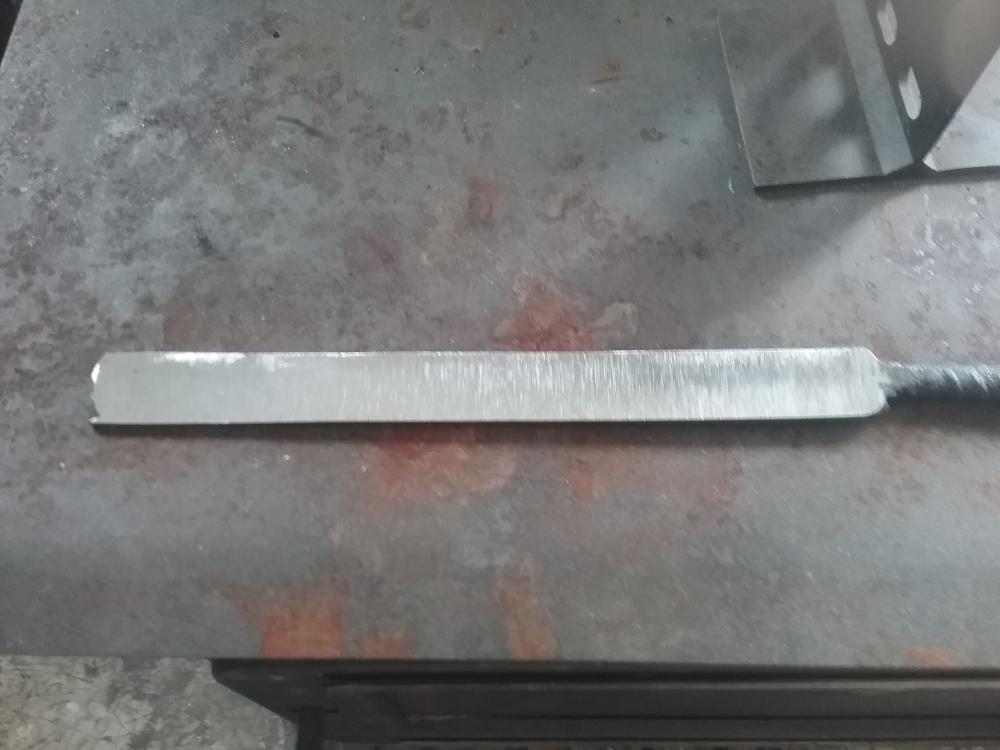
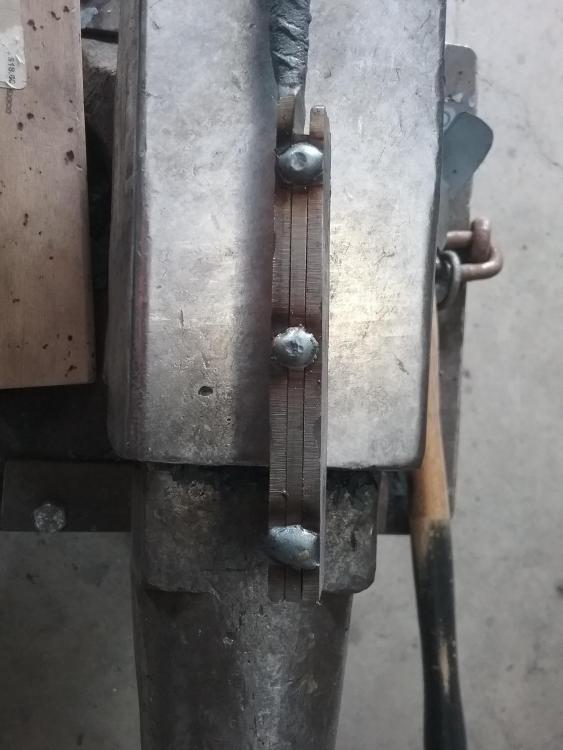
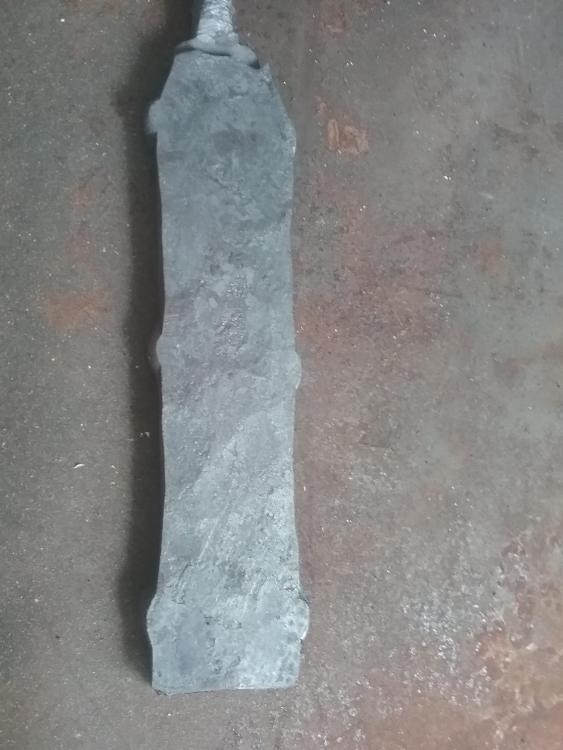
Well I gave this another try this weekend.I used some of the suggestions above which helped, thanks. The blade turned out with no weld flaws this time and I changed the profile a bit but I had a few problems with hardening. I assumed the file was 1095 and I have no idea what the cable was but I heated a little past non magnetic and quenched in warm canola oil. The core-file hardened I think but the cable Damascus didn't really harden and it seems I have kind of a soft ish spot in the San mai edge.Maybe the cable is weather hardening w1 maybe. I tempered in the oven twice at 450f and I straightened it a bit between cycles and during the last one. The pattern looks good and the San mai looks centered. So anyways I am gonna sharpen it and clean it up and see how the edge holds up, it's just roughed in right now.follows is a bunch of pics of the process. Last one shows pattern and the San mai is hard to see in the pic also I just dipped it in the acid long enough to see how the pattern turned out.anyways here they are. Pics are backwards


-
I'm doing this same is thing right now cable San mai with a Nicholson file center. What do you guys figure I should do for tempering cycles it will be in a toaster oven. It's been a while since I made a knife and I think I assumed the file was 1095 but I can't remember what I did for time and heat. Any Imput would be appreciated.
-
Decided to try an ax with some file work
Jonah k replied to Zachary's topic in Axes, Hatchets, Hawks, Choppers, etc
I like the shape. Is this done on a power hammer. Beautiful axe -
Seems like i see a lot of san mai blades with the core steel not all on the cutting edge. I will post an update when i figure it out.