
CoyoteGear
-
Posts
43 -
Joined
-
Last visited
Content Type
Profiles
Forums
Articles
Gallery
Downloads
Events
Everything posted by CoyoteGear
-

Colonial anvil ID/age help
CoyoteGear replied to CoyoteGear's topic in Anvils, Swage Blocks, and Mandrels
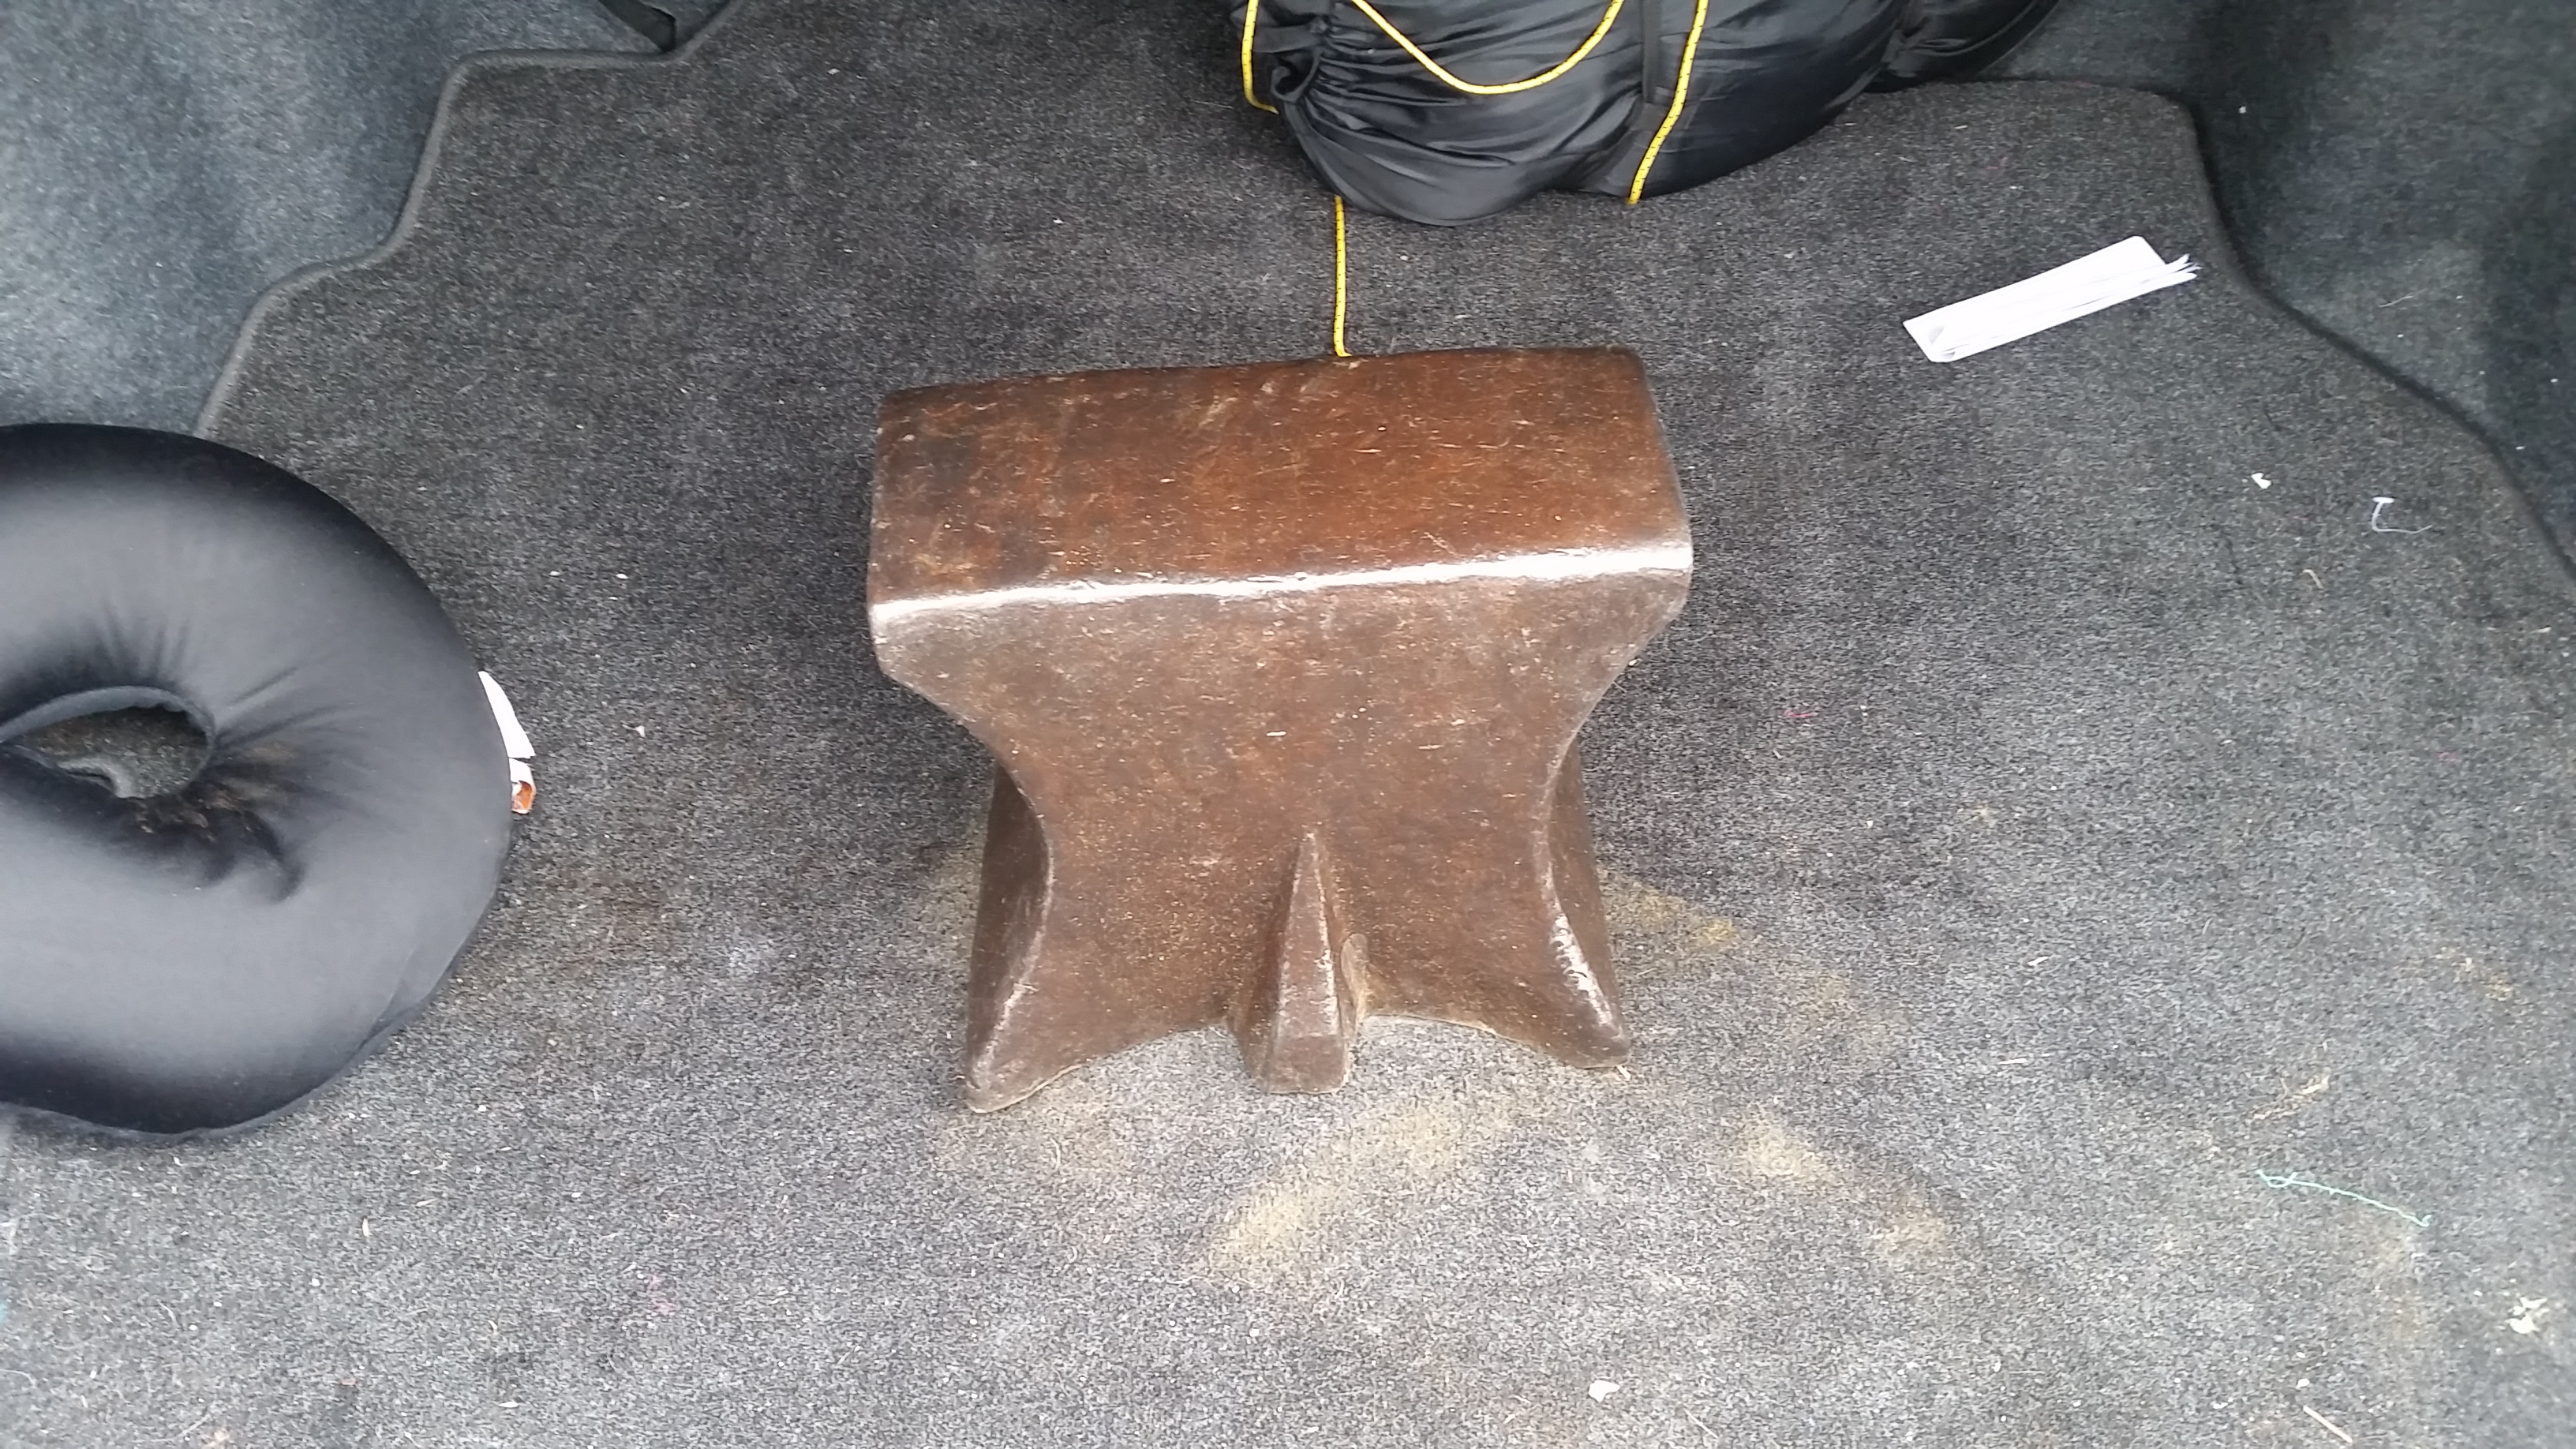
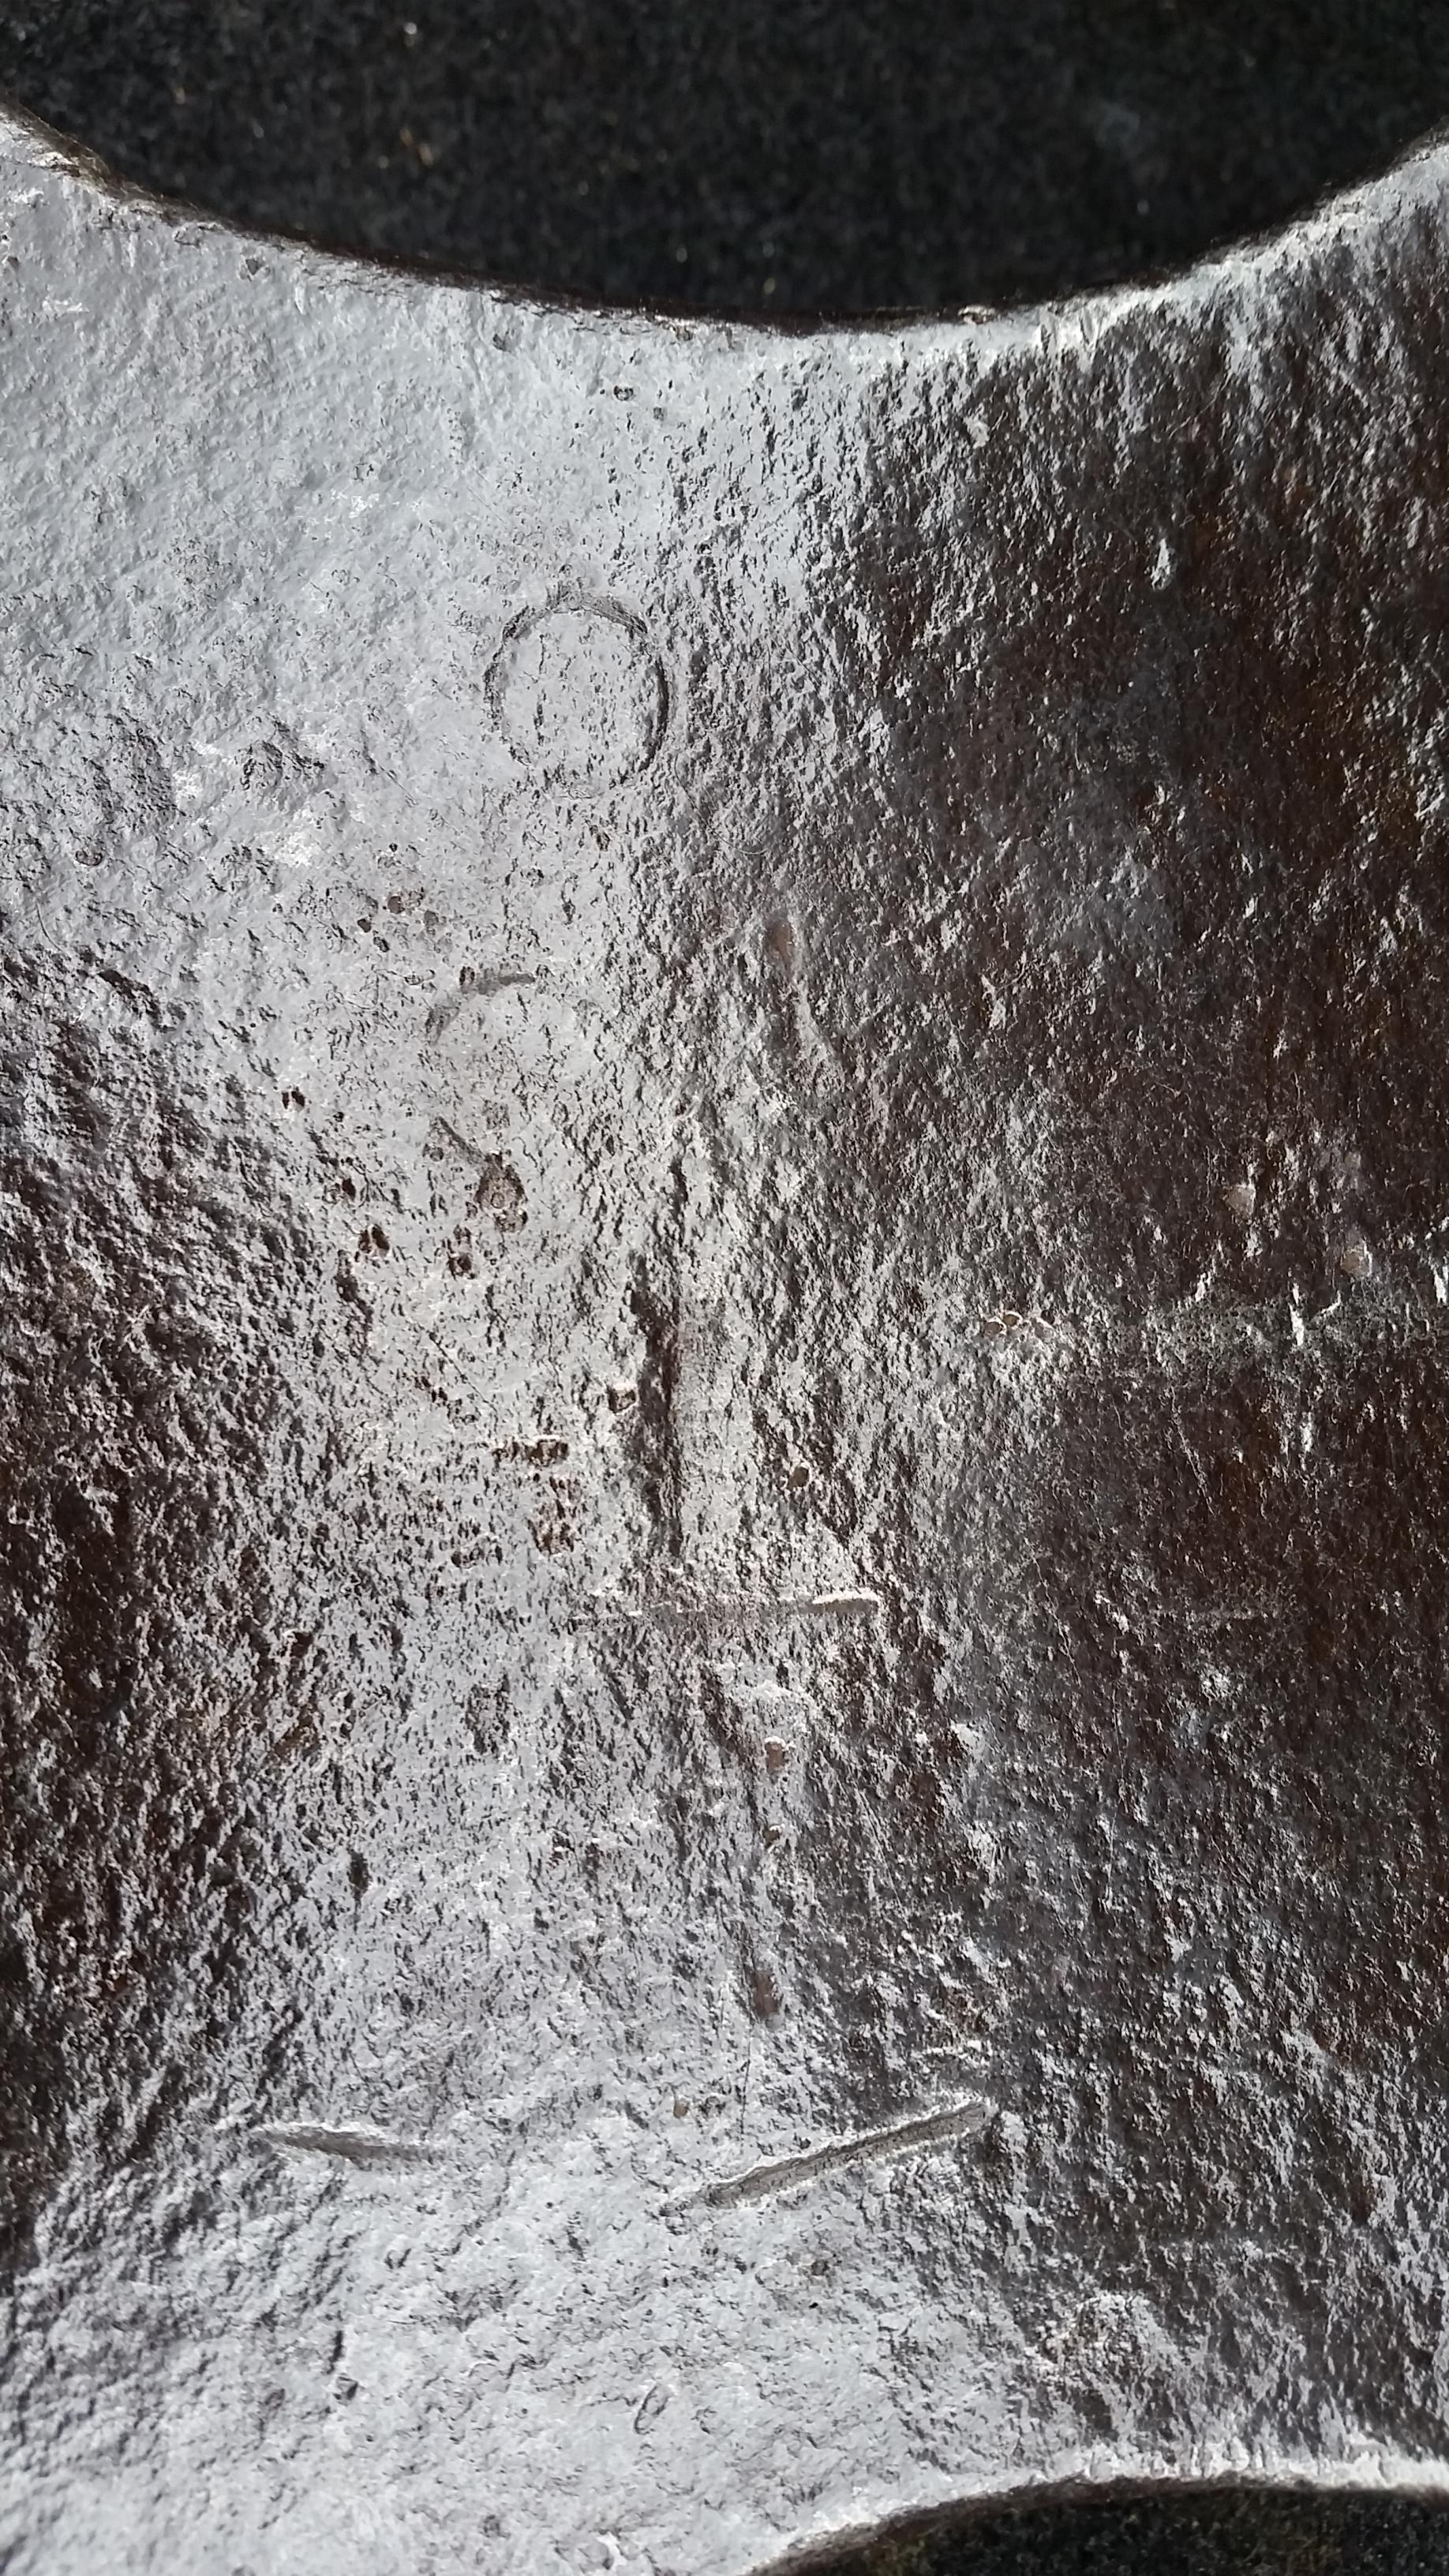
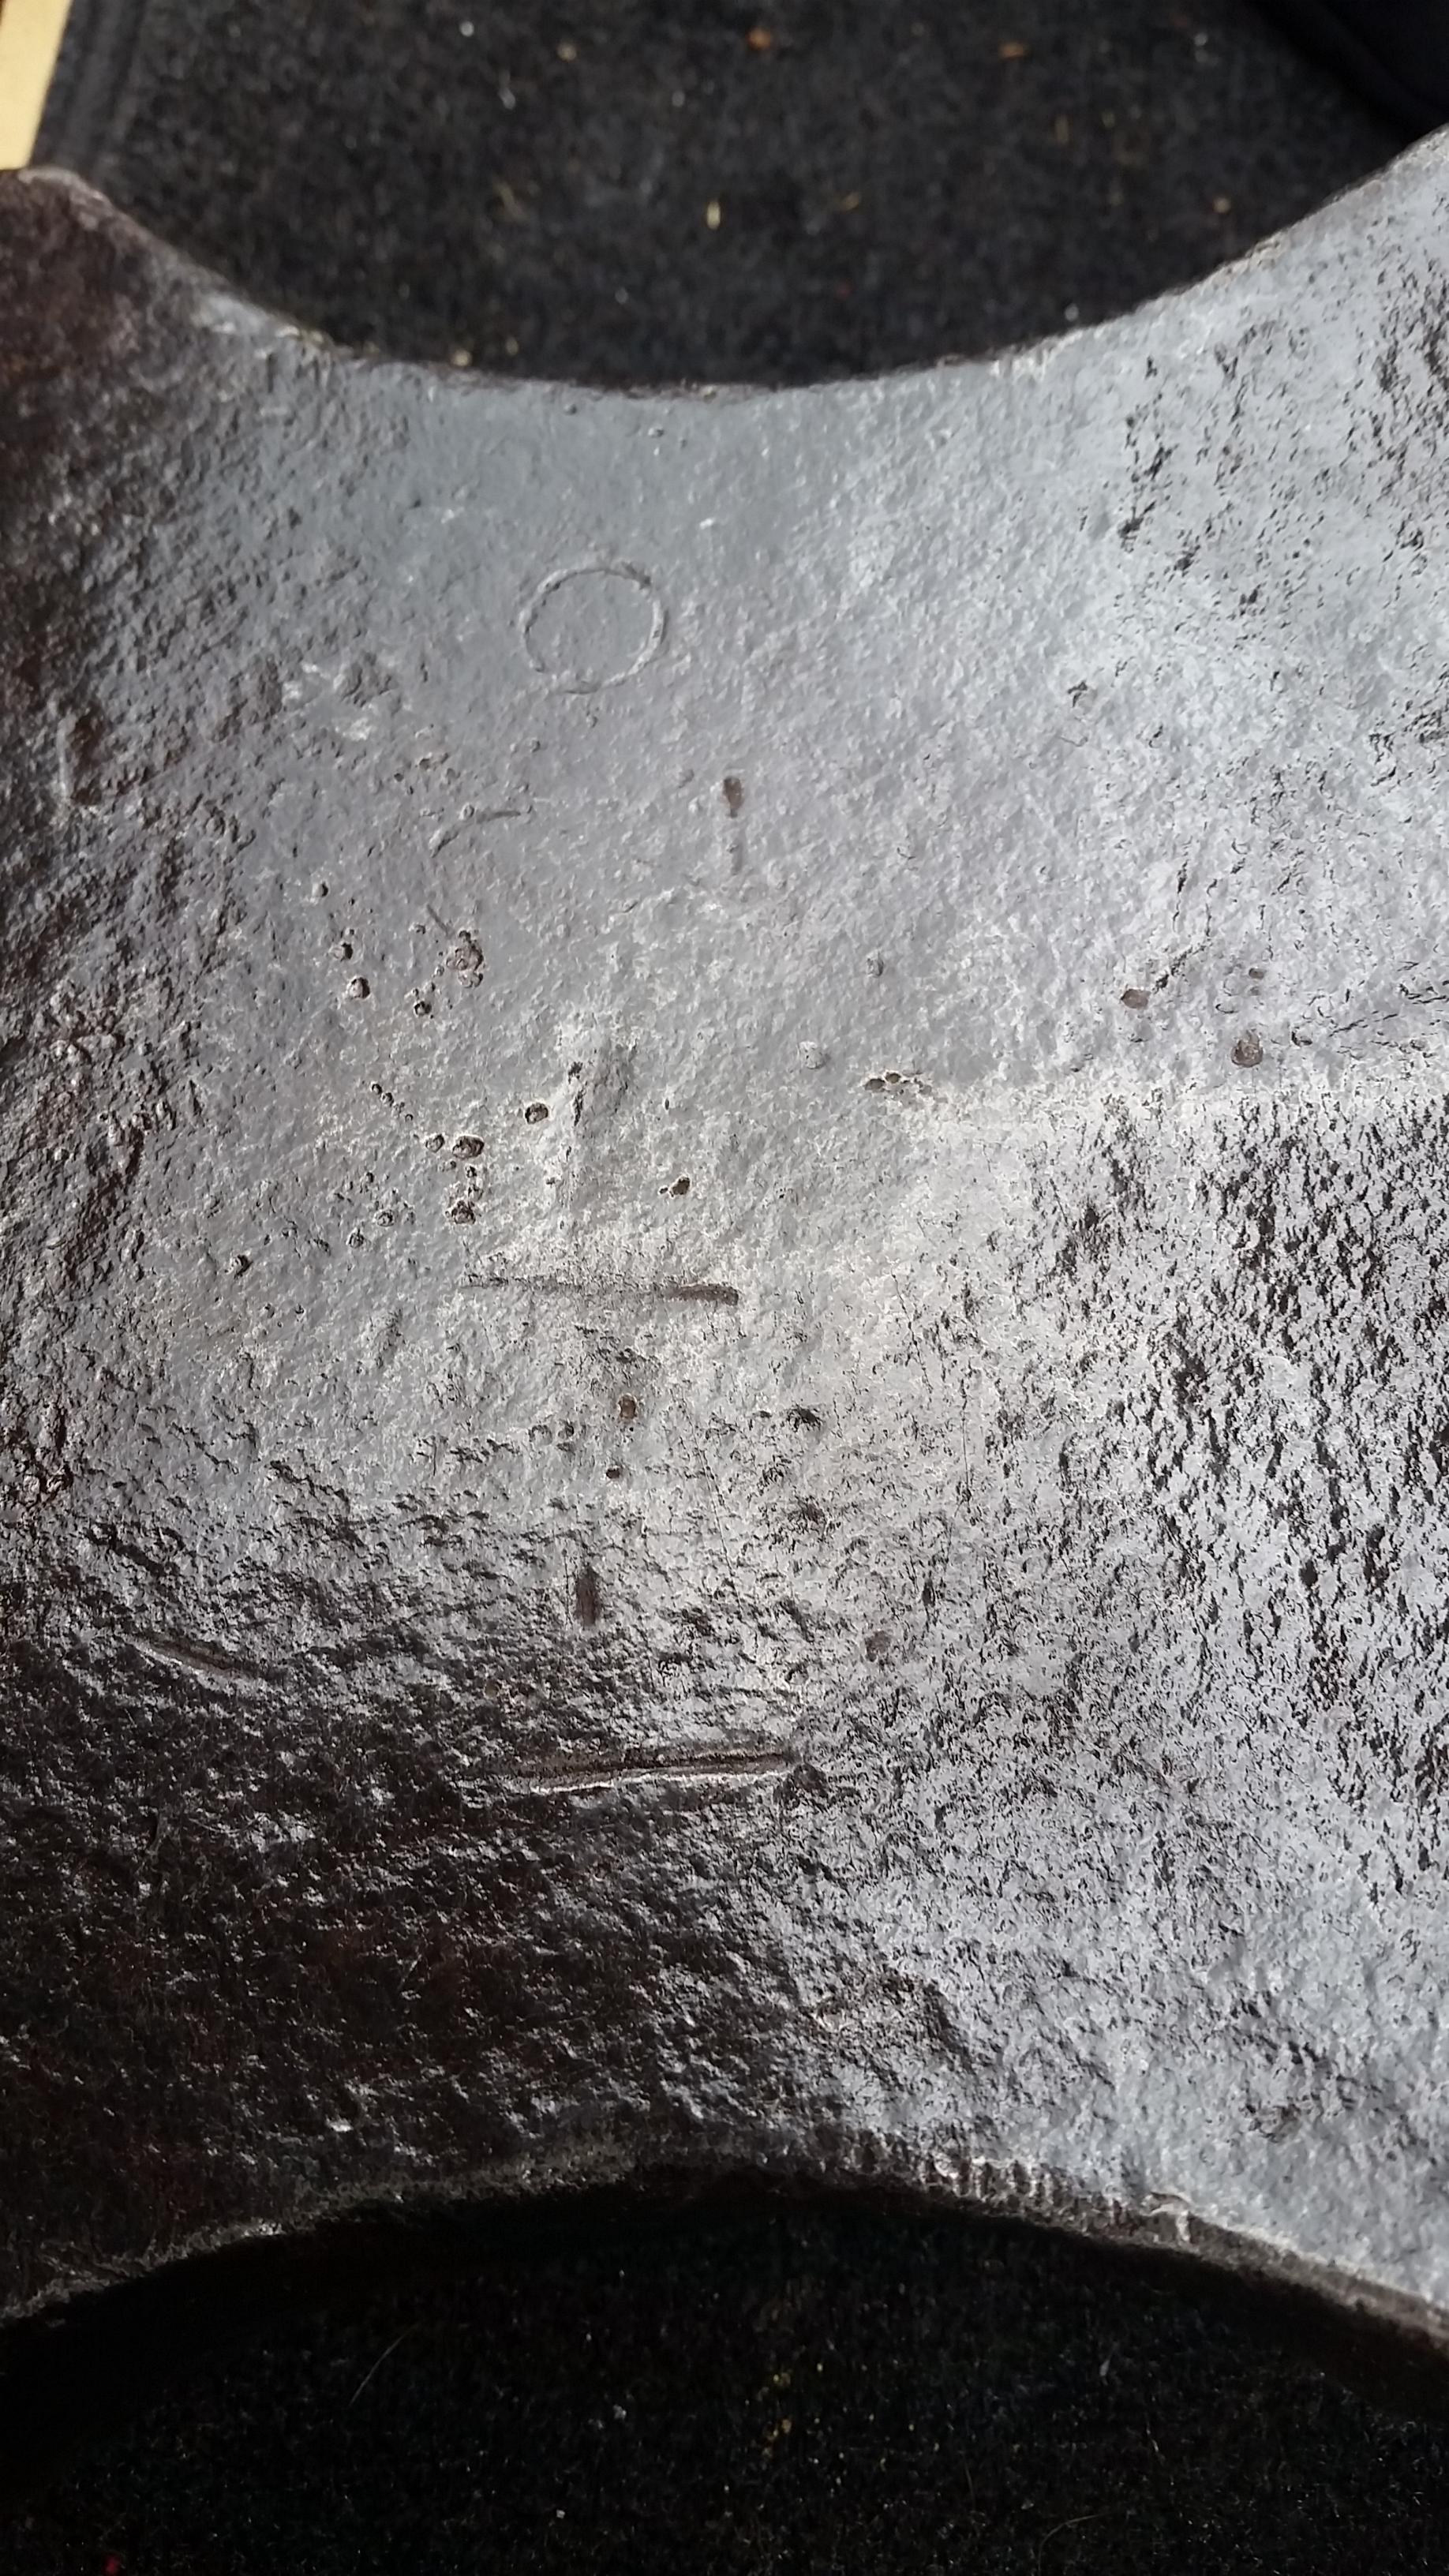
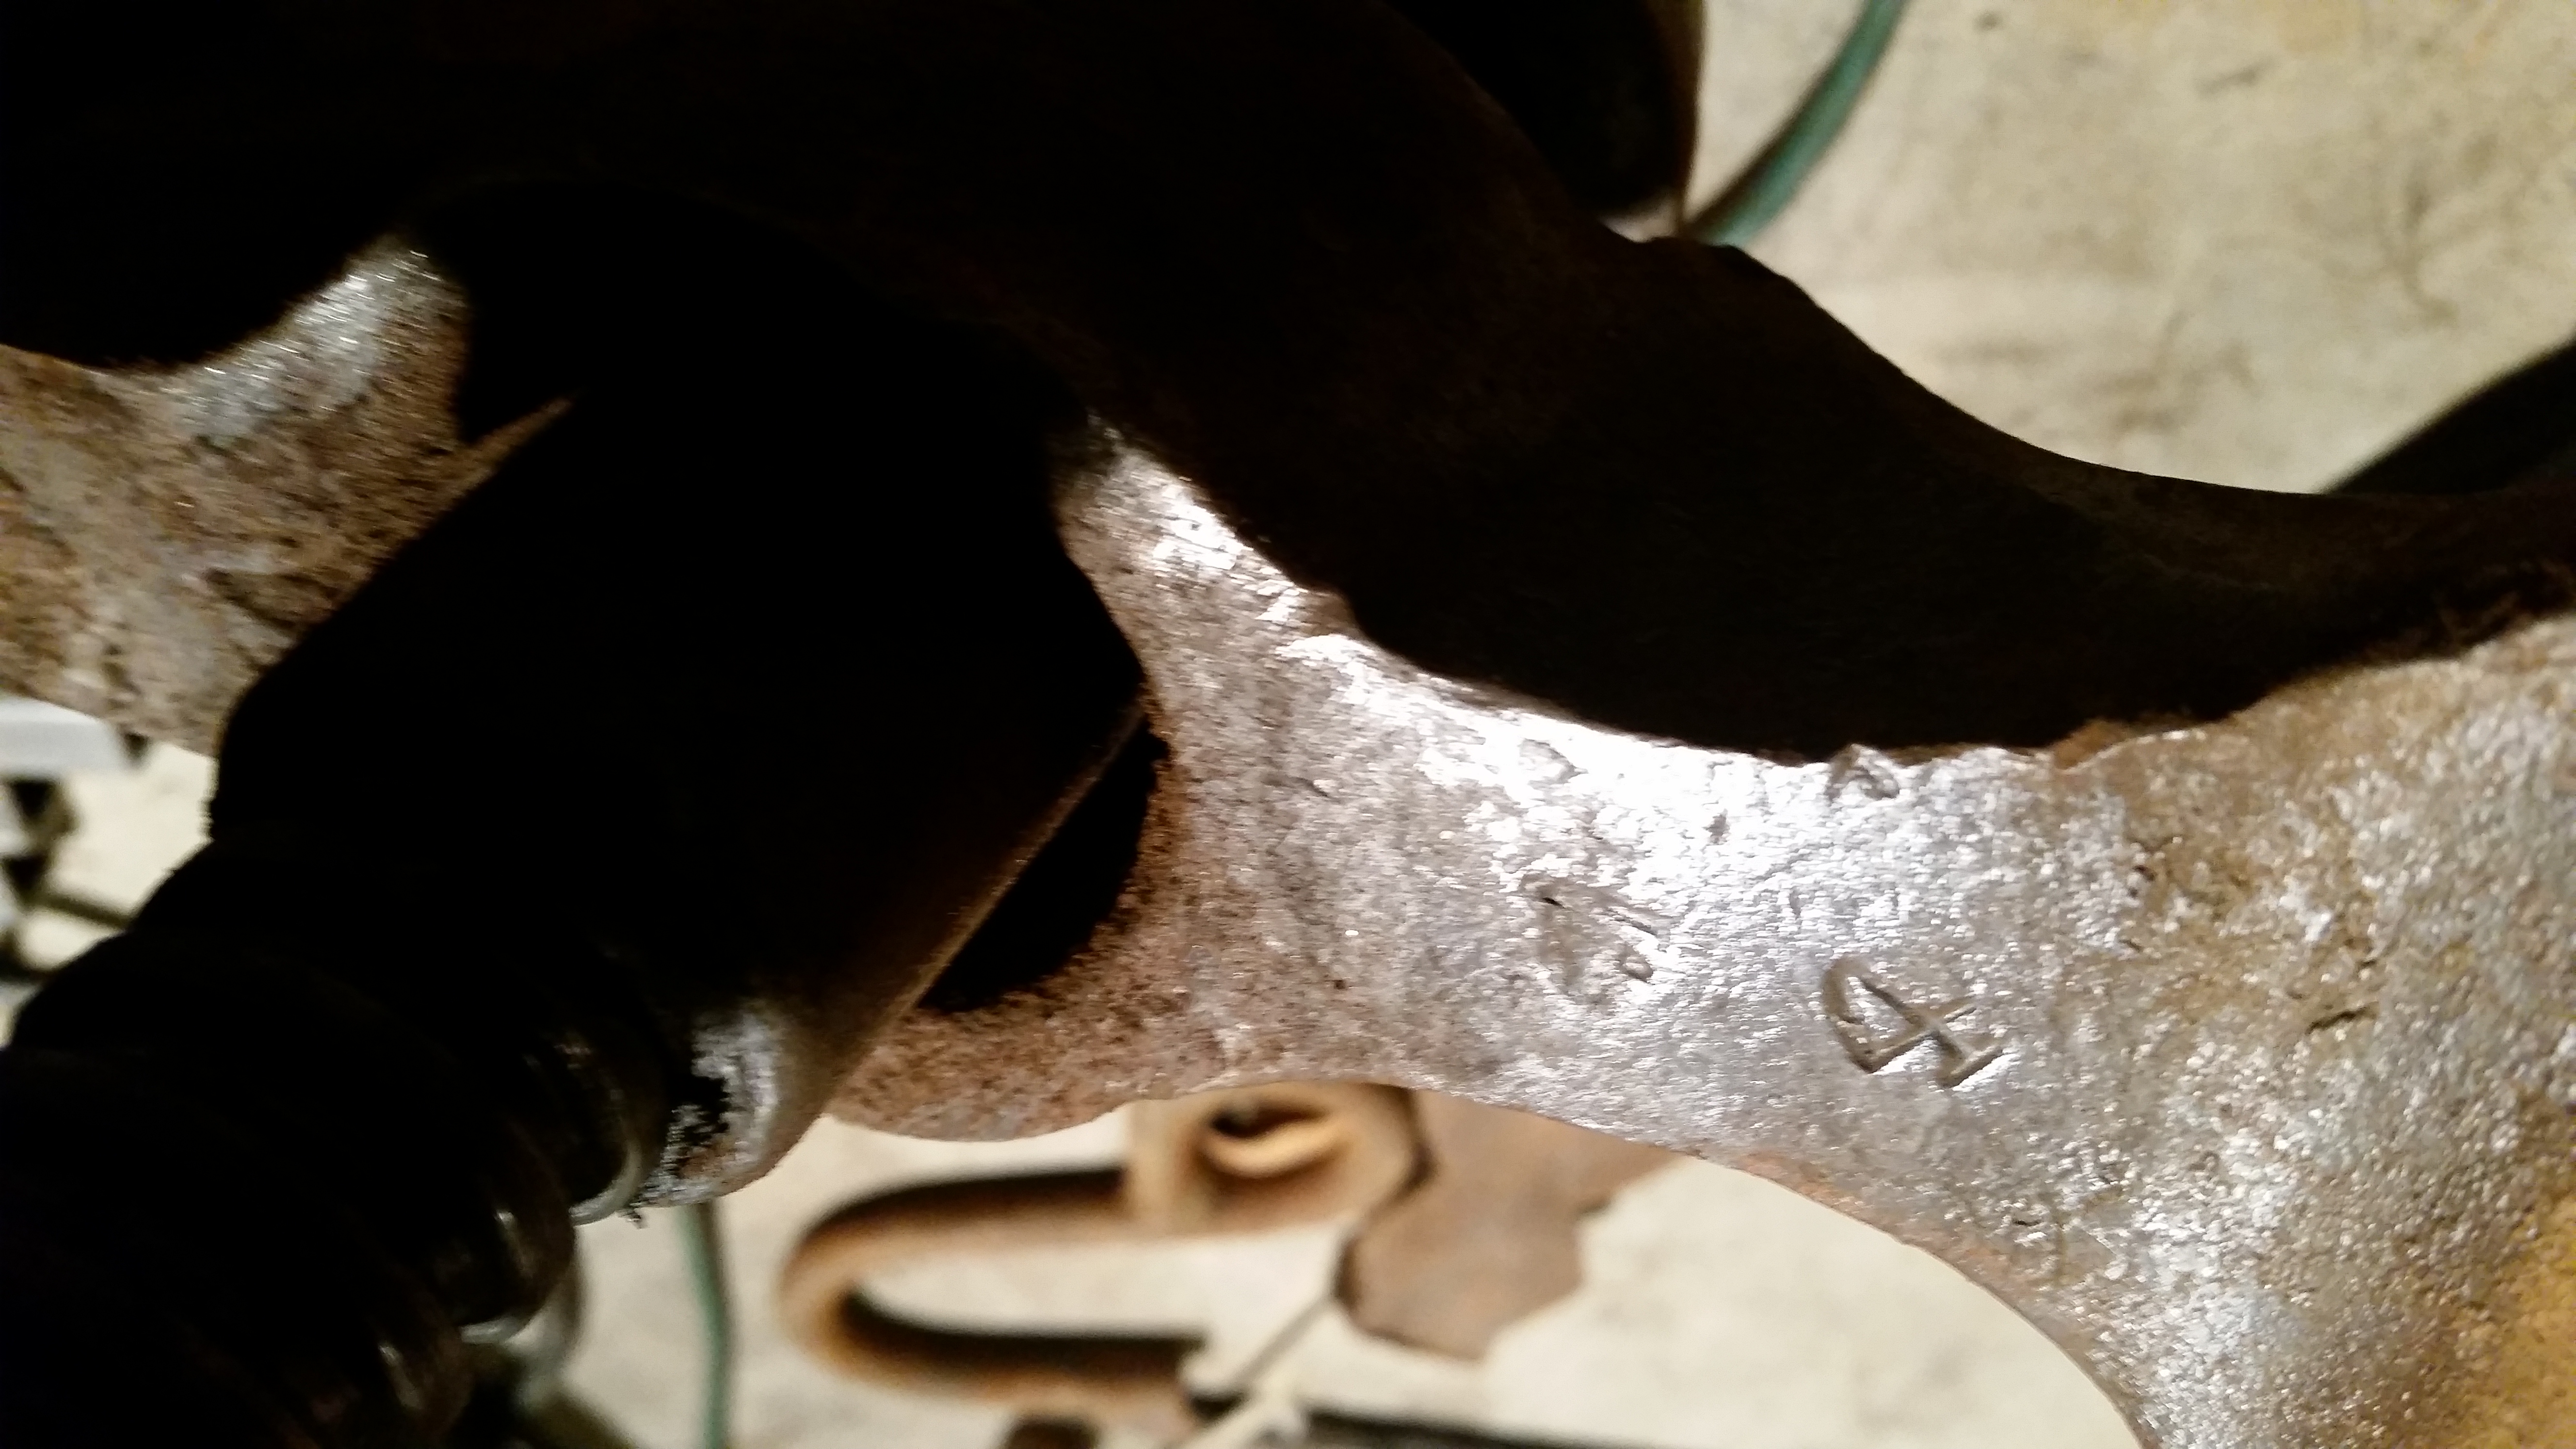
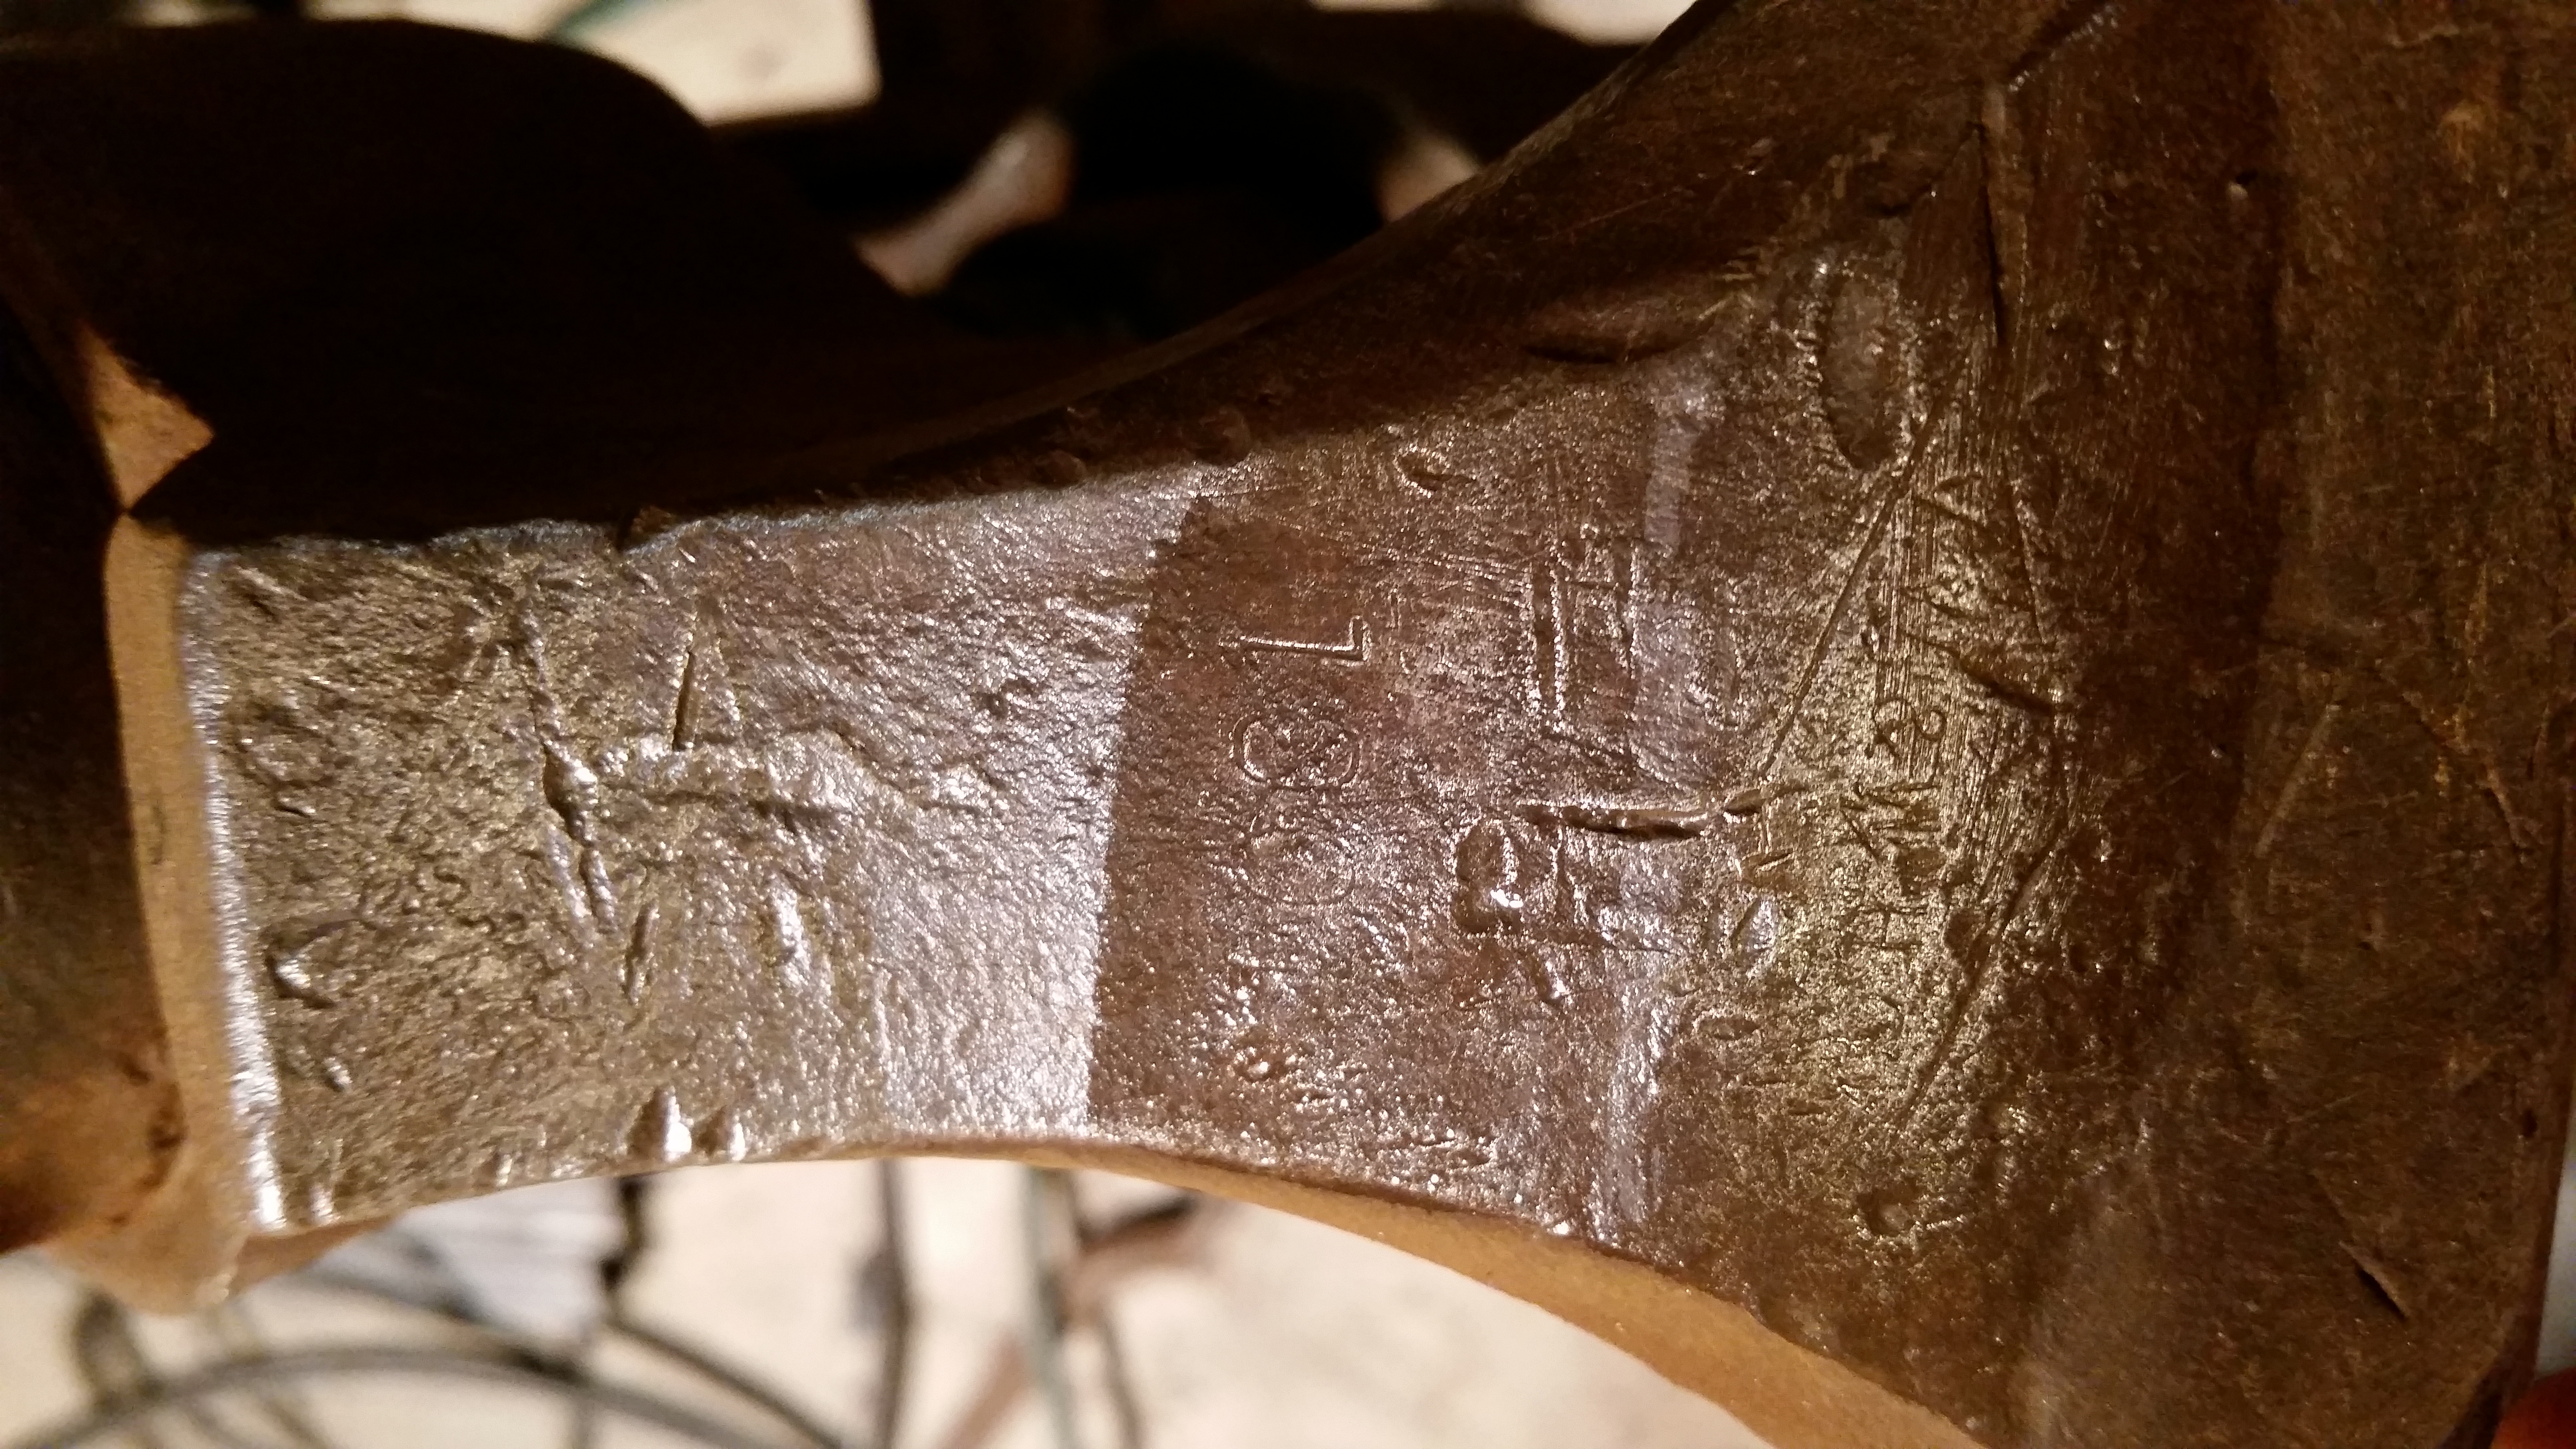
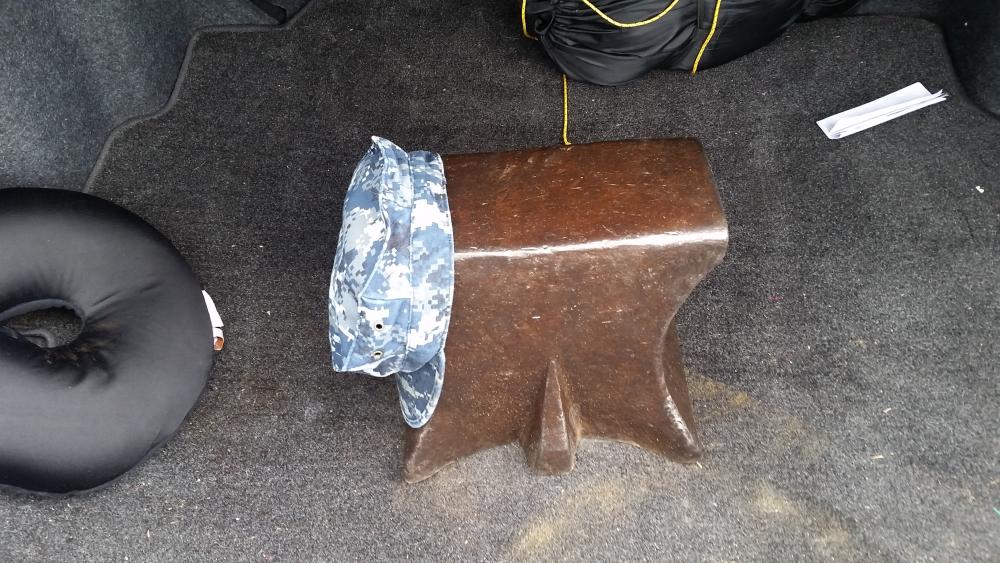
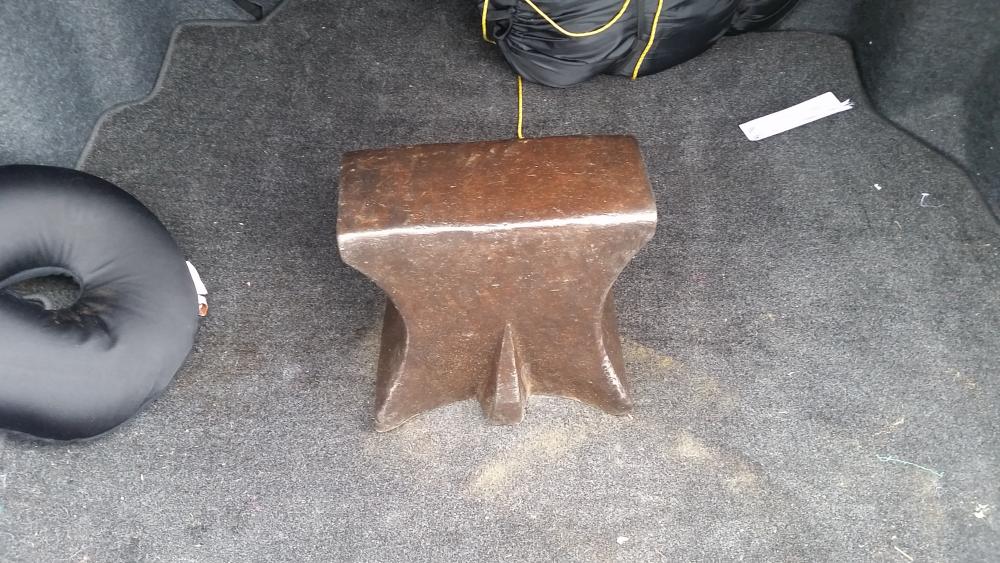
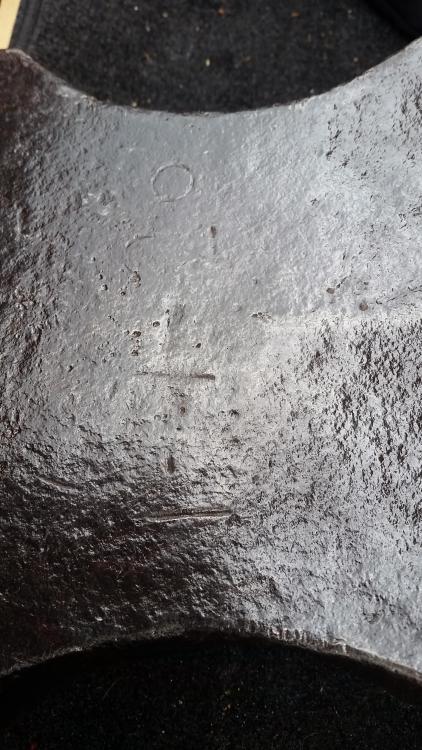
I don't think it was a 20, the o isn't the same size as the other numbers, and I think it being stamped 142# and getting a reading of 143# on the scale is more likely than getting 143# and having it stamped 162#... That's a lot of weight to lose over the years with so little wear. You are correct that it can be up to 27. I've been looking for about a year for a Sawyers anvil, I wanted something in the 200-250# range, but this one popped up and the price was right so I couldn't pass it up. And I like how the 5th foot looks, it'll be me new baby -
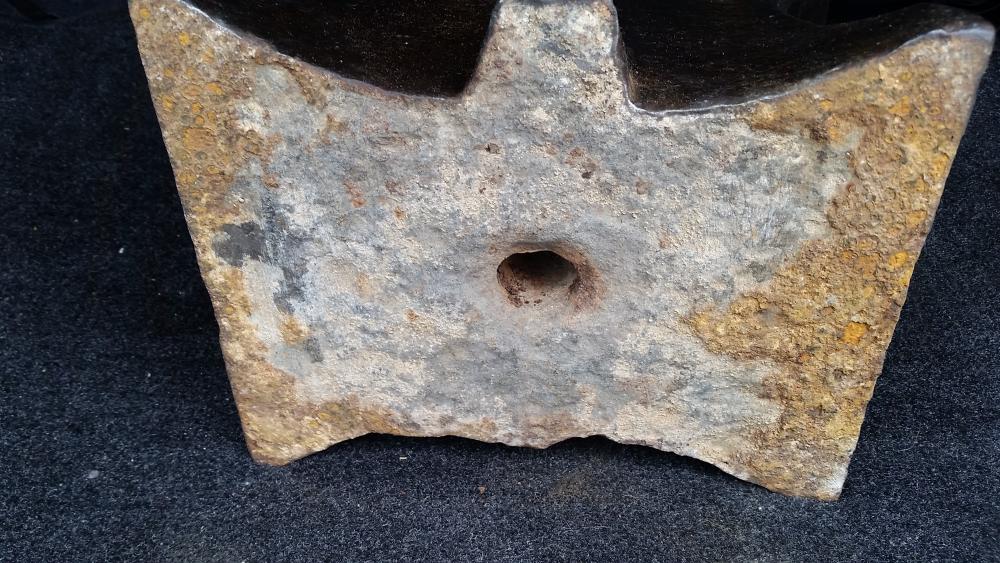
Hey all, I just picked up this 5th foot colonial anvil this afternoon, appears to be stamped 1-1-2 (circle) giving a stone weight of 142# bathroom scale says 143# so that checks with chart. Not sure what the circle means other than perhaps an inspectors mark or added by an owner over the years. Looking for any additional info. Thank you all in advance.

-
@bigb, the doors are still doing good, make sure to add a top bracket, I've knocked the doors over with just a bottom bracket. Luckily they only have about 2" to fall, but if they were to fall to the ground it would be game over. @ThomasPowers, I agree with the plaster being a POS liner. Which is why I didn't waste ITC on it. As for the sharp angles, it's a cylinder so I'm not sure how to get less of an angle... Anyway once it's redone in kastolite I'll be re sealing with the ITC and continue forging on.
-
I replaced my floor about a month ago, I'd say it held up rather well. Forging with it about once a week (avg) I had some flux drip onto it and finally killed it, that stuff is like acid on the brick. I also have had to repair the castable refractory once this time. A particularly long piece of stock got knocked off of my stand (out side of the forge) causing the end inside the forge to smack into the roof and make a nice gash the length of the forge. I have not re-coated with ITC100 yet. I did a patch job with plaster of Paris and sand. I'd like to get that out and replace with kastolite before re-coating with valuable ITC. Thank you all for the help and guidance!
-
Wilson Maeulen 2-A Hardness tester
CoyoteGear replied to quint's topic in Heat Treating, general discussion
Me too! I'm by the fairgrounds. We should have a hammer in -
Scrap metal locations?
CoyoteGear replied to ThorsHammer82's topic in Blacksmithing, General Discussion
They accept scrap by the truck load!! And they just got in a huge pile of chain that appears to be wrought iron. I have scored bucket loads of bearings there, huge chunks of forklift fork, old wrenches, and they'll let you rummage. Granted it's not a huge yard, but they do have constantly revolving inventory, so you can go every day and see something new. And the guy in the cut up shop is very friendly, and pretty smart when it comes to metal, he keeps a pretty good mental inventory of what's where in the yard and what each piece is, or probably is. If you're going to sell to them I have heard more negative than positive reviews about they're prices paid for scrap. But buying from them, I have never had a bad experience. -
@Nik201 you could look into a brand new nimba, they're ate made in port orchard ($0.00 on shipping!!) And beautiful anvils. Some of the best new anvils available. I agree with the previous posts about that being a fairly large beginner anvil. I started on a 40# piece of rail road track and even now as my real anvil collection grows I occasionally use it. It's got the perfect size heel for bending fire strikers around. I am in Bremerton, by the fairgrounds. There are a few master smiths your husband could check out in the area, burnett family forge is the first that comes to mind. There is also a beginner class in Seattle, and I believe a master smith who works just off of the ferry landing in Seattle. @Kaylee sent you a message.
-
Amazing shop. I love the pulleys and wheels and belts overhead. I don't know how to describe it other than steampunk and that's not the really the word I want. It's amazing and I love that old world engineering. Thank you for the pictures. One day I hope to have a shop that's just half that impressive and I'll be a happy camper!
-
Progress On My New 12'x16' Shop / Pole Barn
CoyoteGear replied to tulsavw's topic in Building, Designing a Shop
Is it done? I'm excited to see the finished product!! I like how you are so close to the pond, it would be nice to have a shop with a view of your own little pond. I'd fill it with koi and use it as my break area -
Sad day. There was a big Arm and Hammer (500#) for sale for a while up here for $3K but it had a crack all the way through the waist. I didn't bother looking at it when I say that it was broken in two pieces. I bet that PW could have easily gotten double that, maybe a touch more. And then I would have had some awkward explaining to do with the wife
-
Let me know if you're ever interested in selling it I'd gladly come take it off your hands
-
Man that is a massive anvil. I'd love to have a PW that big to go along with my little one. And that one looks almost new! Great looking anvil you have there!!
-
Been looking for an anvil @ 100#
CoyoteGear replied to Bo T's topic in Anvils, Swage Blocks, and Mandrels
I really want to look at a Delta anvil and play with one. Any idea how the base is connected to the top plate? I have heard there is a gasket between the 2 halves so that would make me think there are bolts etc that screw the bottom onto the top. If that were the case then the top and bottom becoming loose wouldn't be an issue. I really want to build a striking anvil face out of 5160 and then a large cast base from a high grade aluminum, it would give me the size of about a 700# sawyers block, but at less than 1/2 the weight. I'm just wondering if the base will absorb to much of the force. Please keep us updated if you get one of these as to the results. -
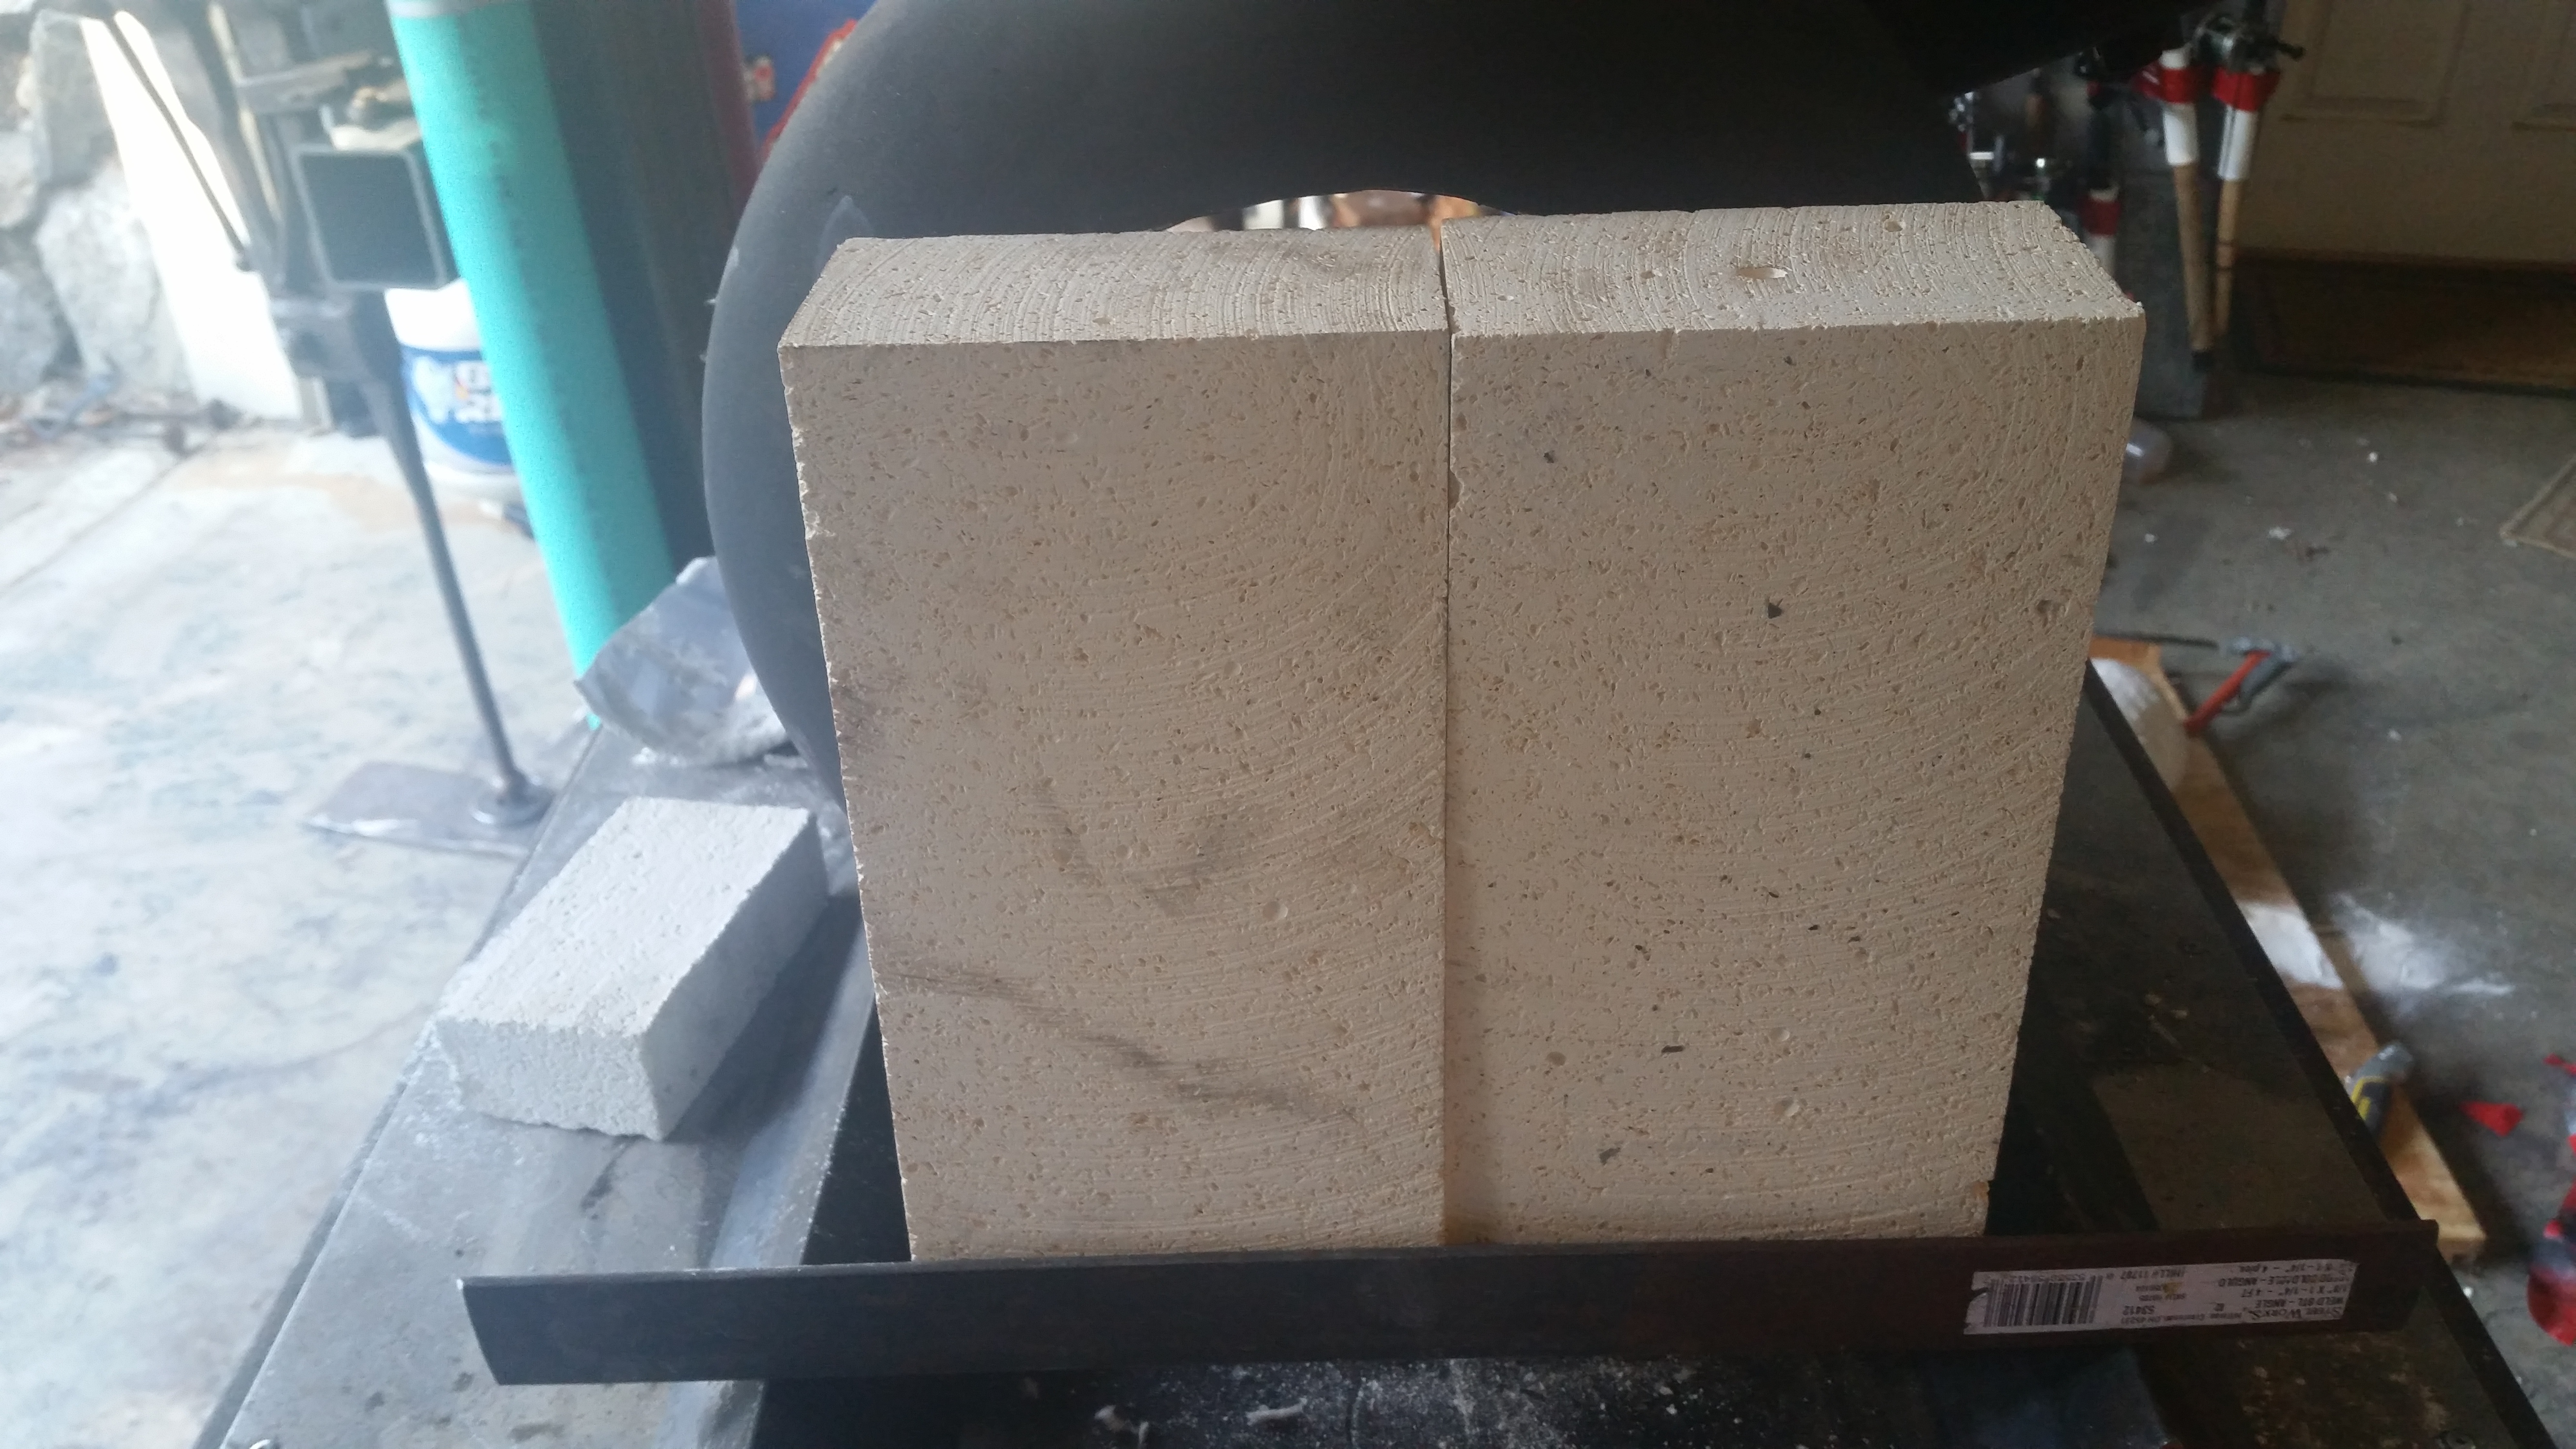
Next time I'm in Seattle I'll swing by the pottery supply store and check out this kiln shelf, so far the only problem I've had is being easily broken. I poked a long piece of stock through and knocked one of the back doors off and it shattered upon impact with the ground. Lucky me, I've got a 5 gal bucket full of fire place brick shop I used those to replace it, I really need to get the top part of my doors welded on!
-
Rail road bridge anvil
CoyoteGear replied to tallgrass's topic in Anvils, Swage Blocks, and Mandrels
I like bridge anvils, I think they're neat. Don't know how well they would work as there is very little mass under the mid section but one day I will still add one to my shop.... Maybe use it as a foot rest? -
I picked up a piece of fork lift fork at the junk yard 2x5x24" about 70# for $20. It sets on the stand for my post vise and I use it as an upsetting block when needed. Seems like 1" might be a little on the thin side, and I have heard bad things from just welding 2 plates together. I'd look for a cheap piece of bigger stock.
-
what Peter wright anvil
CoyoteGear replied to Tonya Townley's topic in Anvils, Swage Blocks, and Mandrels
Where are you located? I'd gladly come take that pesky PW off your hands to add to my PW collection for $200 I'll even load it up with a smile on my face. -
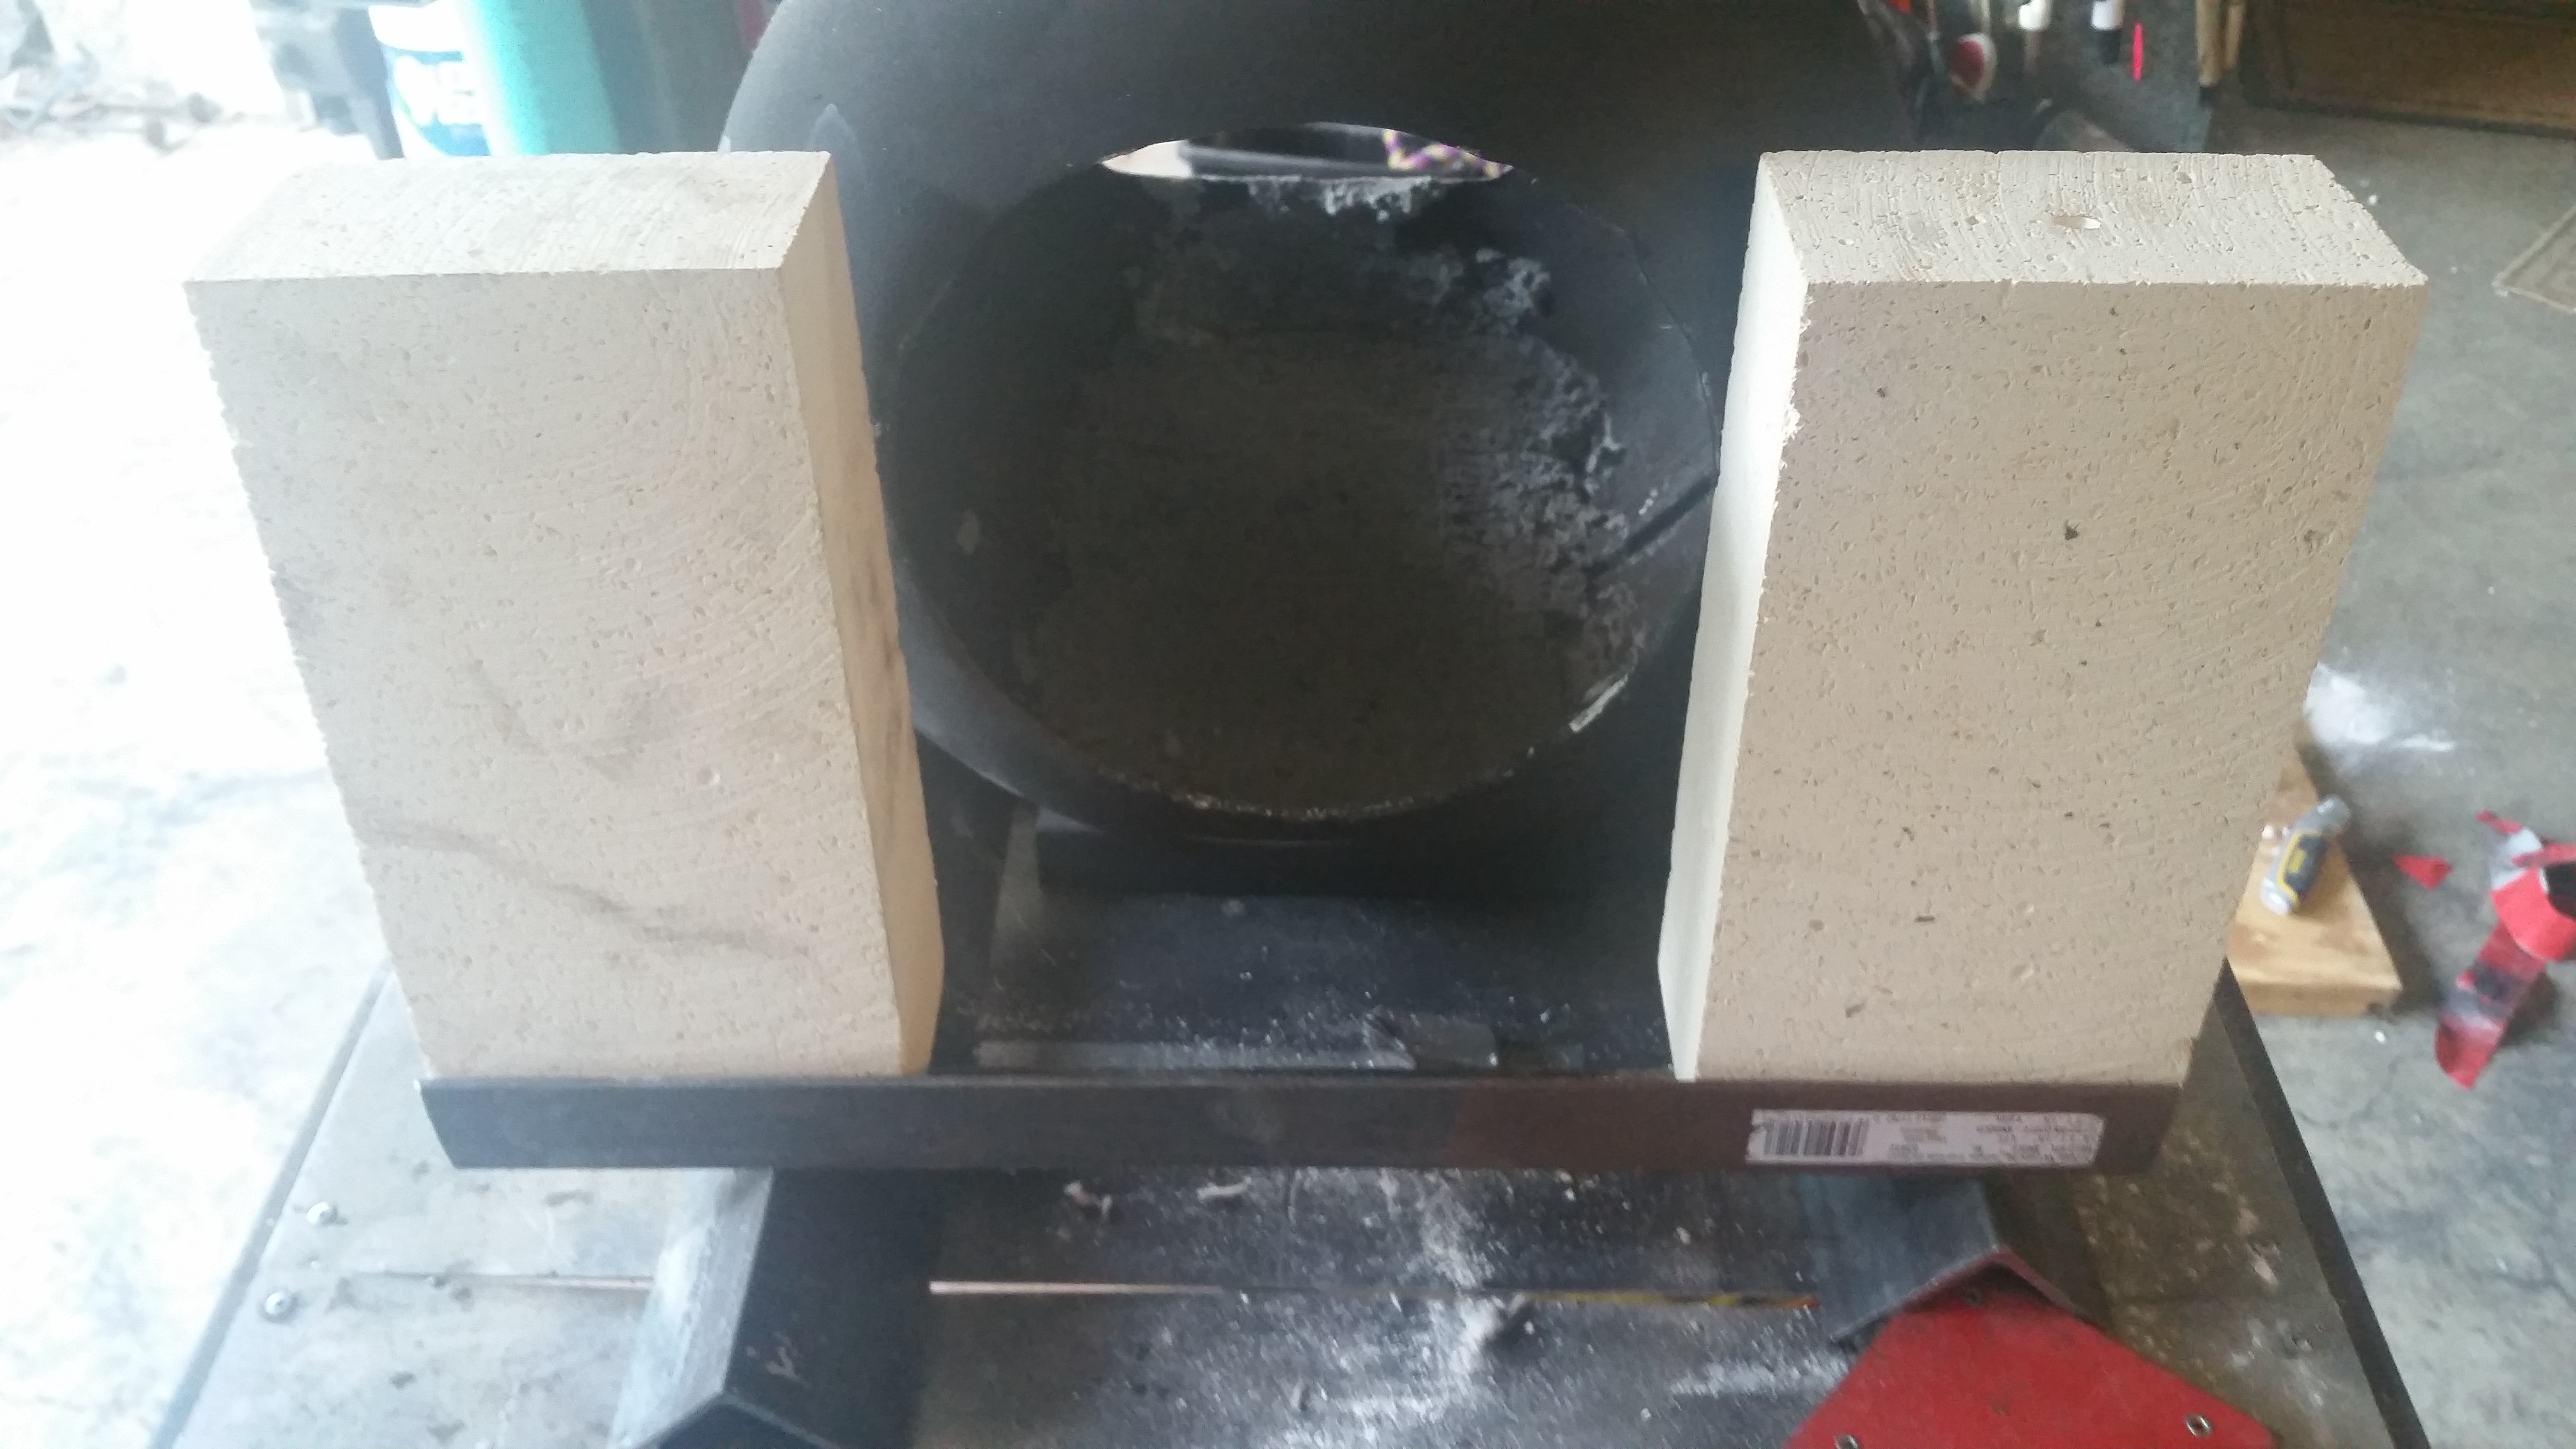
You could add a castable refractory into the bottom to make a level floor & reduce some of your internal volume. Don't know if it would be enough. To change anything though.
-
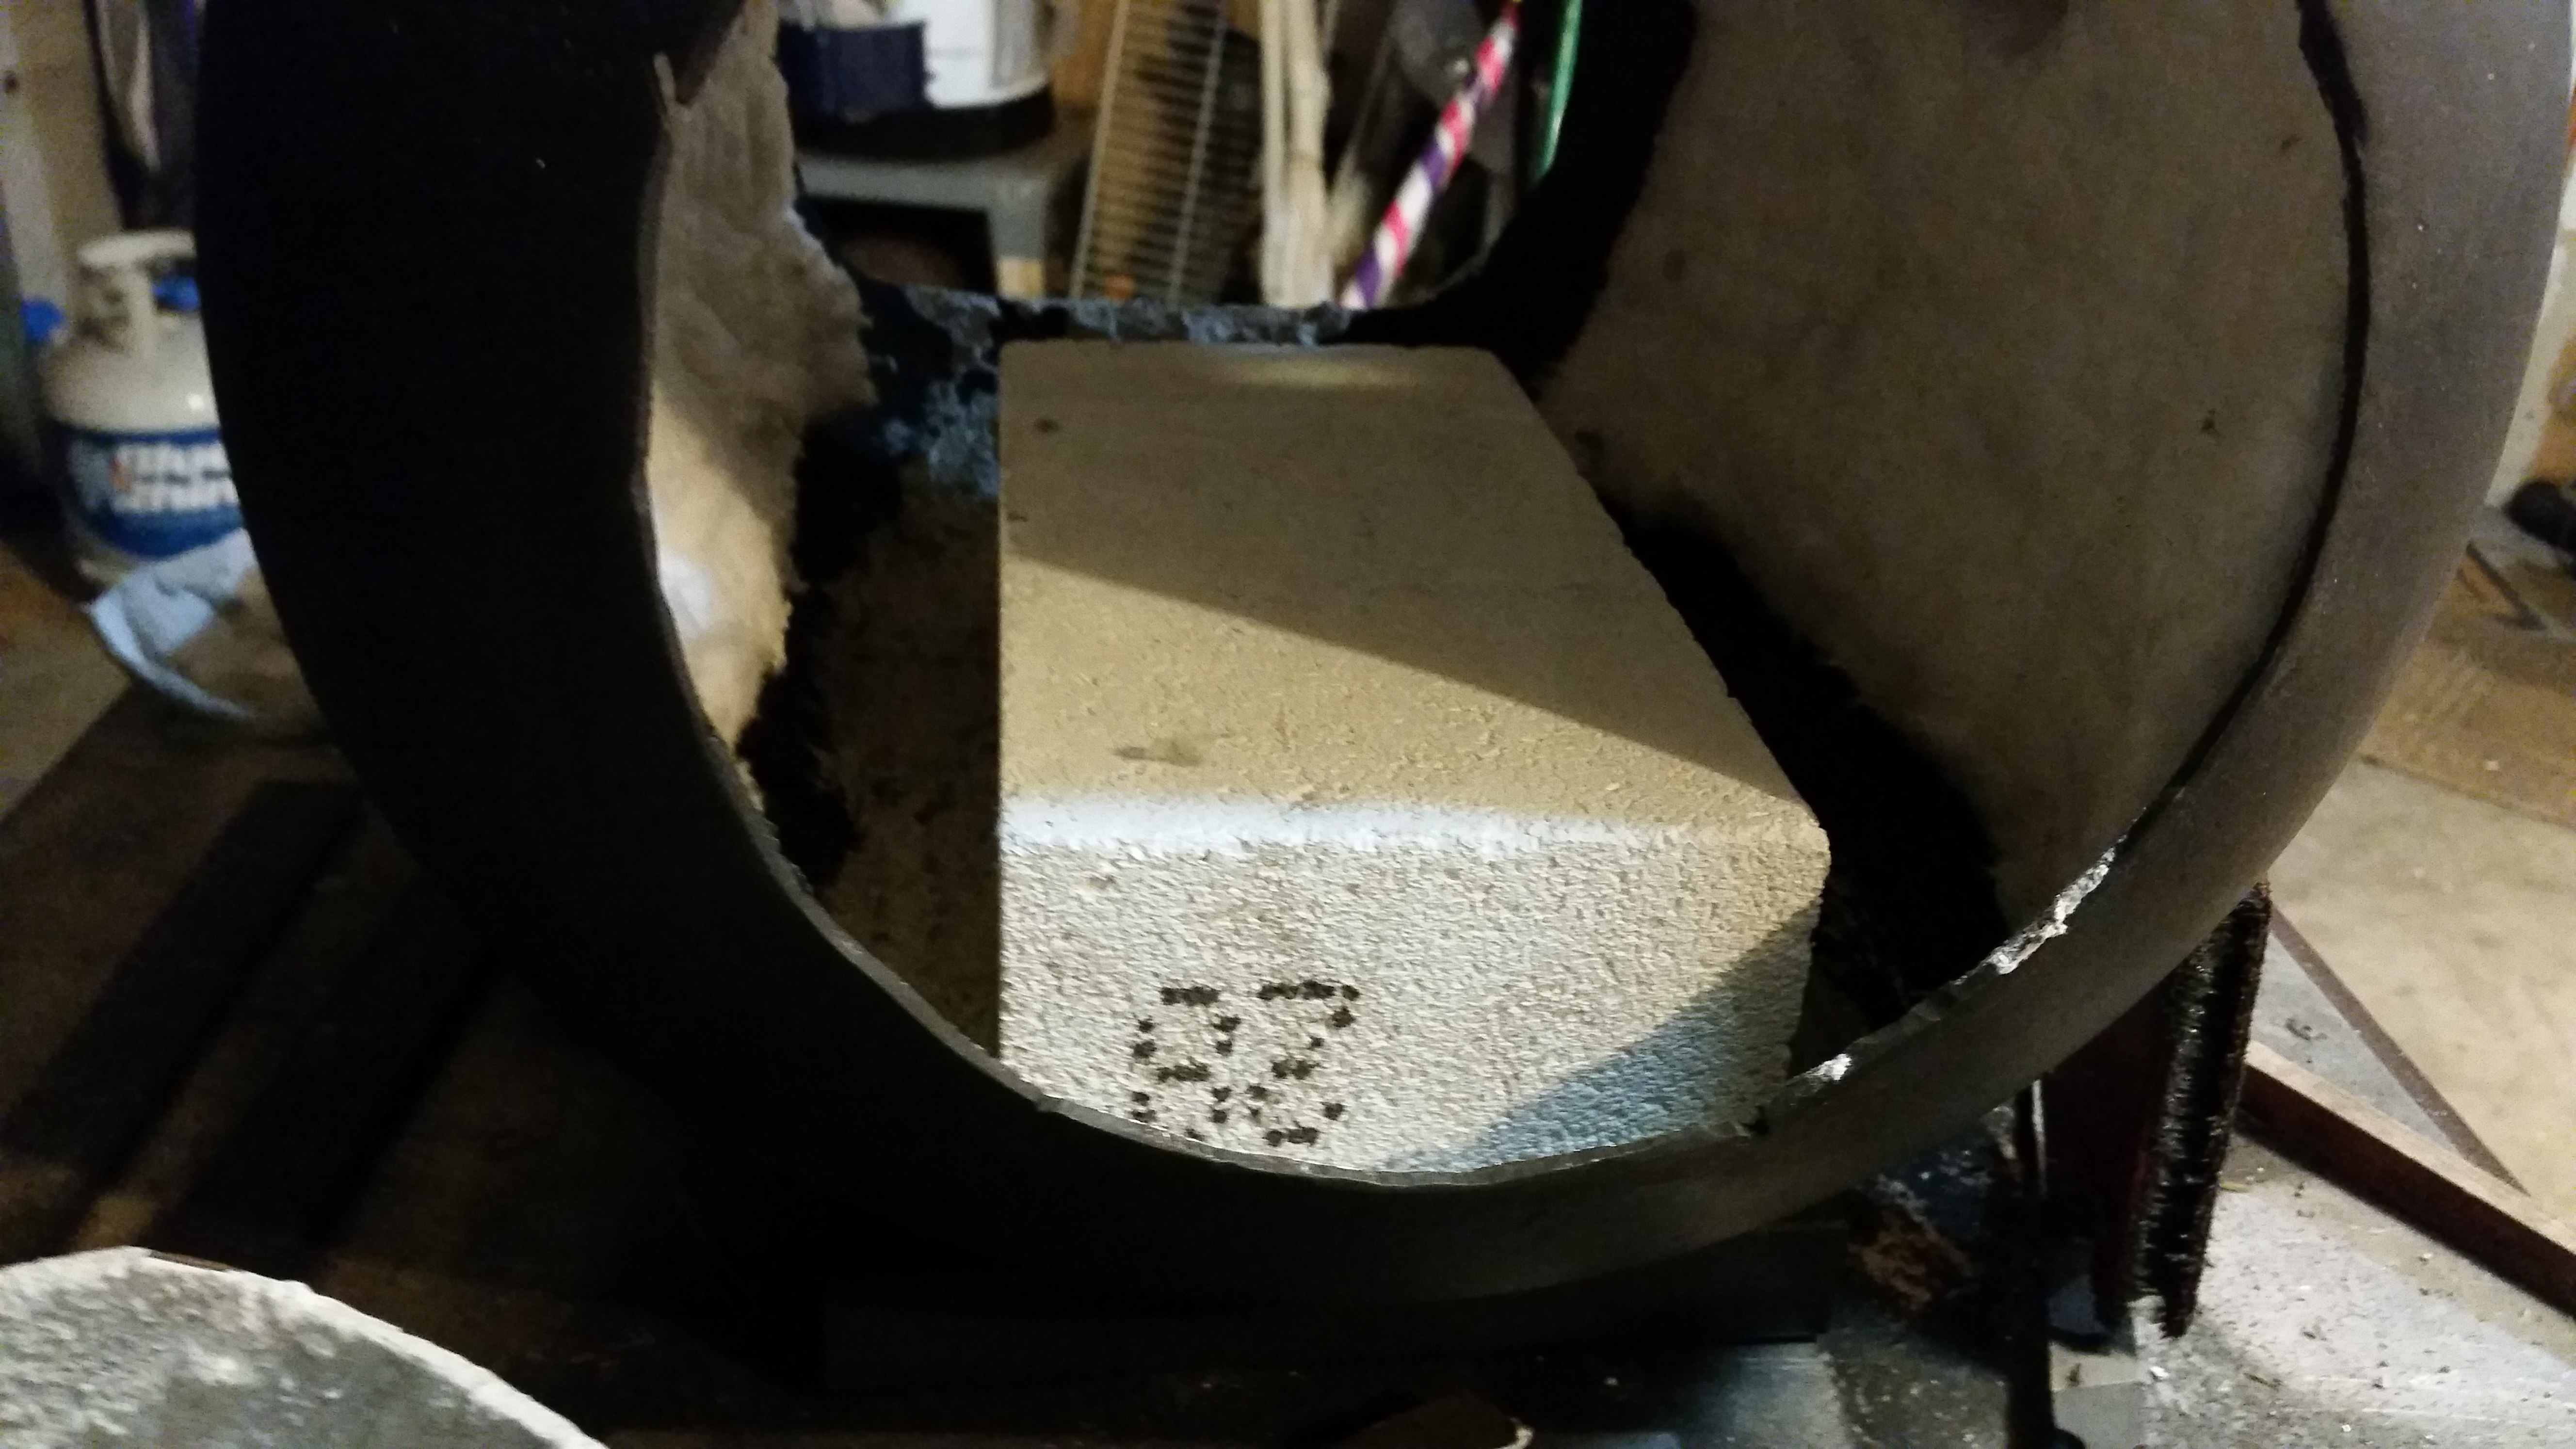
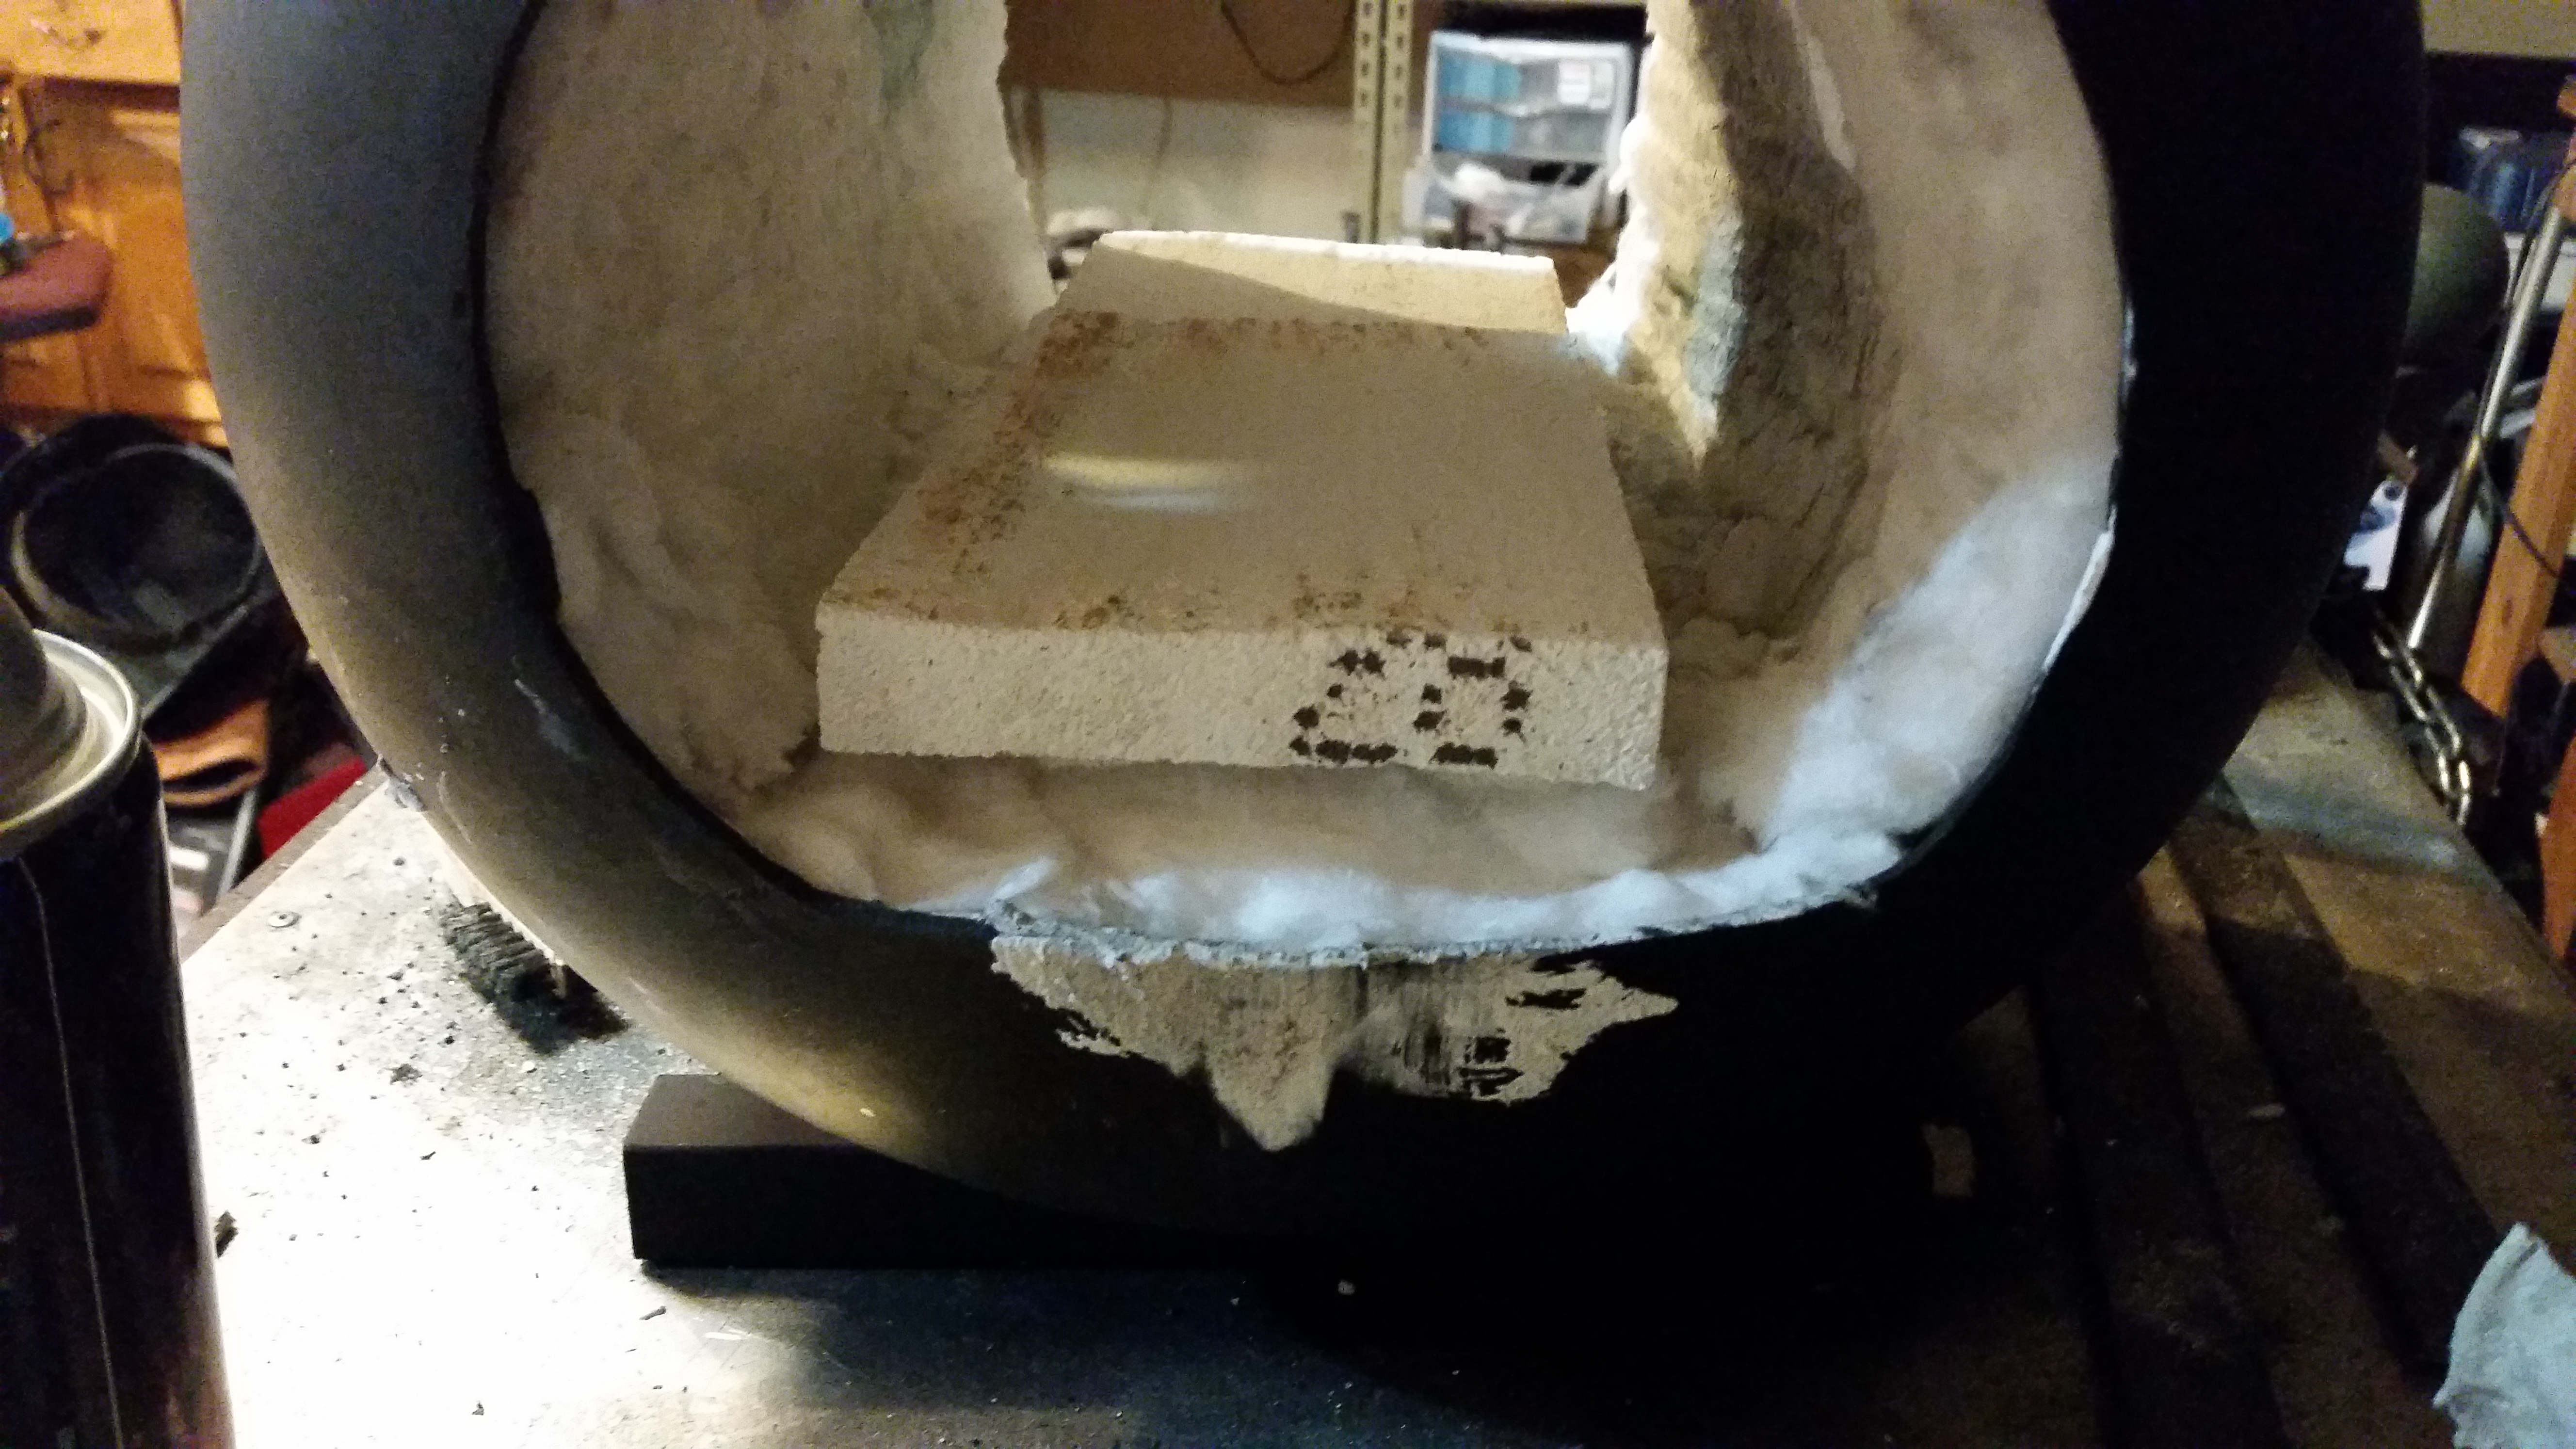
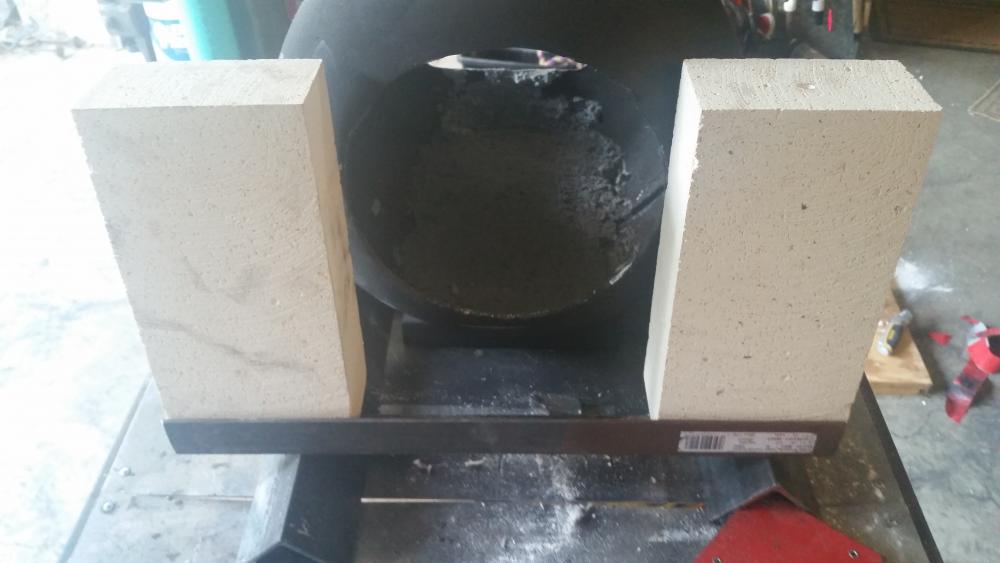
Yes they are, they're made for insulating a kiln and I believe the Dane bricks that most heat treating ovens are made from. Internal volume souks be should be about 270 ci. With the floor tiles, or 324 ci. w/o. Originally I had planned on Inswool all around, but I was worried that it would be too soft and cause cranking when it flexed under the weight of the stock (never played with Inswool before) So I went with the kiln brick. They're not the fire bricks that my old forge had as doors, those are very heavy dense. These are nice and light, and cut very easily.
-
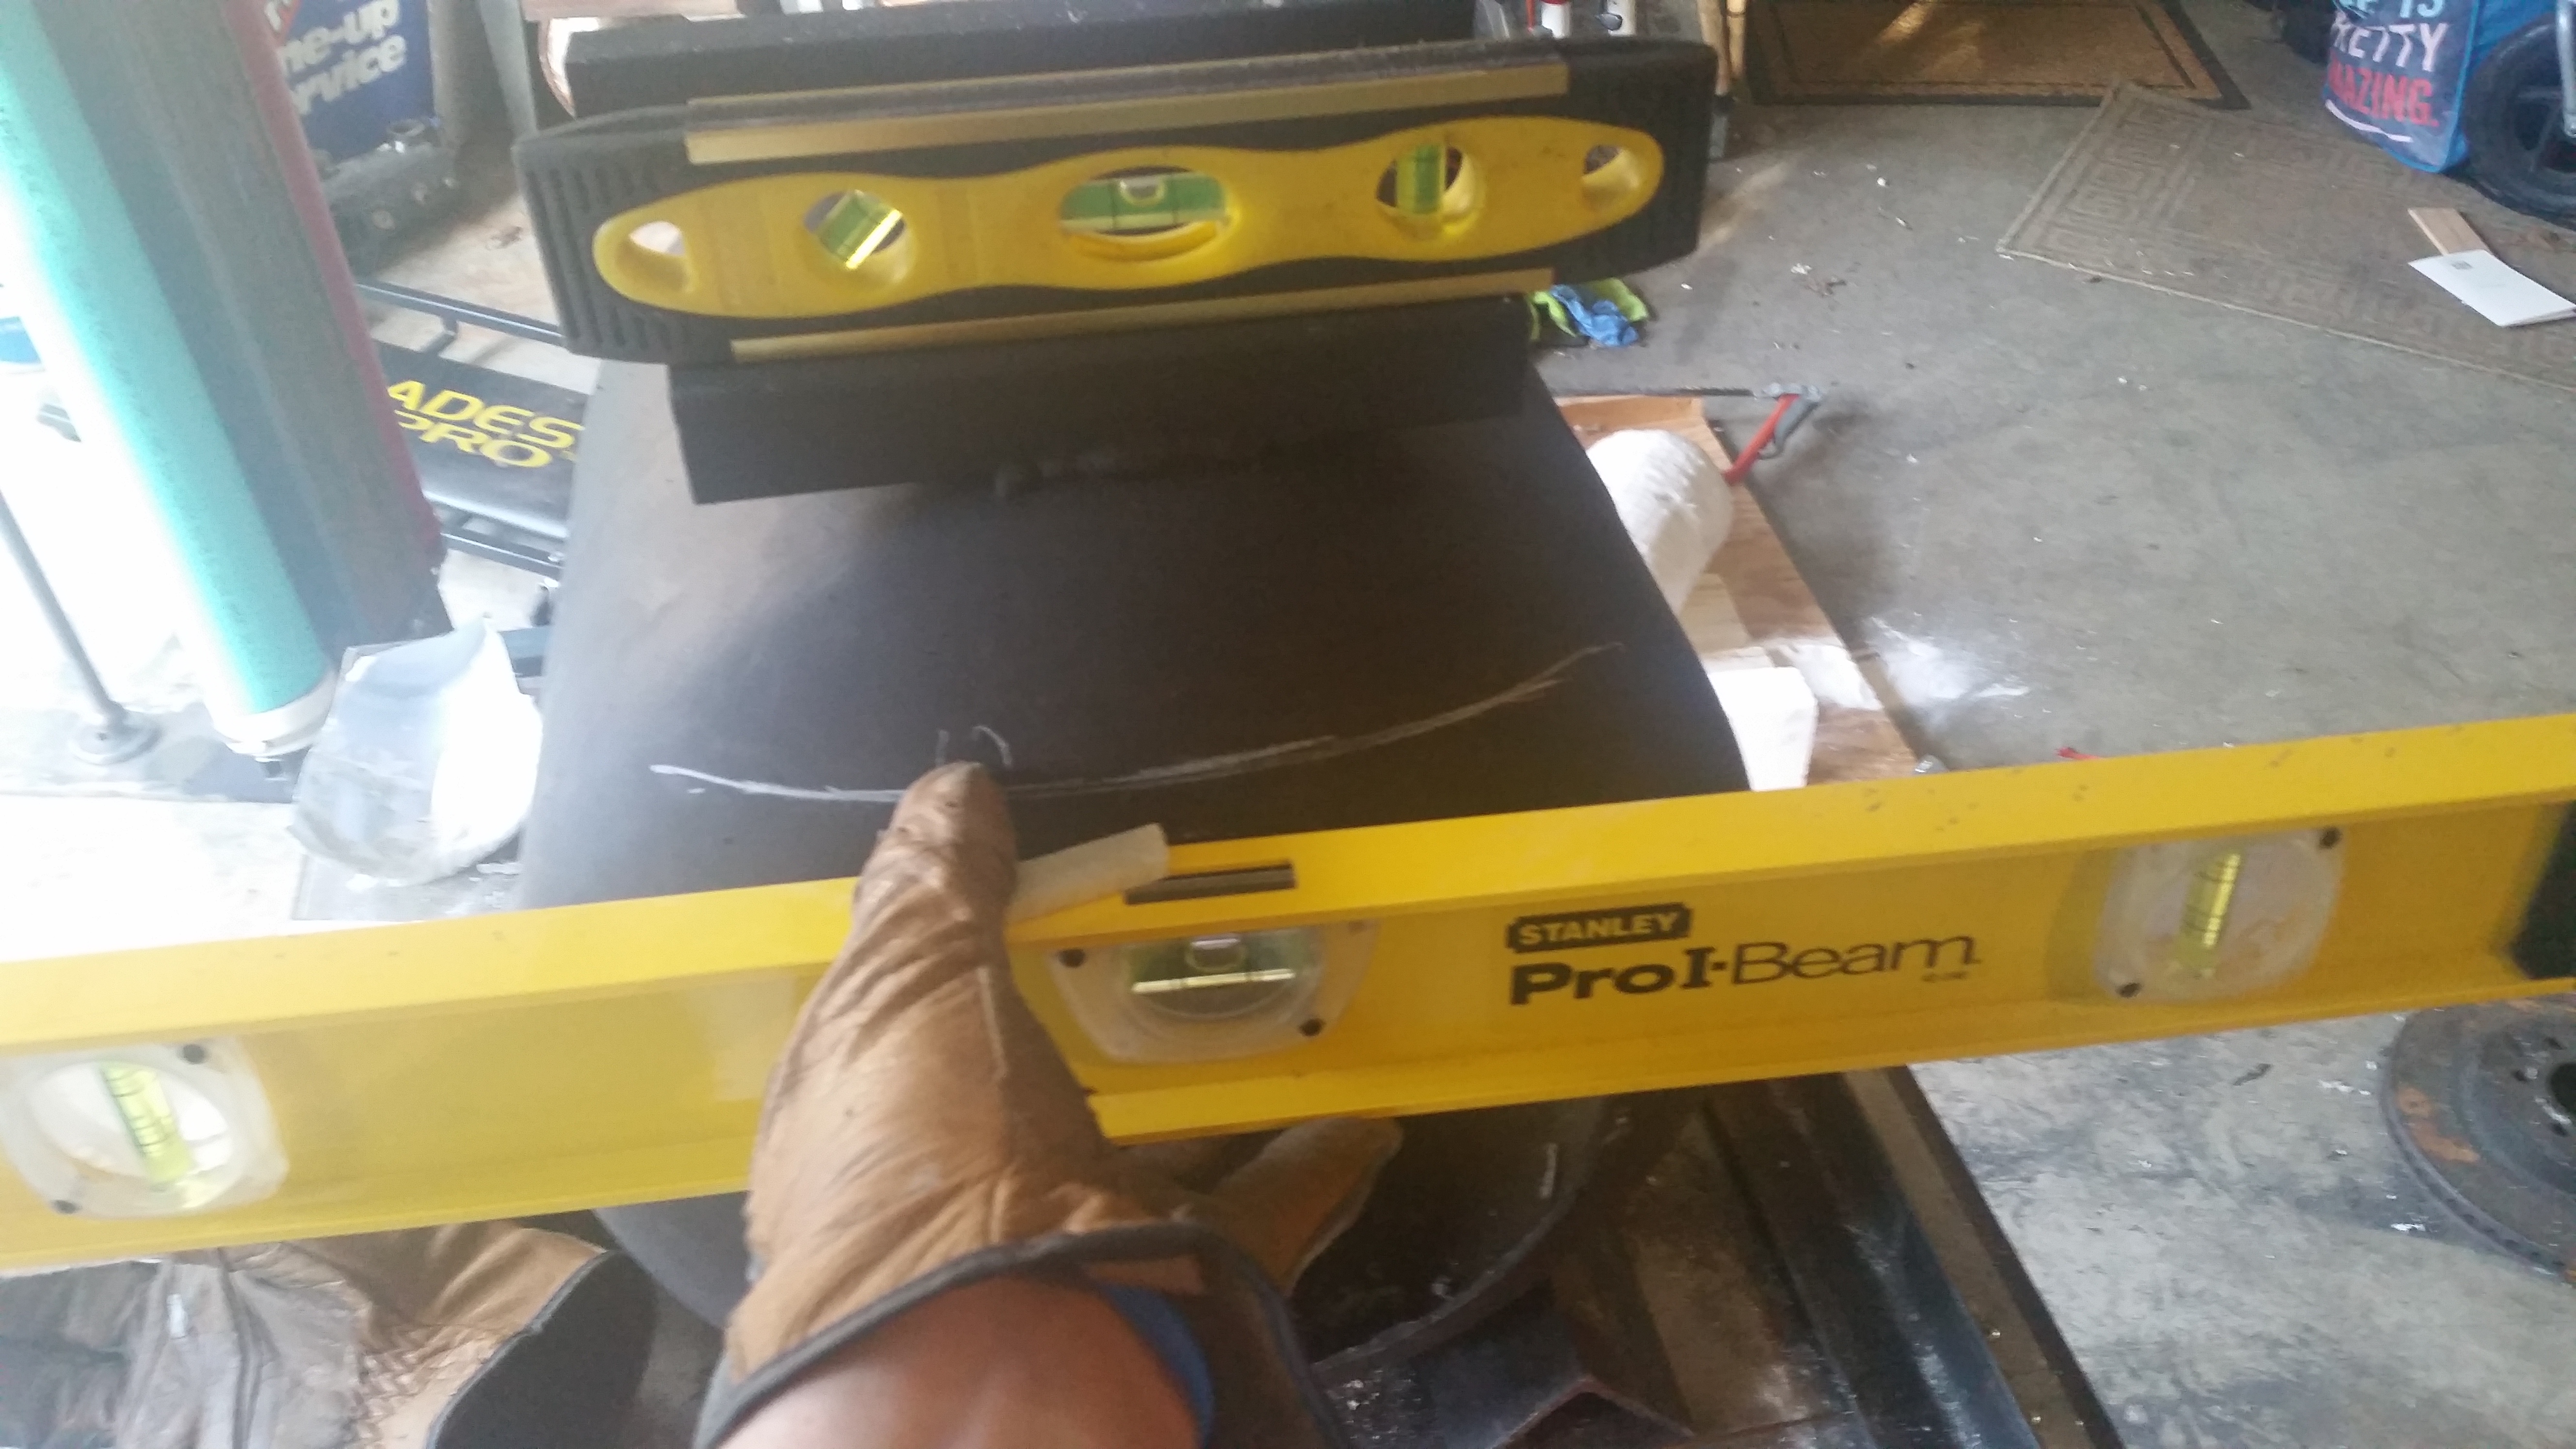
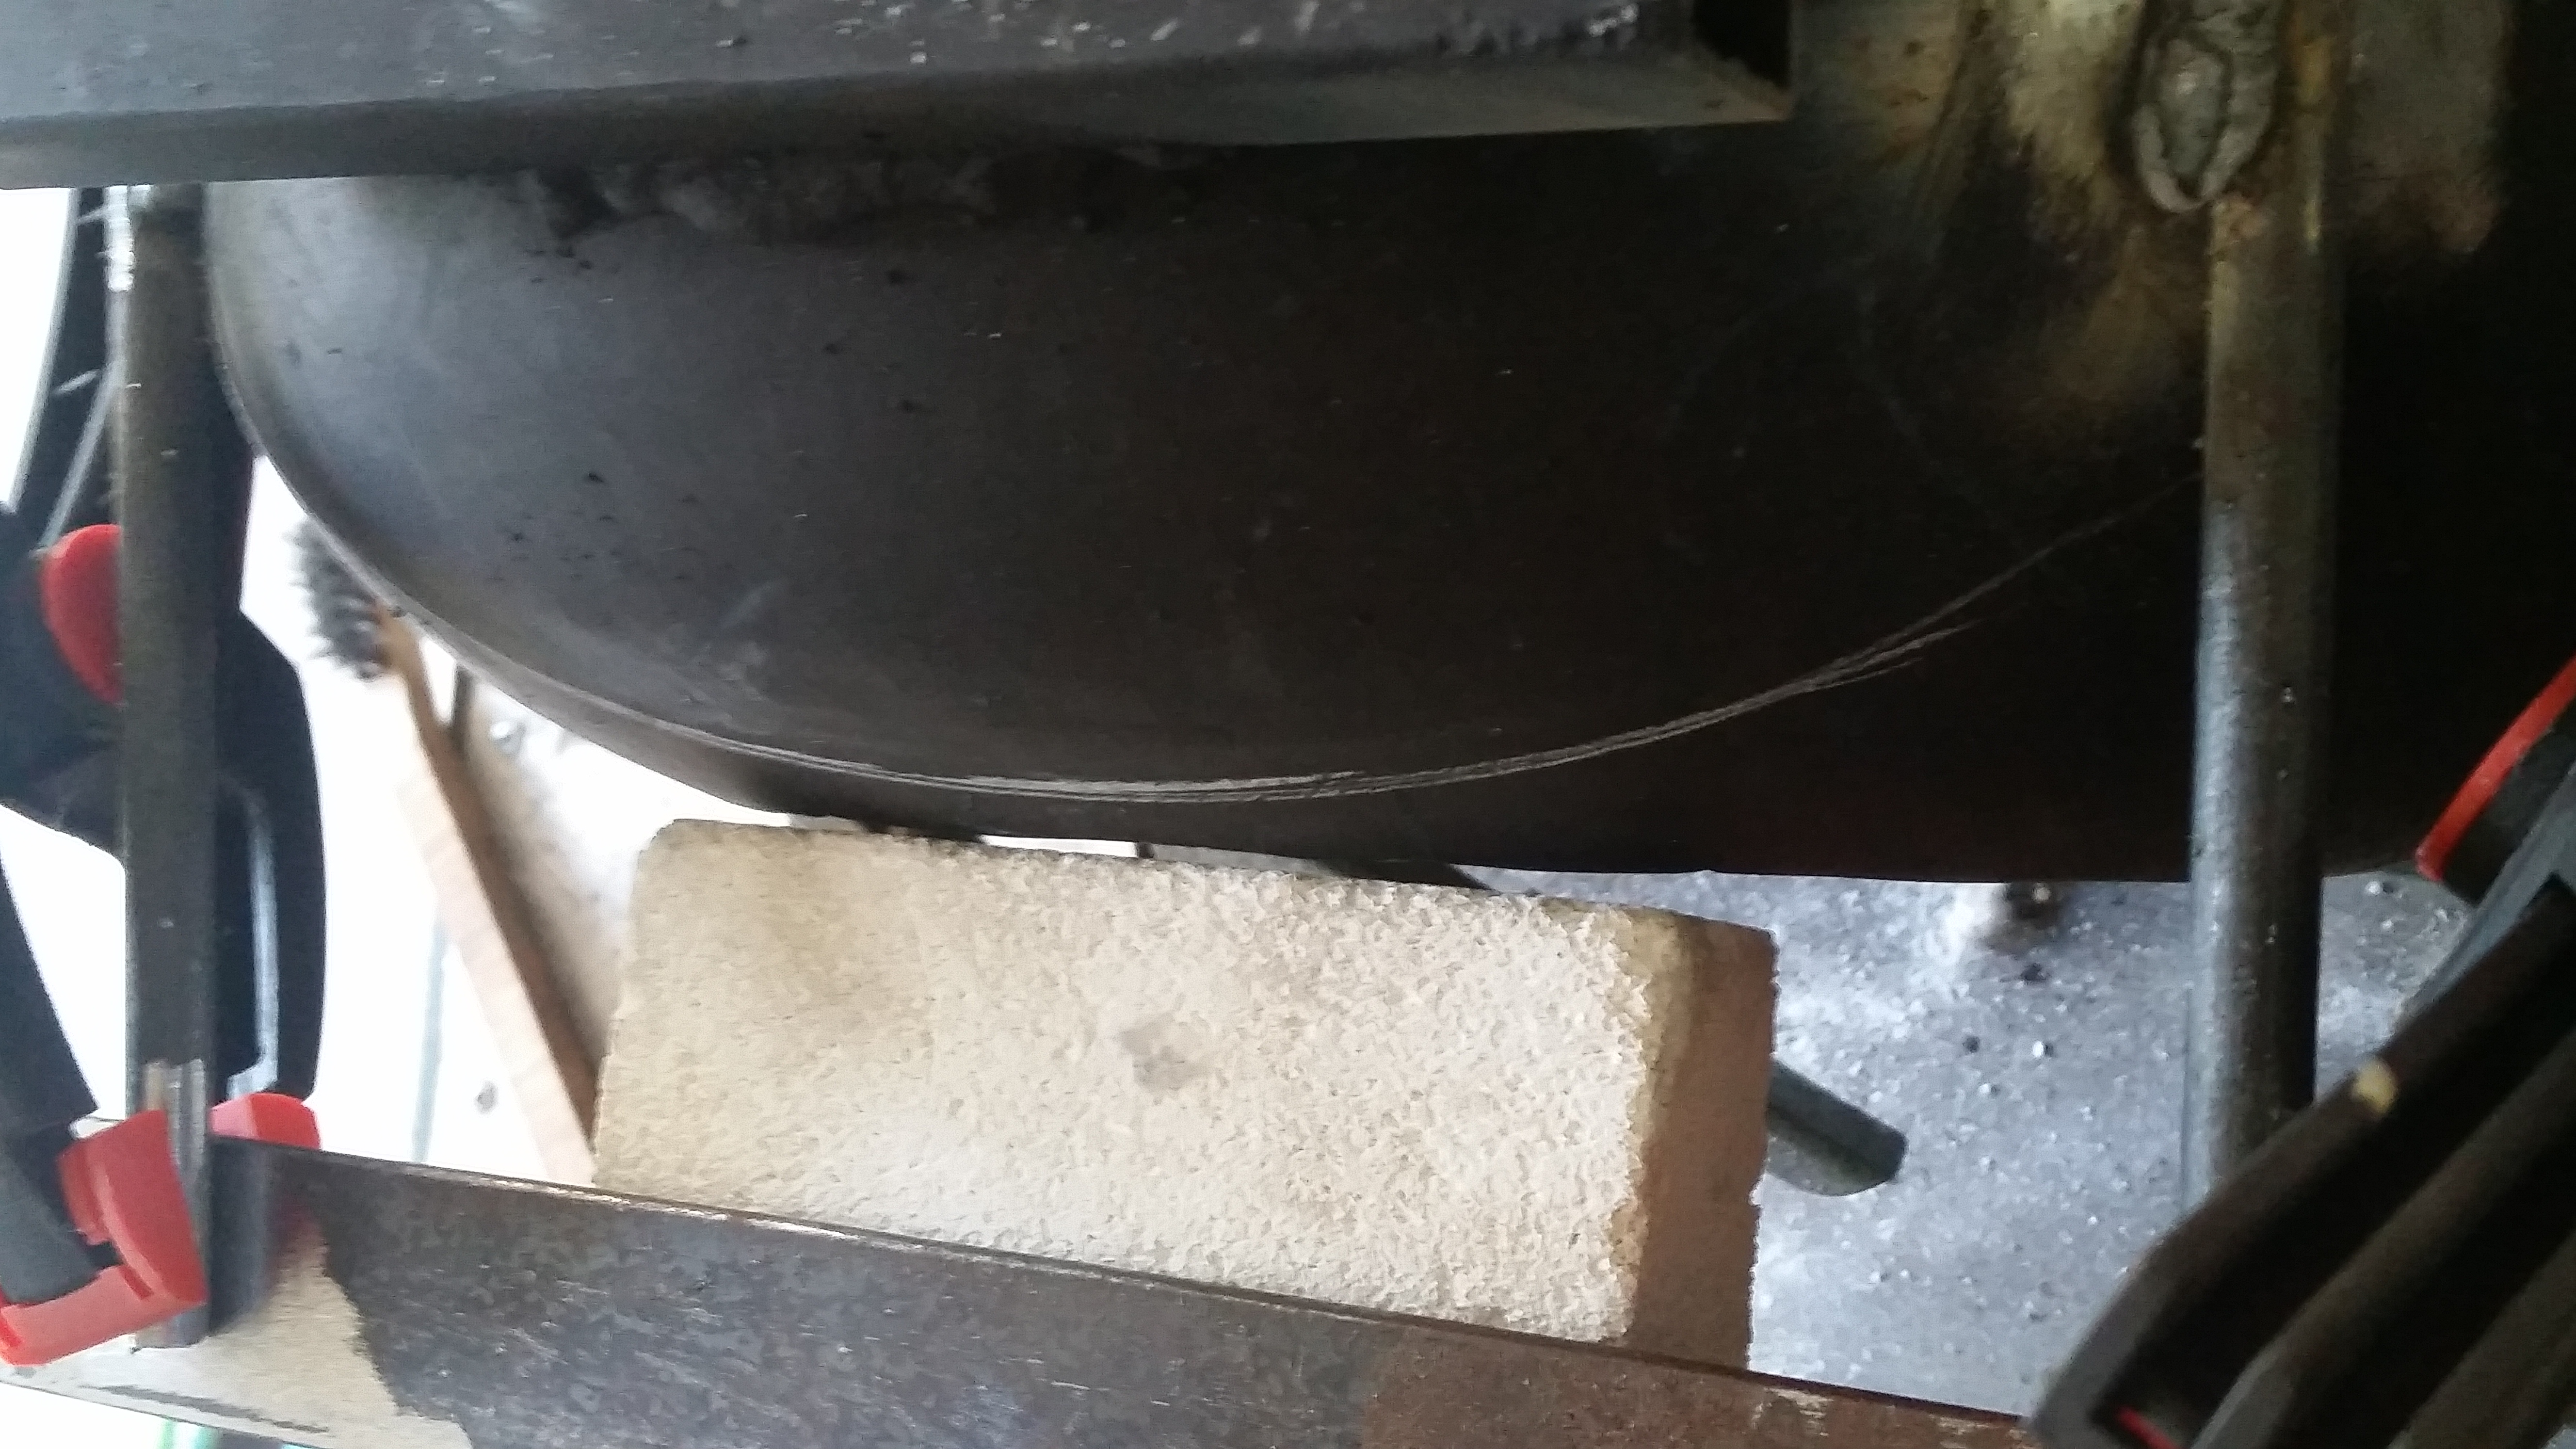
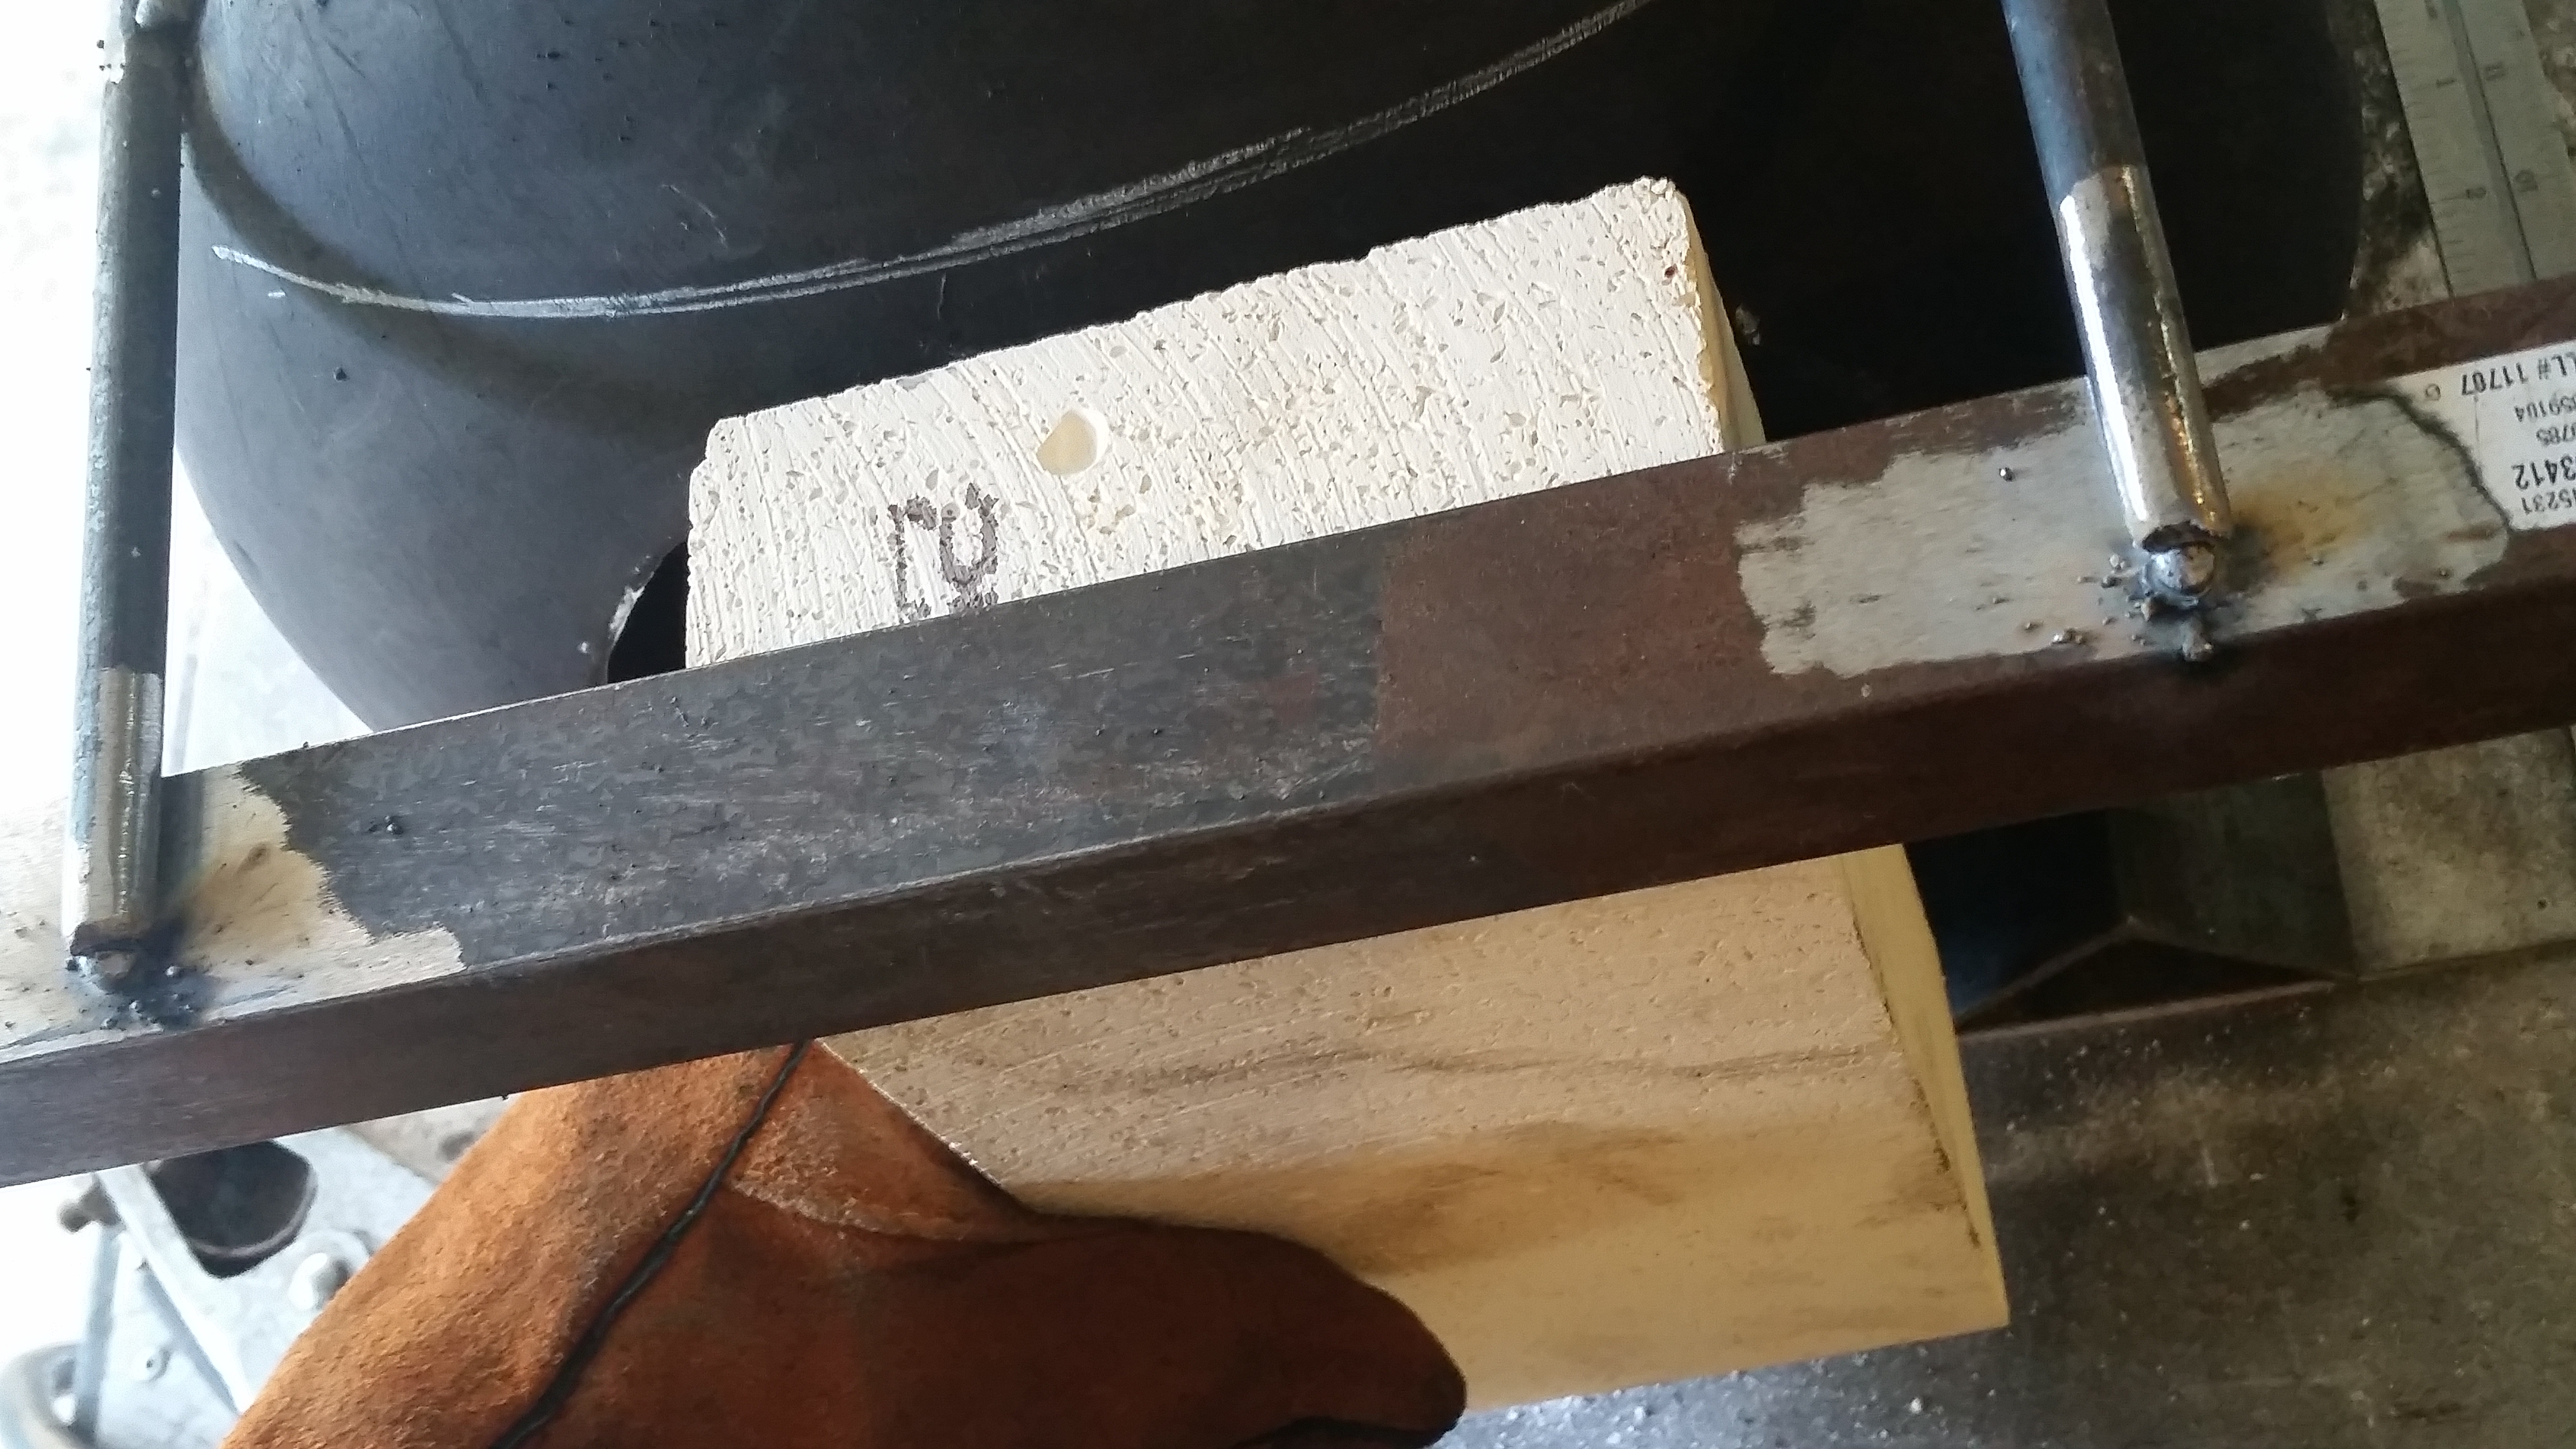
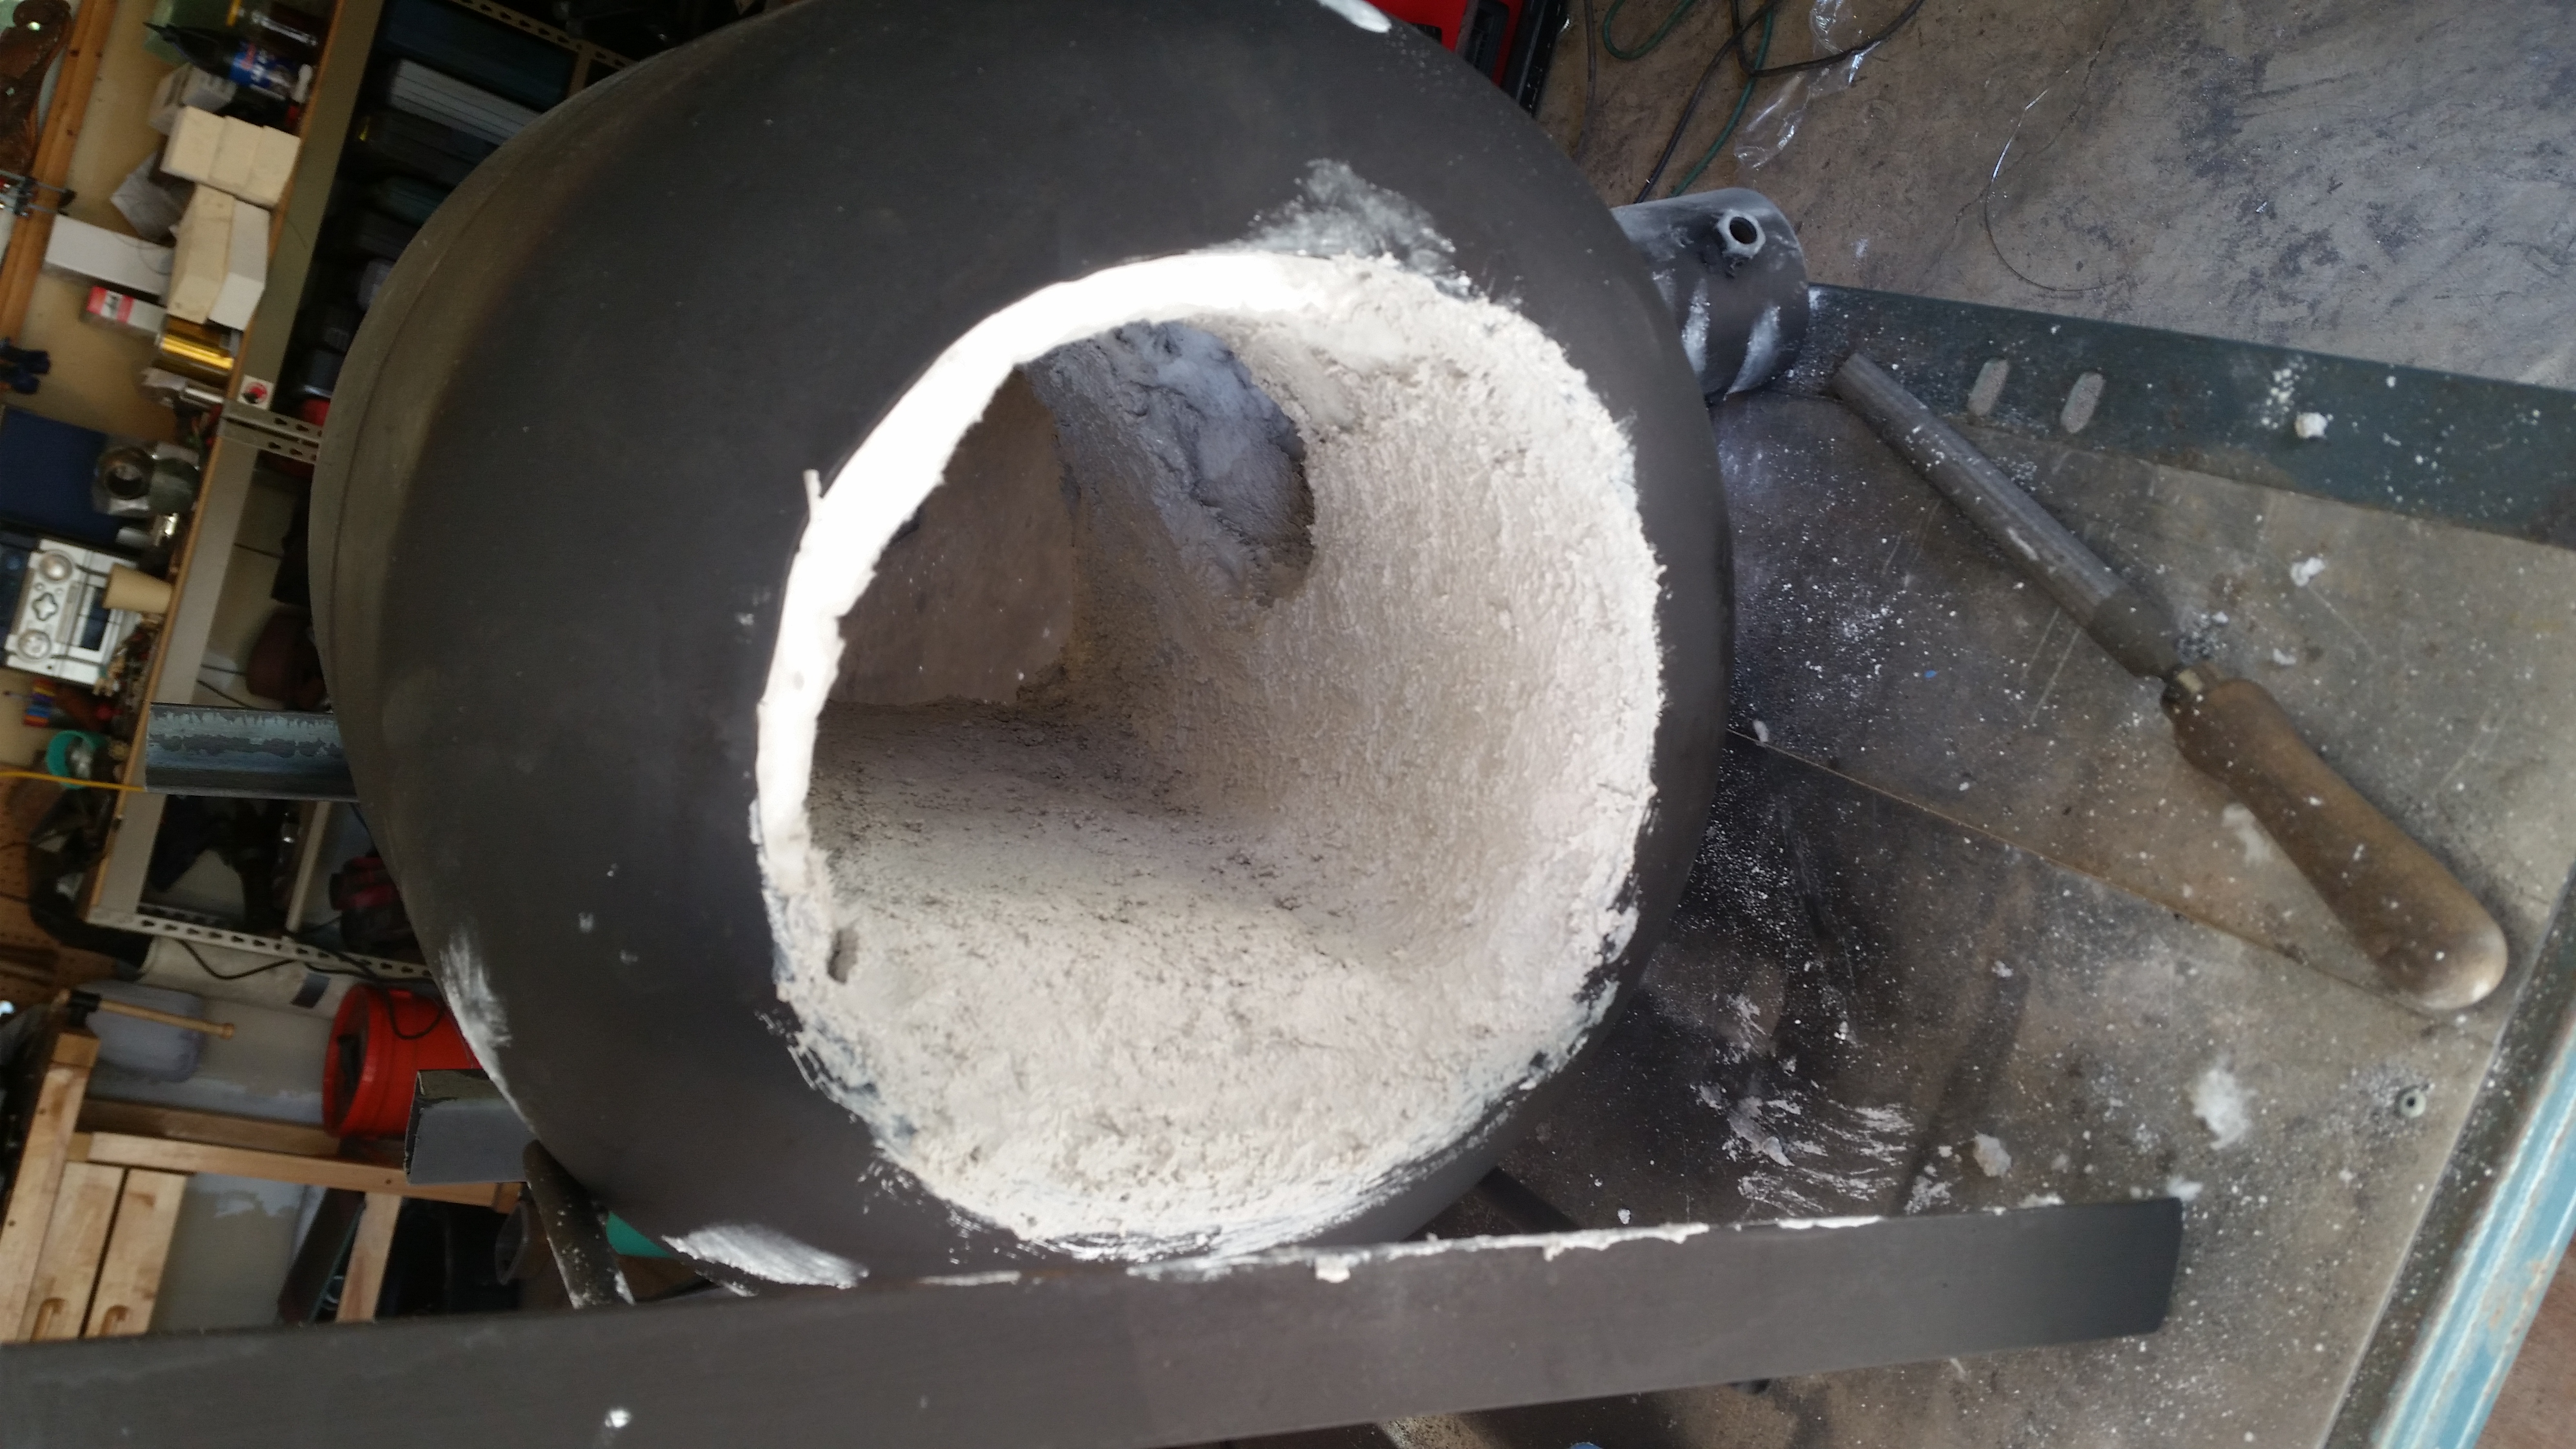
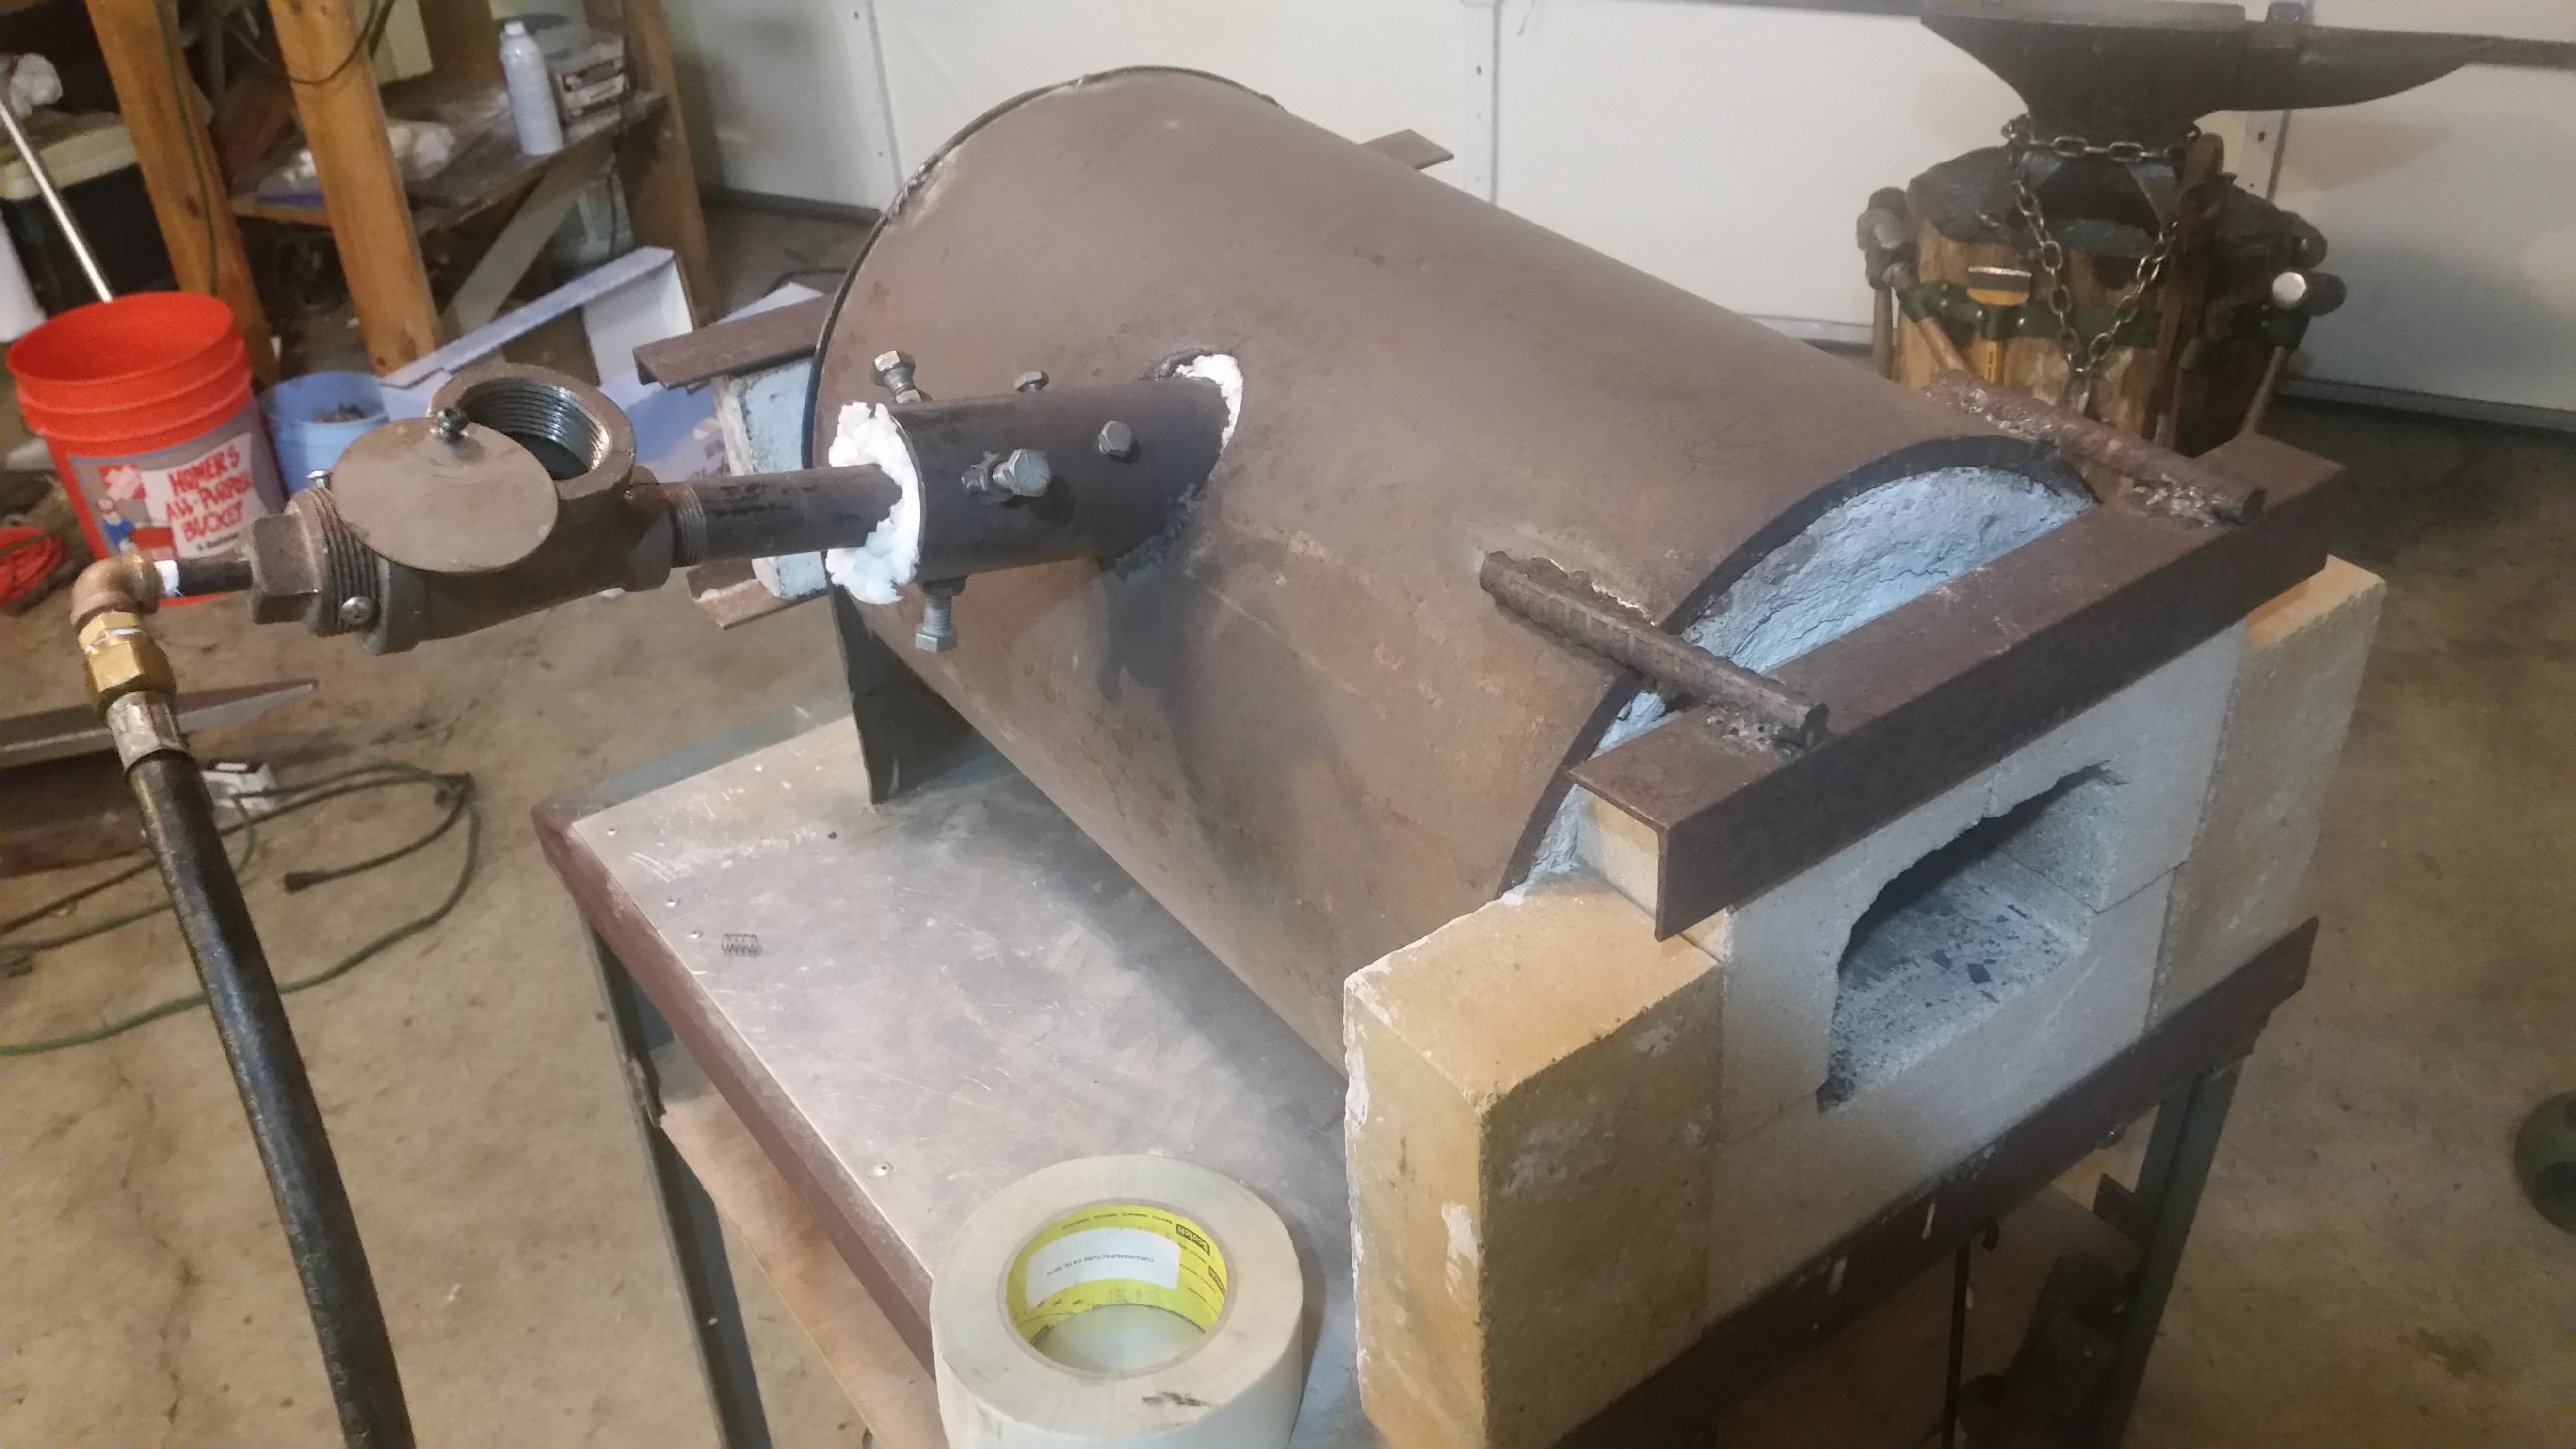
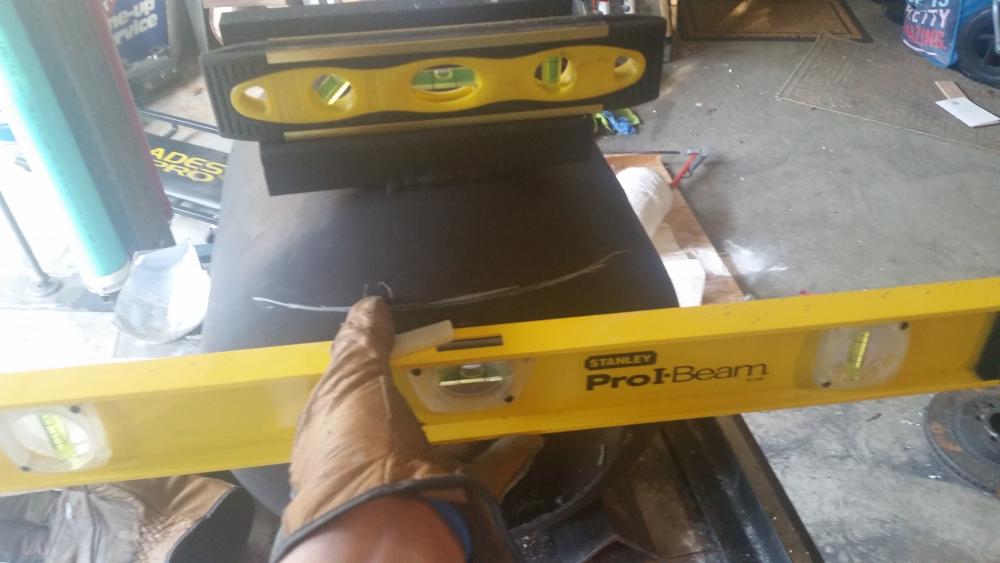
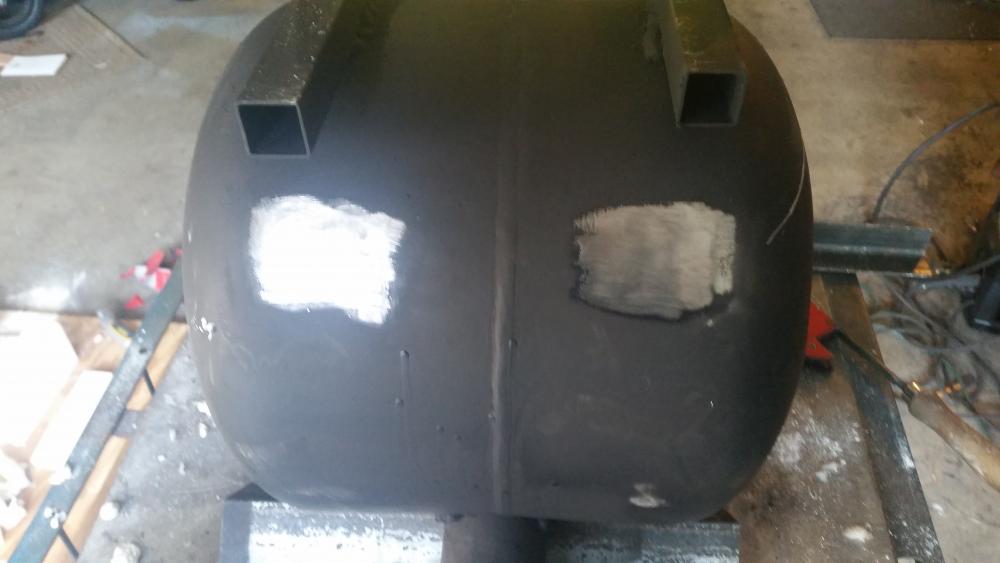
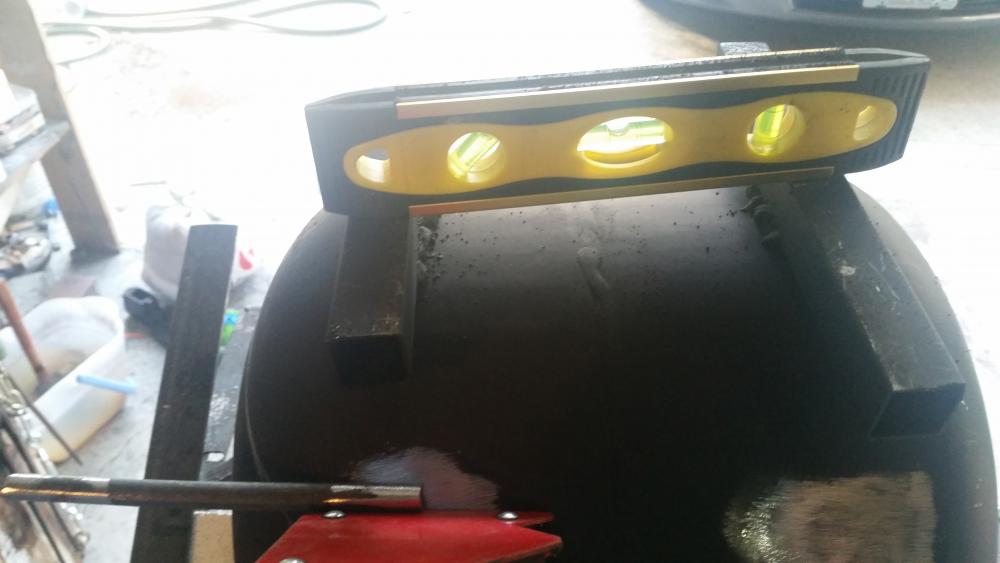
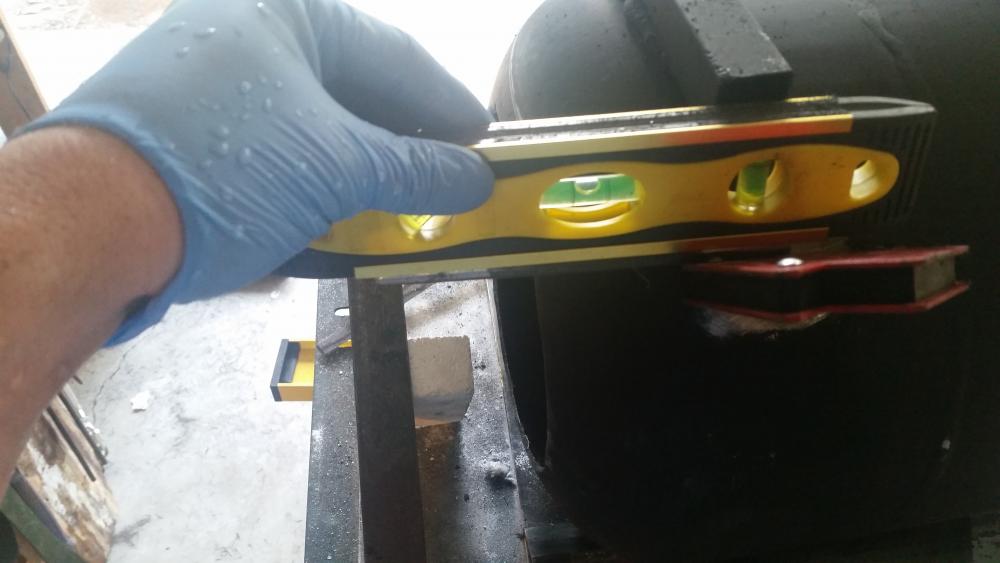
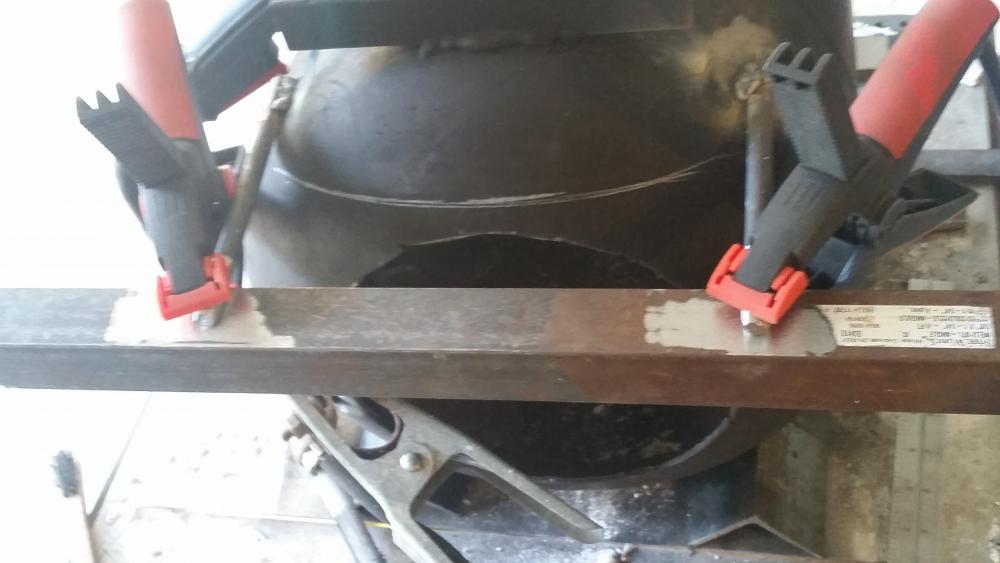
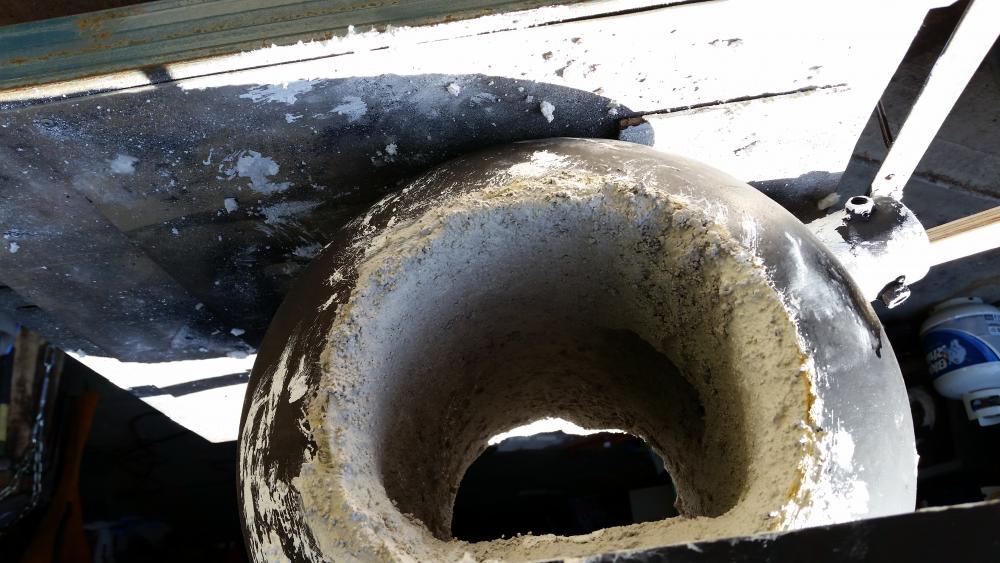
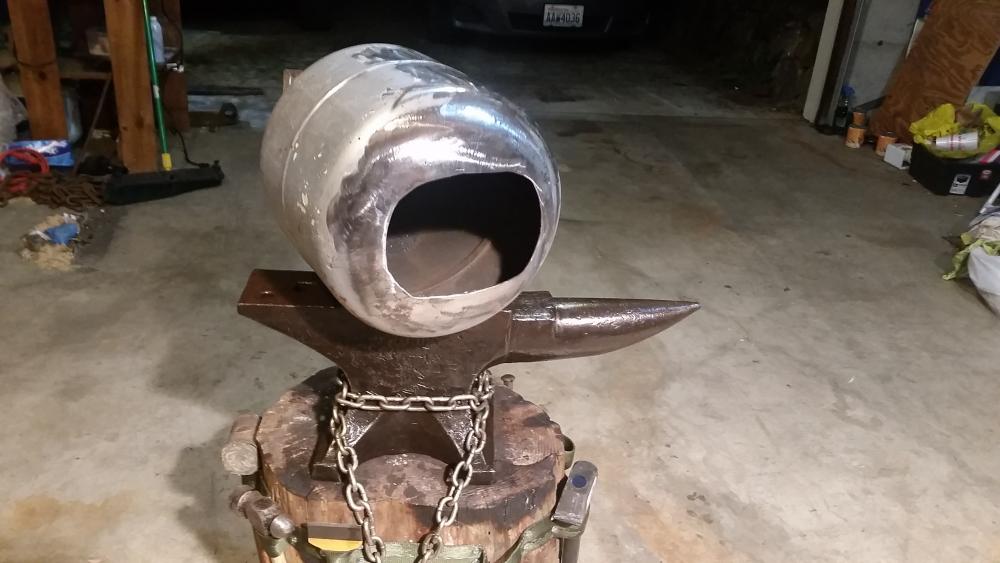
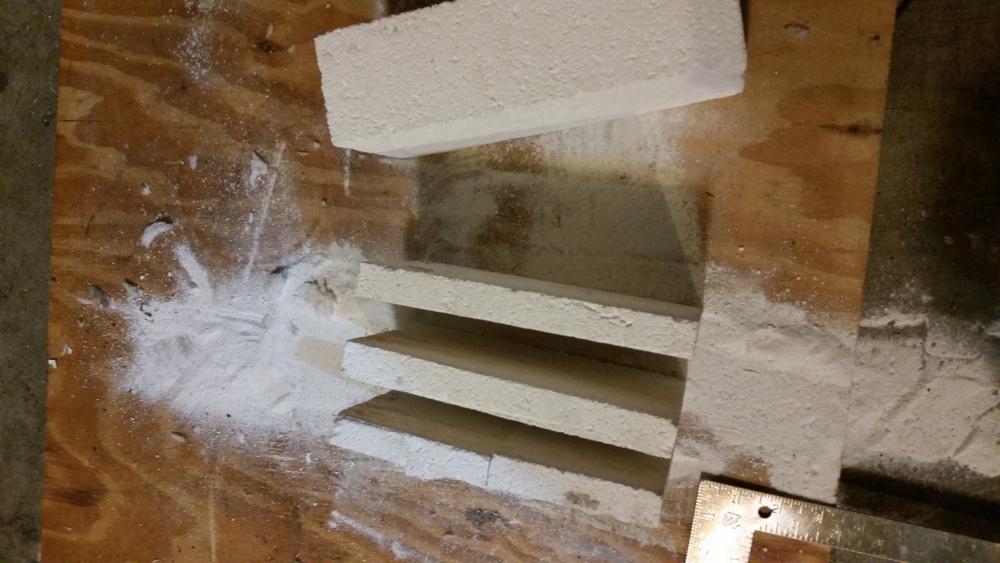
Well I had everything set up to build this forge and then got side tracked with a forge off of e-bay that was only a few miles away, it ended up blowing out, Link below. and I decided that I would finish the project I had started and one day possibly salvage the other one to have a monster forge!! But for now this little guy is all I really need. So sit back and enjoy some pictures and I'll take you through what I have done so far. Please feel free to offer guidance as this is the first forge I have built. I've just been going off of this page and learning as I go! Step 1, get a shell, I scored this old air tank at St. Vincent for $3 its the same size as a 5 gal propane tank but it had an extra valve and no fear of blowing up from a spark when I cut into it. WIN WIN! I took some 1" square tube and welded it on as feet so Harrison Forge could stand on his own, these will be visible when we move down and he gets flipped over. For my first layer of insulation I used 8# 1" thick 2700 degree Inswool HTZ from HighTempTools. It's doubled up in this photo. I used a K28 kiln brick for a floor. Side note. I layed down a layer of kast-o-lite under the brick to give it a flat surface under it, you can kind of see it on the left side of the brick here. And a packed in a bunch more Inswool, I used 2x 1" pieces, and packed the scraps in around the front and back of the brick.The back side, which I think will become the front because I like the big open hole... Giggity. I had some K24 kiln bricks that I was just going to stack as the doors but then decided to take a little extra time and weld up some brackets to hold them while I had everything out and was in fab-mode. Door's being measured out. I wanted them to stay on the bracket when full open. A top bracket will be added for extra stability later. Now to get my supports measured with my super high tech method of "Calibrated Eye" and prep them for welding on the belt grinder. Now it's time to set them up and weld them in place on the forge. Weld area preped! I measured where the brick would be centered for the door then using a level and soap stone etched a line to guide my holder placement. I did the same on the other side, in the effort to save picture over load it is not shown, but looks remarkably similar. Getting everything lined up. Once in place a quick tack weld to hold it until the other side can also be put in place. With one side tack welded, I moved on to the other and made sure it was all squared away using the first one as a reference point. Now with both support arms in place I can measure exactly where I want my brick holder to be. It's hard to tell in this pic but there is about 1/8" gap between the brick and the front of the forge. I wanted a good enough cap so that when I added the kast-o-lite the brick would still be able to move freely. With the door all tack welded and everything still square I finished up the welds on all fronts. Now time for some Kast-o-lite!! I didn't get any pictures of the mixing with this becuase it ended up being a lot faster than I thought it would. I don't remember if I read it here or saw it on youtube but it stuck with me that someone said you only have 15 minutes once you mix it to get it how you want it before you're times up. They weren't kidding, I'd say 10 is probably closer to it. But it was super easy just mix with water and it feels like that stuff from Nickelodeon Kids, Squand maybe? Anyways I only had a 5# bag from HighTempTools and it ended up being plenty for this little guy. And I have some left over that will probably go to patching up my farriers forge. All in all it's about 1/2"-3/4" thick, I went back and stuffed it around where the bunner lets in just to make sure there was NO unprotected Inswool. I started building this forge because my antique NC tool Farrier forge wasn't able to get up to welding temp and I wanted something with just a little bit more room for stock. But I have read on here many times about how hard flux is on your floor and I knew I wanted a floor I could take out and throw away when it got to laden with flux and such. So I took a K28 Kiln brick and cut it into 3rds (Using the calibrated eye again!) One of those I then cut in half to make up for the total length of my floor. I like this as 1 brick yields 2 full forge floors. And for about $5 a brick is only $2.50 for a new floor. Small price to pay for the sweet satisfaction of a weld well done! With these I can just set them in the forge and when they get ruined swap them out, very quick and easy. Right now my Kast-o-lite is setting up, and I am waiting until tomorrow to do my burn in to let it have a full 24 hour cure time. I know Frosty The Lucky talked about replacements for ITC-100 that were a little more affordable, so I am still looking into what I will coat the inside of the kast-o-lite in. As far as burner I cheated ad also got one from a blacksmith school in seattle. I originally planed on making my own but by the tie I got everything to build it i was around $30 plus time and effort. And a ready to go 150K BTU burner was only $50 so I said "To the Birds!" and just bought one. Big thanks to everyone who contributes on this group, I love learning form everyone here. -Coyote


-
No, this forge was set up the opposite. The cement is one the outside, then a thin layer of kaowool. I've put this forge on the back burner and continued on with the one I was building before this one. It's an old propane tank, burners are from high-temp tools, I cut and measured the kaowool last night. And no worries it'll be done correctly I'm doing 2 inches of kaowool then a layer of castolite 3000. With a floor made up of k28 kiln bricks, and the front and back door will also be kiln bricks. I was almost done with it when I saw this forge pop up for sale and got greedy. Thinking I could finish my propane tank forge AND buy this one, added to my current farriers forge giving me 3 forges of different sizes. One day I will finish this big one, I'm only in it $100 and I got a burner, regulator, 2x pressure gages, and a bucket full of fire brick, plus the cart is on (even tho its pretty cheaply made) and the 13x18" steel pipe body. Not too bad, just not what I was hoping for. Thank you guys for all the help. I appreciate it.
-
1" going into the forge, the T opening is 1 1/4". That's disheartening news to tear it down. I had an old propane cylinder I was turning into a forge and bought this to save time, now in right back to where I was before. Internal volume is 508 in3... It was bigger than I wanted but I got excited, and thought I could score a sweet deal on a forge. Oh well, I already have a bunch of kaowool from my propane tank forge. I might just finish it and put this one in the back of the shop with the other costly lessons I've had learn. Thank you for the input, I'll get over to the forum and read up.
-
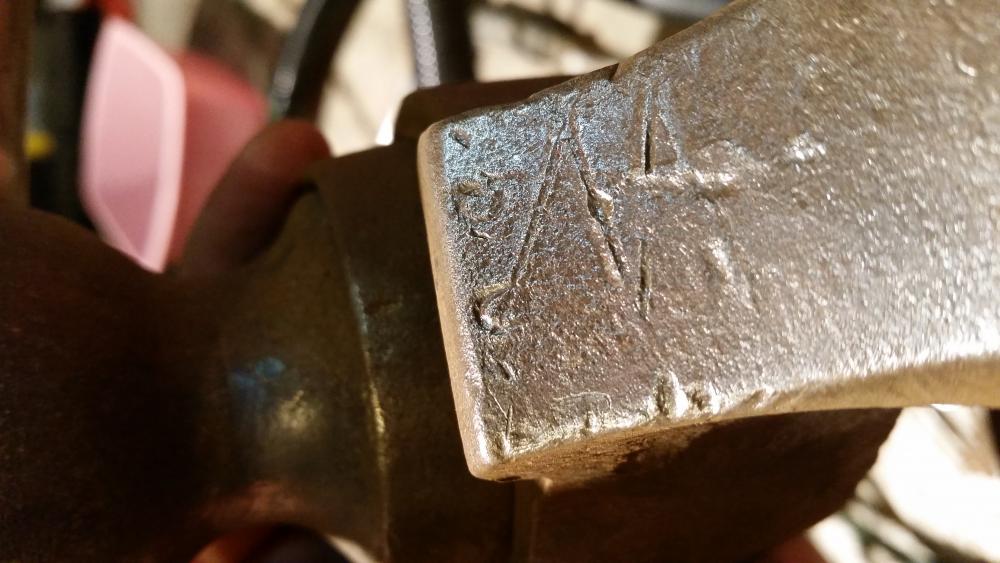
Thanks guys! I went in with a wire toothbrush and did some hand brushing turns out it had marks all over the place! Both of jaws are stamped M 4, and the top of one of the jaws says "tool" or maybe "tocl" and then vw & whc? With a faint 50 at the base of the jaw.


-
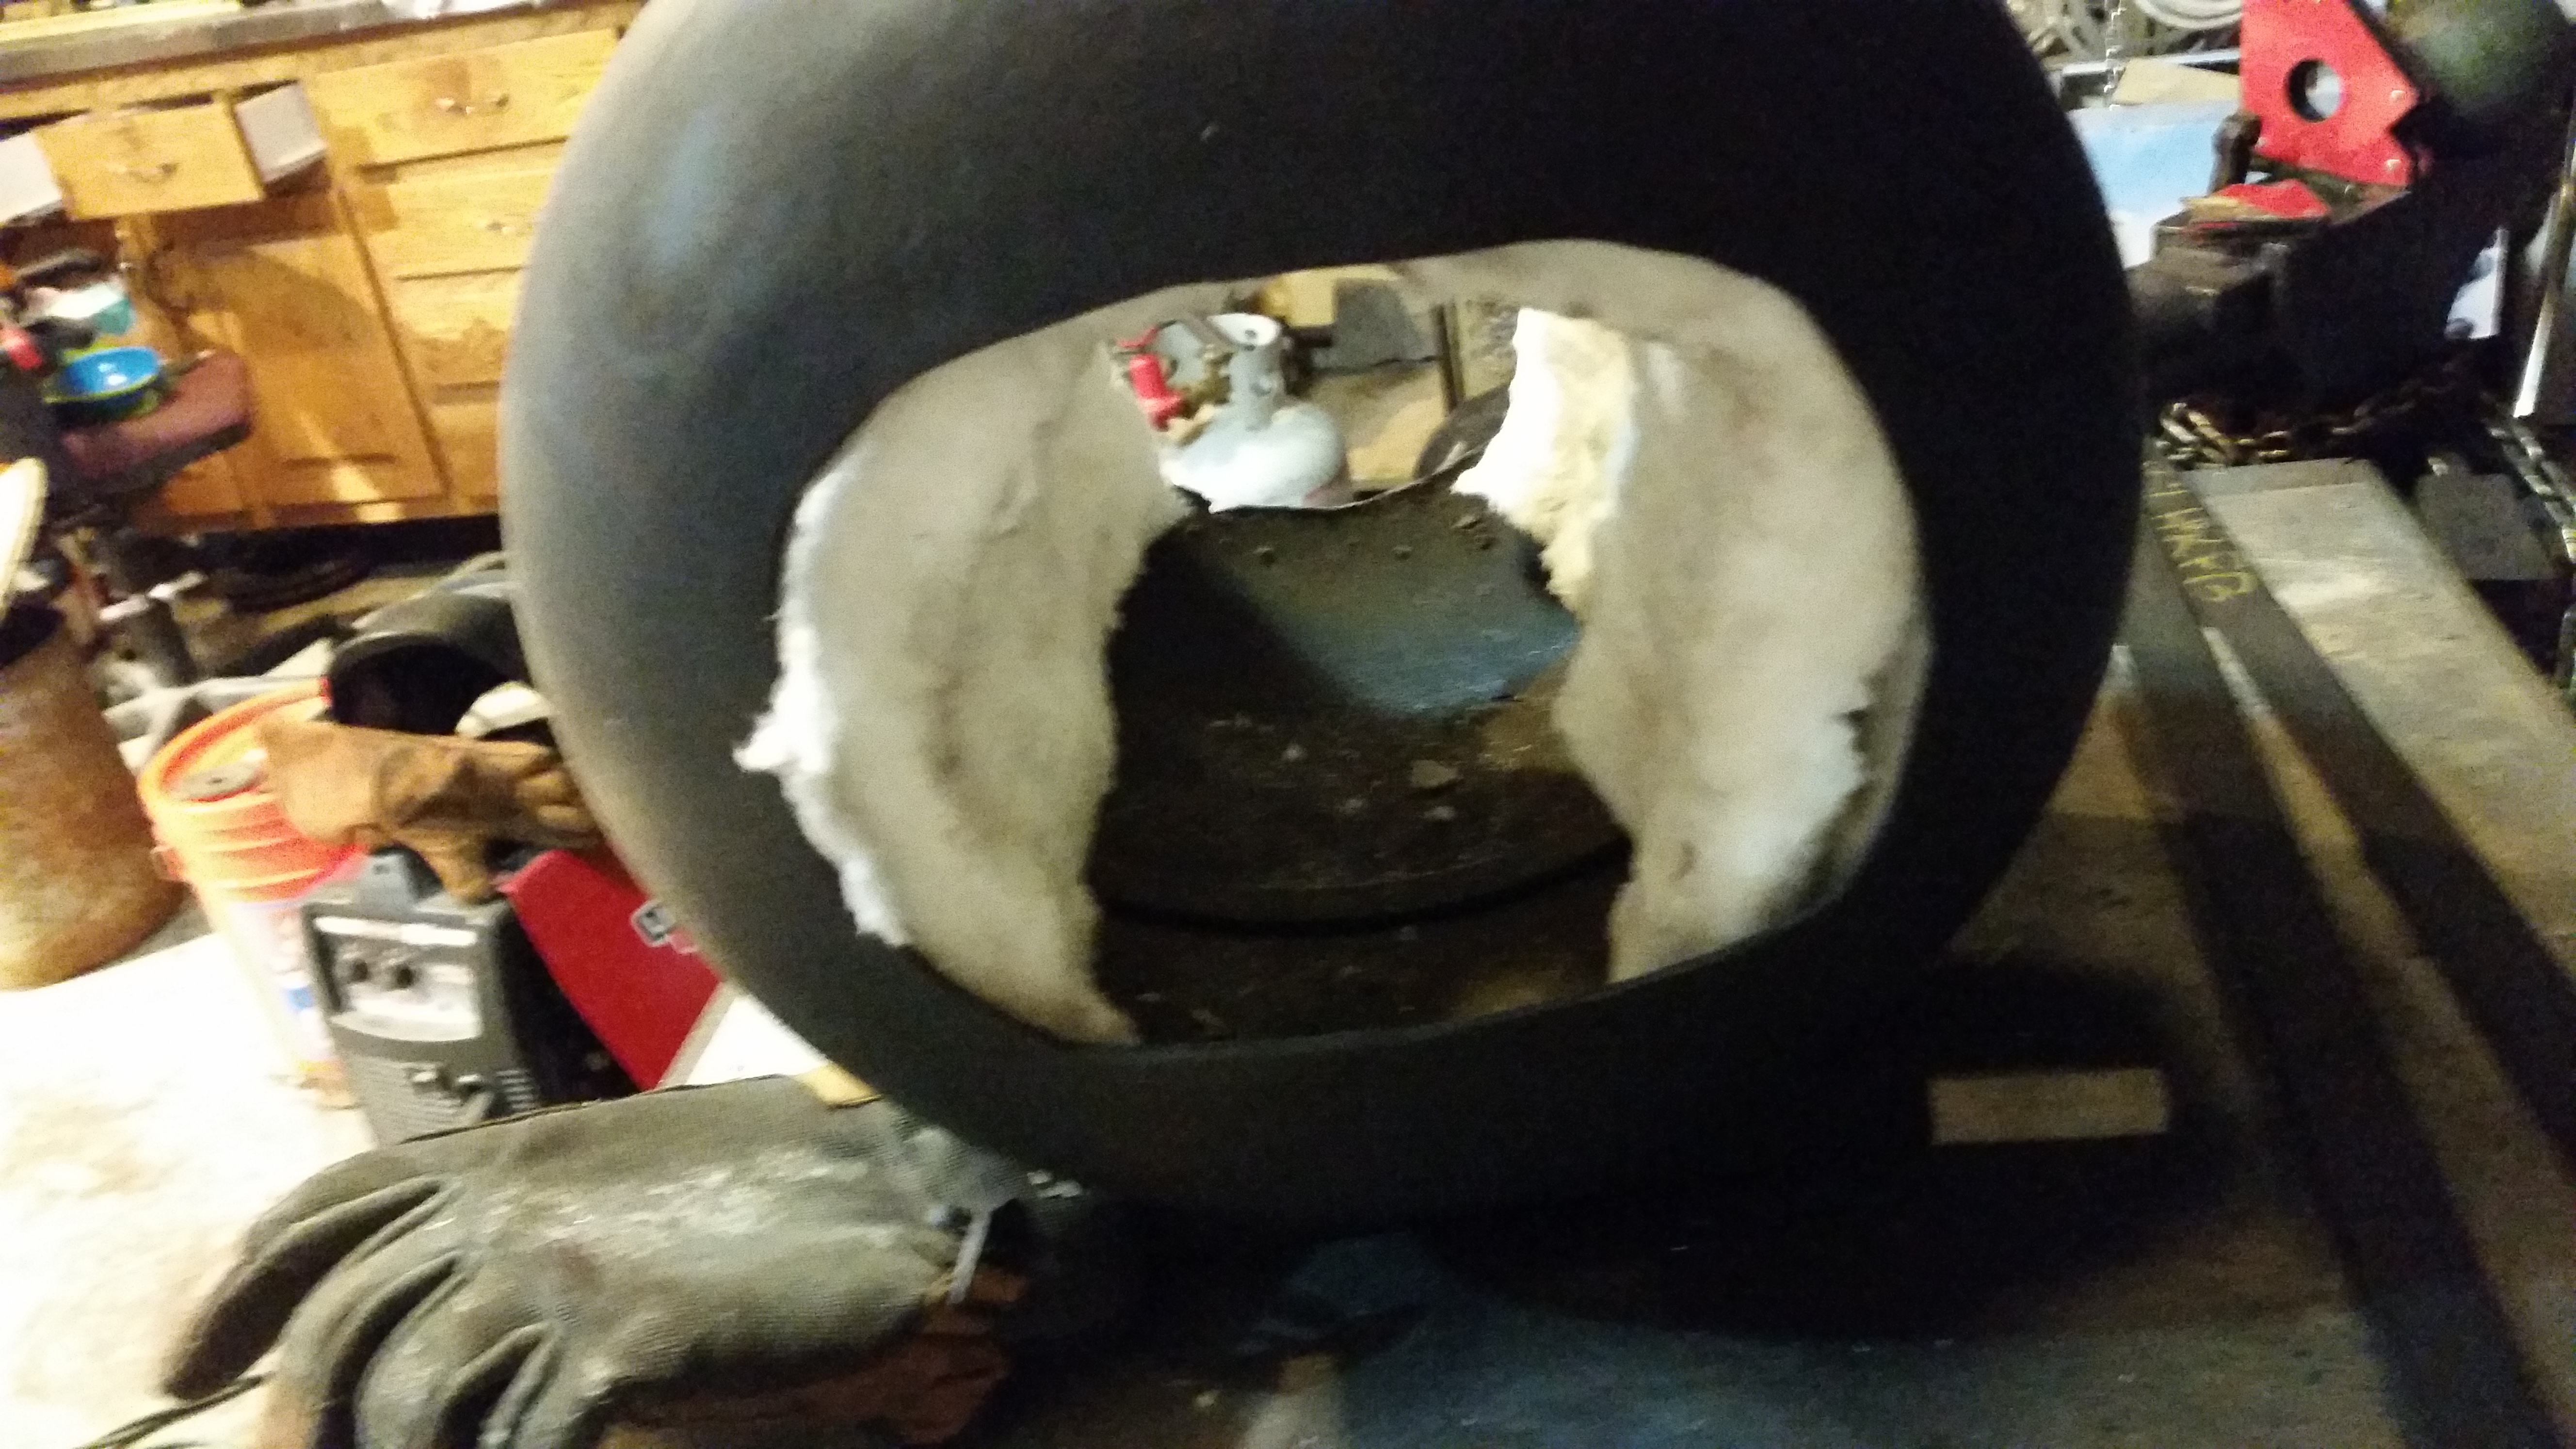
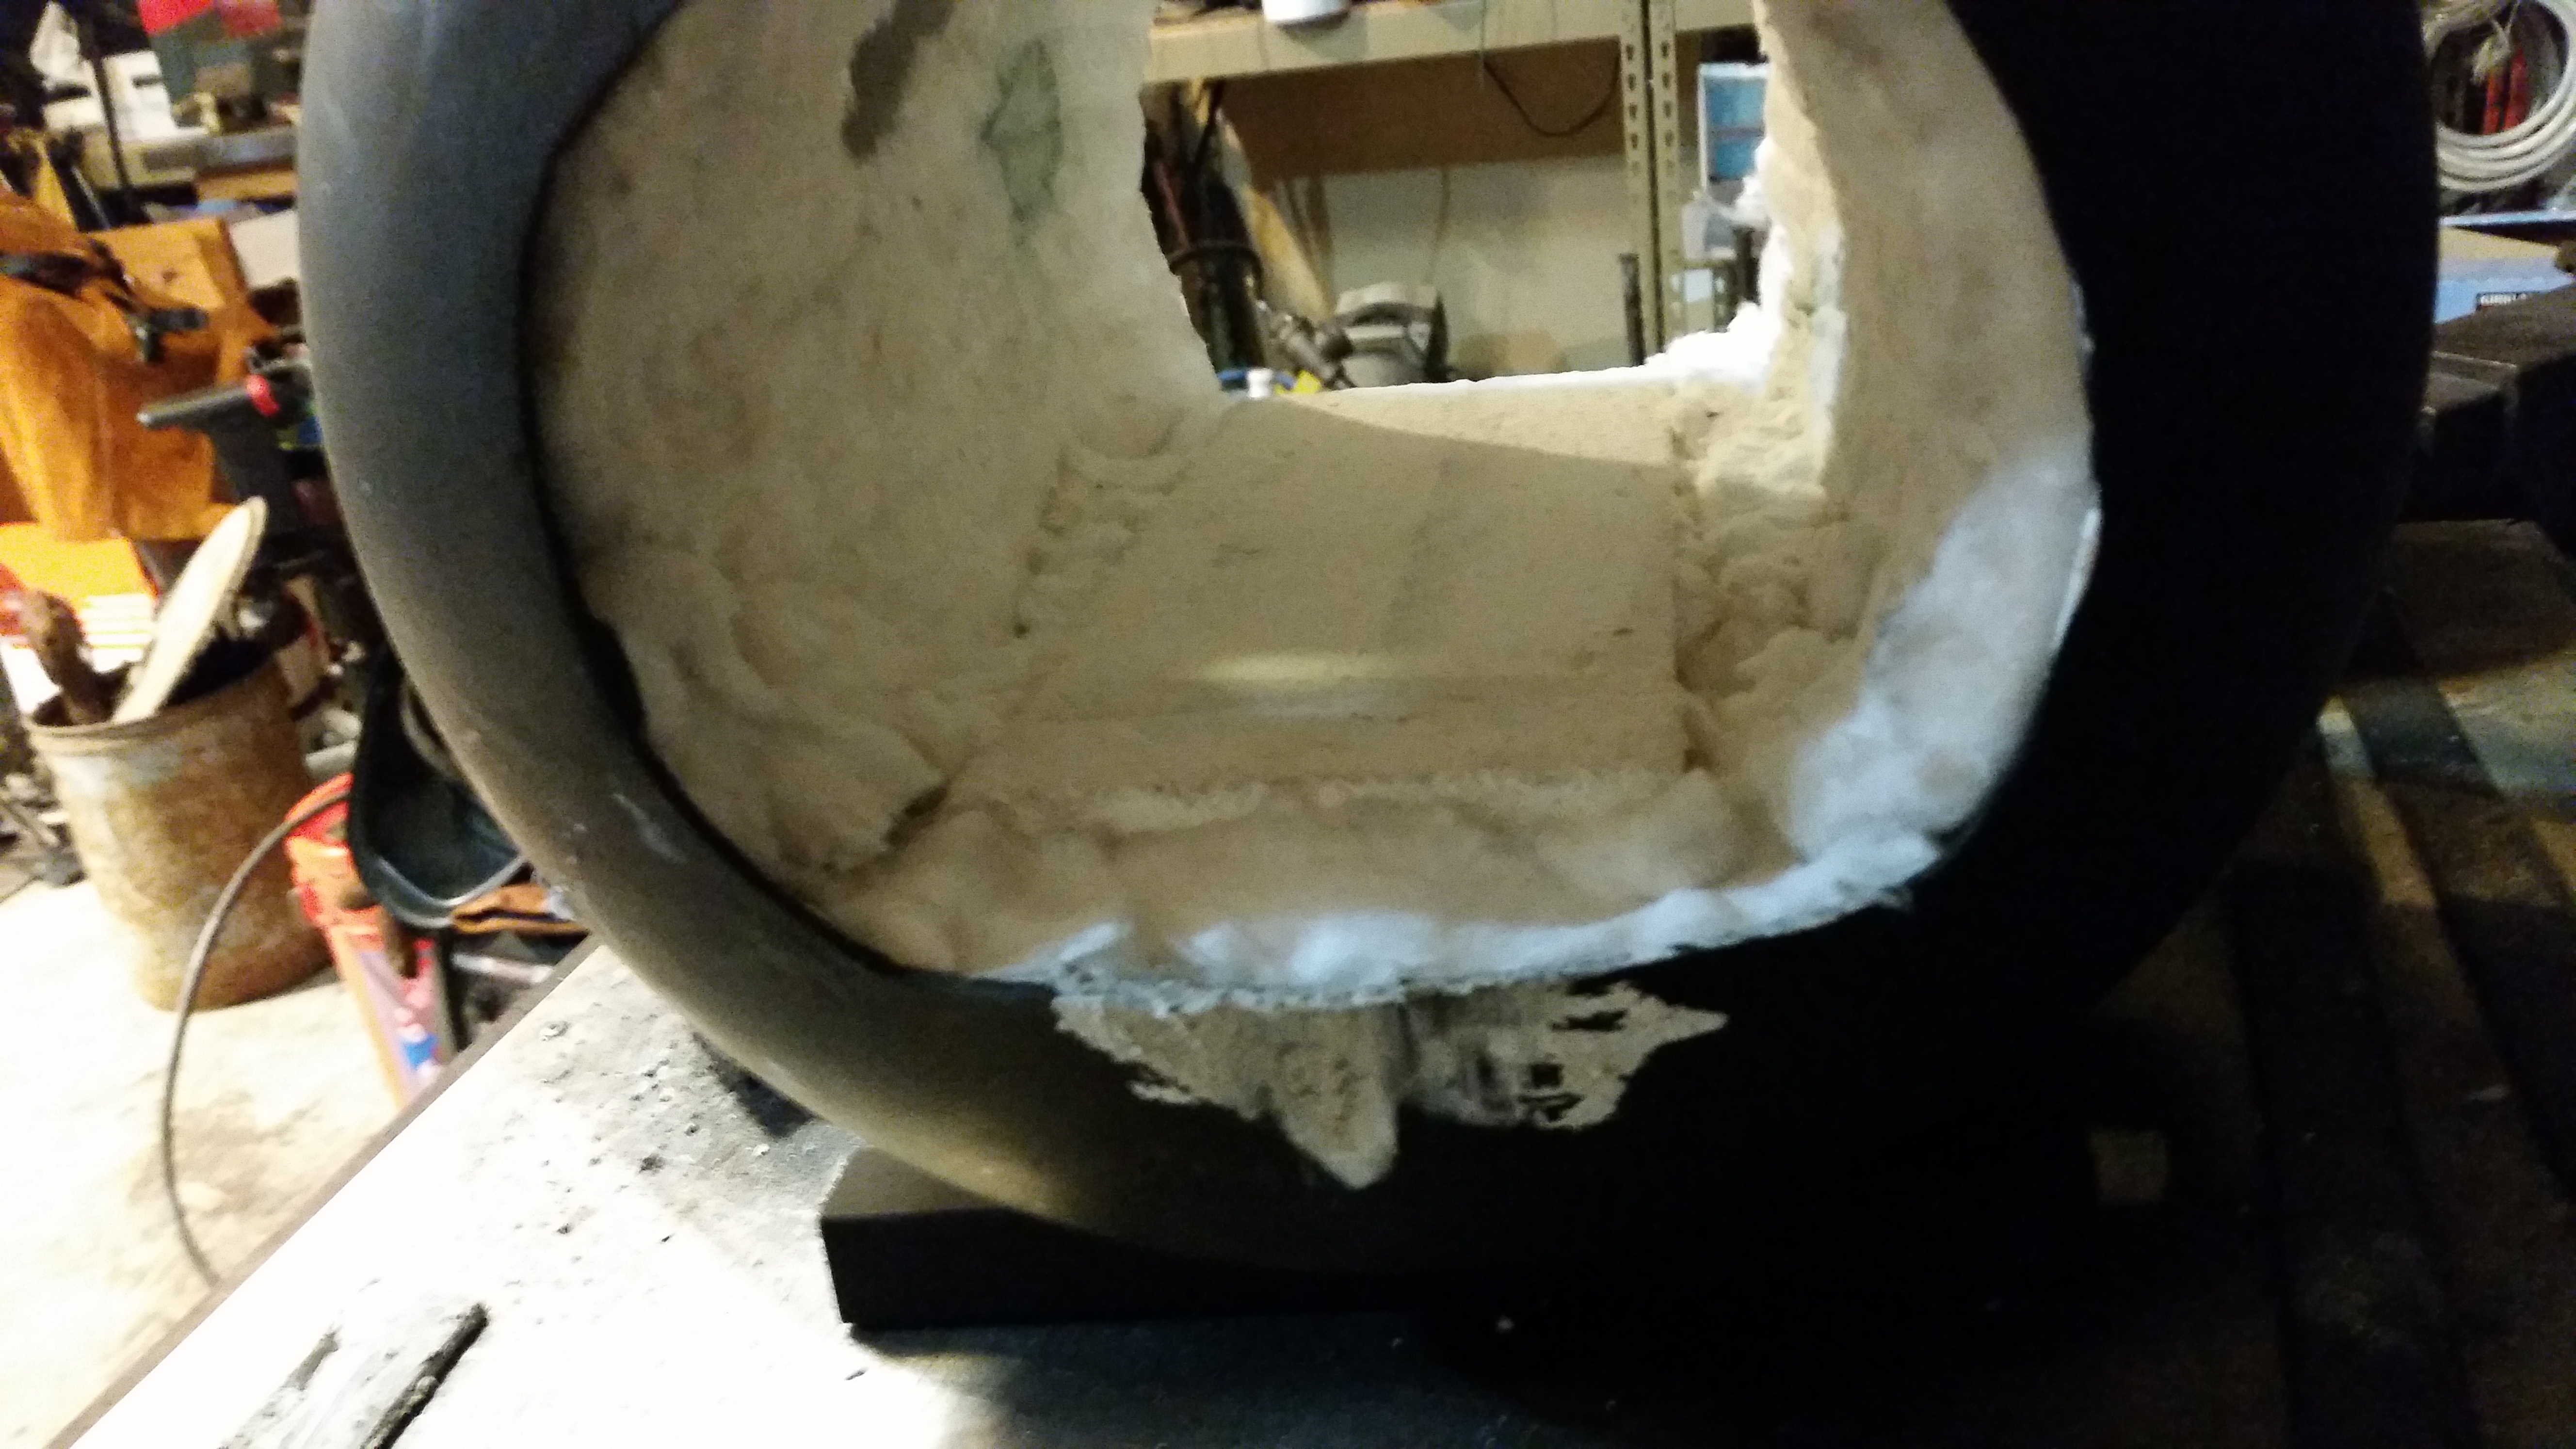
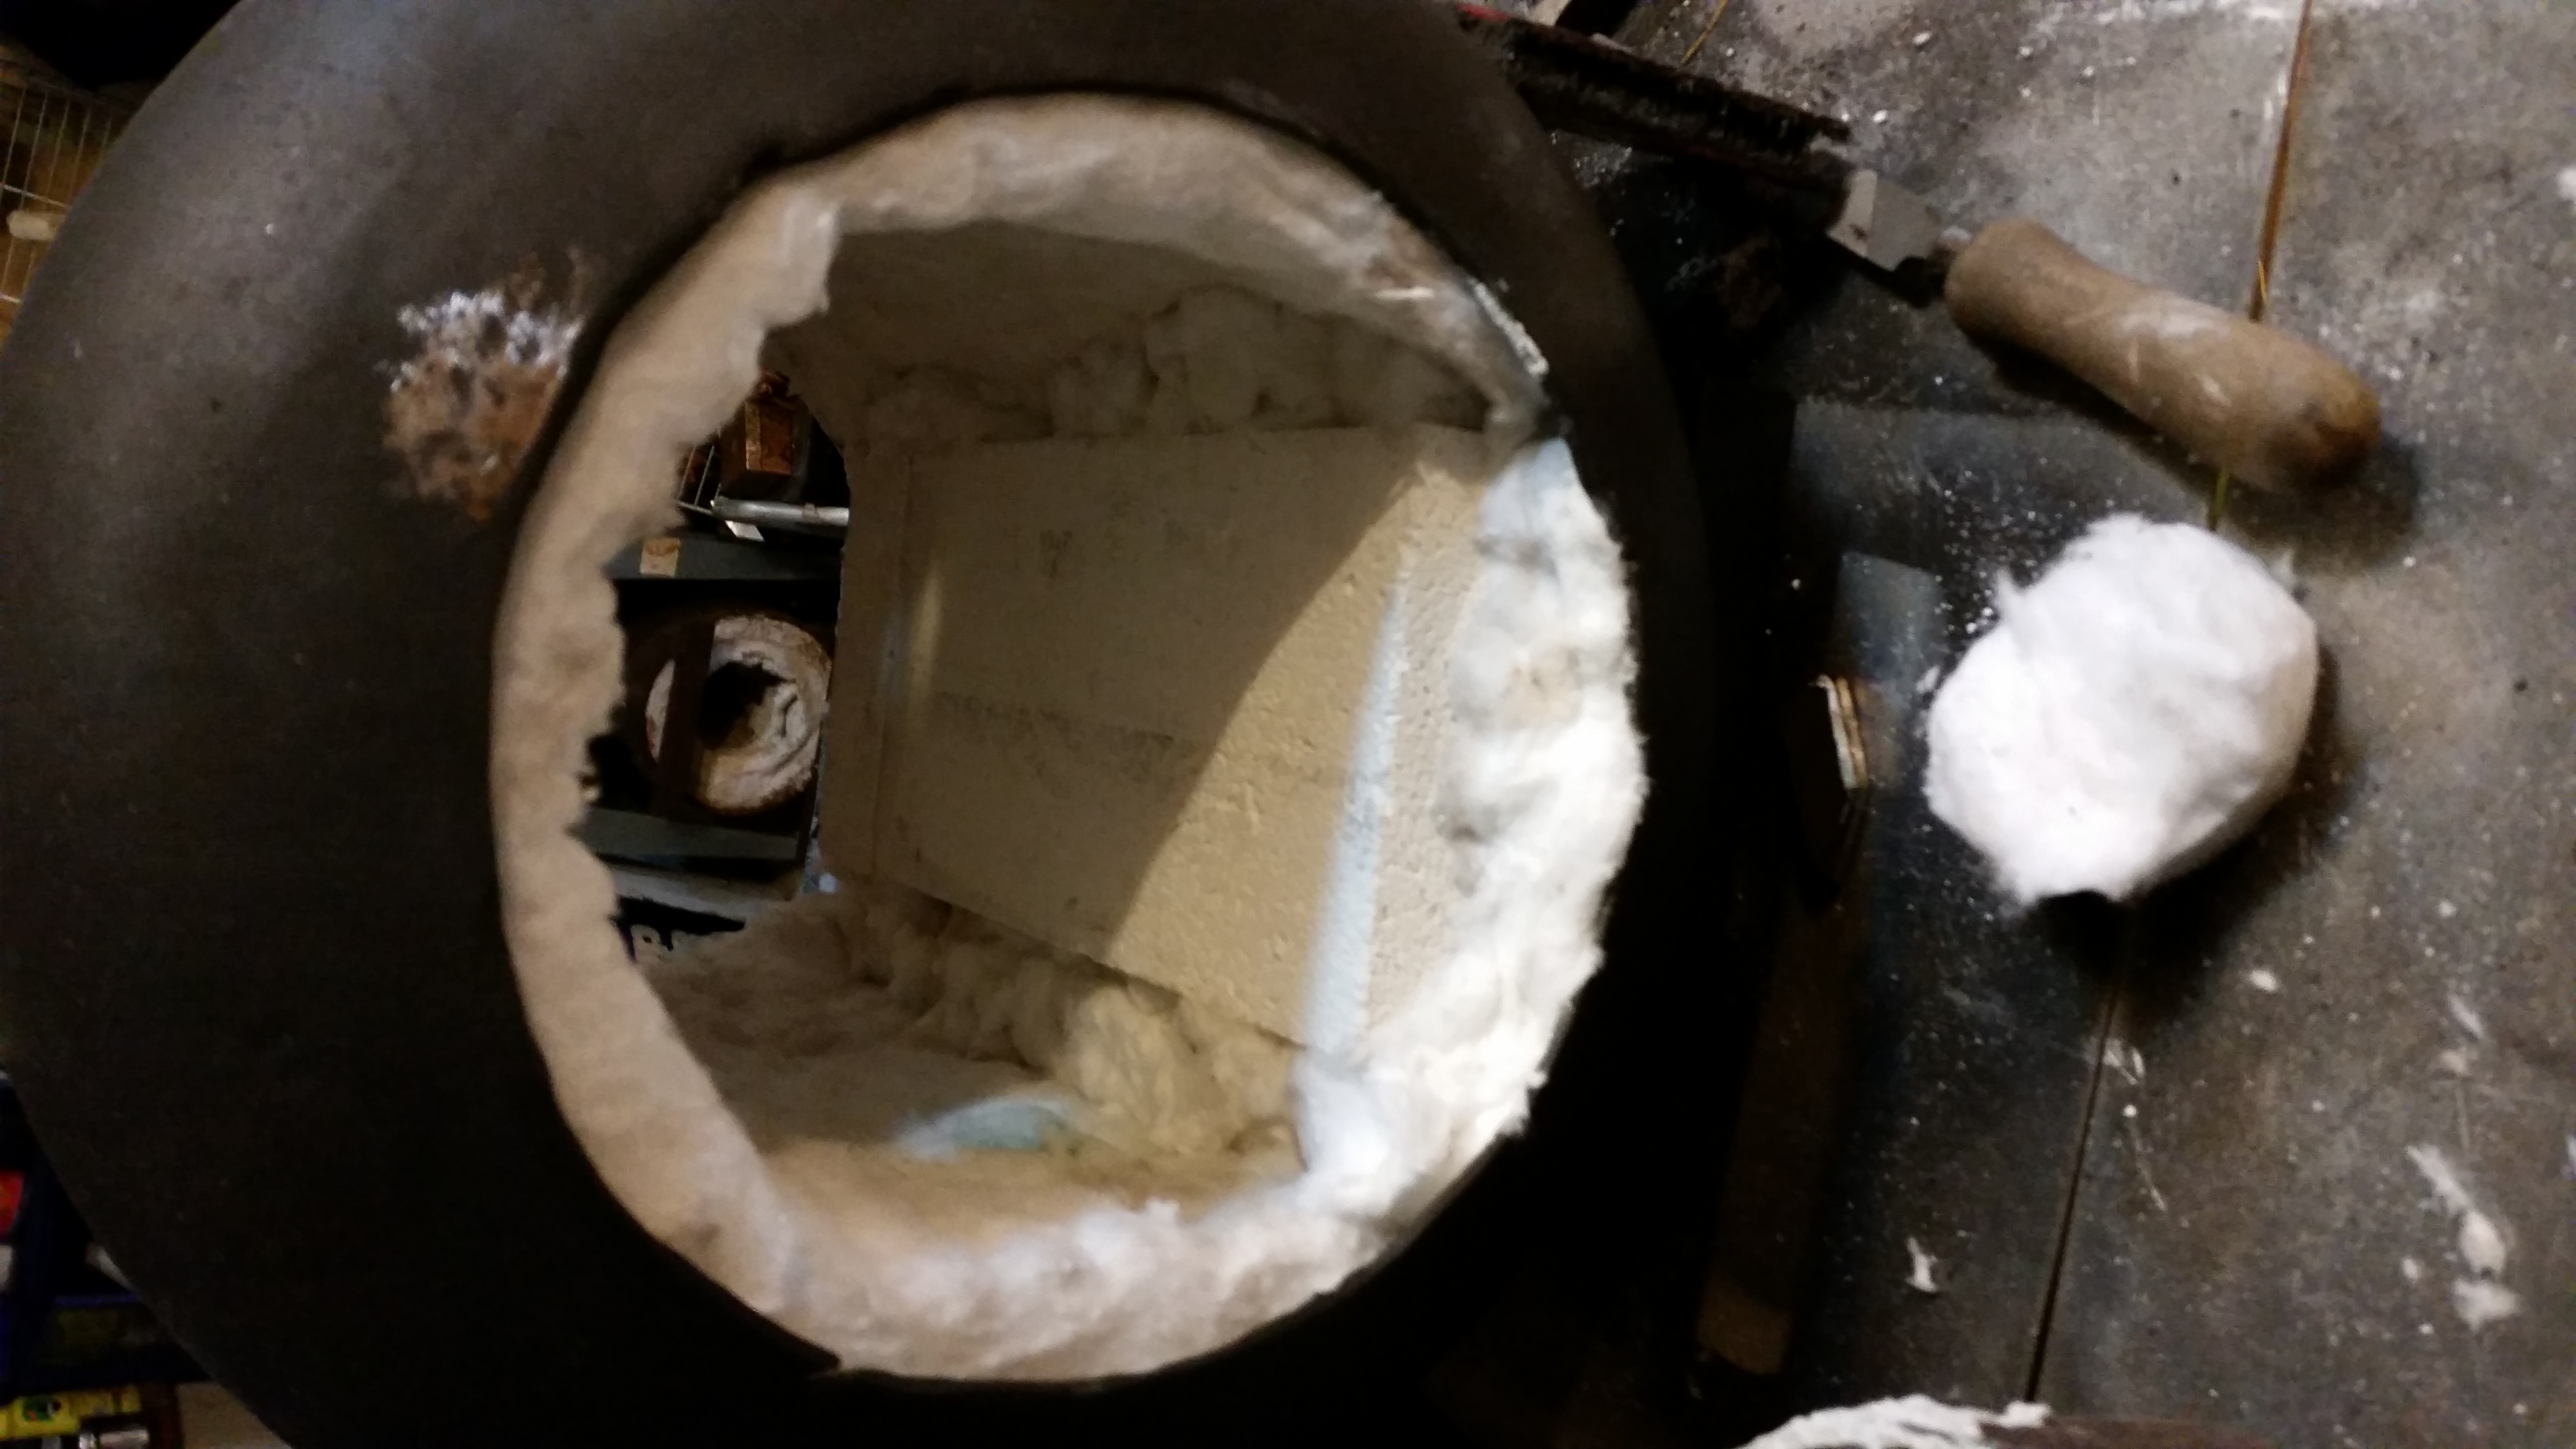
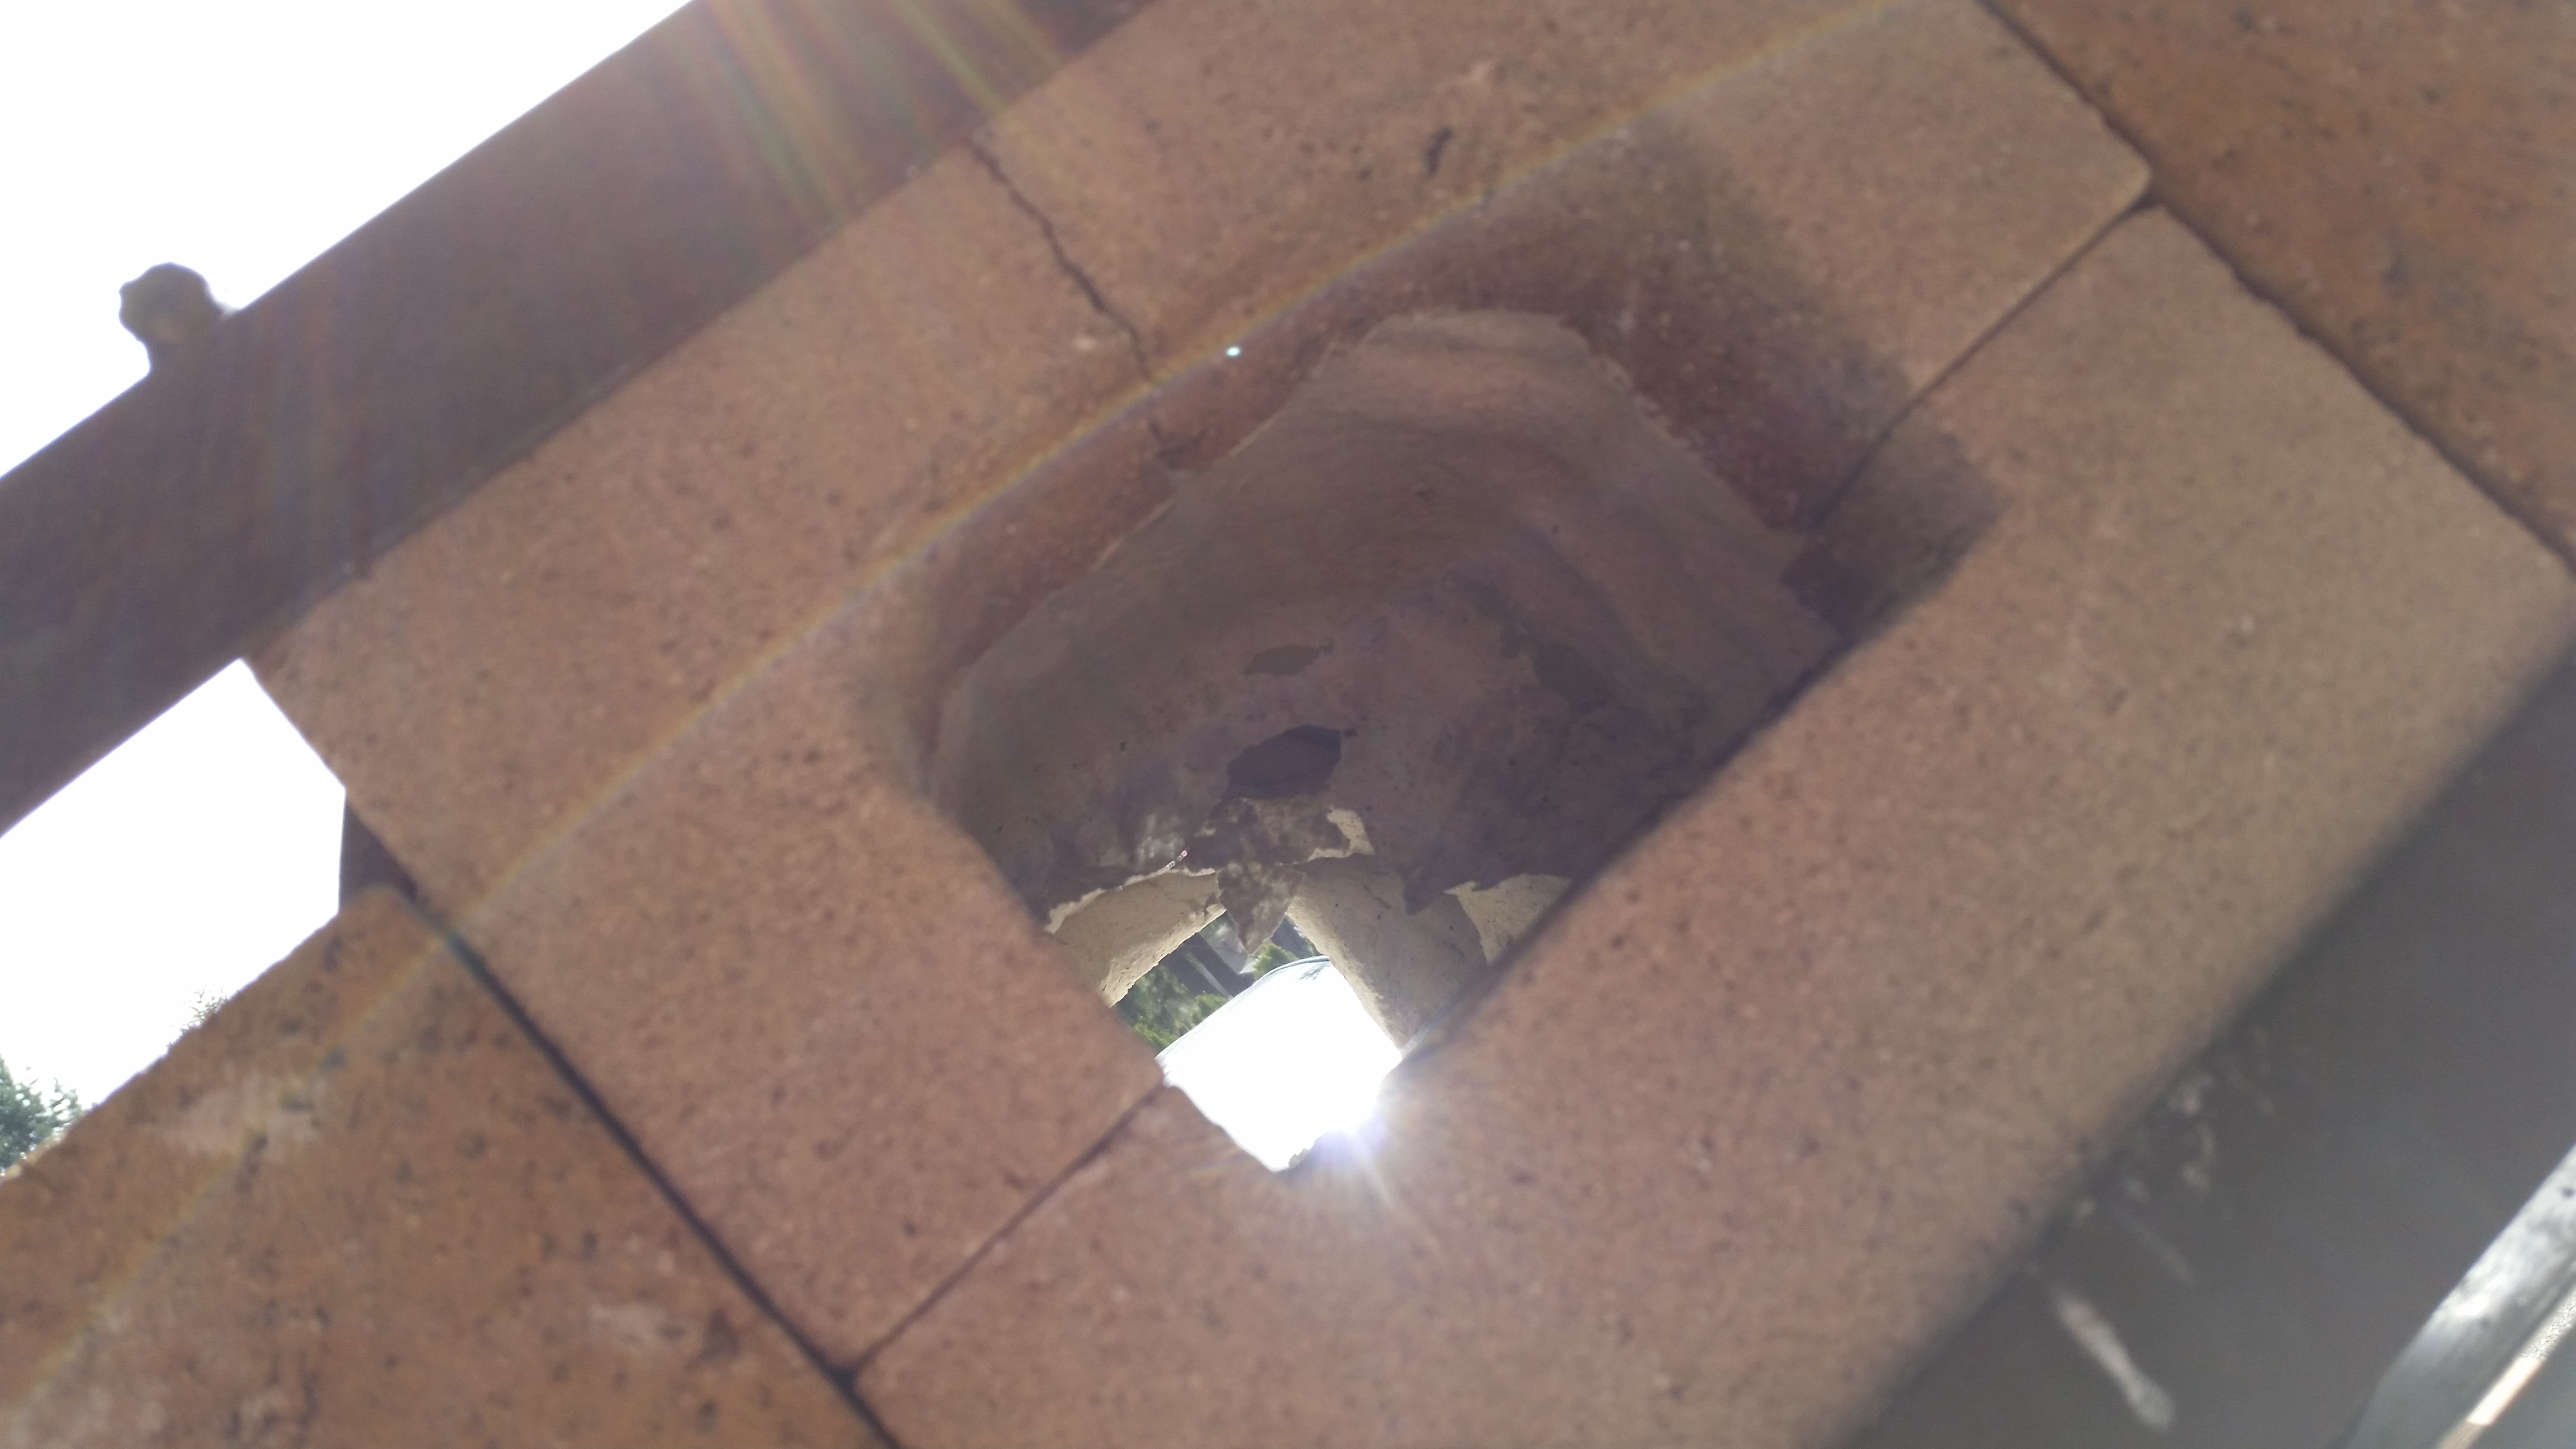
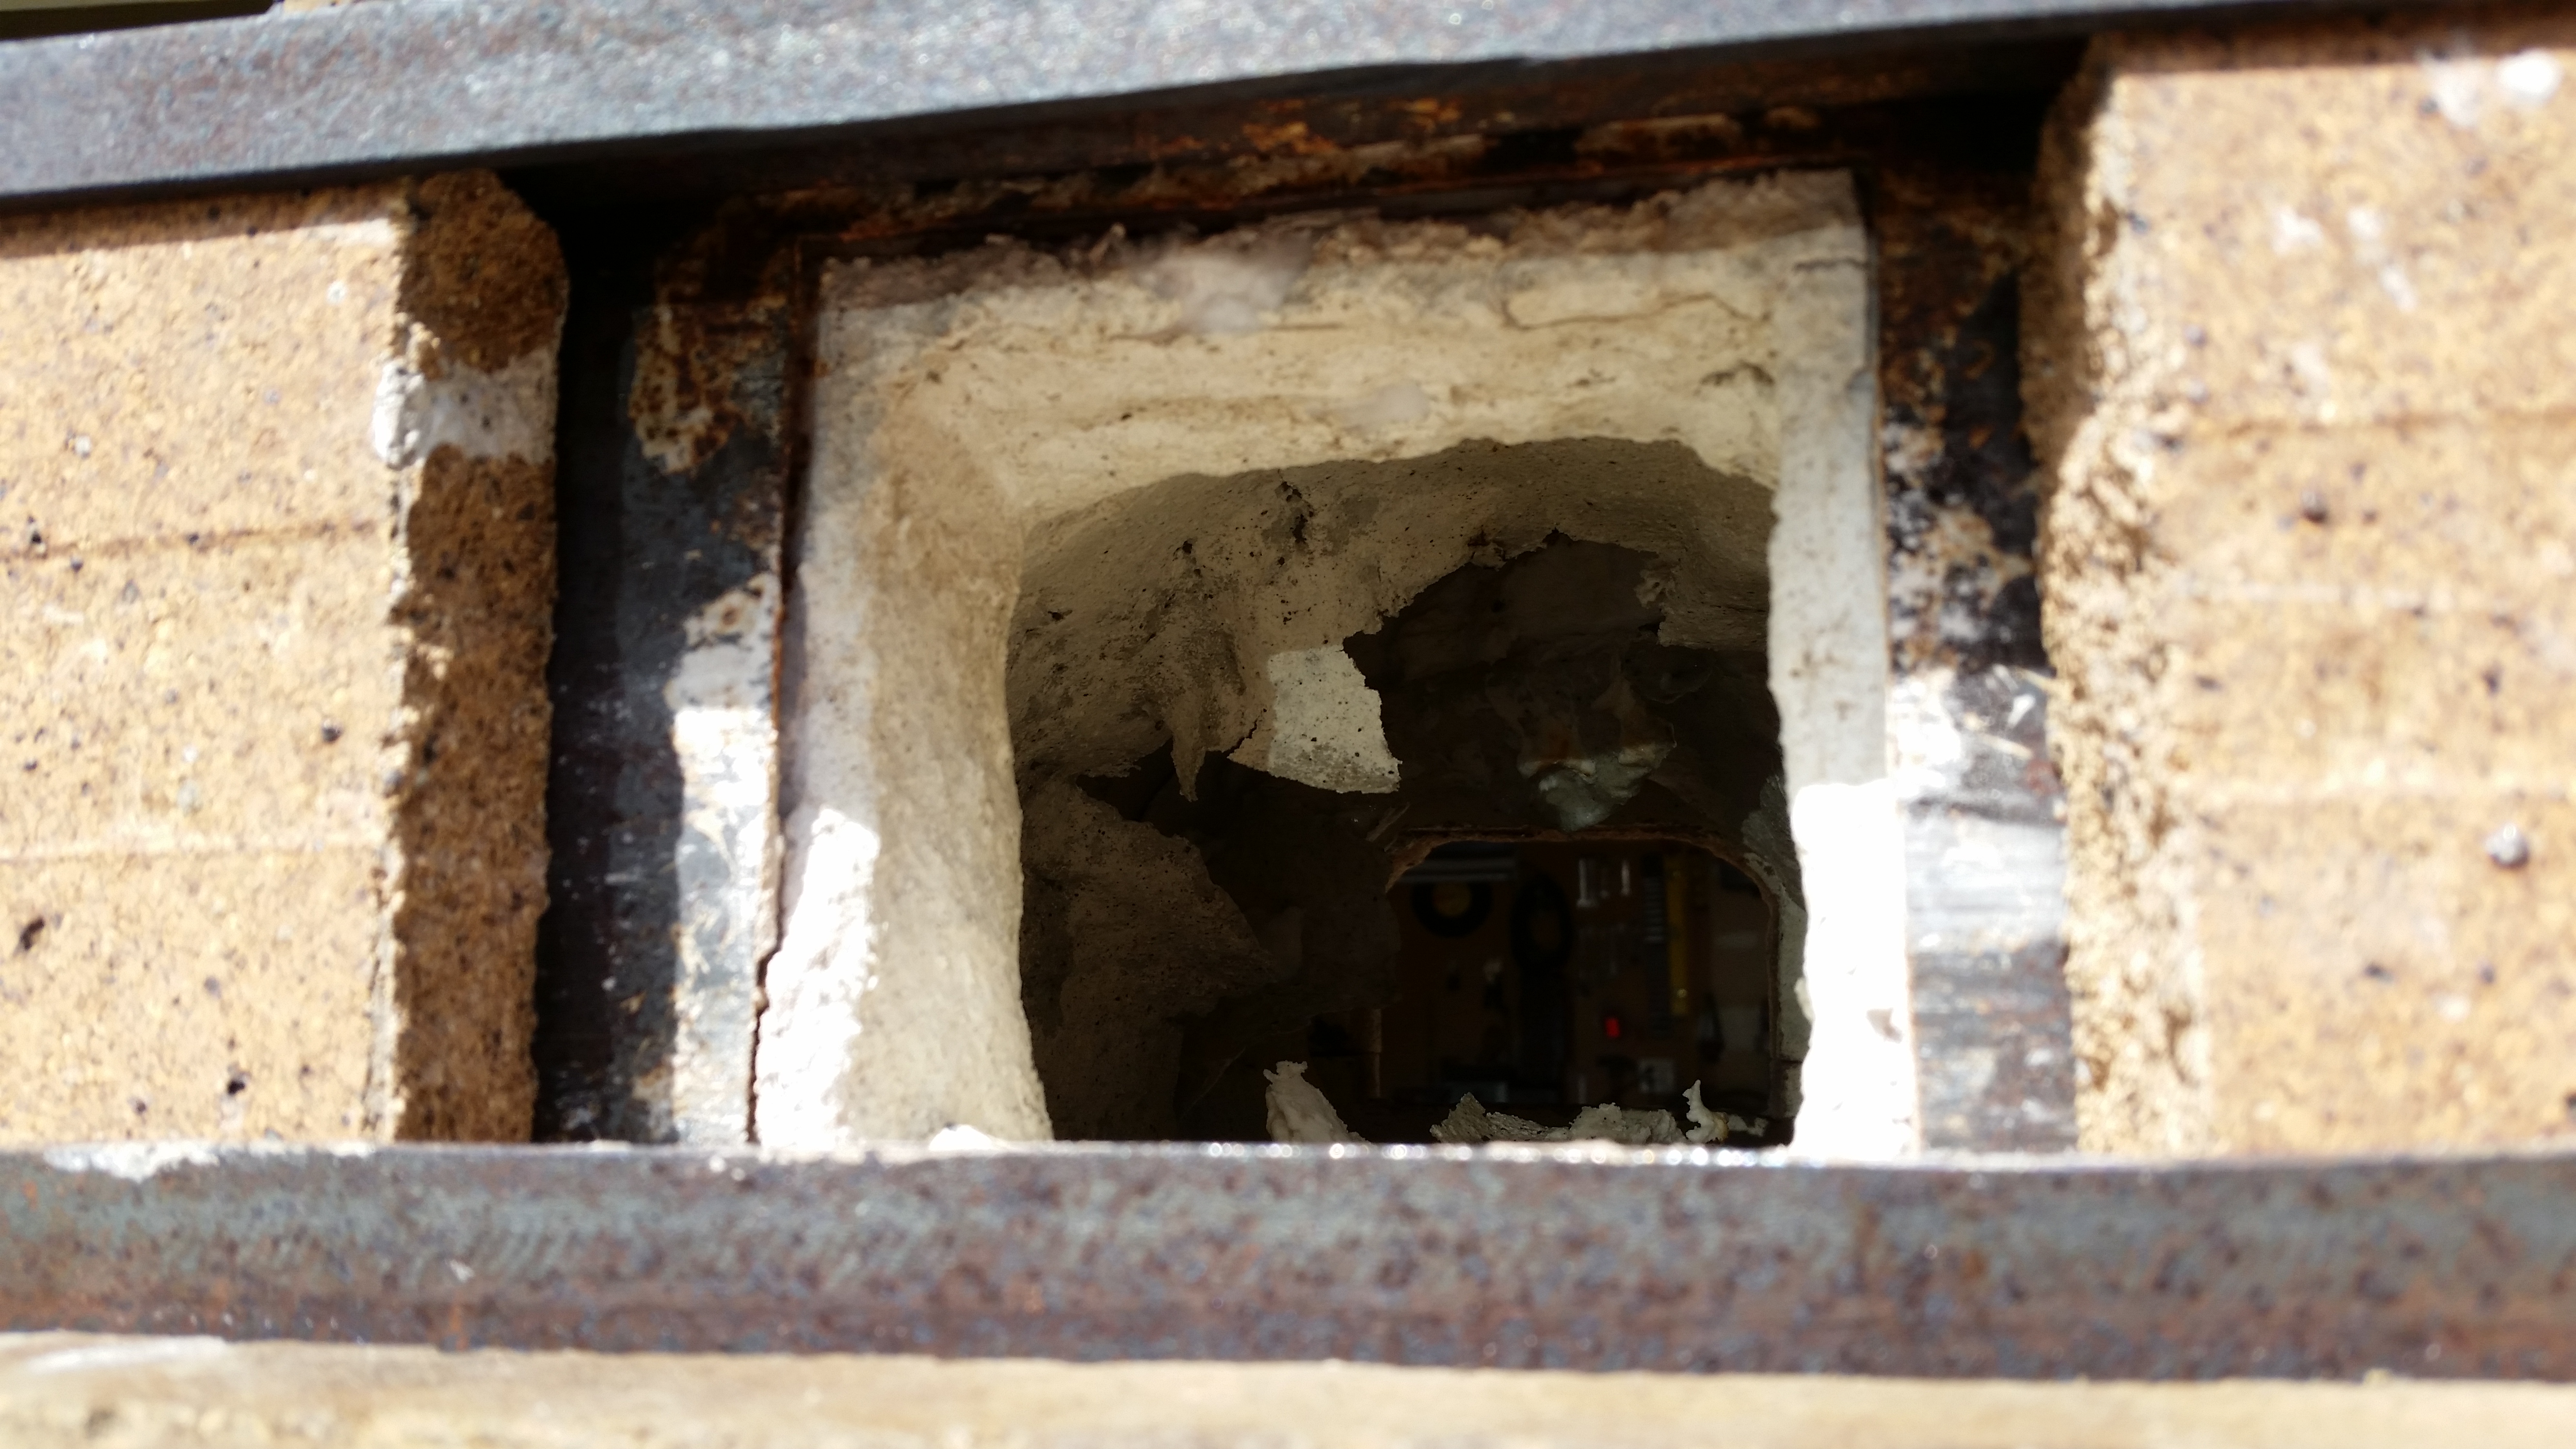
He did not buy the burner, it is made from an online instruction, with a 35 mig tip. and 1" Black pipe. I'm pretty bummed that this happened on the first day after getting it home. This is my first built forge, I tried to set it up the same as i was instructed, with the burner tip about 1" back from the inner wall, and centered in the little cutout area from the insulation. I'm not 100% on the dimensions of the refractory that was just from what I could measure, and guess off math. Yes the kaowool is on the inside, with the castable on the outside. Can I patch this and use it? I have a very small amount of ITC powder (about 2 tablespoons) left. And some kaowool. Do I just replace what is missing and then to a layer of ITC?
-
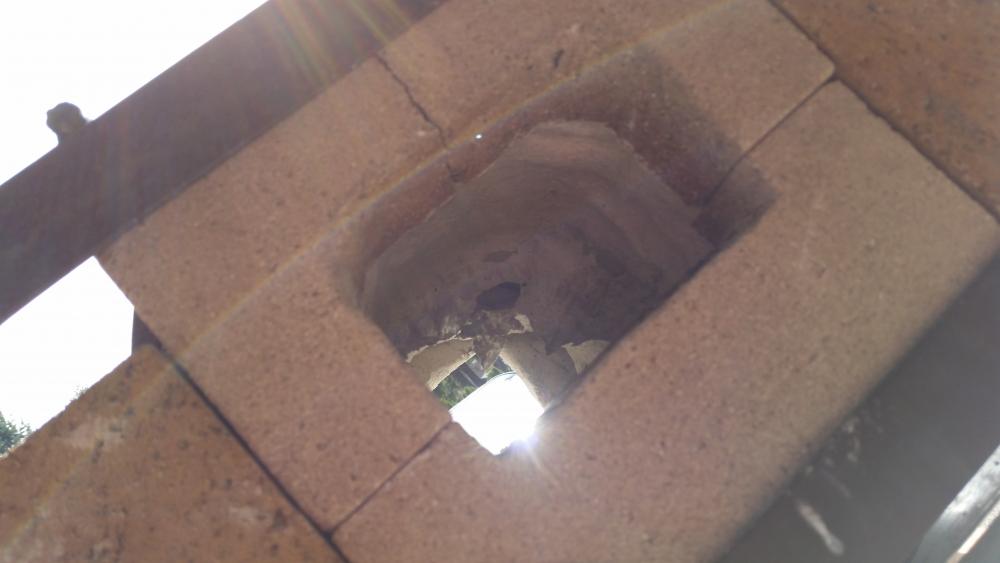
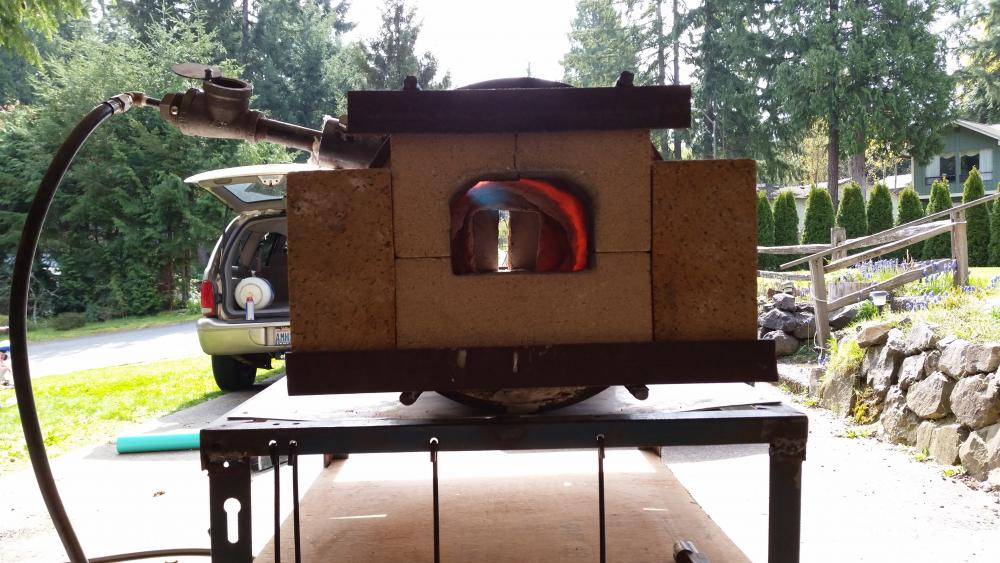
I picked up this forge and fired it up this morning and all was having a blast poundin out some fire starters and when I looked into it I saw spoke of the refractory hanging down. I shut off the burner and it looks like the ITC cracked and the kaowool blew out? This was a used forge but appeared to be in good order when I picked it up. Did I have the burner to far back and it blew into the seem of the refractory? Any help would be appreciated. Thanks! It's a 1/4" steel case, 13" diameter x 18" long. 3" castable refractory, 1" kawool, itc100 coating. With 1" fire brick floor. Single venturi burner. Was operating at 5# fire the hour or so I used it. Here's a pic of the burner flame when I first starred it.