Quench.
-
Posts
52 -
Joined
-
Last visited
-
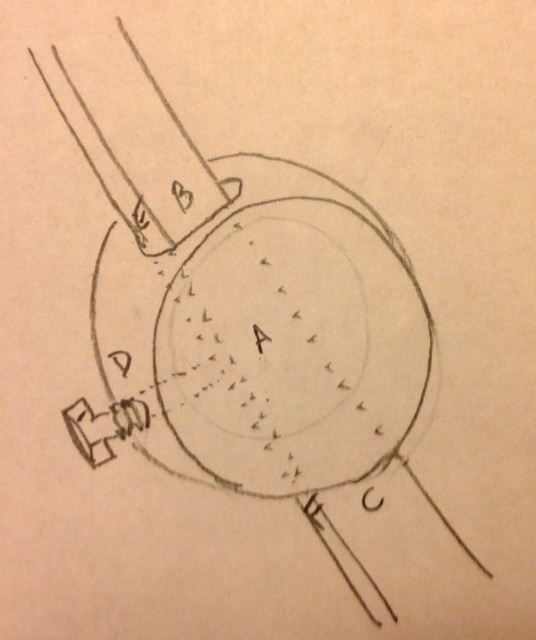
I don't understand, so I drew a bad diagram of the handle mount with letters so you can point to where you are thinking to put a roll pin. I would like to like the handle to be adjustable. -Q
-
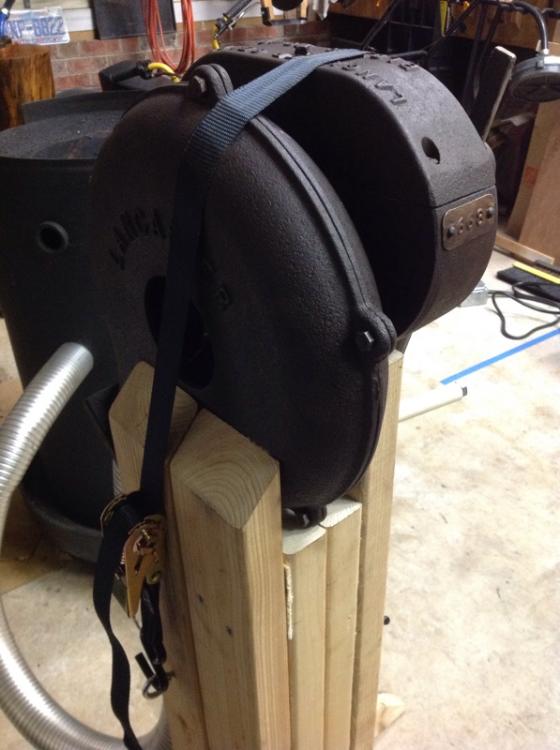
It has a stand now: -Q
-
Exactly. And I use it to displace the condensation that collects when humid weather comes in after the metal has gotten cold. Oil is no good then--it doesn't displace the condensation and makes a mess. But you have to go back with the oil later, because the WD40 evaporates pretty quickly. But sometimes I just and spray after the weather and then forget to go back with the oil.
-
Drat, I used grease. Oh well, guess I'll clean it out and squirt some oil in there. Have more oiling to do on various tools. Screwy weather over here is rusting everything in a flash. WD40 is easy to spray but just doesn't last worth diddly. -Q
-
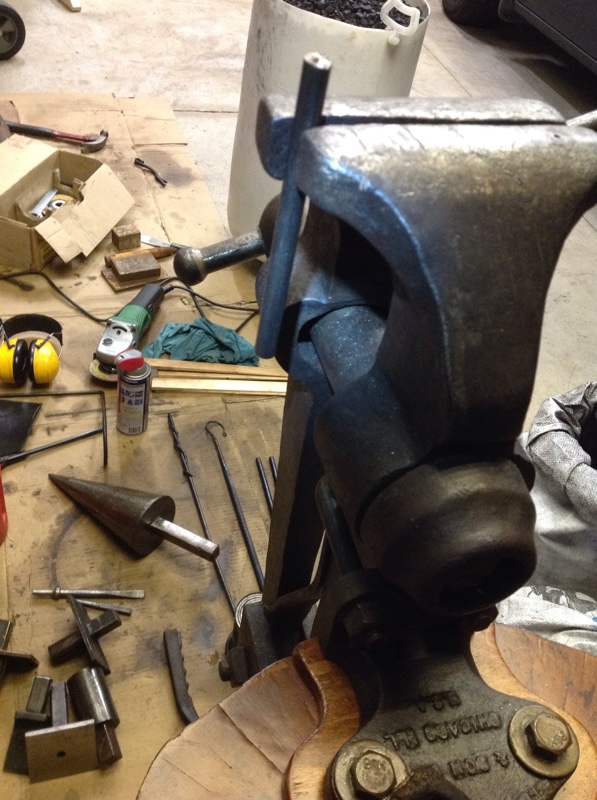
I did consider using the fan housing bolts to mount it, but the overall level of fabrication looked at least as difficult as this solution. I don't consider this temporary, unless it's to put a base on it made of pressure treated wood, and maybe add casters on lifters. It's quite solid and works well. The handle needs work. Keeps falling out. The set screw can't tighten well enough and loctite won't hold it. I'll probably put a small screw or bolt on either side of the spindle at least to stop it from falling on the ground when it gets loose -Q
-
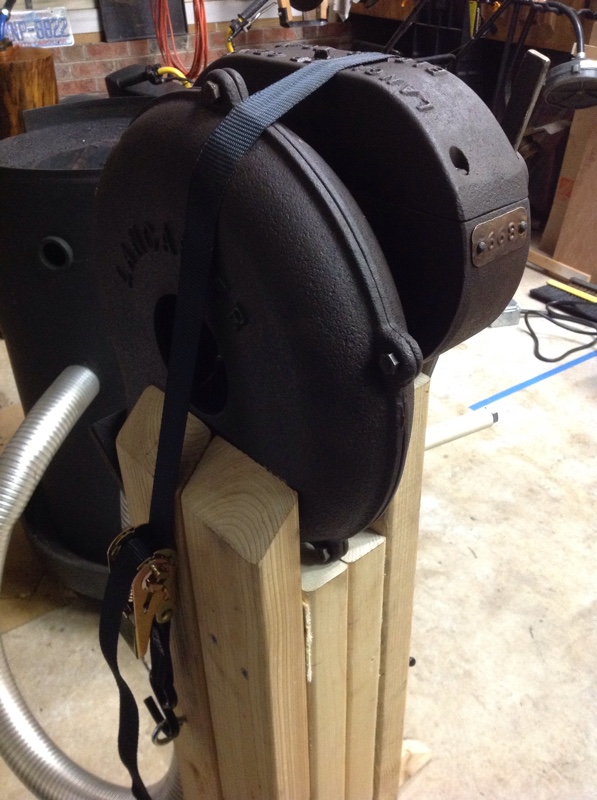
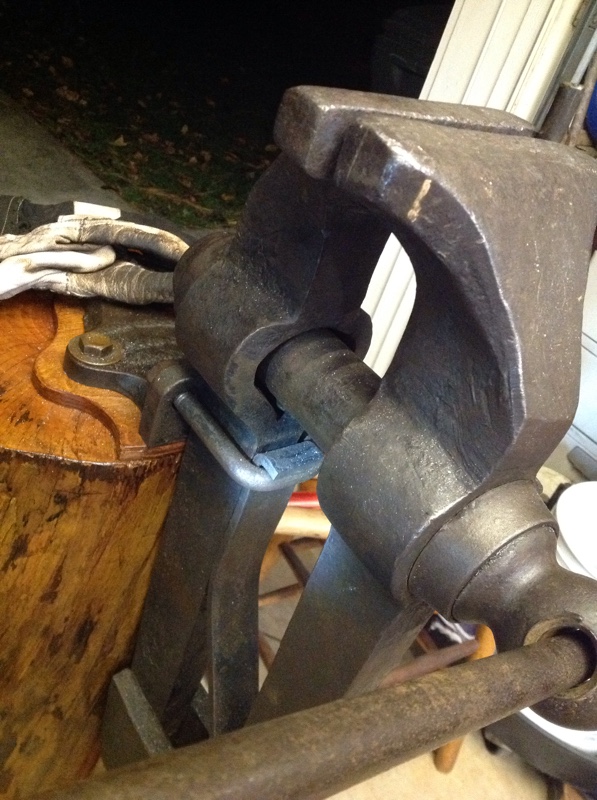
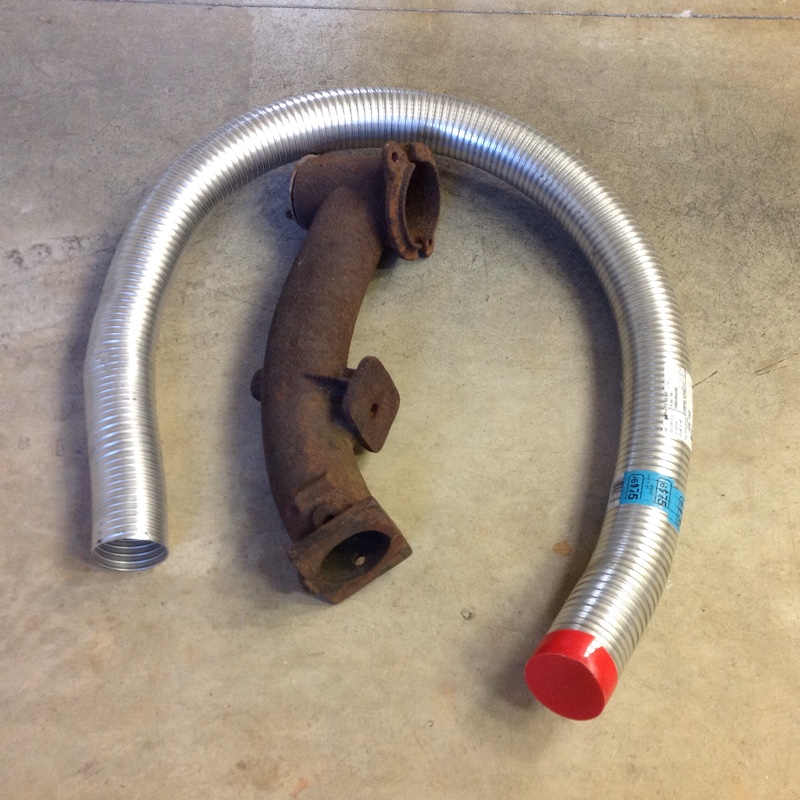
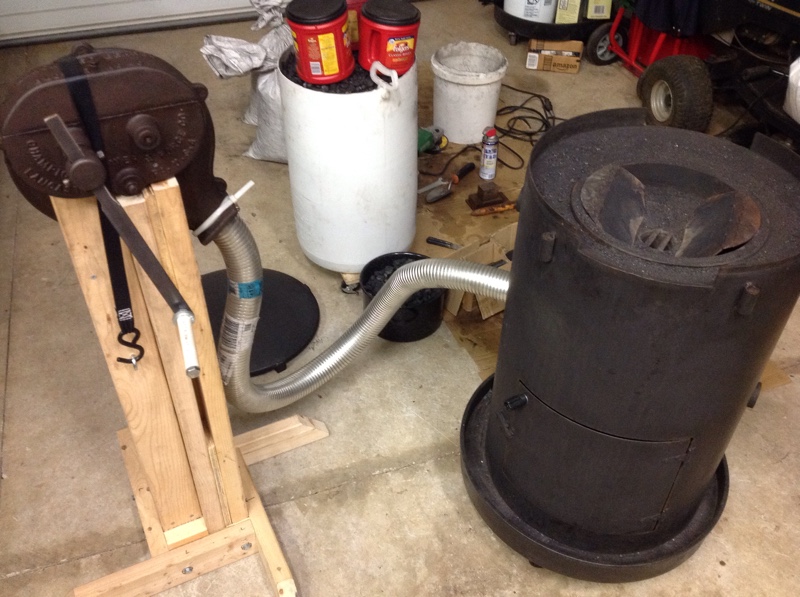
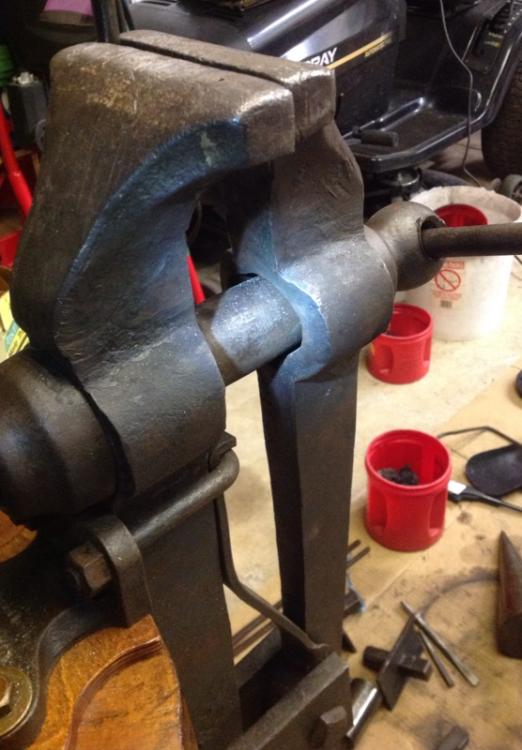
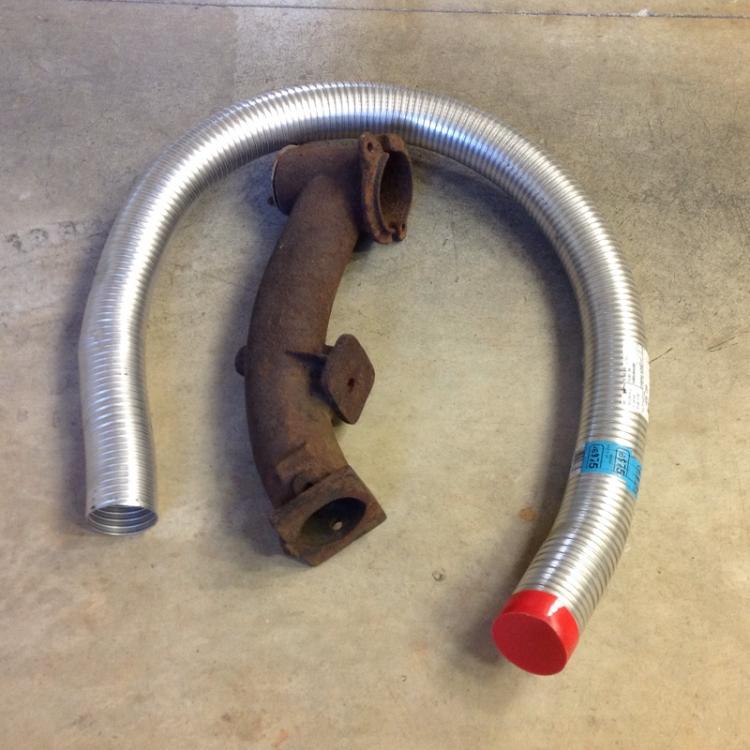
As noted in the prior thread, I picked up a Champion 40 blower in pretty decent shape, minus a handle. I added a handle, and made a stand for it from 2x lumber. This blower has no mounting bracket. It was meant to be attached by the square output flange. So the stand was tricky. First I took the 2" iron pipe (air inlet) from the forge, and added the floor flange, then clamped that on the blower. Then I clamped the pipe into my bench vise, with the blower attached. First picture. My son helped me get it angled properly. Then I figured how much too high it was (about 15"). So I stacked two cinder blocks under it on the floor, and started building the stand, piece by piece, between the blower and the blocks. When the stand was complete, I removed the pipe from the blower, re-installed it on the forge, put the blower on the stand, and then used a 2.5" Dynaflex pipe to make the air connection. Second picture. Dynaflex pipe from eBay. JP are the intials of the dealer/store selling this pipe. Good people. The weight of the blower on the stand is enough to hold it in place, but I wanted some insurance, so I added the ratchet strap. This blower works great. Hardly crank it at all and get good air. Very minimal oil leaking. -Q

-
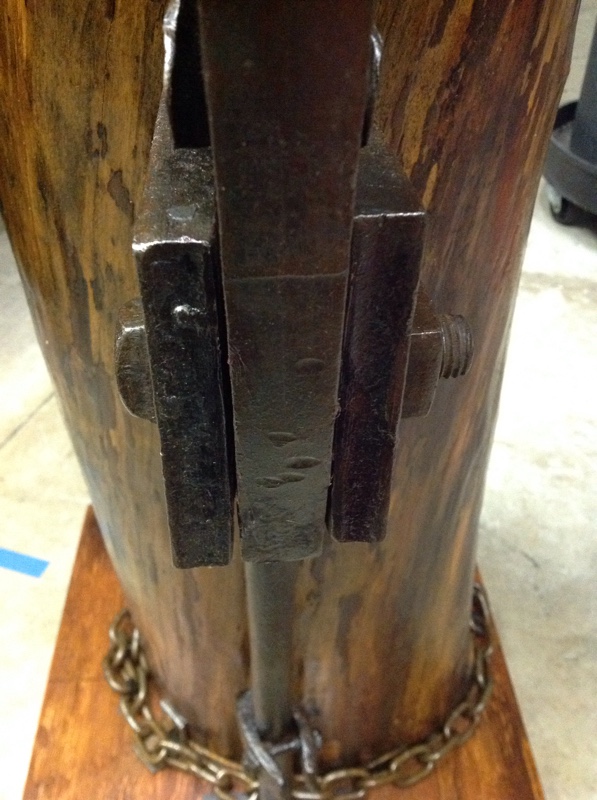
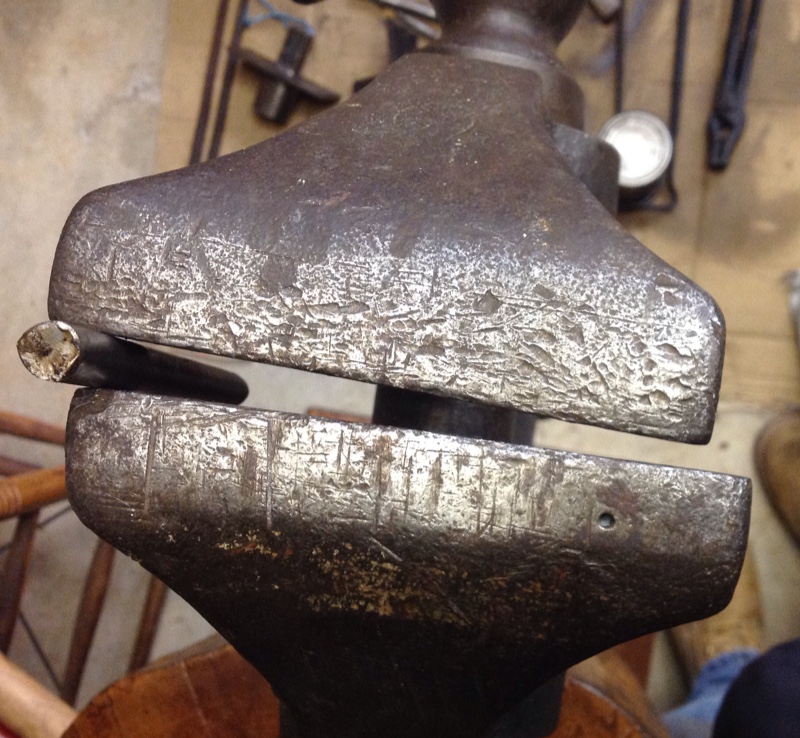
This fixed most of the issue. I think everything is lined up, and the spring seems even. Post fits into a pipe fitting, welded onto a plate, bolted to the base that the stump rests on. So the post doesn't move. The vise will close properly with nothing in the jaws. After tightening the pivot joint as much as I dared, then backing it off just a smidge, it mostly stays aligned with the work in the jaws on the right side and it stays aligned all the way with the work on the left side. I'll have to make some shims as well. Thanks for your help. Picture below is after tightening. Still see a lot of gap, but the left and right plates, forming the outside parts of the pivot sandwich, are not parallel. The gaps are tight on the stump side of the pivot. -Q

-
Tennis elbow / Blacksmith's Elbow -- Relief Technique
Quench. replied to Quench.'s topic in Blacksmithing, General Discussion
Of course, you are right. I took a class at the John C. Campbell Folk School and learned some good hammering techniques there, and I try to practice them. One issue is my anvil (ASO) which you can see in my post here: That shape (very wide), and its stand (4 rows x 4 columns of 4x4 blocks), does not allow me to stand quite right for all operations. Some operations I can, though--like for some drawing out, and that can really aggravate the elbow if not done properly. But some other operations require me to use the far edge and I just can't get positioned right. Also, that ASO does not rebound like the one I used at the Folk School. So my comment about hammers applies even more to a proper anvil. I've been on the lookout on CL, but they are priced so high for junk I might almost go buy a new one. Good point though; if I had proper hammer technique, I might not need to look up techniques to relieve the pain. -
I know there are a lot of threads on this: how to prevent, mainly body / hammer techniques. Some treatments. I'm only doing this as a once-in-a-while hobby, so developing proper hammer technique doesn't come quickly, and I can't justify buying nice hammers / equipment. I already had some elbow issues from "computer/mouse work" and from some weight lifting lots of pushups. Hammering a few weekends in a row -really- made the problem worse. So...I'm no doc, and I've not seen a doc about this problem. I've been taking a lot of Advil, and icing, and doing a wrist-down-stretch which sort of helps a little. And I have an arm band thing I found on Amazon (just so-so). But there is one technique it tried last night and I got a TON of relief, right away. Well, after 10-minutes-right-away. No, it didn't solve the problem itself, or give me an excuse to develop better hammer technique, and the pain isn't -gone-, but it was so helpful in reducing my level of pain, that I want to share it with you folks. I'm not sure about posting links to YouTube. But if you Google this, and find a video from Dr. Calvin Ross, you should have the right one: "tennis elbow trigger point massage" I found Ross' video while searching for ways to deal with this issue, and found a video from someone else, demoing the technique, and pointing to Ross' video where he learned it. Good luck! - Q Mod note: While youtube can have good information, it is NOT the same as going to a doctor that can diagnose the problem and recommend a course of treatment.
-
Ah, thanks, that's one to check too. I've not taken the vise apart, since it all seemed operational before. I don't think mine goes out of alignment with nothing in the jaws. But this is good to have in the thread in case someone else hits it. Thanks again for great suggestions.
-
Thank you all for the thoughtful and helpful replies. Sorry to not reply earlier; was at the forge much of the day, trying to beat the rain (made it), and form a couple dragon heads for gifts. They're terrible. Clearly past my limited experience level. The little crosses I did last weekend were so much easier. Anyway--getting off track--I was fighting that vise the whole time. One side is not as bad as the other. I didn't think about putting something of similar thickness on the other side (duh). I'm not sure how I would have gotten that piece in place without three hands. Thomas' T-shaped spacers would help that, and now that I'm thinking about it, any similar sized spacer would help. I'm going to do a bit of studying of the probem. I was thinking that maybe a small section of 2" pipe, cut lengthwise, would form a couple of C-shaped shims (looking at the pipe pieces on end). But first I'll see if I can find anything needing tightening. And add T-spacers to the to-do list. Going to have to take a rest though. Tennis elbow really getting bad. -Q
-
Wow. That's an awful thick casting to be worn out. I thought it was made that way...
-
I finally mounted a post vise I've had for years. The vise closes fine when there is nothing in the jaws. But if I clamp something on one side or the other, as shown in the pictures, the jaws move sideways relative to each other. That makes it very hard to align something in the jaws. Any ideas what's wrong with the vise? Can you see from the pics if I'm maybe missing a part? Can this be adjusted? Thanks! -Q


-
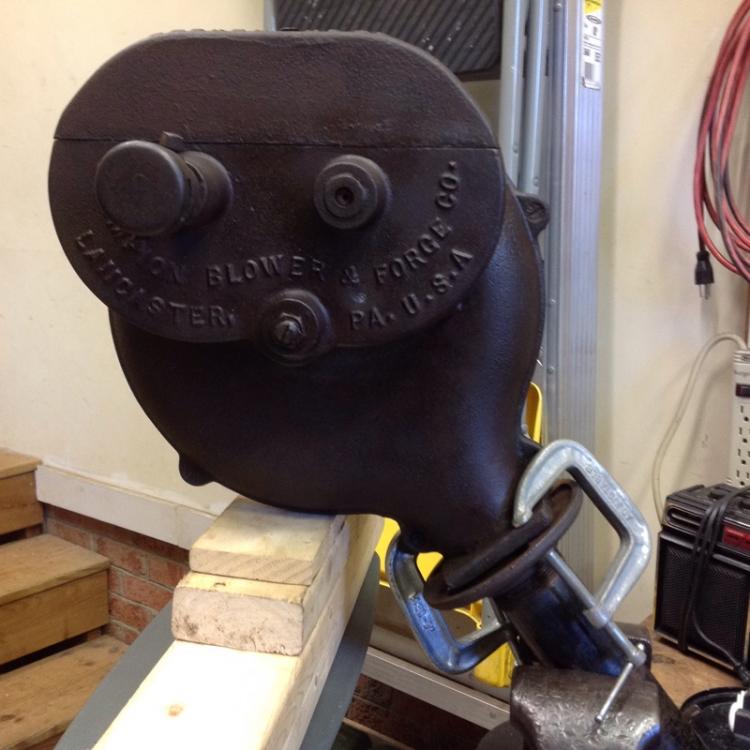
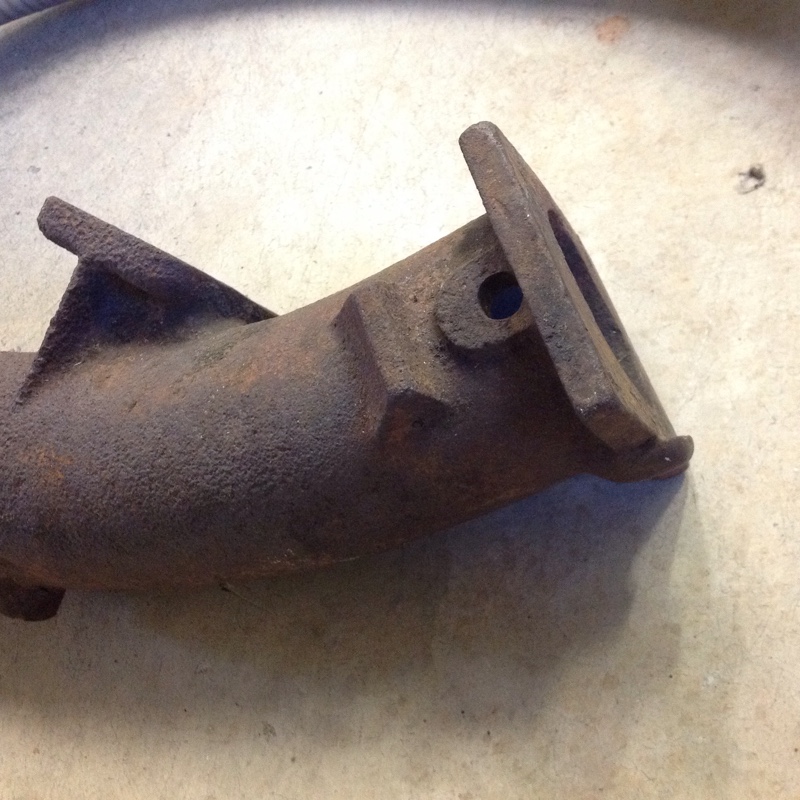
Thanks... I guess it wouldn't be a bad idea to have such a hole. It looks to be about the right height above the bottom of the oil reserve to allow the gear to catch the oil. Otherwise might be easy to overfill. I agree: from Google Images search, I couldn't see any others with visible holes. This blower is a bit different than most I've seen online. It has no easy method of mounting. No mounting bracket. It has a square flange on the output, and the square flange clamps to the manifold with two triangular-looking clamps with a lever and a cam. This pulls the two square ends together, and apparently has to support the blower just with that friction fit. I have the manifold, but no clamps. I found this info from a couple pictures of a portable suitcase forge someone built. Wish I had those clamps. My forge has a 2" iron pipe inlet. I bought a 2 1/2" stainless steel Dynaflex pipe online (eBay seller with initials JP--good people). The pipe fits nicely inside the blower outlet (maybe with a bit of shimming), and nicely over the 2" iron pipe, again, with a bit of shimming. So I won't be mounting this blower on the forge. It will be attached (somehow) to a stand made of 2x4s, and deliver the air via the flex pipe (pipe shown in the picture, too.) -Q

-
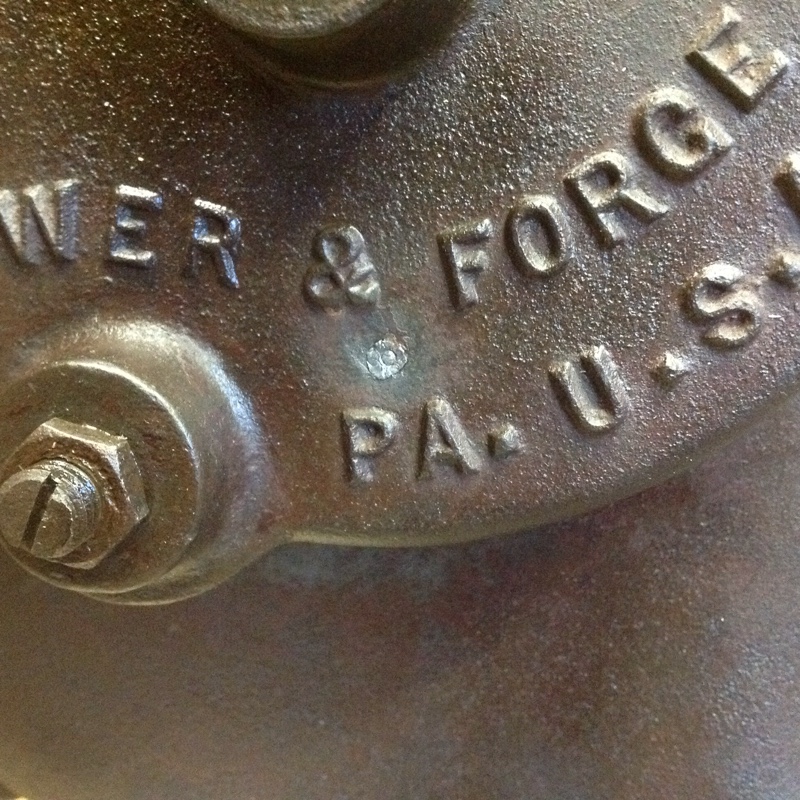
I picked up a Champion 40 blower in pretty decent shape, minus a handle. Cleaned it up. I was working on making a stand for it today and noticed what I thought was a blob of crud I missed when cleaning it. Turns out it was what looks like a tiny nail, and it was plugging a tiny hole. I'm wondering if that is supposed to be an oil level overflow/weep hole? I re-plugged it, but you can see it in the close up picture, right above the "PA." The little circle in the center id from my punch. The plug is kind of soft, almost like lead. Anyone else know what the hole is for? Thanks! -Q