Branstetter
-
Posts
38 -
Joined
-
Last visited
Recent Profile Visitors
1,902 profile views


-
Sure. Looks like it could use some attention. Send it my way and I’ll put it on the list! Yes. Only lost 1/2” or so in the area near the surface.
-
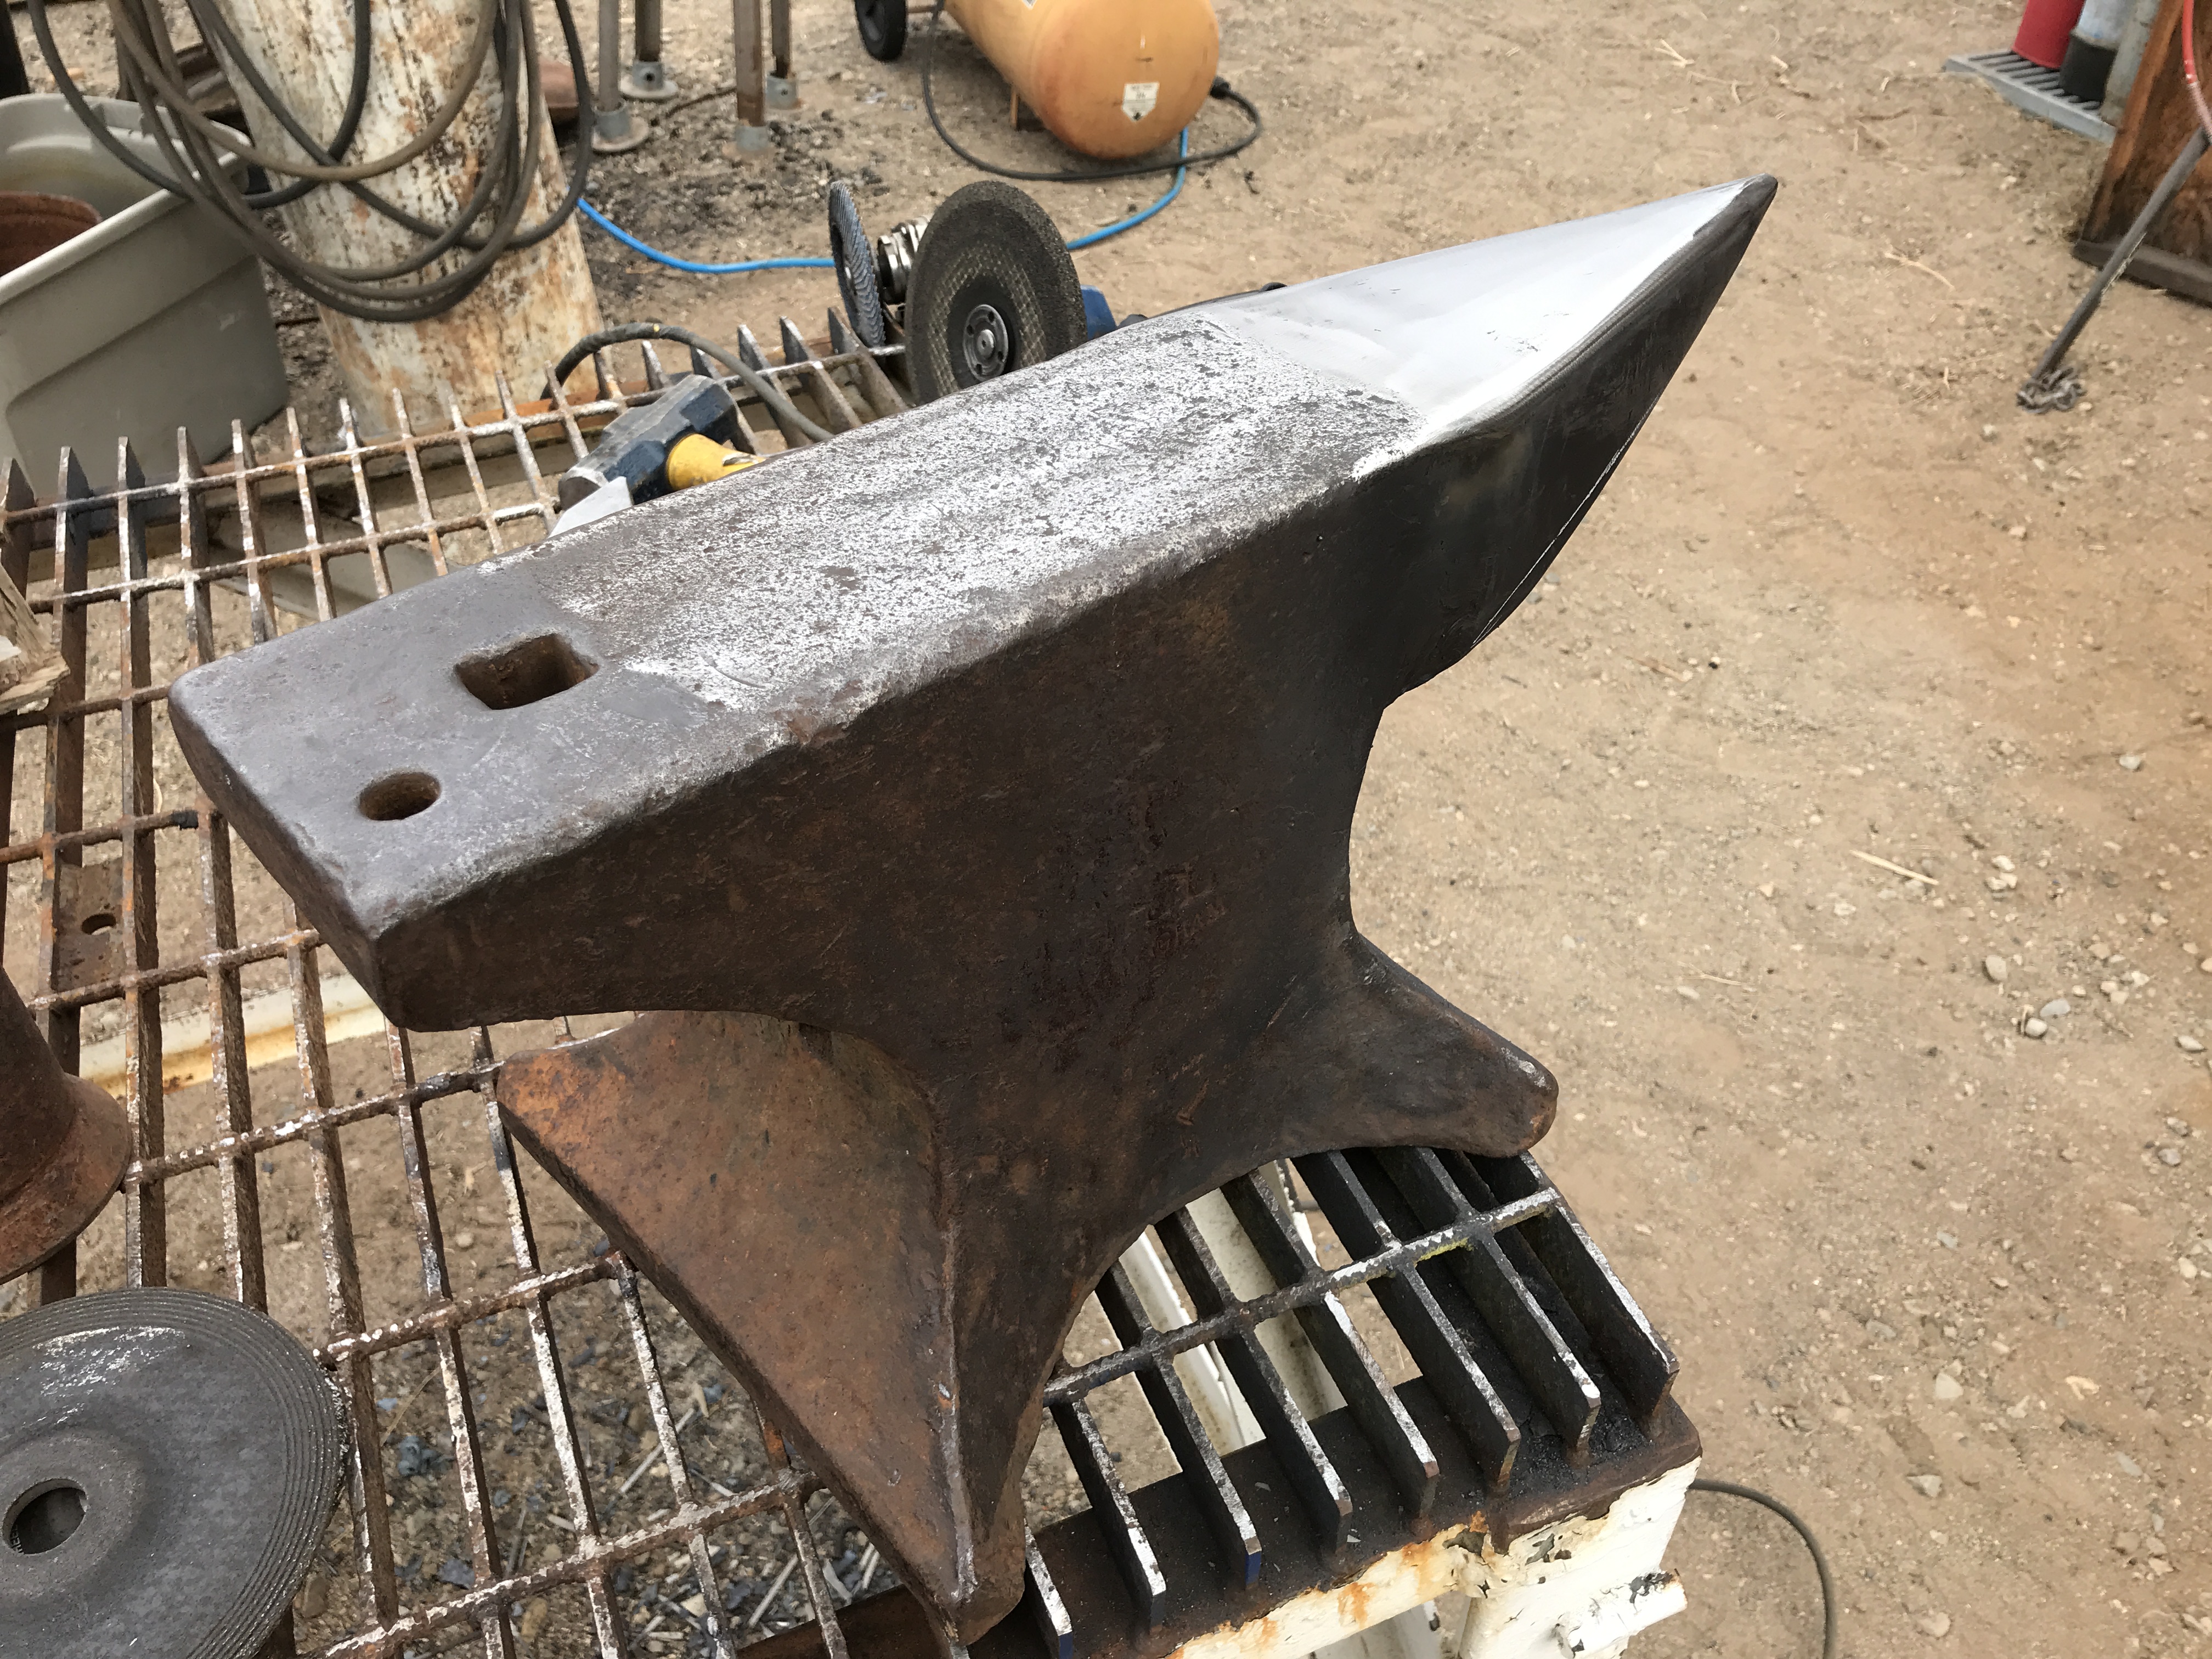
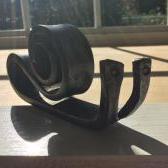
So, like some of my projects this one took a bit to get done. Ended up trimming a very large cast steel bucket tooth to the rough shape of a horn. Because the tooth was hollow towards the big side I was able to do a full pen weld. Yea, it took a while. But I wanted to get acquainted with my Craigslist freebie Lincwelder 225. 10lbs of 7014, 5lbs of 7018 and a few haddfacing rods later this is the result. Still going to do some more shaping as soon as I get my gouging set up.

-
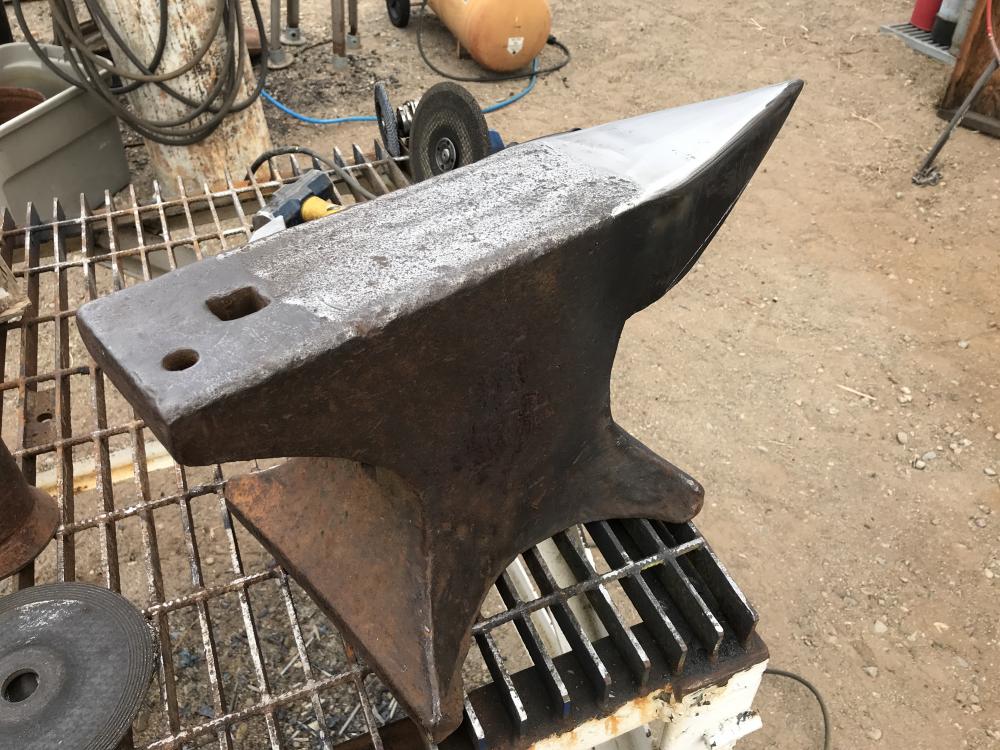
Craigslist was good to me today. Picked this one up for $300. 224lbs. Has some rough miles on it but I’ve managed with worse.


-
I'm going to do a CAD drawing in a couple days of the details of this thing. Anyone that might like to have a closer look can just ask and I'll send a PDF their way. Of course I'll be tuning it in as time goes on. The valve and hose assembly was part of my weed burner that I took apart. That's why it's got the flow restrictor. All of the other materials I used for this build came from my collection of stuff over the years. I didn't bend this tube. That piece used to be part of the handle of a treadmill. It's all mild steel. Now that I know it works I'll be getting into the stainless stash for the next one. I want to try a smaller tip when I get the flow restrictor out of the mix. But .035" is the smallest tip I have access to at the moment. I have made smaller orifices by inserting a .025" 316ss wire into a MIG tip and smacking it down and pulling it out. Not the most elegant way but it worked. Thanks, John Sure. I'll try to get it tomorrow before I lite it up. Thanks, John
-
Buzzkill, I'd did try a .045" and it seemed to be a bit too rich. I even tried a .062" I had kicking around from the copper mine days. Interesting ball of fire from that one. But that was all done with the limited flow of the safety POL fitting. So we'll see what changes with the higher flowing regulator. I totally understand finding the time can be a challenge. Just don't wait too long. Life has a way of throwing things at you when you least expect it. I've had the opportunity over the last few years to have plenty of free time to play with this stuff. Although I'd rather have a real job again, no one wants to hire a terminally ill cancer patient. So as I wait for this nasty sickness to slowly pick away at my body I refuse to sit on the couch and wait for it to get me. Between playing with my toys, fire and hammers, I also do some consulting work for local fab shops. Can't stop, it might catch up with me... Ede, I'd like to say that I did a bunch of super complicated math to come up with this ratio, but I didn't. Basically I did an experiment based on my hands on experience over the years. With a large amount of educated guesswork in there for good measure. All the while knowing that it might not work at all. I did do some basic math to make sure there would be more 'out' area than 'in' area. Turns out that a 3:1 ration with this configuration works very well so far. And this is the first prototype! I already have plans to make the next one, or three out of some stainless I've had in my junk collection. Fully TIG welded and cast into a nice block of refractory. Ready for whatever custom installation needed. I'm always looking for ways to get me back to work. Thanks for the feedback everyone! John
-
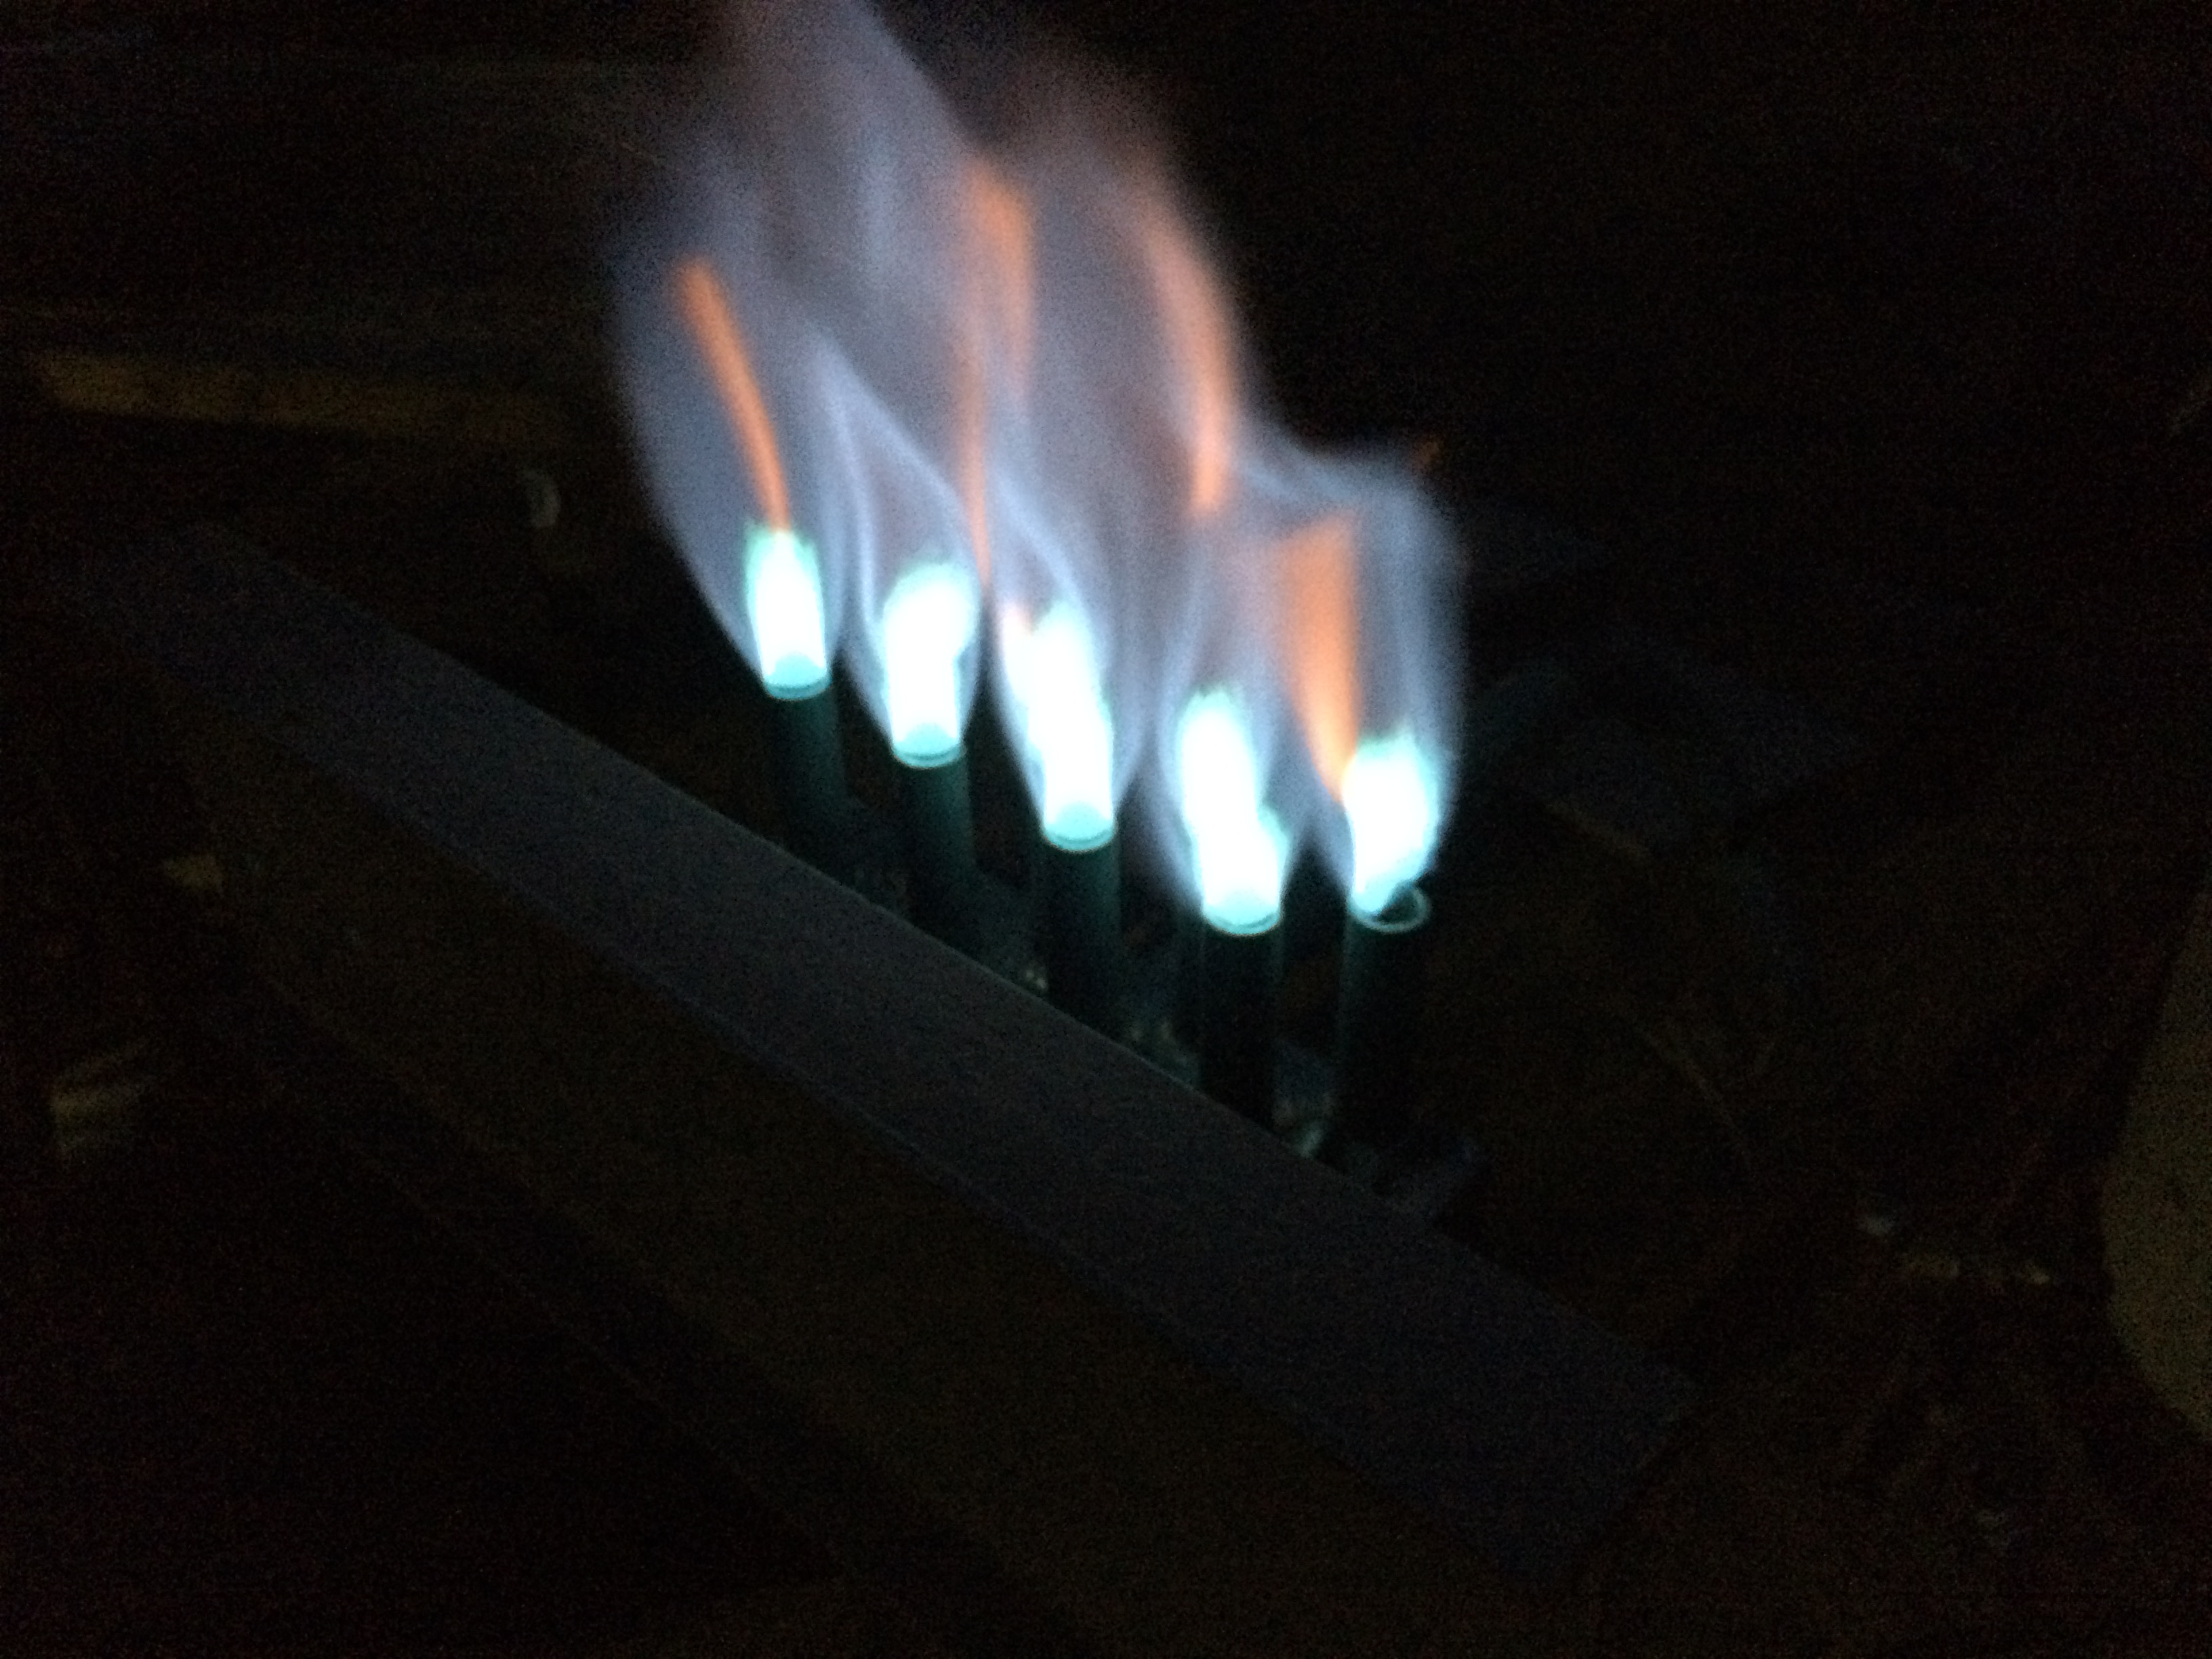
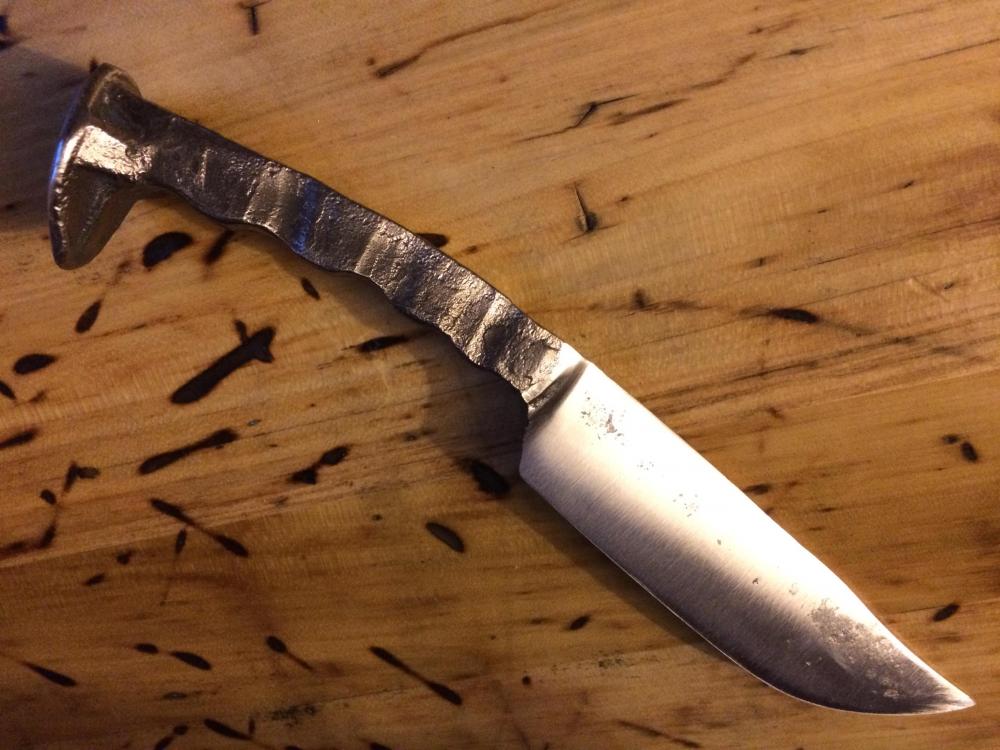
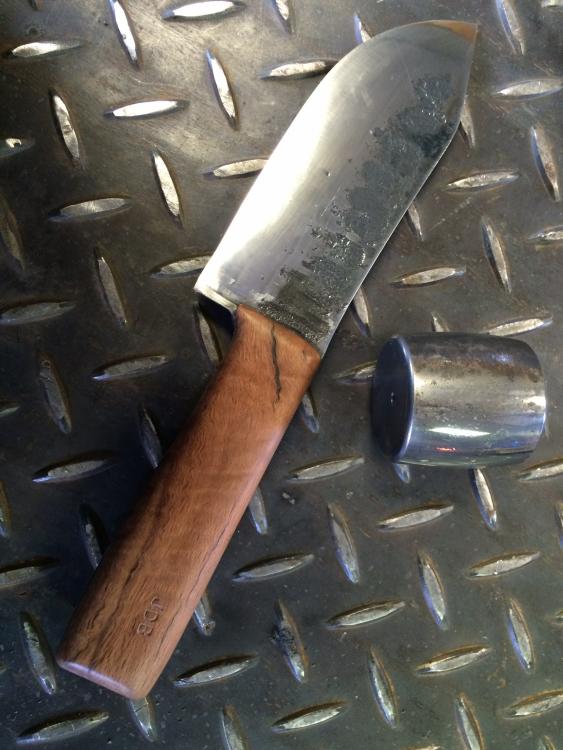
Frosty, thanks! I've been picking through some of your posts for awhile. Got a lot of useful info out of it too. I ran it about 2 hours straight last night. And an hour so far today. It'll only backfire when I turn the flow way down. Even when at full temp. I was actually expecting a bit more of a sound and light show as it was rolling around in the thought processor. Nice surprise really. I confirmed my thoughts of the low flow fittings today. The POL has a excess flow check valve in it. Keeps it right about 16-18 PSI max. As soon as I get the new regulator I can really see what trouble I can create. The burner nozzles are actually recessed into the refractory about 1-1/4". I figure the diameter change helps the ventury effect, or not. Either way the same type of set up has held up well on previous builds. Heres the first product out of the new set up. A knife shaped rail spike letter opener. Got a big batch going for Christmas presents. Thanks, John
-
Thanks for the feedback! Buzzkill, I do have a sleeve choke on the jet so I guess the answer is yes to changing ing the atmosphere inside. I've only had it running for a couple days so I'm anticipating getting it dialed in as I go. So far I have not reached a welding temp. But I'm still playing with a few adjustments. I think my regulator is the limiting factor right now. Have a new high flow unit in the mail. I'll report back the results as soon as I can. So far it's nice and quiet on the burner side. The jet actually makes more noise than the burner. I'm playing with the idea of a intake muffler of some sort. After that it should be much more tolerable. Compared to my old 3/4" triple set up, like a lawn mower vs a small turbine powered aircraft.
-
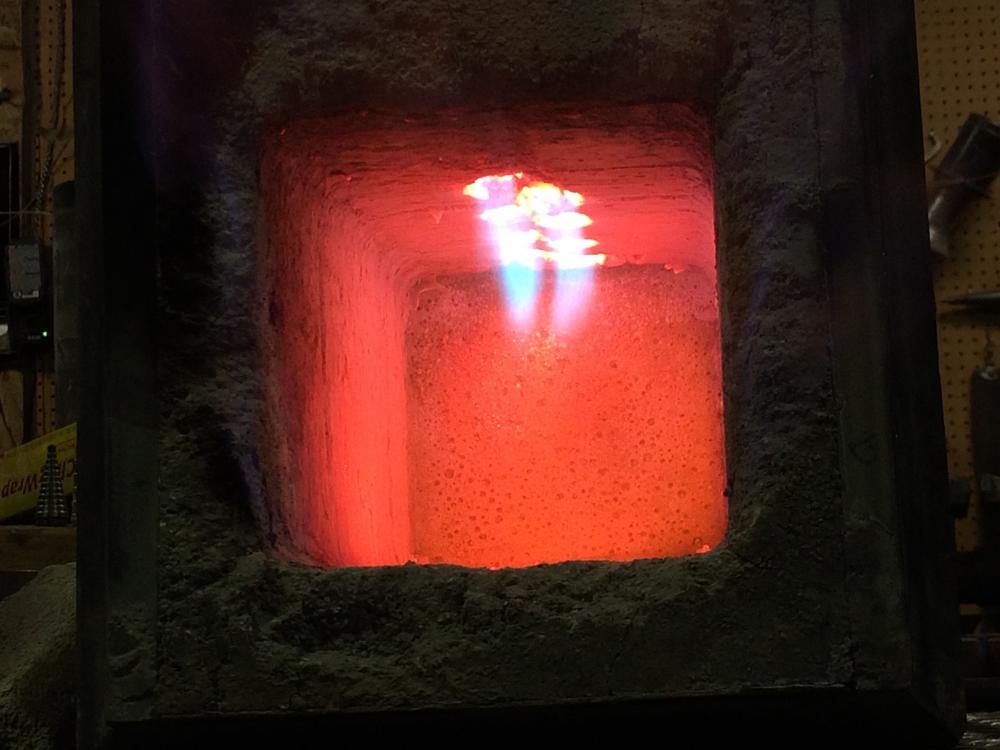
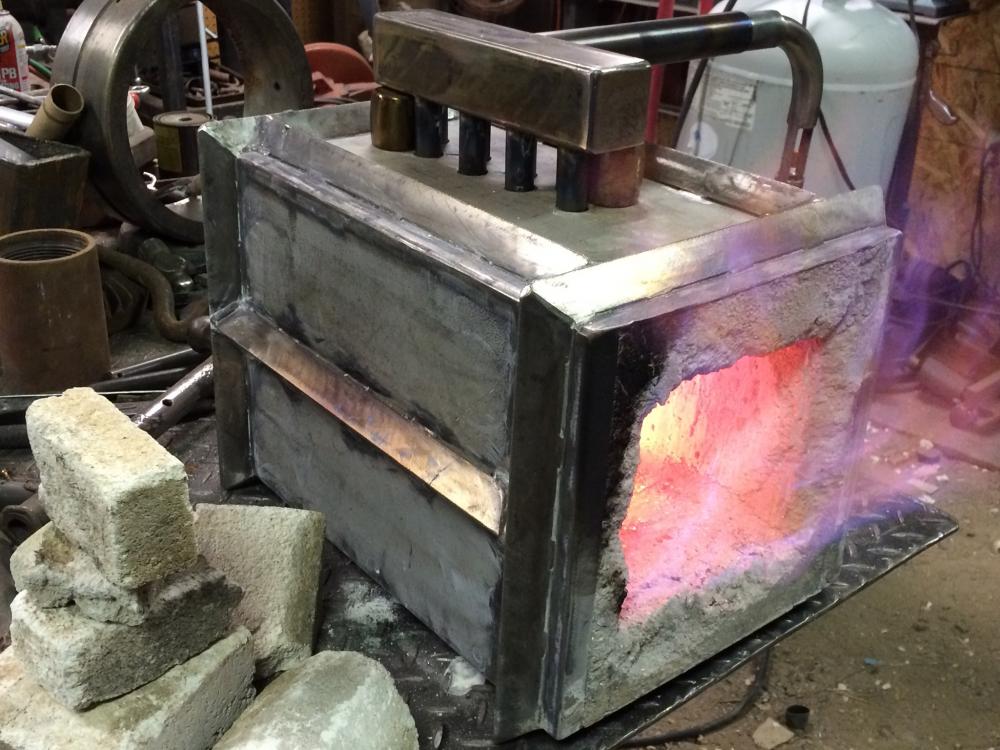
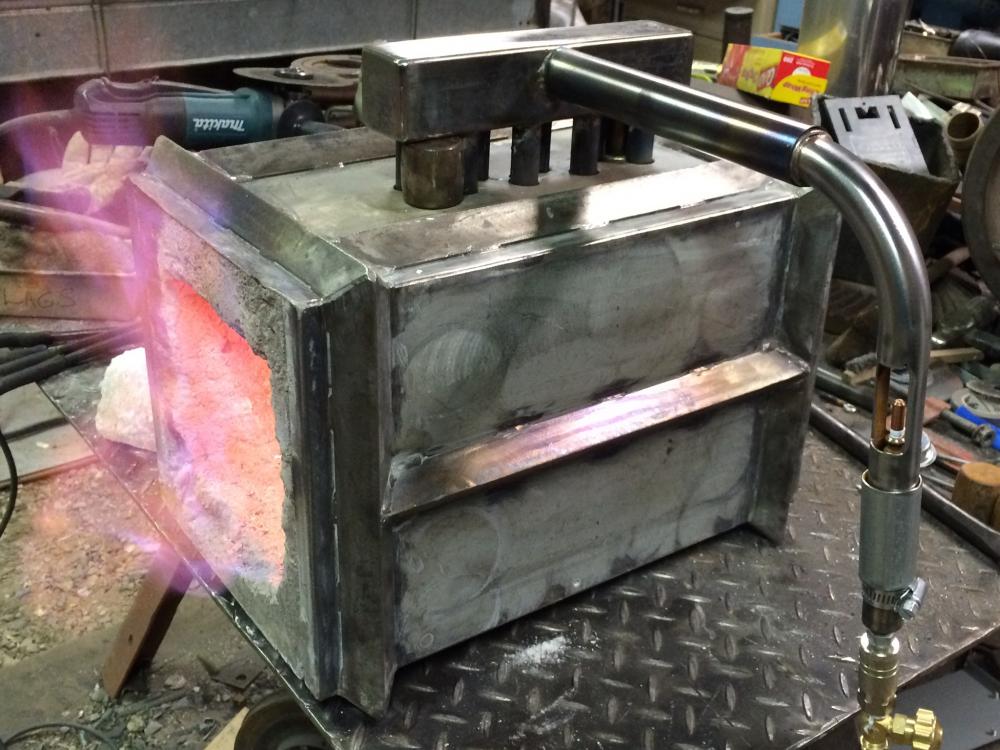
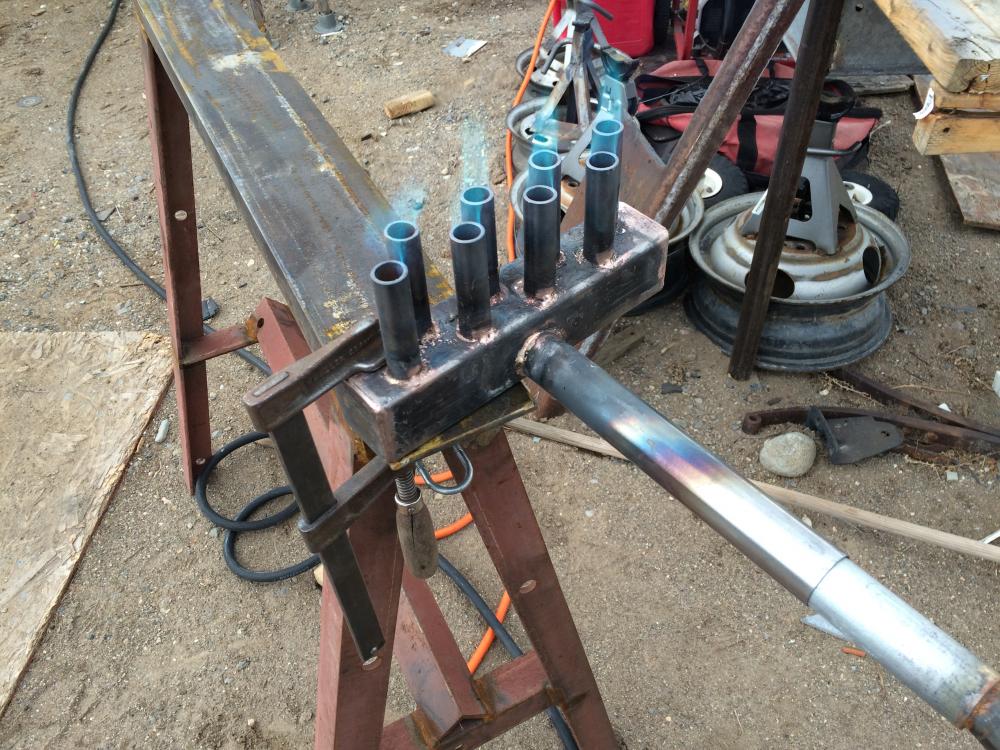
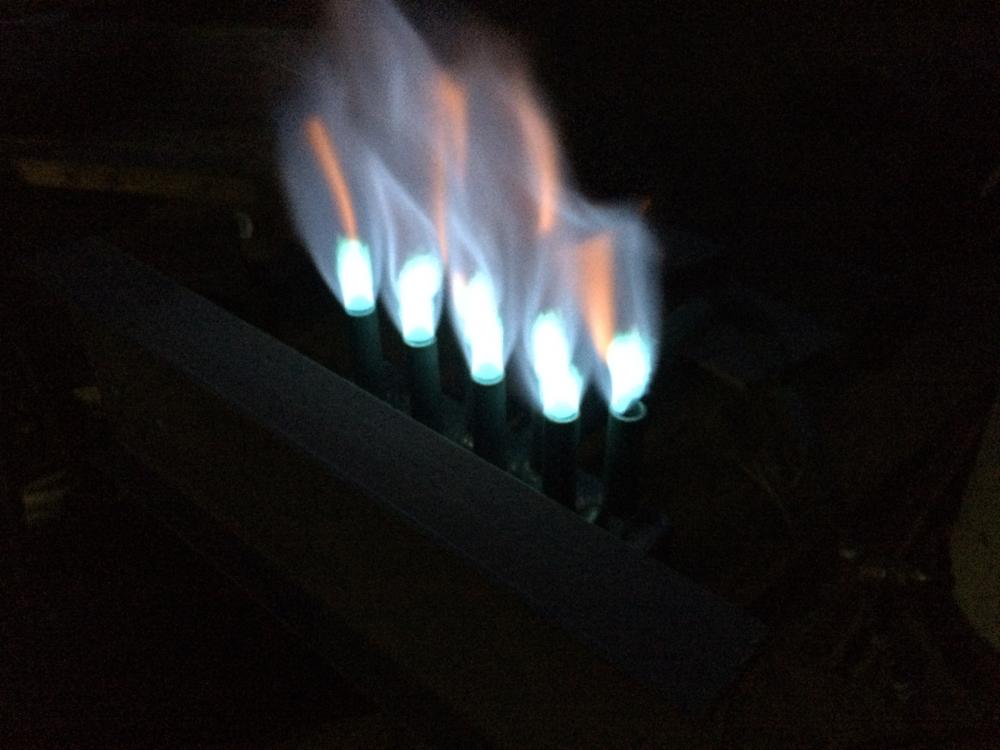
Here's a few photos of my recent forge build. Sold the last one because I overbuilt it for what I ended up using it for, three burners was too much with out a power running all the time. So this one rattled around in my head for awhile before finding its way out to the table. Basically just 10" X 10"" X 16" outside dimensions. And 6" X 6" X 14" inside volume. Using Kast o lite 30 refractory. Will be making a couple 1" thick refractory bricks to effectively decrease the volume as needed for different projects. The burner is the fun part that challenged my thinking. I like the ribbon burners but haven't had access to a blower yet. So I decided to try a multi port atmospheric type using materials I have laying around the shed. Ended up with eight 9/16" diameter ports fed through a manifold from a single 1" tube and .035" MIG tip. The 'trombone' slide on the burner tube was just a result of the material I had. And the only thing it does is change the sound of the jet (imagine that...) very little noticeable effect on the combustion chamber. I do like the fact that I can easily remove it from the manifold when not in use. First bench test fire went better than I expected. I had to turn the pressure down to about 3 psi to get it to burn back into the manifold. Cranked it to 20 to see what it would do, no benefit past that. Interestingly there was very little difference from about 12 psi on up. I'll have to try with another guage to make sure the readings are good. Might be dealing with a low flow fitting at the tank. Anyway, have a look and let me know what you think. Thanks, John

-
I built one. And use it regularly. Although some thought it was a magnificent failure waiting to happen, it's still functioning just fine. I had the video posted here at one time but can't seem to bring it up now. Facebook link removed as you must sign up to view. Please post the video either on this site or on a site open to the public
-
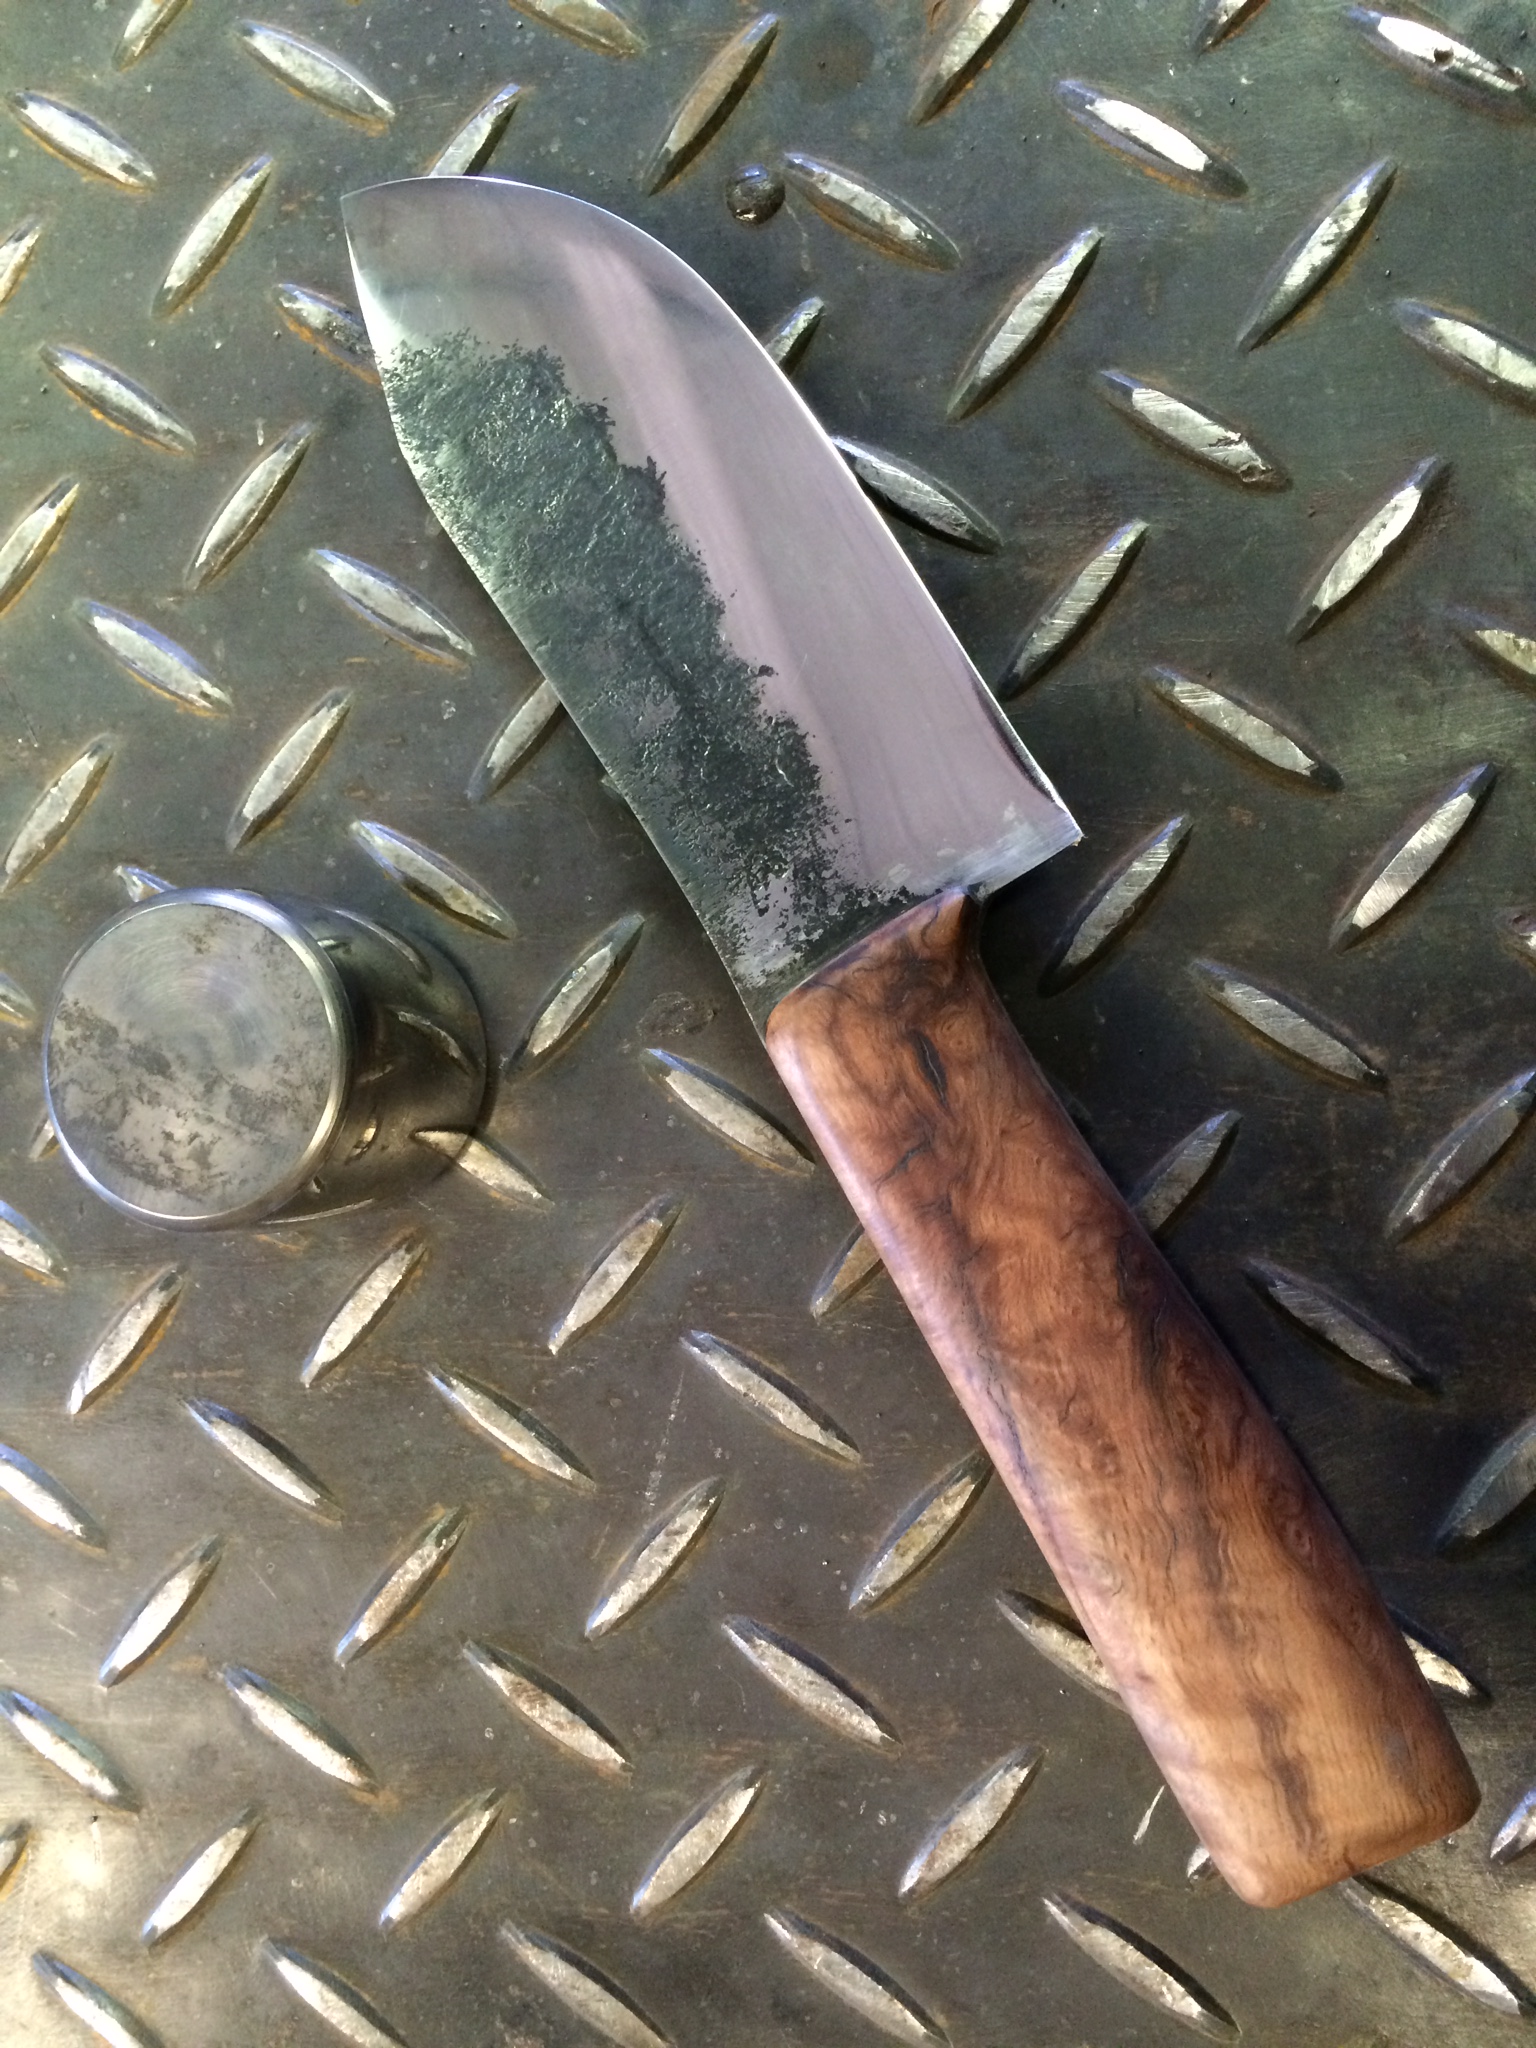
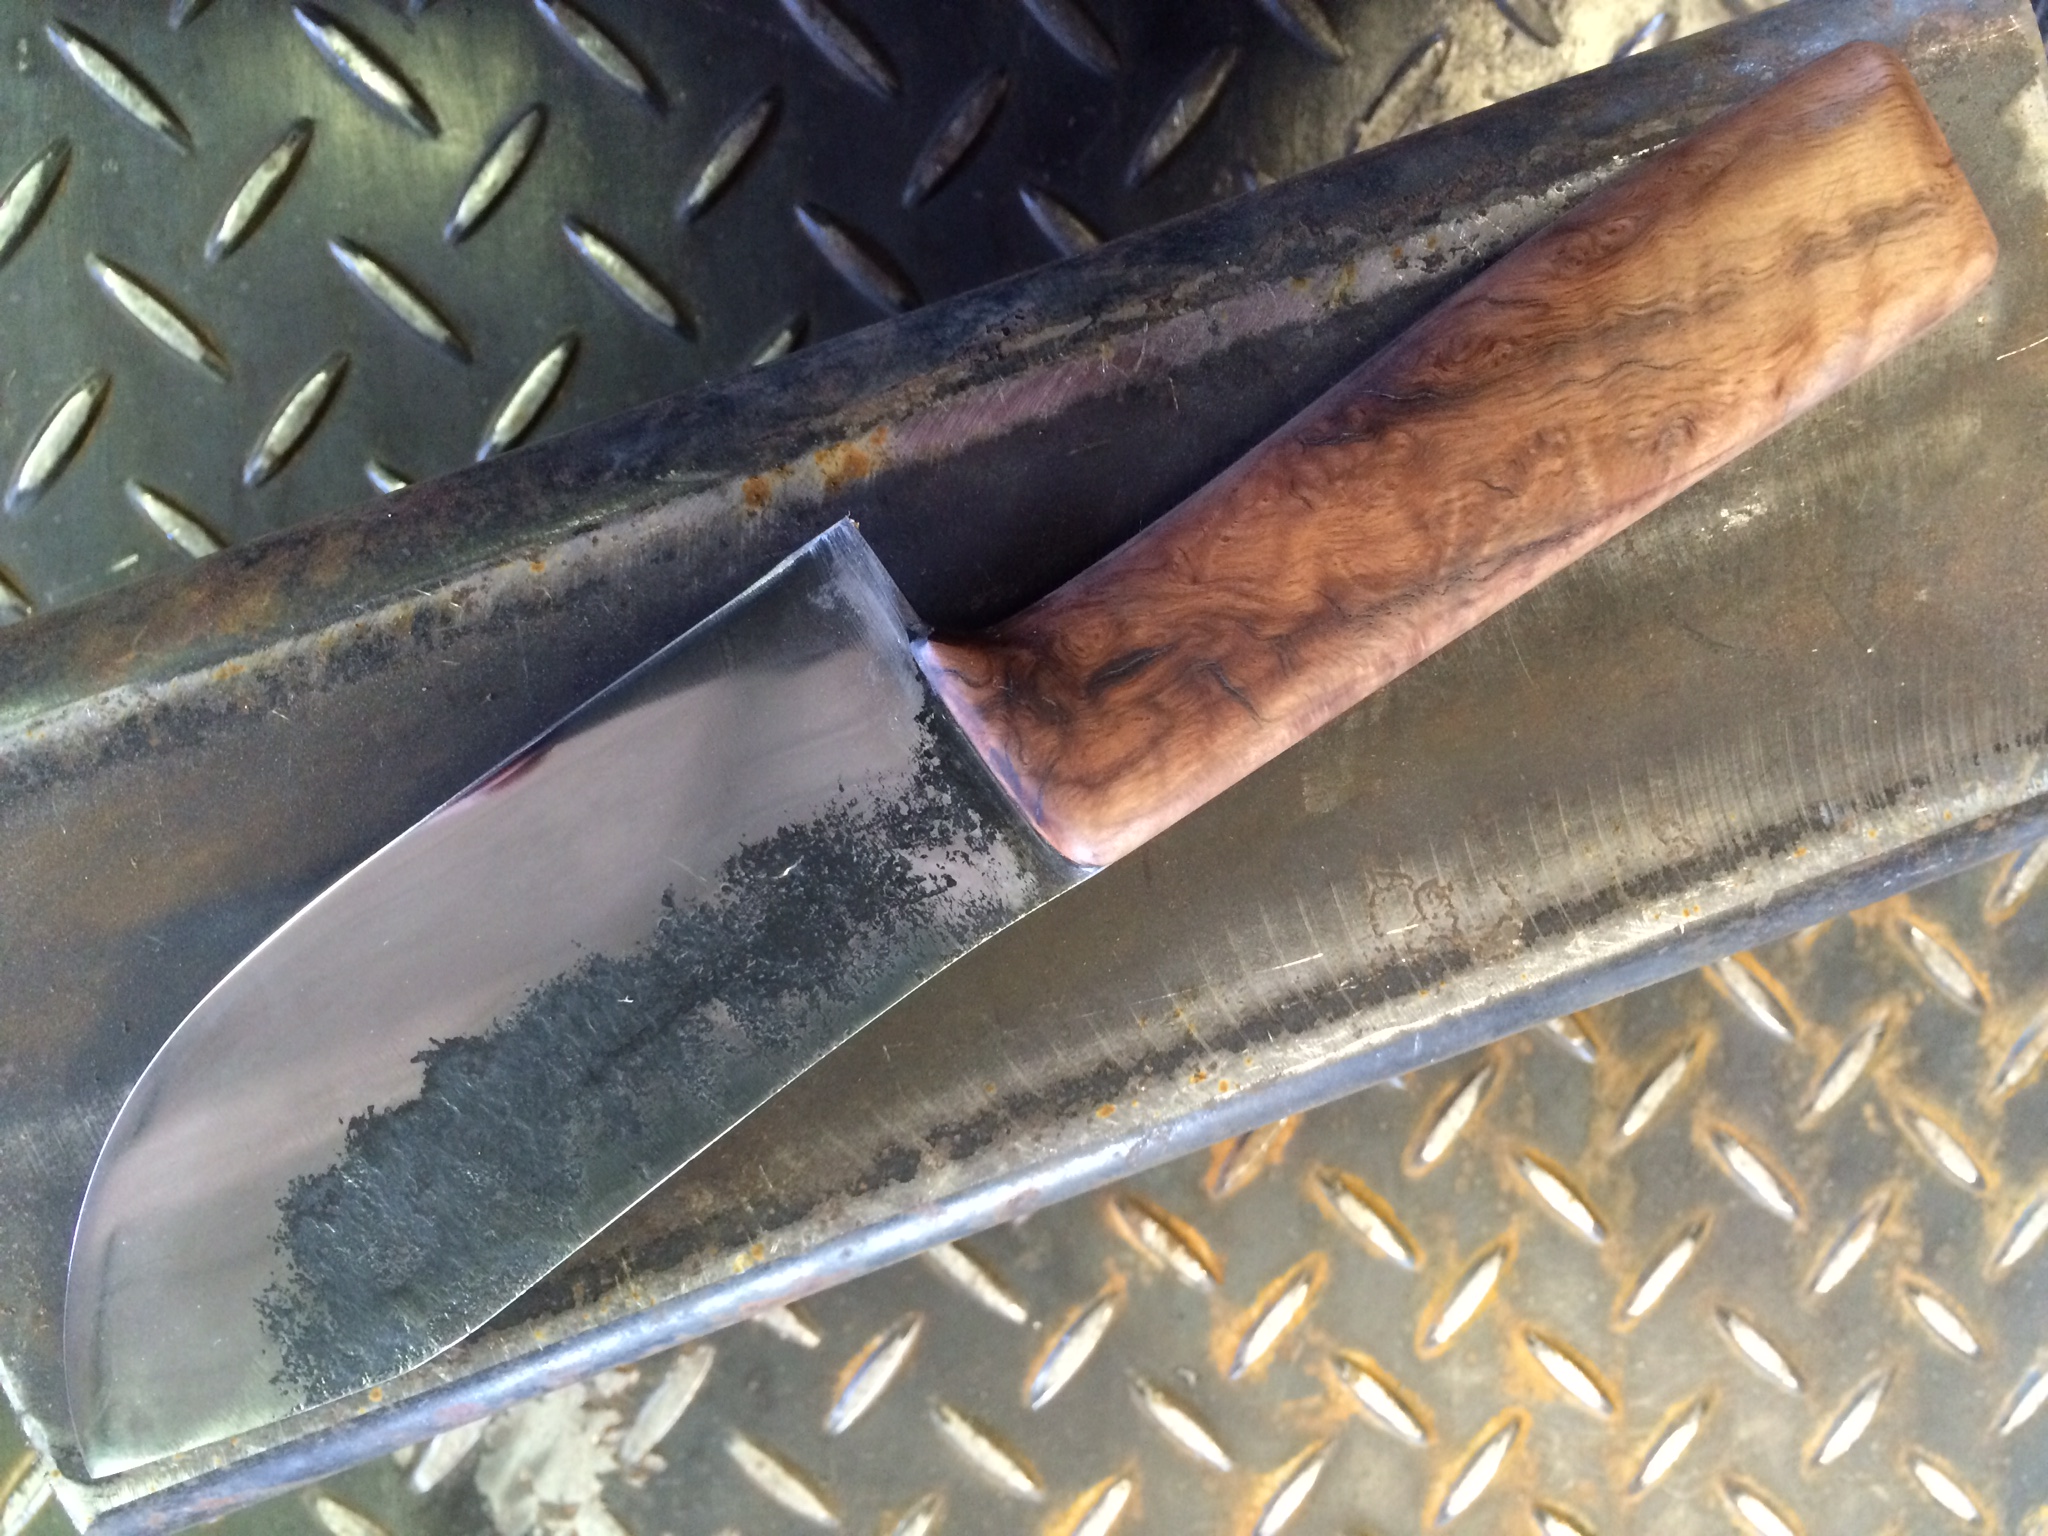
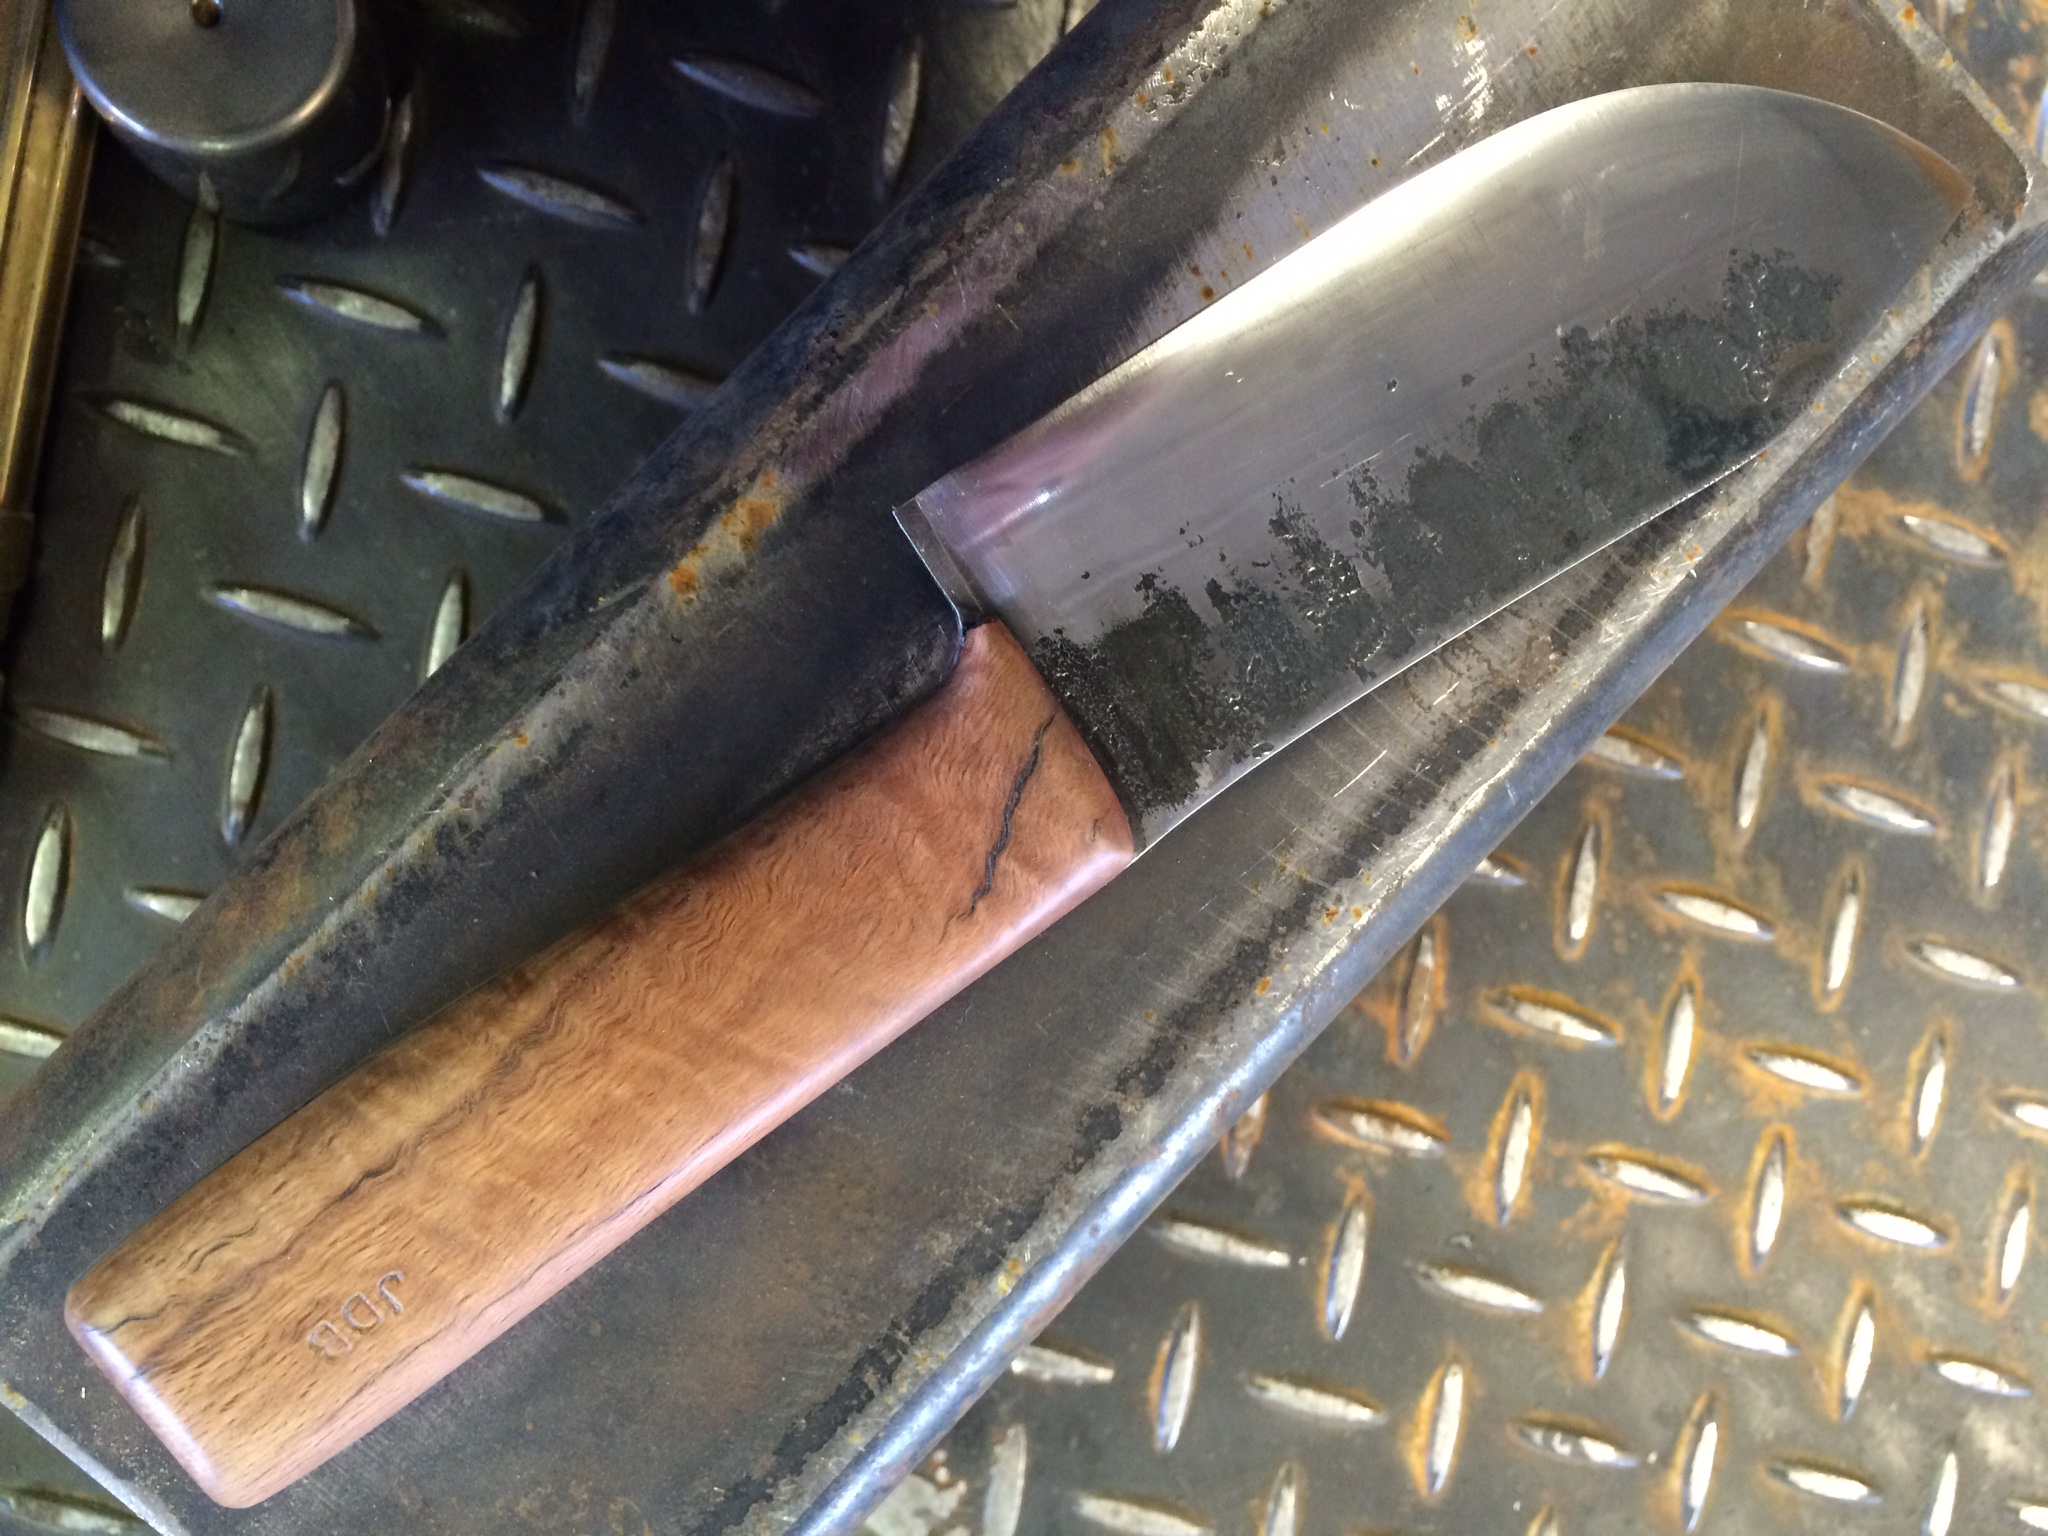
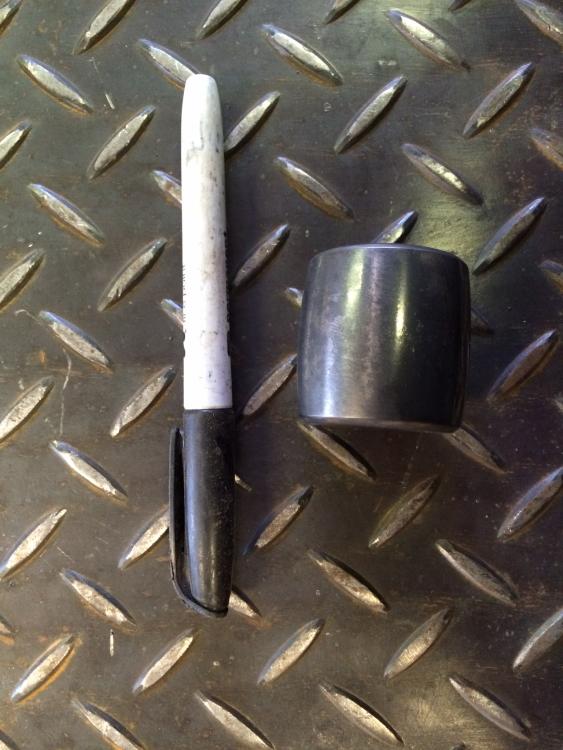
Thank you. Internal pins and epoxy hold it all together. The reason I say 'lucked out' is because I'm new to the process. I have read as much as I could about heat treating but still need to get more of the hands on experience to acquire the feel for it. Thanks for the input, I'll take all I can get! And I'm quite certain what the material is. These rollers came from a very large timken, 11-3/4" O.D., luckily quality steel. A friend gave me 3 of these bearings so I have about 100 rollers to play with as well as the very heavy internal and external races. Should be enough material to keep me learning for some time.
-
This is my first completed effort at a forged blade. I started with a roller from a very large bearing and a chunk of Nevada driftwood (old pallet in the yard). I lucked out on the tempering. I cracked the first one... Takes and keeps an edge very nicely.


-
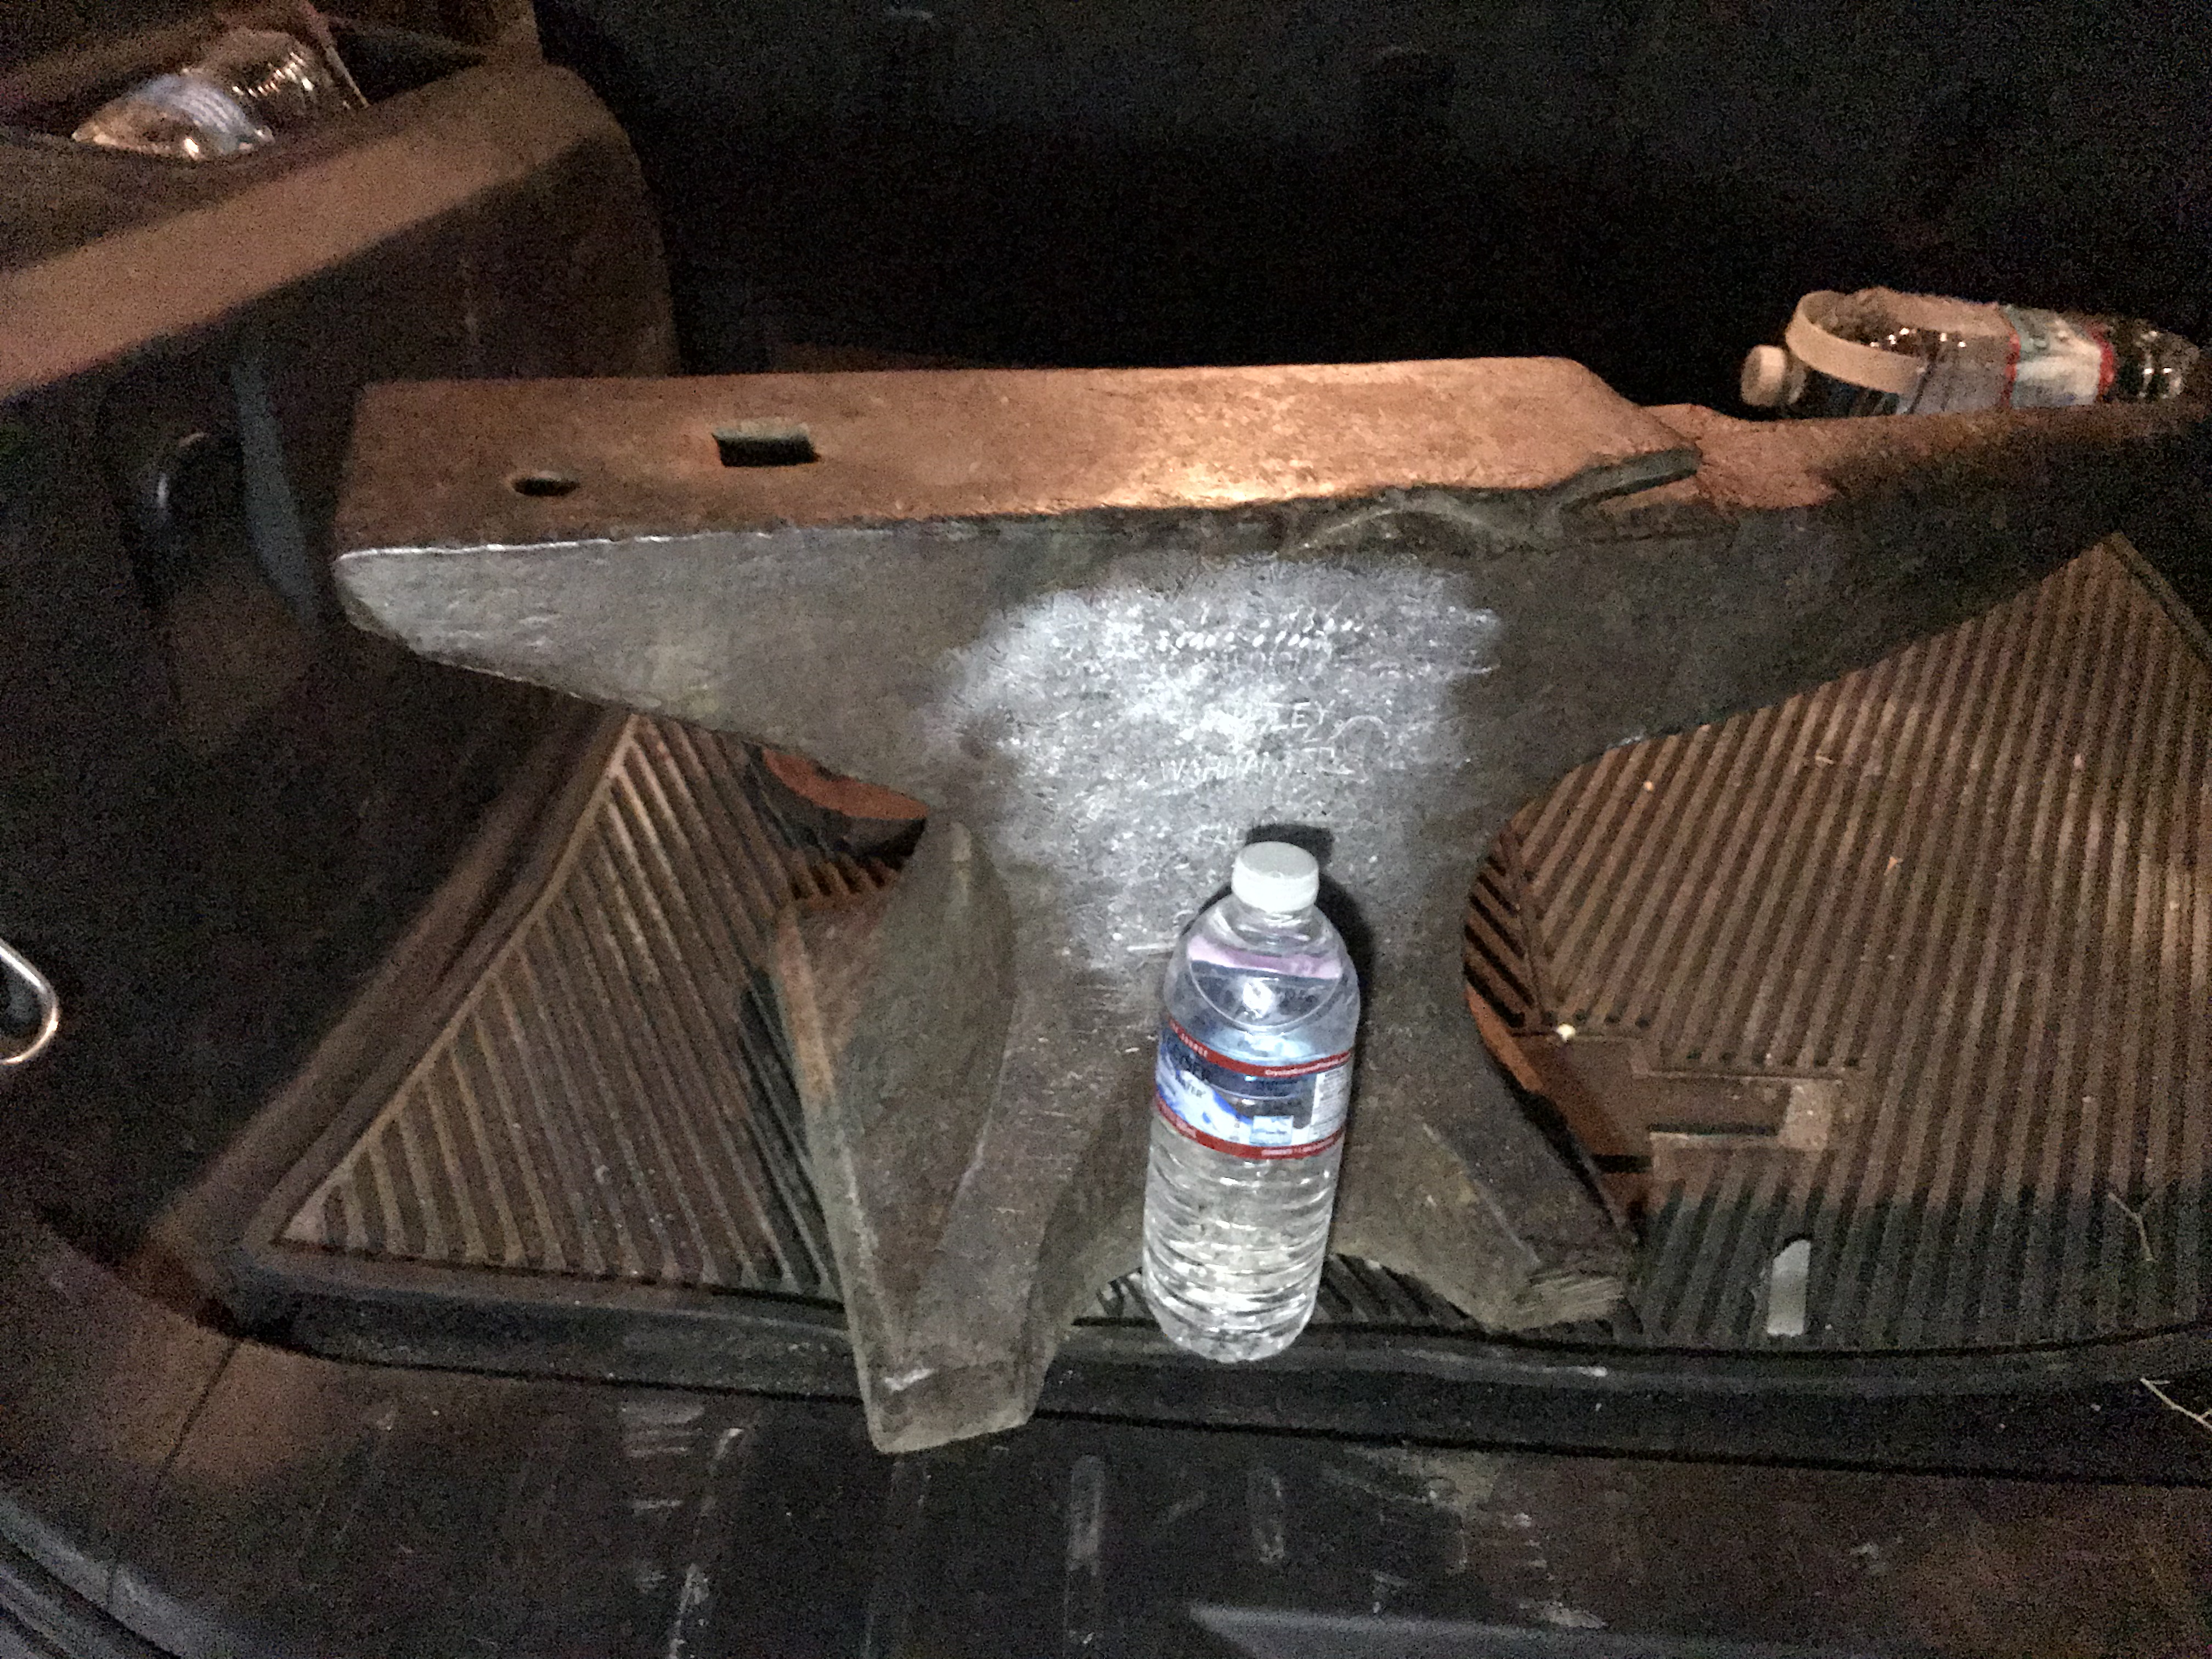
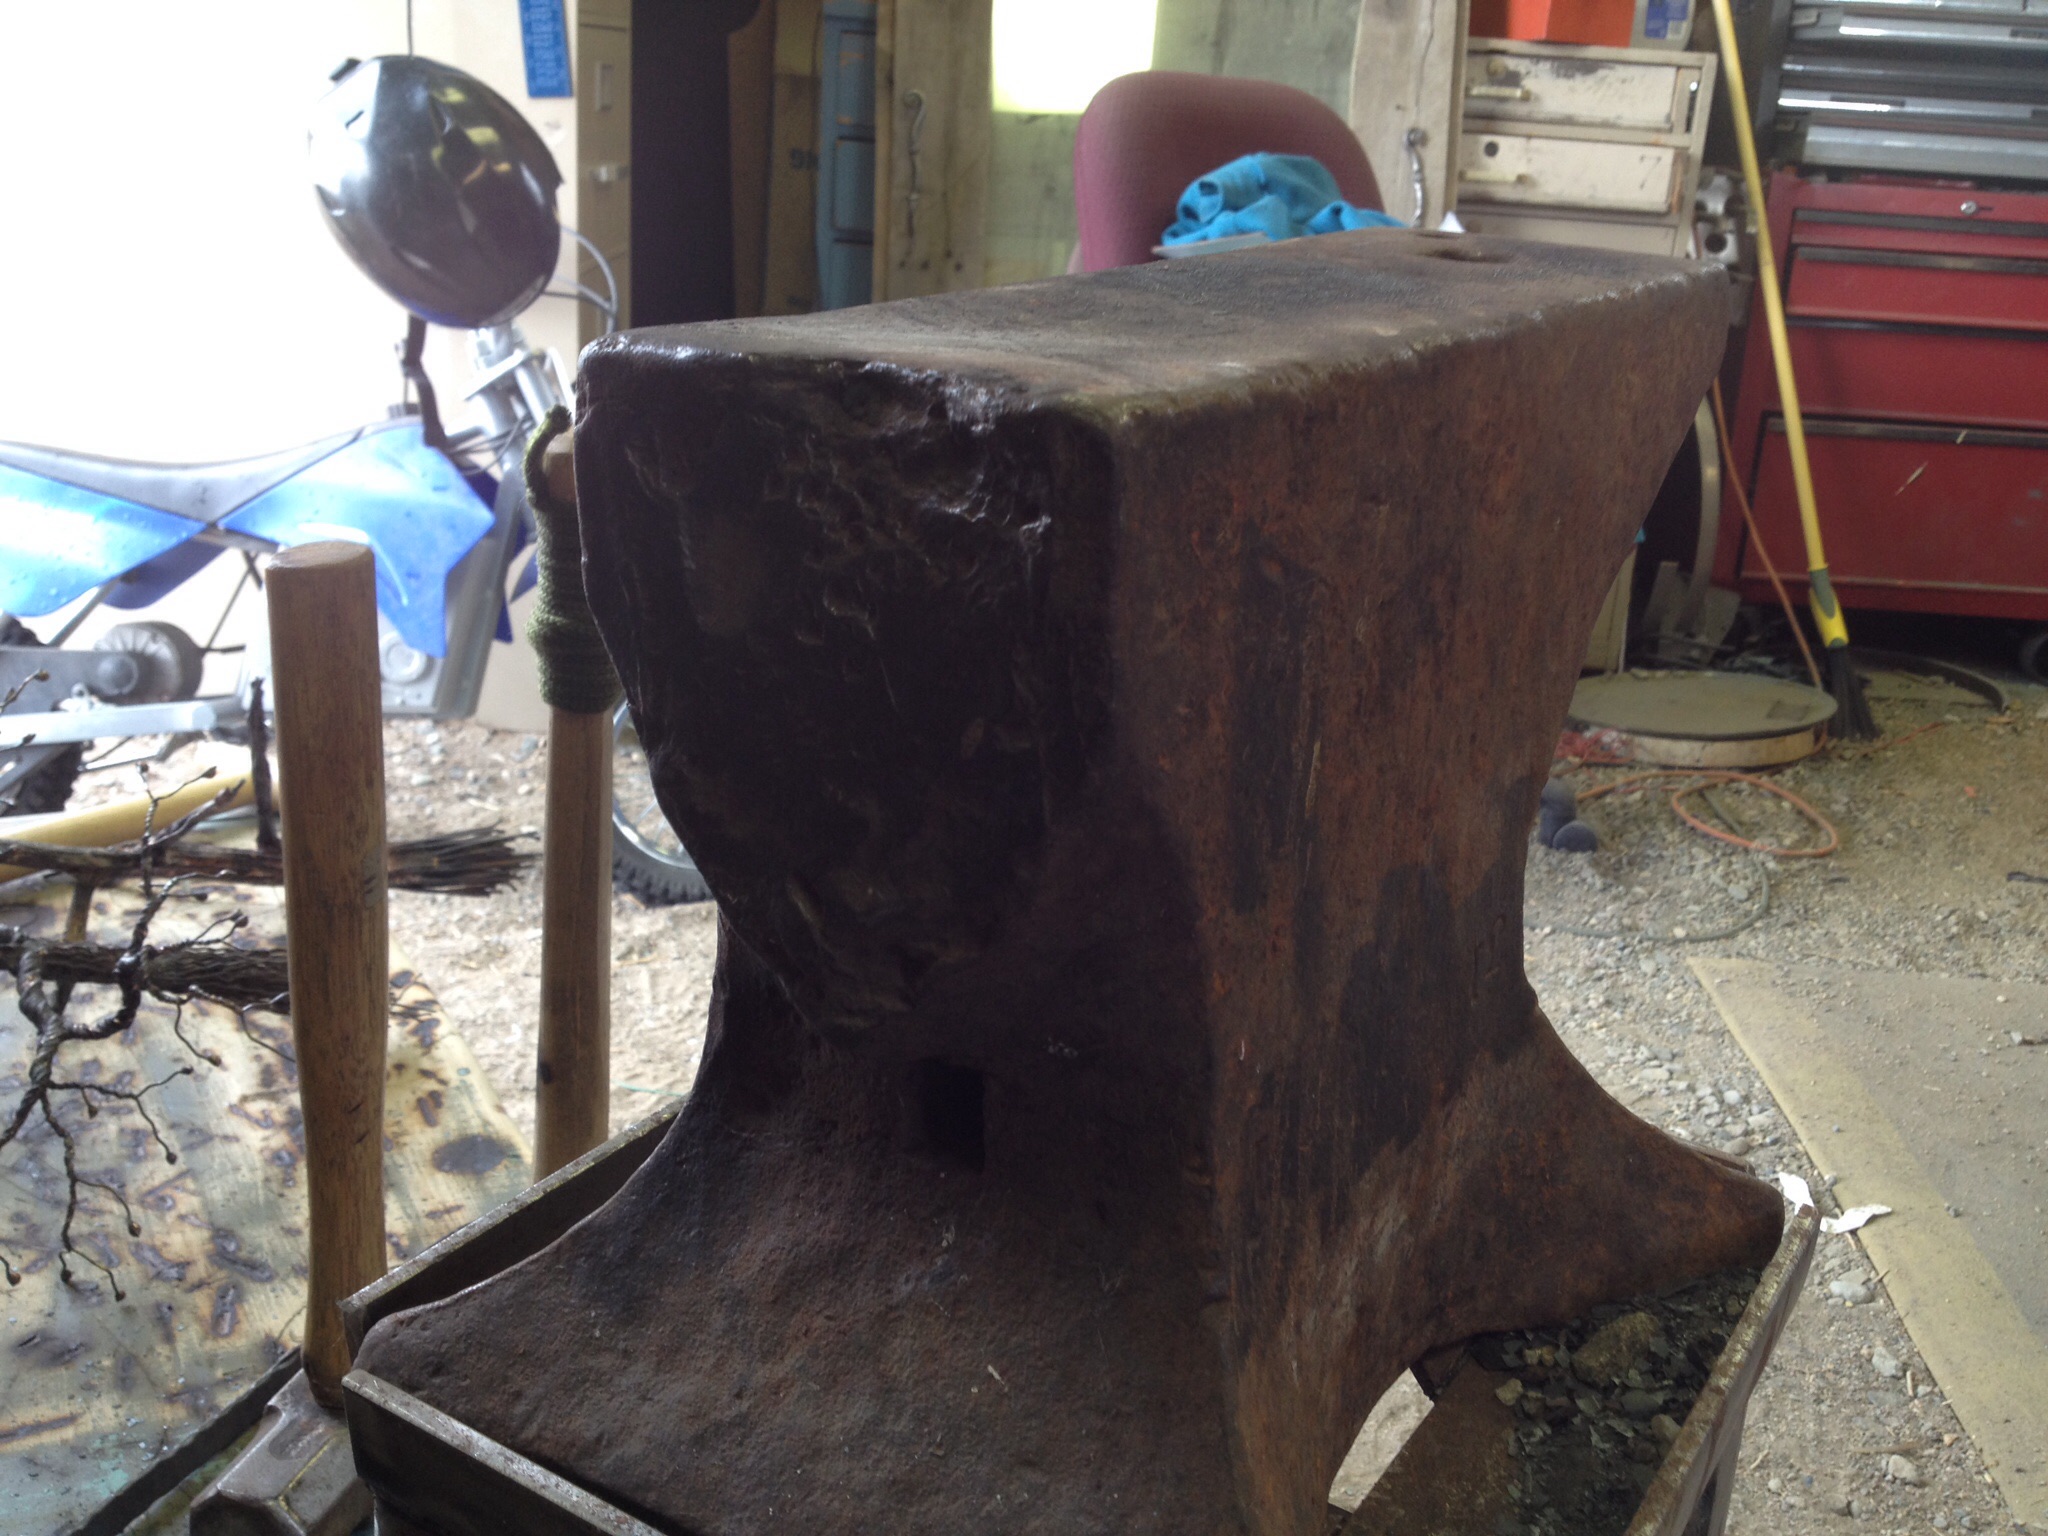
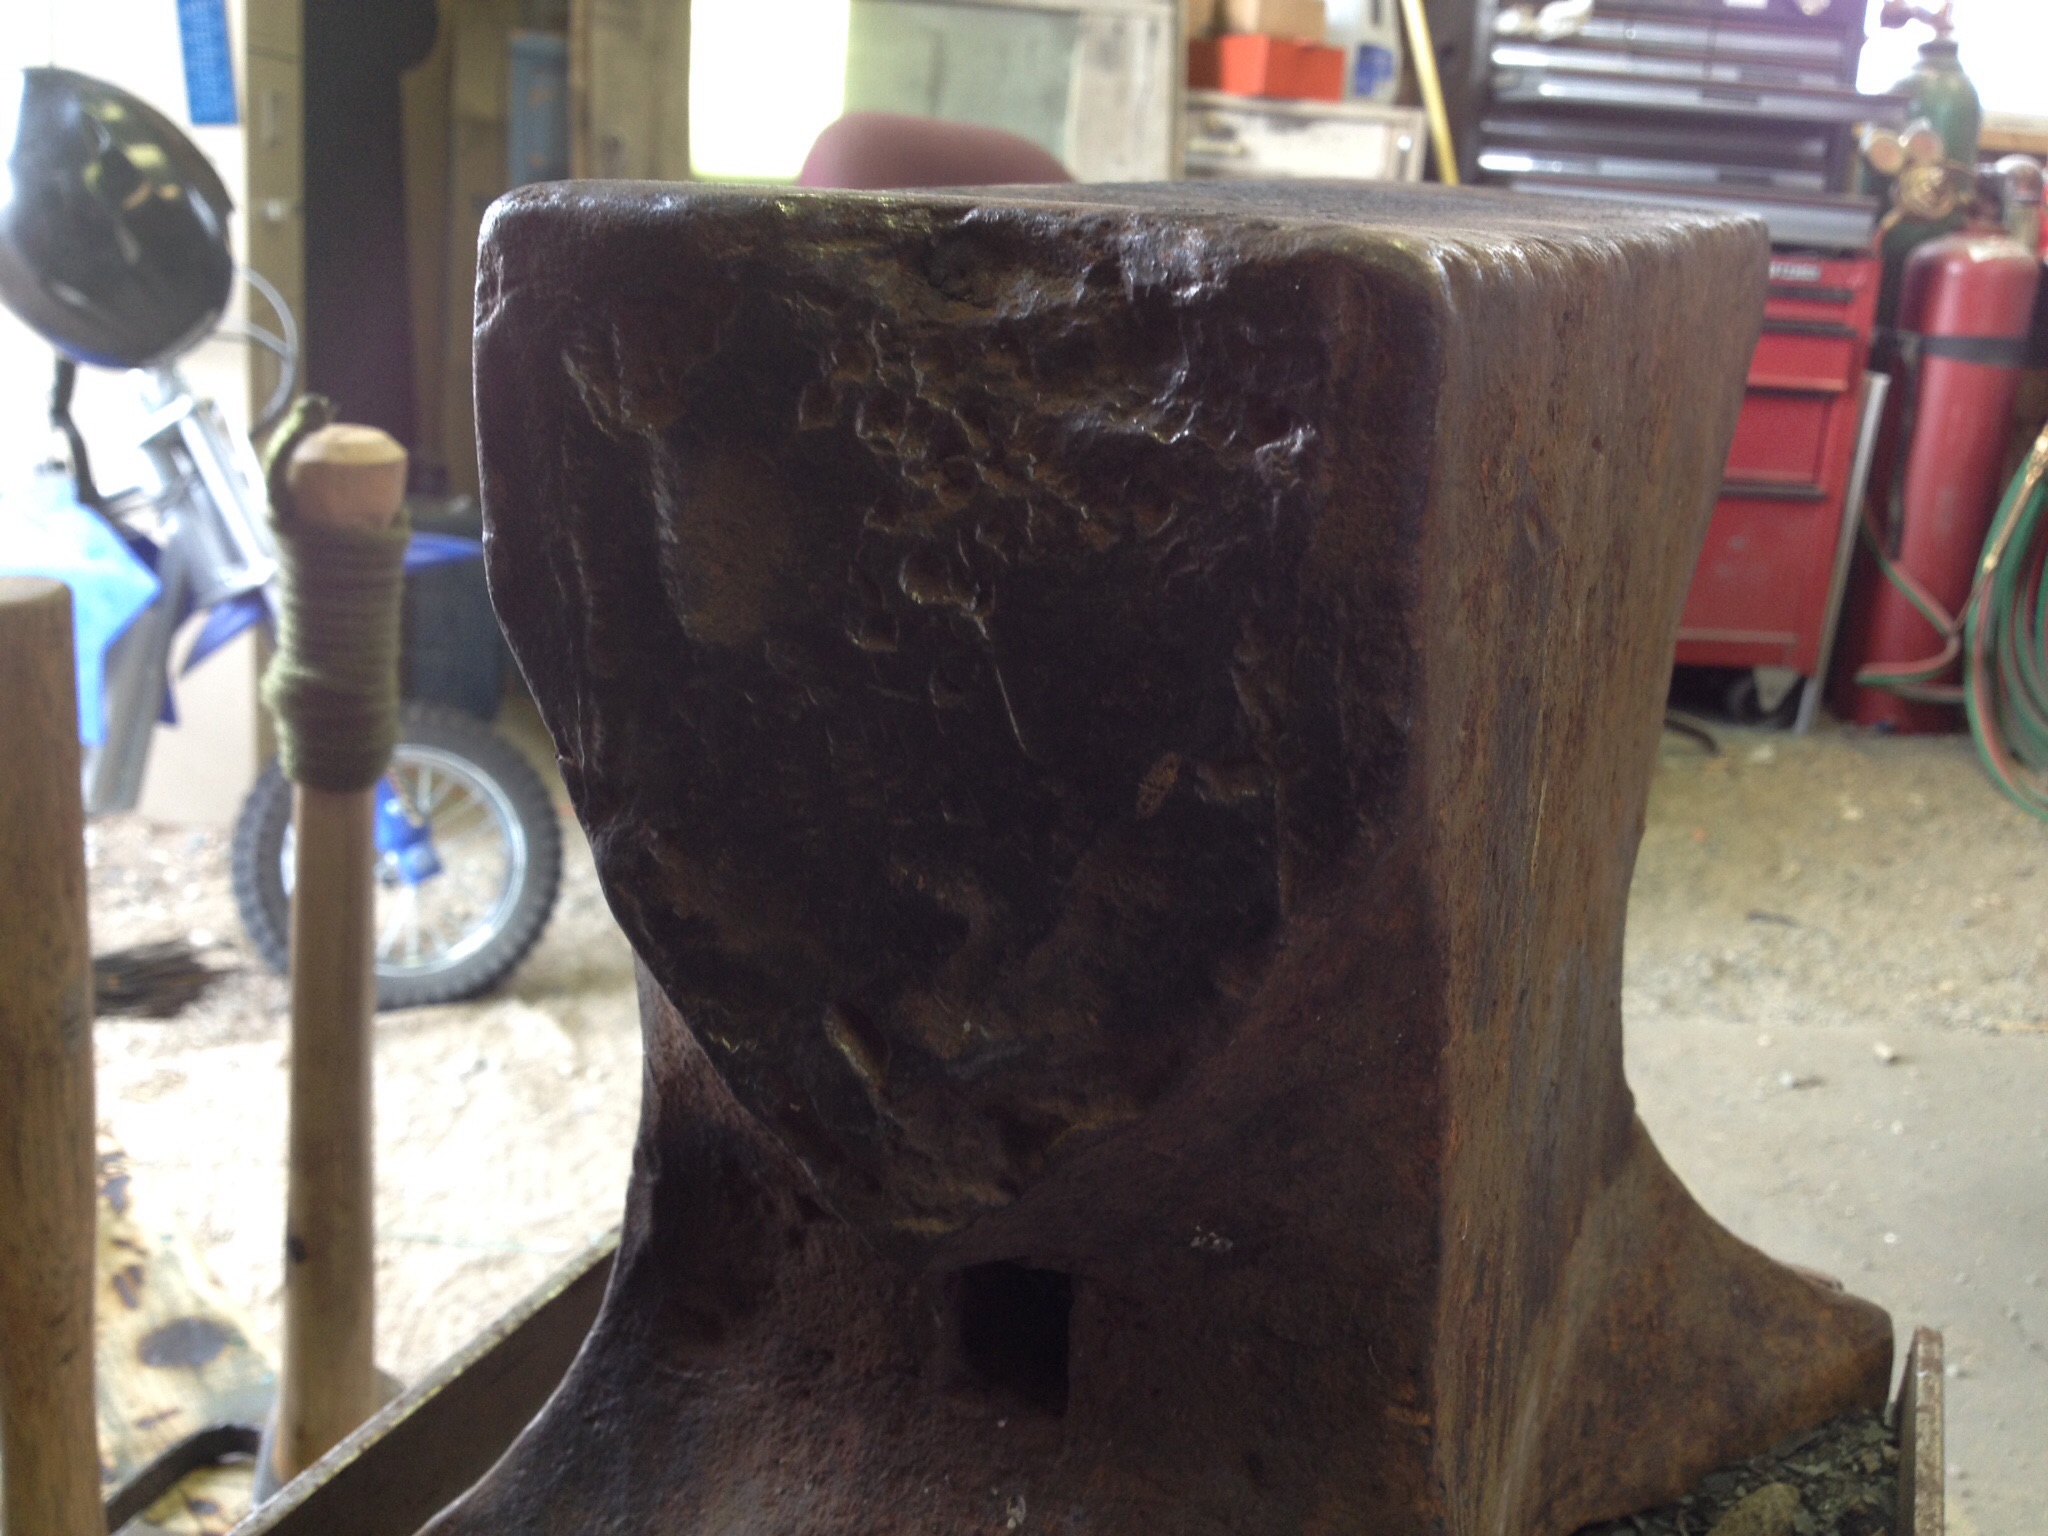
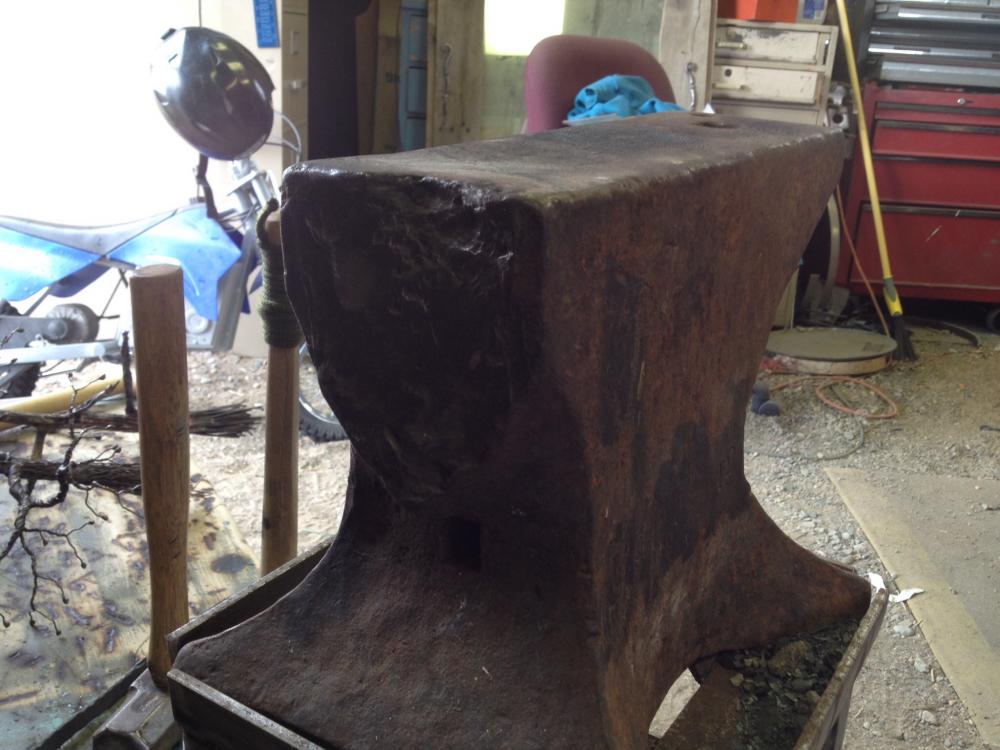
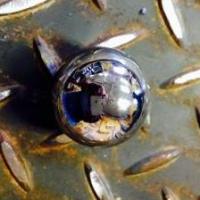
Yep, been using it as is. Just isn't natural for me to leave well enough alone. Always running my brain trying to figure things out or make things better. It's annoying sometimes. But I guess it's all part of who I am. I have found myself needing a cone type thing to pound on lately. So, I figured adding a horn might not be a bad idea. Of course I suppose if I get one turned on a lathe I could just mount it on its own. Like a cone mandrel. I did the ball bearing rebound test on it when I picked it up. Dropped it from 12" and came back up to 11". I like it a lot.
-
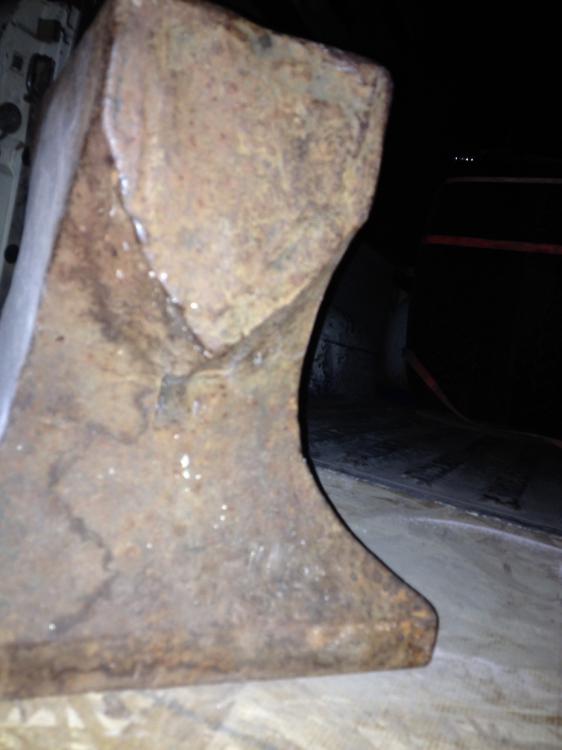
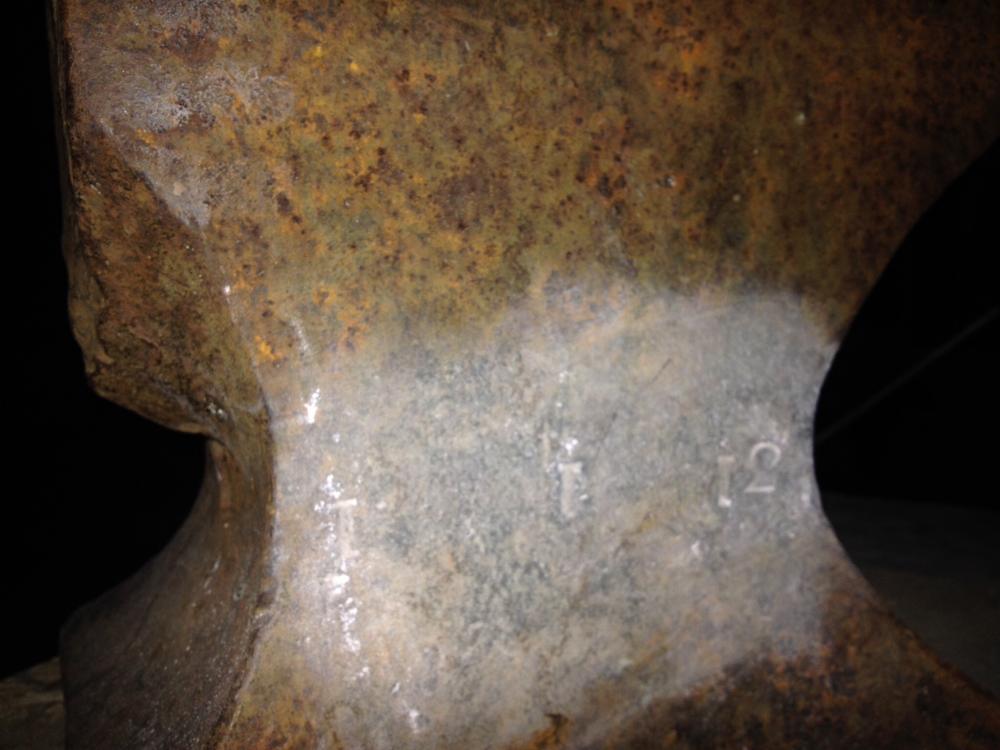
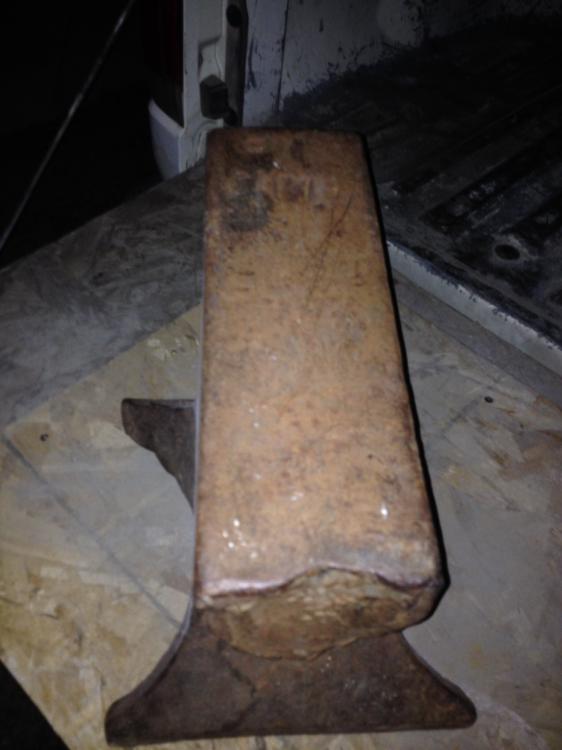
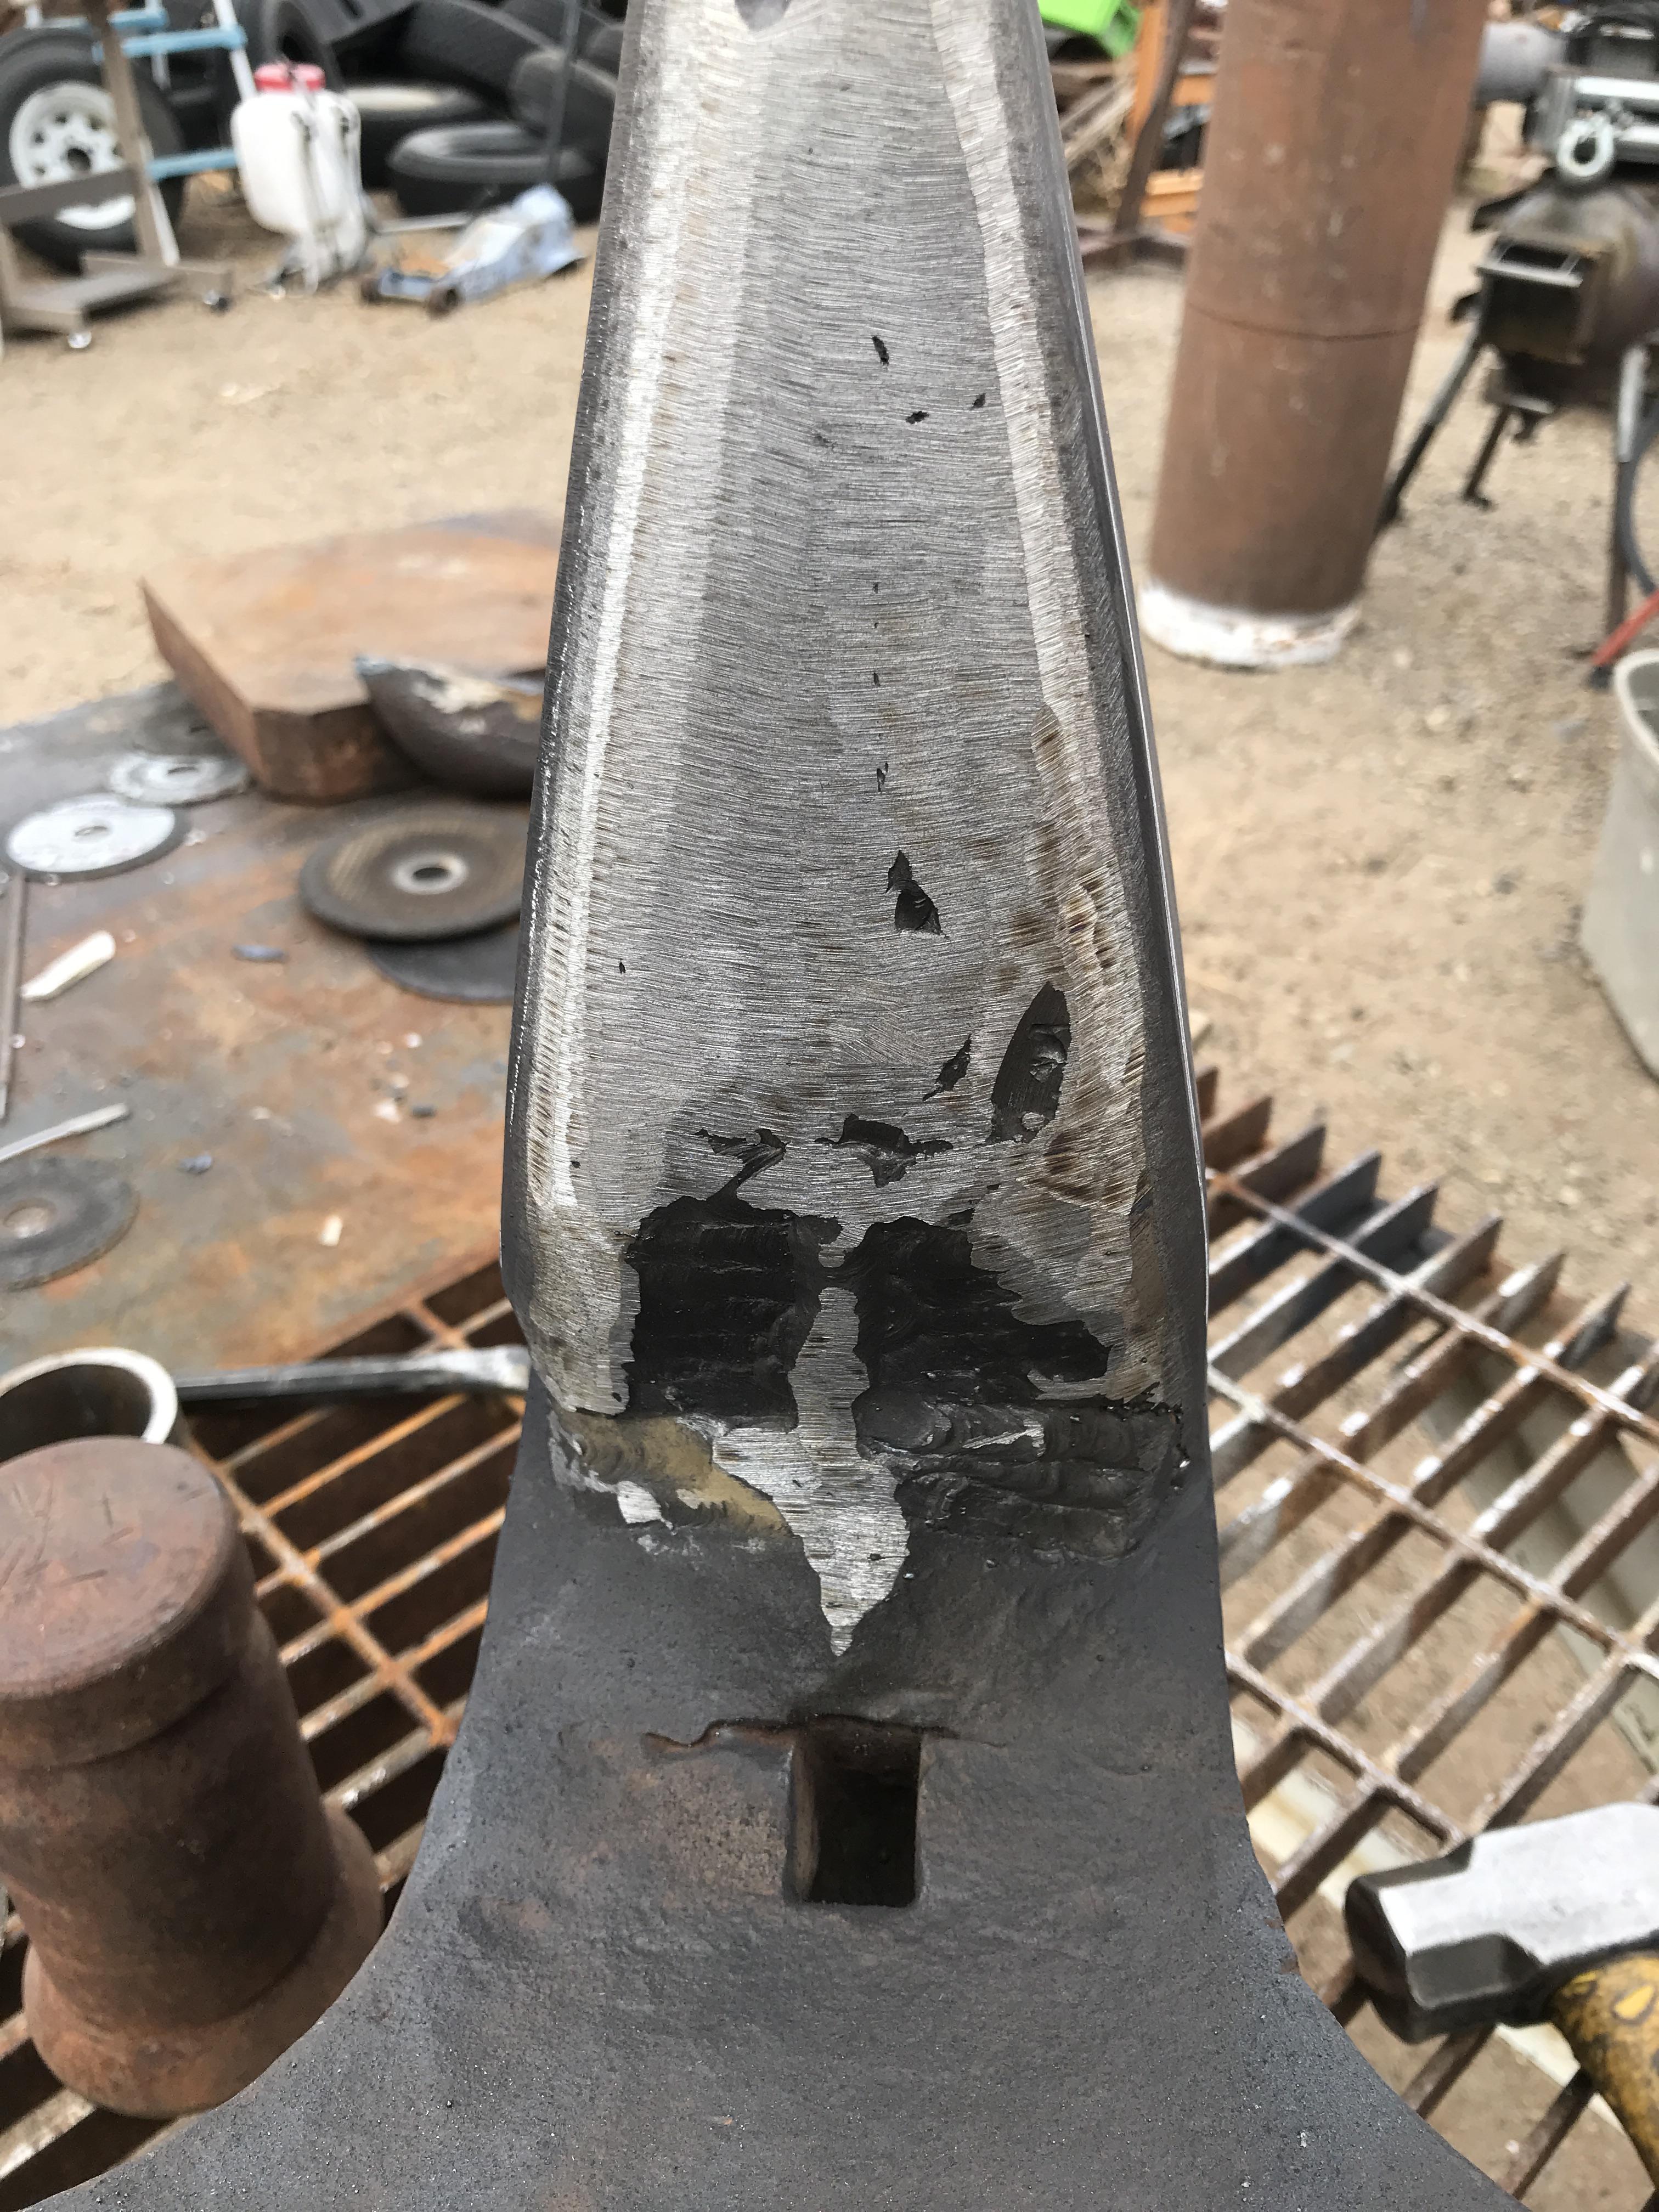
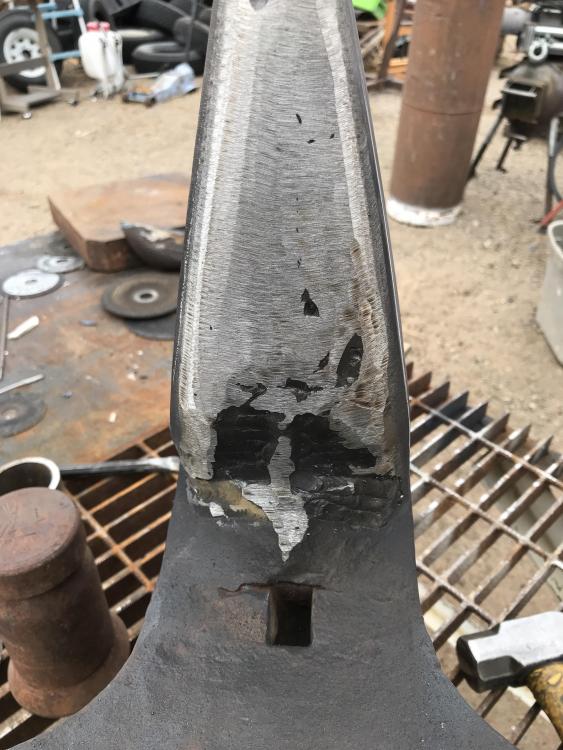
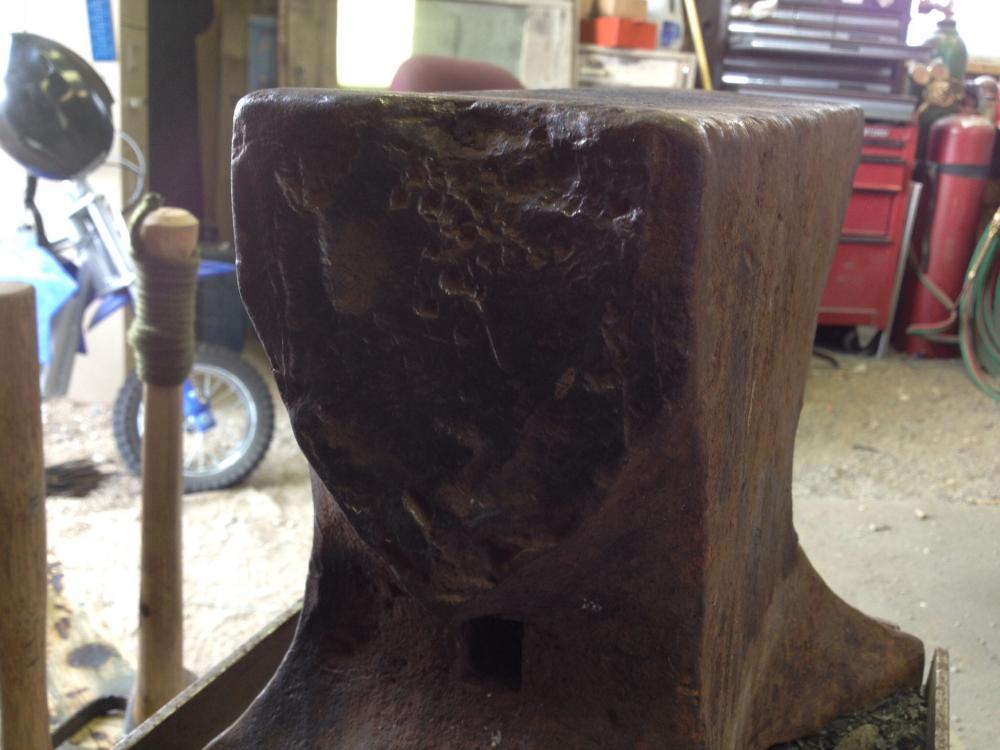
Picked this up for $100. It's an old Hill with excellent rebound. Im just wondering if the horn was broken off or cut off. Maybe someone has knowledge about how these things were put together. I'm thinking that I'll fabricate a new horn and weld it on, eventually....
-
considering a Rhinoplaste (sp)
Branstetter replied to the iron dwarf's topic in Anvils, Swage Blocks, and Mandrels
Looks good to me. I recently picked up an old Hill anvil in a similar condition, no horn. I can't figure out why anyone would cut the horn off but they did. And I got a good deal because of the condition. Anyway, I was thinking of doing pretty much the same thing that you're doing here. This gives me inspiration to give it a shot. Just need to get access to a large lathe.... -
$100 for the remains of an old Hill anvil. 136 lbs on the bathroom scale. Haven't got a chance to look it over real good yet. Tomorrow for sure. Good deal? I think so. That's all that really matters right?