Crazy Ivan
-
Posts
830 -
Joined
-
Last visited
Recent Profile Visitors
6,560 profile views


-
The quest to identify mystery steel
Crazy Ivan replied to Michael Cochran's topic in Blacksmithing, General Discussion
Remember that hardening is not limited to heat, quench, temper. Especially with exotic alloys, things such as stress relieving, cryo cycling, molten salts, marquenching, austempering and even pack quenching are needed. Likely more time consuming than is worth the effort (never mind the equipment ) to figure out on your own. It's not really gonna be easy to figure out what you need to do for a desirable HT here. -
This is really awesome frosty! I'm looking forward to hear more!
-
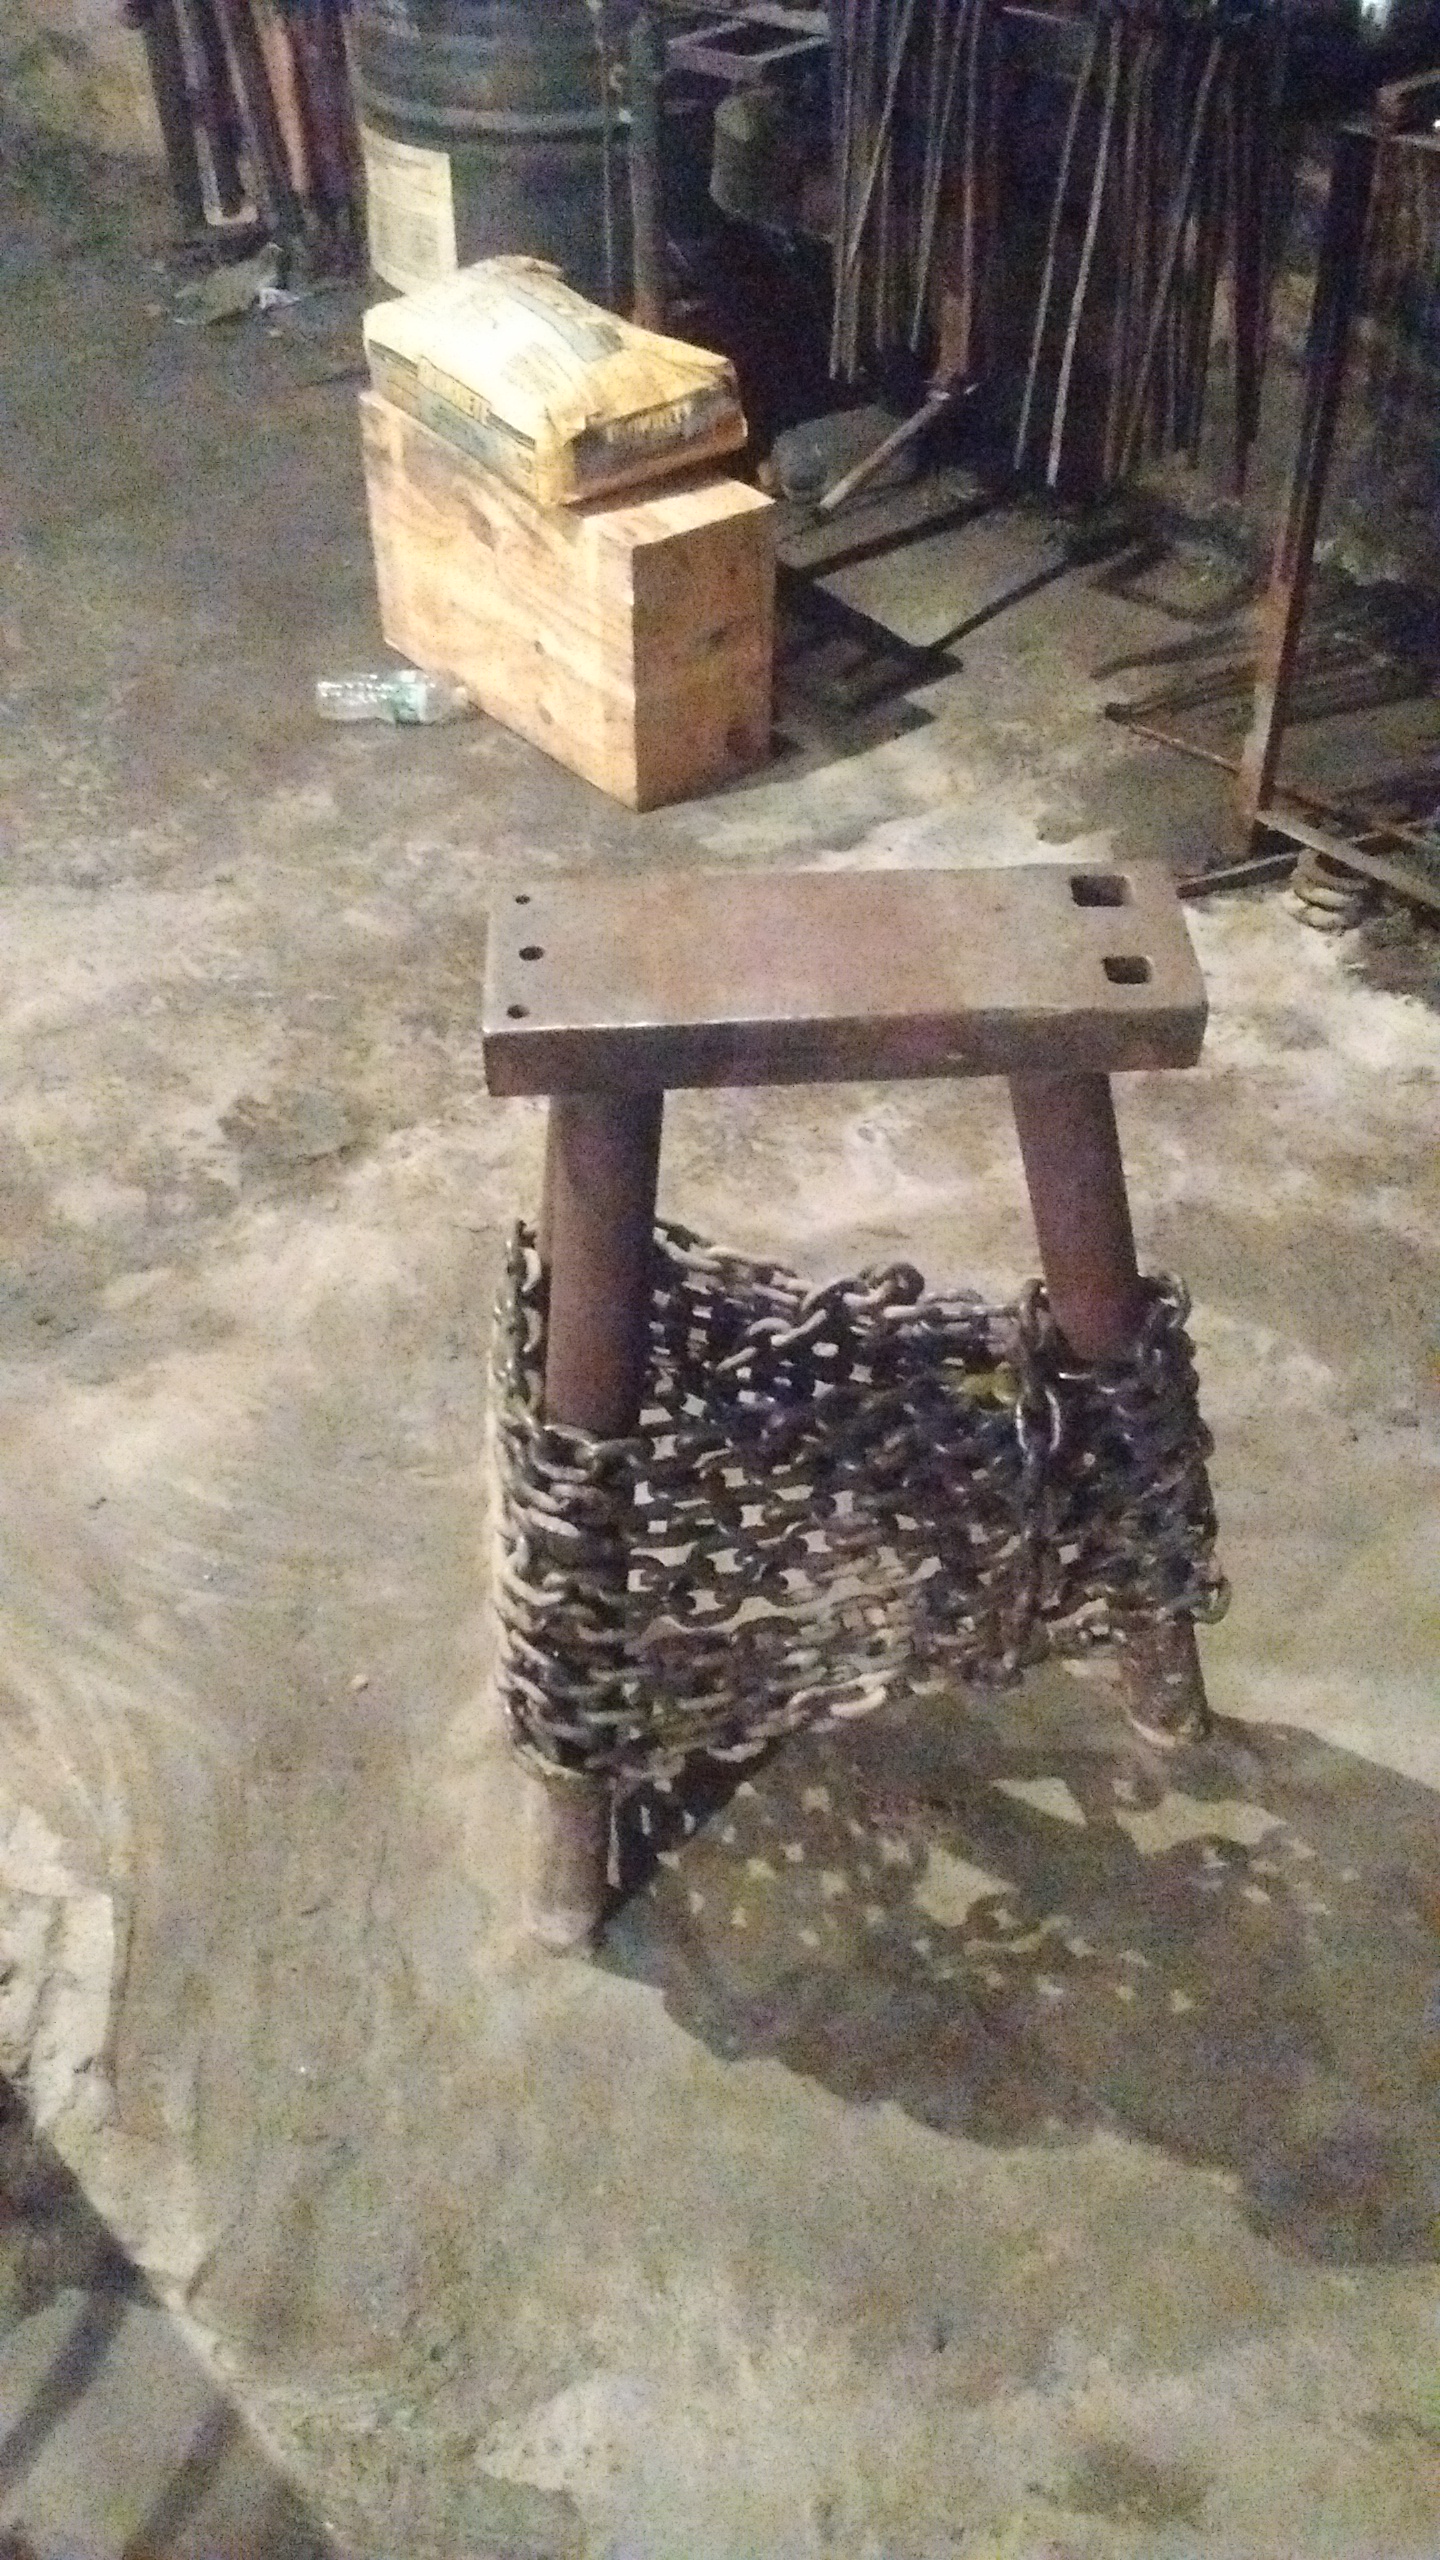
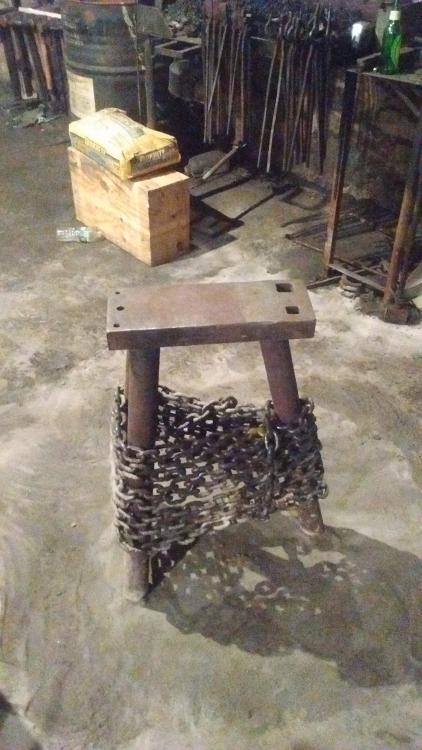
I didn't put anything in the legs of mine. It's quiet without the chain still because it's a part of the floor, but I just like how the chain looks lol. A striking anvil should be secured to the shop floor since they are top heavy by design and will walk around under a heavy hammer. That takes alot of the vibration out of the legs which is what produces the ringing sounds.
-
Just weld the legs to it. My striking anvil is made from S7 and the legs are plain ol mild steel. Not a weld for a beginner to attempt with the alloys I used,but you never specified what your striking anvil alloy is.
-
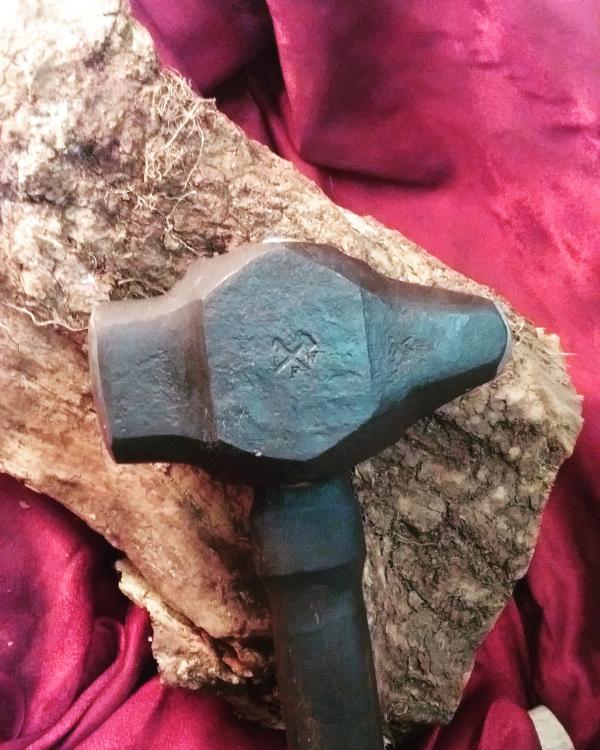
Good hammer geometry can make it feel like that. That's why I make my own.
-
I use my 6 lber and my 3.5 lber the most. That and my 10 and 14. All of them are used daily. I can only find a pic of my 6 lber right now though. Made by me.
-
Sad news here. He definitely became a friend in the short time we knew each other. A vast wealth of knowledge and definitely a kind soul. He will be missed. I rang my anvil for him this morning next to a fresh fire. RIP brother.
-
Also curious for the same reasons.
-
Vibration damage to arm over time
Crazy Ivan replied to blackleafforge's topic in Safety discussions
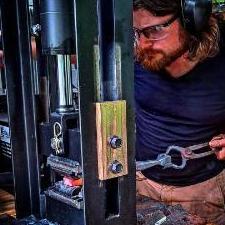
that handle gives you 4 different grip points. The bulge on the end locks your hand at the end of the handle (with a loose grip), the bulge in the center is either a forward hand gauge (to feel where your hand is mid swing when changing hold) and also as an intermediate forging point where I put my pointer finger over it (which also encourages and benefits a loose but secure grip), and lastly above the bulge is an excellent placement for planishing blows and the bulge acts as I've already mentioned. Make sense? -
Vibration damage to arm over time
Crazy Ivan replied to blackleafforge's topic in Safety discussions
Aside from what has been said, loose grip is a must. Add good hammer form (wrist, shoulder, elbow working together with your elbow tucked in to your side) and you should be okay. I designed my handles to encourage a loose grip while still maintaining a solid hold on your hammer. Pictures: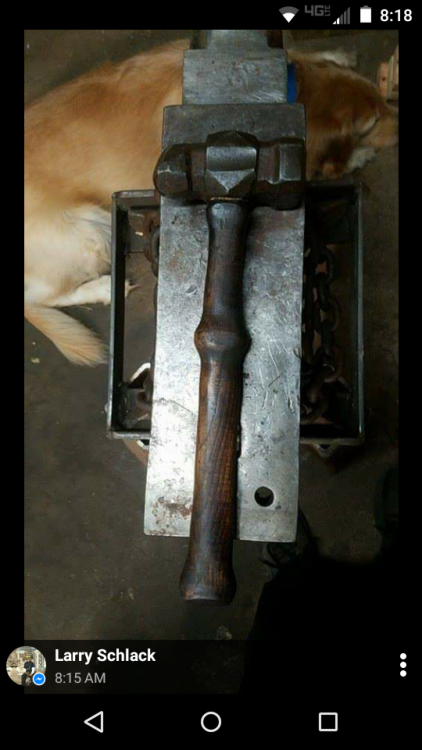
-
I didn't actually help so much as shouting advise to you occasionally. You made this on you're own. Turned out great! Good work. The next 100 will be even easier
-
That will do you just fine. If you ever feel the need for a larger striking anvil, machine shops are your friend. My striking anvil is made from a 2"x6"x16" long drop of S7. Mild steel will do just fine for a striking anvil however. I just like to use the best alloys available to me. Mine also has a 500+lb slab poured around it to add to stability. The threaded anchors couldn't take my previous abuse. I put a 1" and a 1 1/2" hardy hole on one end and 3/8",1/2", and 5/8" pritchel holes on the other end. Let's see that hammer when you're done!

-
Have come upon some bigger 4140 what to do
Crazy Ivan replied to matto's topic in Blacksmithing, General Discussion
If you're feeling like shipping any, I'll buy some 3" or 3.5" from ya That 5 3/4" would make a mighty fine block anvil. Power hammer dies are always an option. That's all I've got off the top of my head though. -
I'm planning on being there. I've been too busy to get anything together to table with but I plan on raiding all the tailgates until the truck is filled to capacity. Look for the 6'-2" "biker looking person" with face tattoos. I shouldn't be too hard to spot. I'm nicer than I look. Say hello!
-
Brazil style hammer eye punch?
Crazy Ivan replied to will52100's topic in Slitters, Punches, Drifts, etc
I use 4140 for most of my top tools, eye punch included. I also use H13 for eye punches. When your punch cracked on you, I'm betting it split at the eye and down the length of the tool? I've had this happen to me once before on a 2"x2" piece. My guess is that I had too many heats into the piece which caused excessive grain growth, causing the crack while forging. I normalize between each step now and haven't had it happen again. Maybe it was just a fluke since it only happened once out of hundreds of tools and hammers from the same heat# but it still made me change my process, just in case. As to heat treating eye punches, I use them as normalized 5x. that's all.