duckcreekforge
-
Posts
92 -
Joined
-
Last visited


-
Small wrought iron steel faced hammer.
duckcreekforge replied to Benona blacksmith's topic in Hand Hammers
It does have a very nice pattern to it. I like it! -
I think so, also another thing I’ve never done before. Can you suggest an acid for a beginner. All I’m familiar with is muriatic acid. It crosses my mind that there is probably information in one of these forums that I could easily look up. I also thought about cold gun bluing one or two of them. It’s been good to stretch my abilities a little. I should do some file work on them before etching.
-
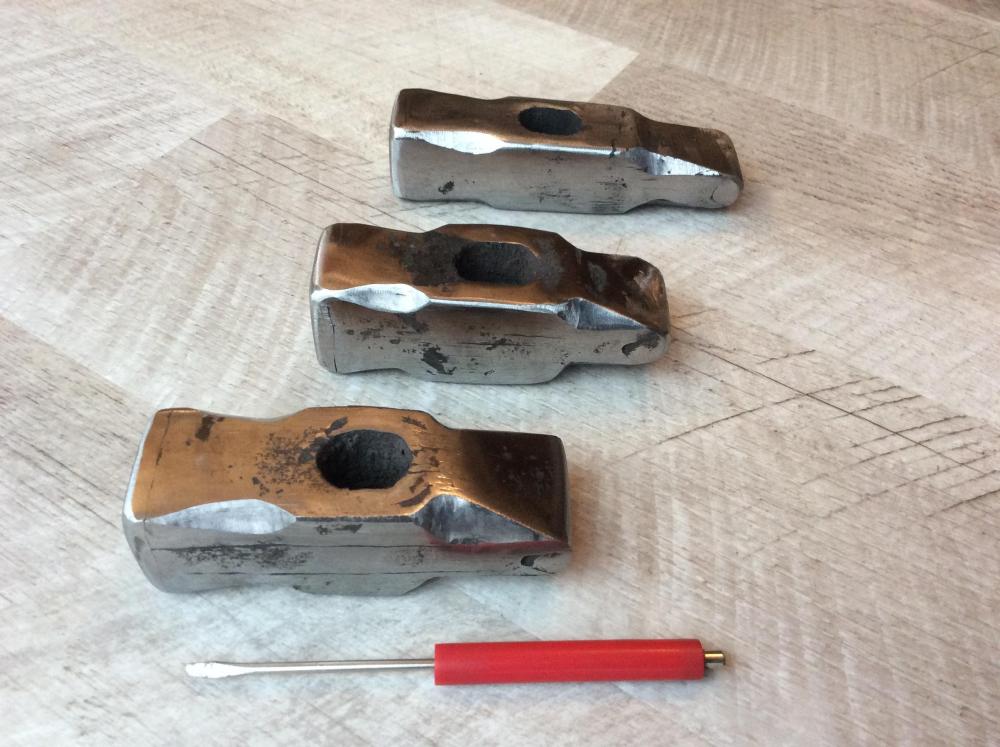
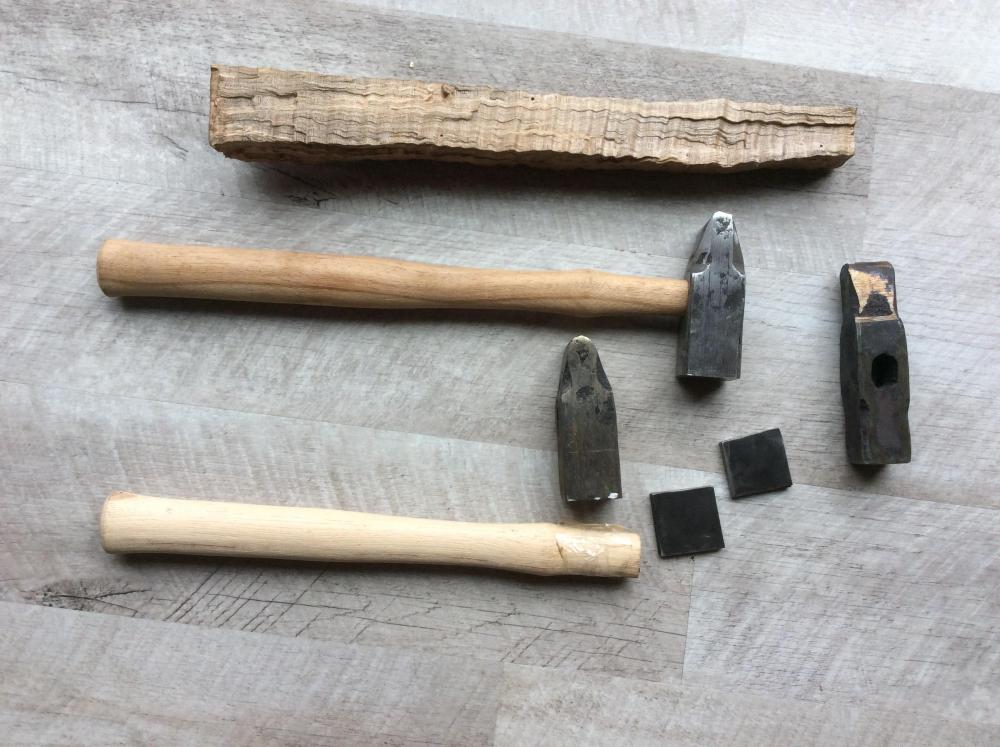
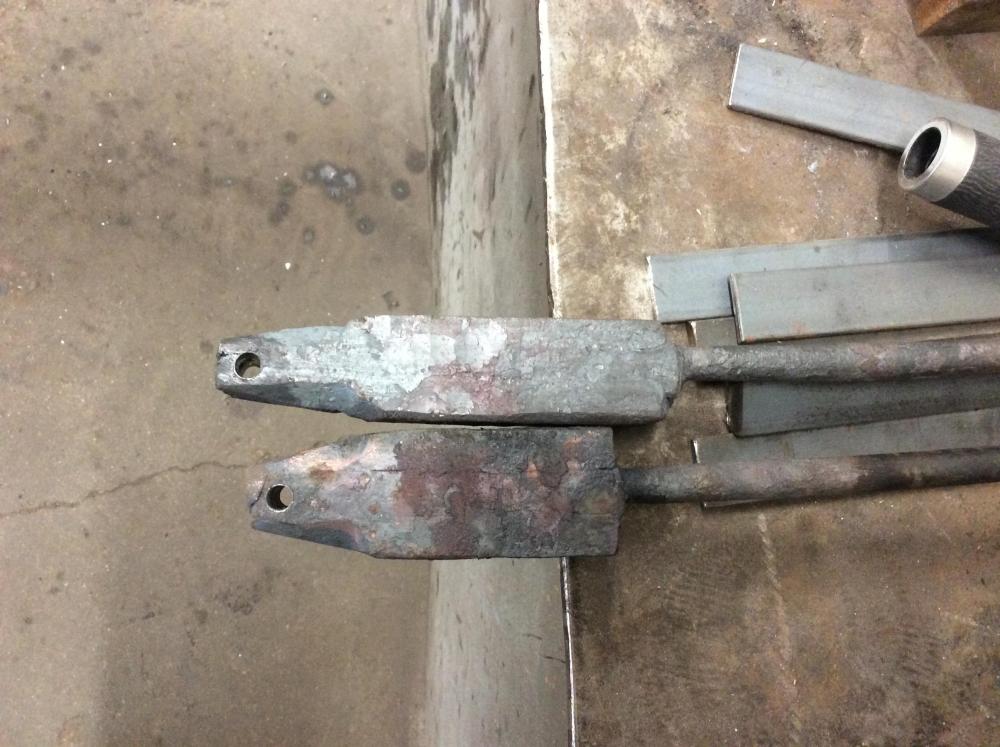
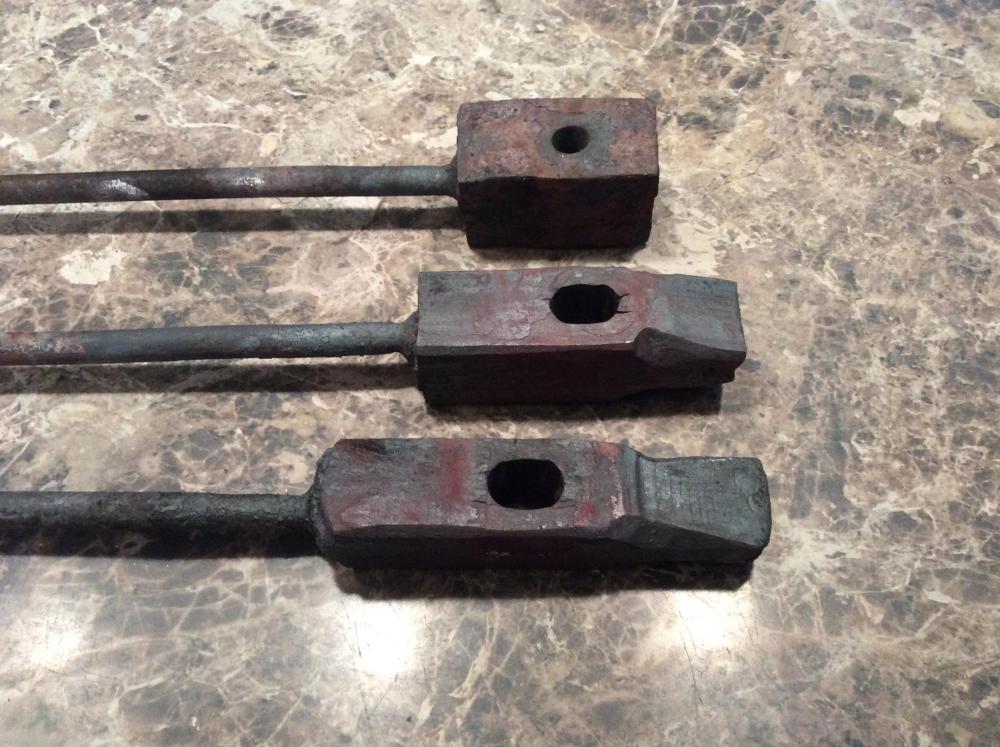
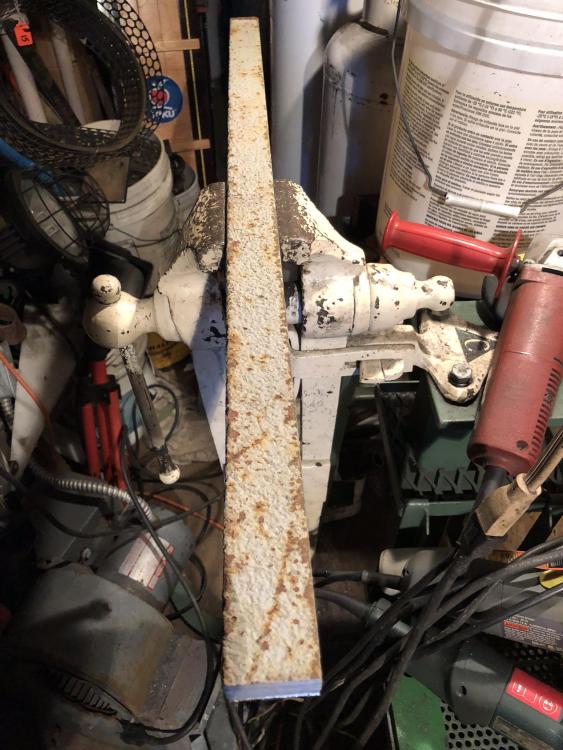
I was able to weld on the last two faces. I straightened the skinny one, hardened, and tempered it. I still have to harden and temper the last two. I ground the corner reliefs on and generally shined them up. The quilted maple handle had nearly too many beetle holes in it to use. They may all end up with regular handles.
-
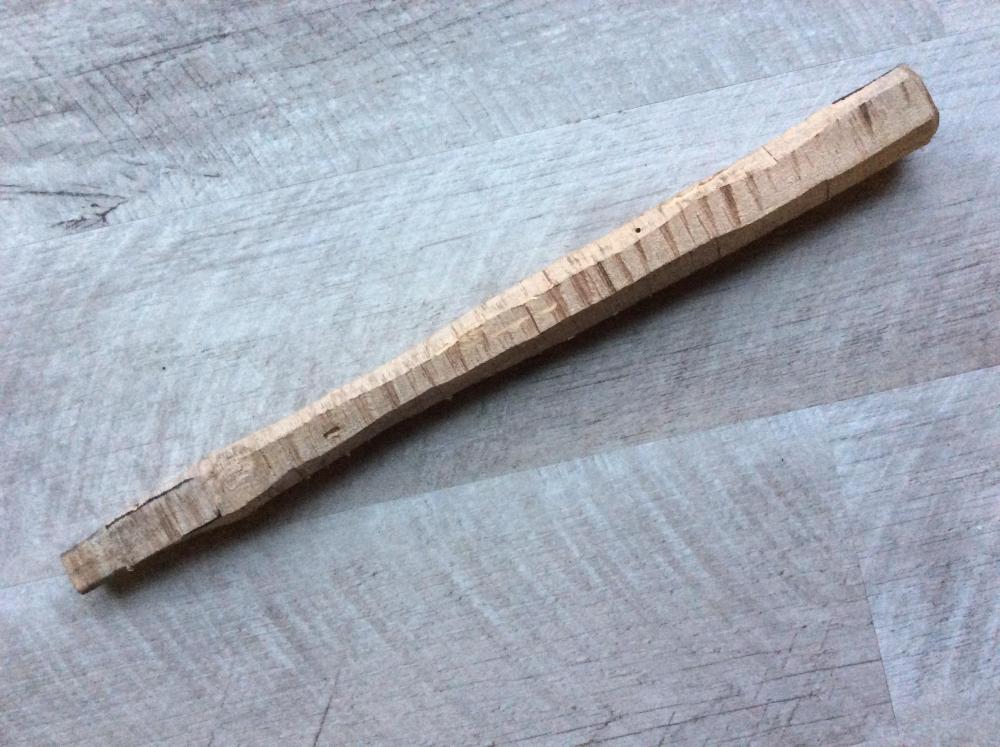
Dave, that’d be a lot of work to give away a second 5 piece hammerhead and handle. The first one is for Ted and the Rocky Forge group. He asked, I said I would. That’s where we are. You can look, but I don’t think you’ll find one in the iron in the hat. No, I didn’t get any hickory pieces that I remember. Here’s what the other Dave’s quilted maple firewood looks like ripped almost to size.
-
Latticino, it looks like sound advice. I was warned to expect some splitting or a little tearing with the wrought iron. I guess I was lucky to have almost none. I put punching the handle hole earlier in the sequence, because I have not always been good at that. With it earlier in the sequence, I could abandon the piece without so much labor invested. Ok, now I have cut them loose from their metal handles. I have two faces to weld on. The first forge welded face was a new lawnmower blade that was .203 thick. I needed the weight, so I found a heavier, .250 thick, blade to cut the next two faces from. Handles; I obtained a piece of quilted maple from a blacksmith meeting in the “”iron in the hat”. I suppose I will make the handle for the fund raising hammer from that. My two hammers, of the three, will get a standard handle. Unfortunately I only have one piece of the quilted maple. I could buy something fancy from the woodworking supply. We’ll see what happens.
-
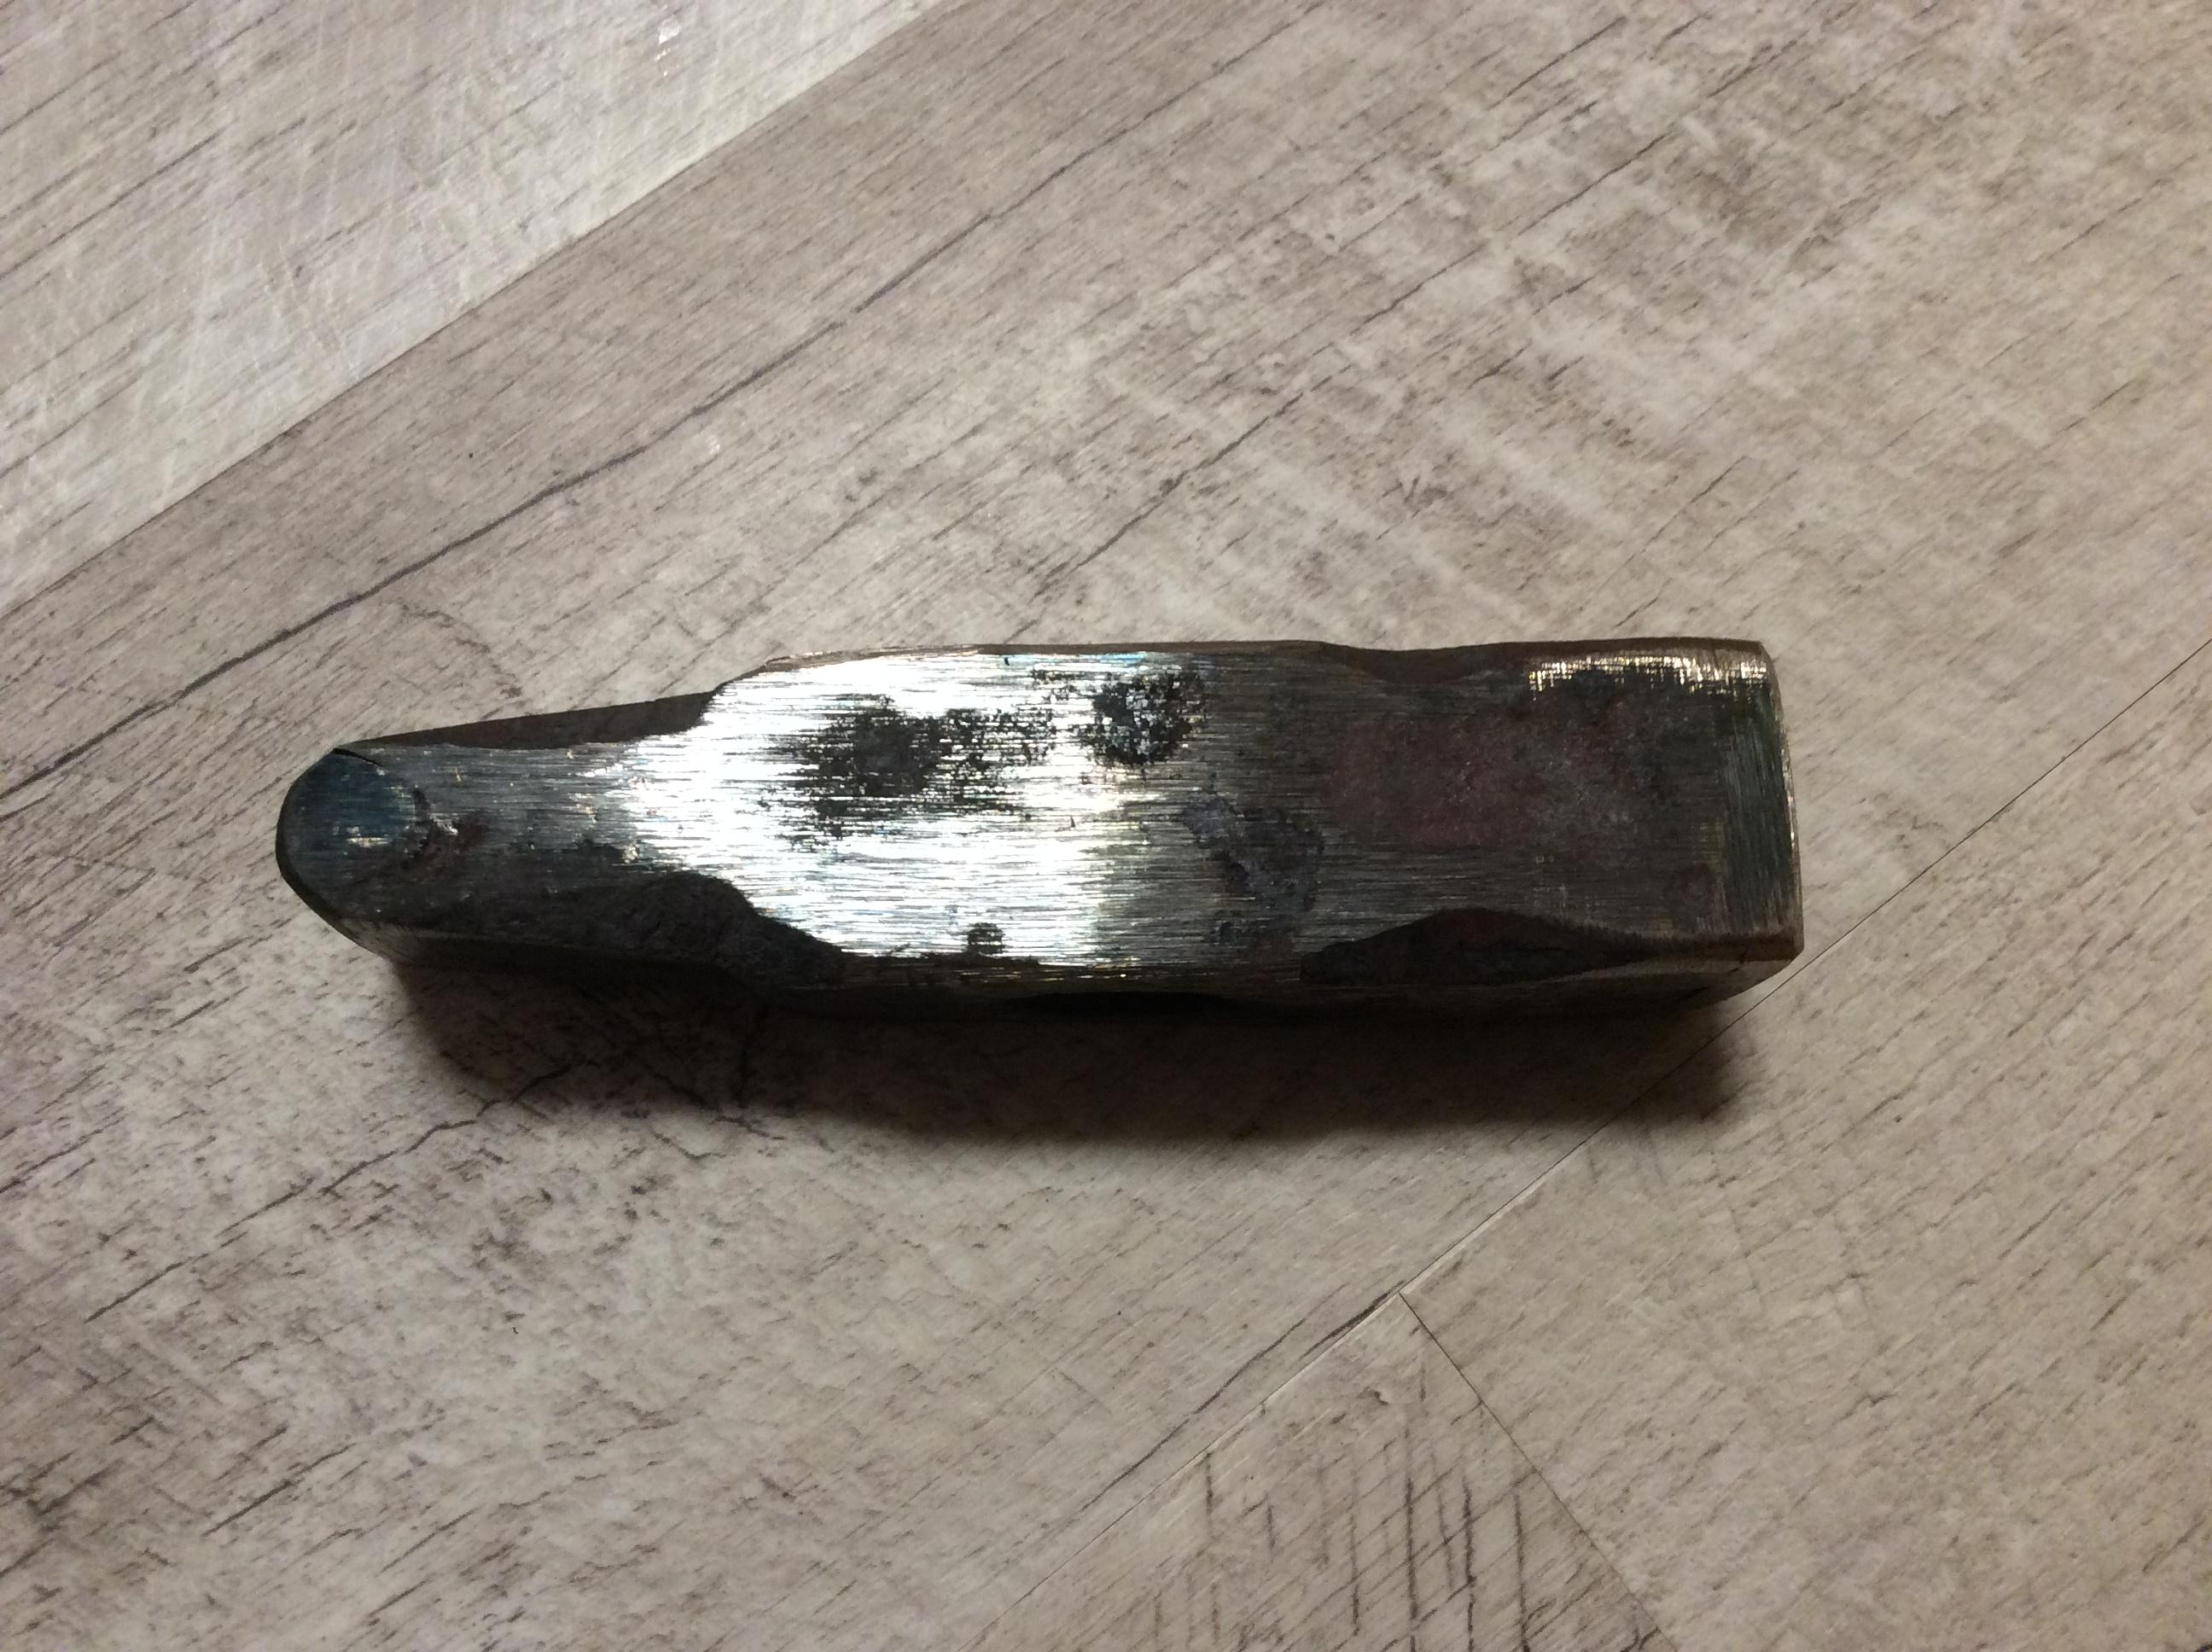
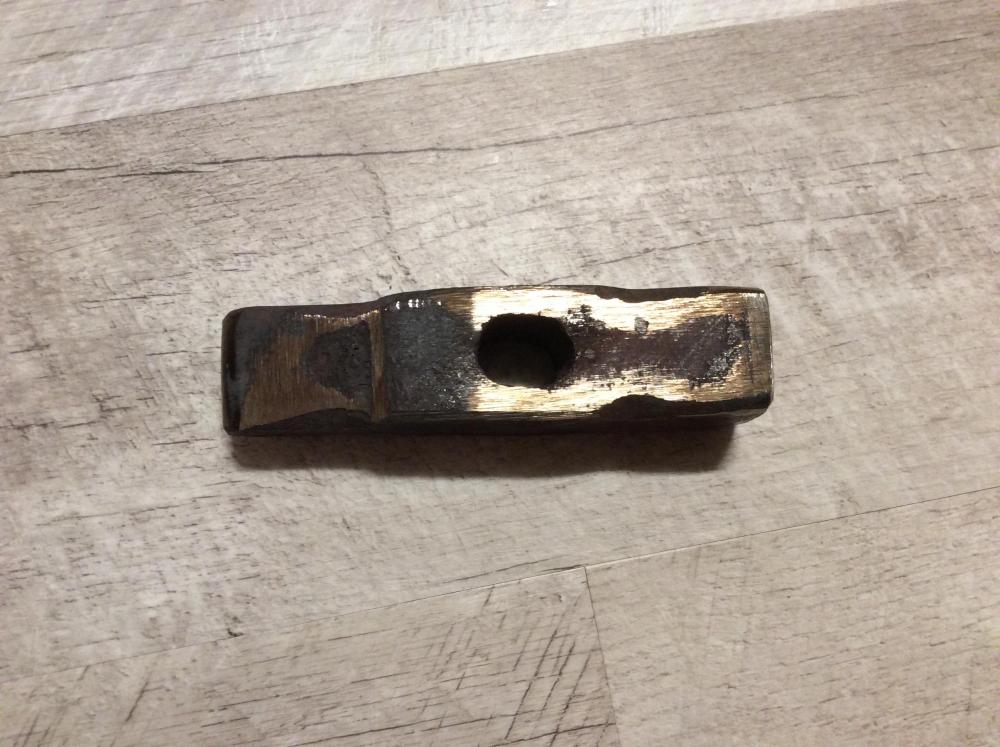
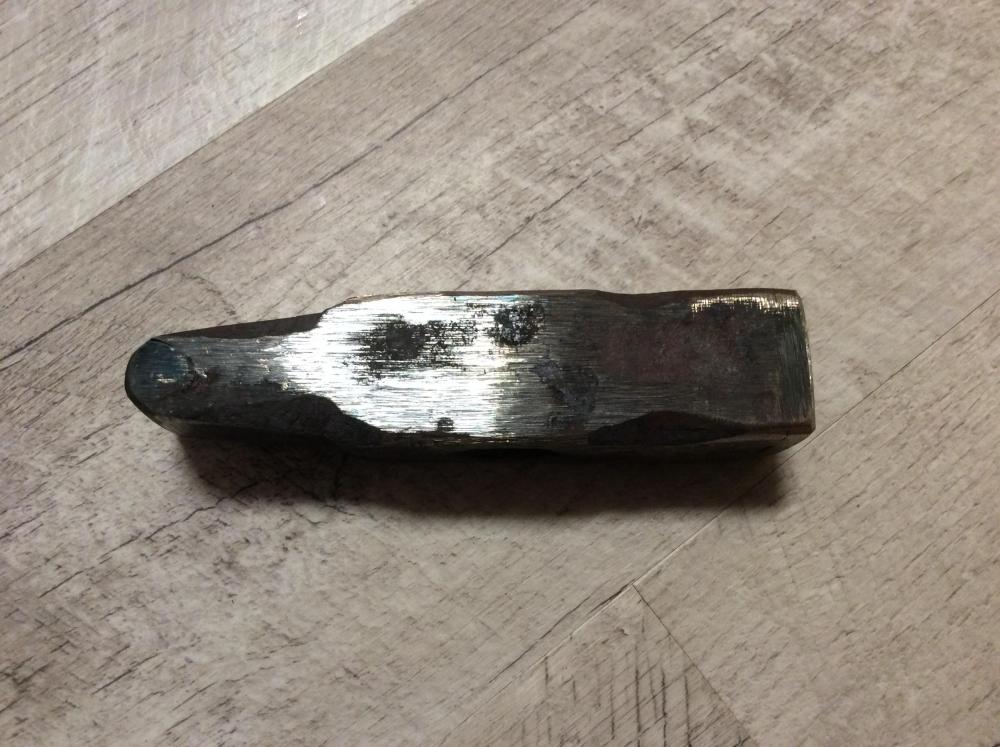
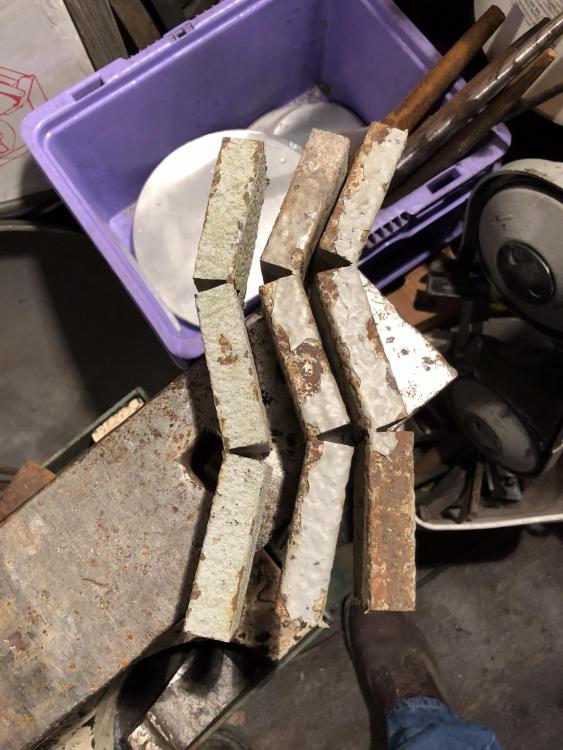
I welded on the first of the spring steel faces! It went really well. In retrospect, if I made another group of hammers, I would consider welding the spring steel faces before the steel in the cross peen. It was hard to get the wrought iron up to a higher temperature than the small piece of spring. I just took my time and heated it sideways, kinda. Pretty happy. I hope the other two go as well. I would be thrilled. Filing, etching, and handling left to go. I’ll have to figure out or pay attention and resize my too large pictures. I’ll learn, I promise.
-
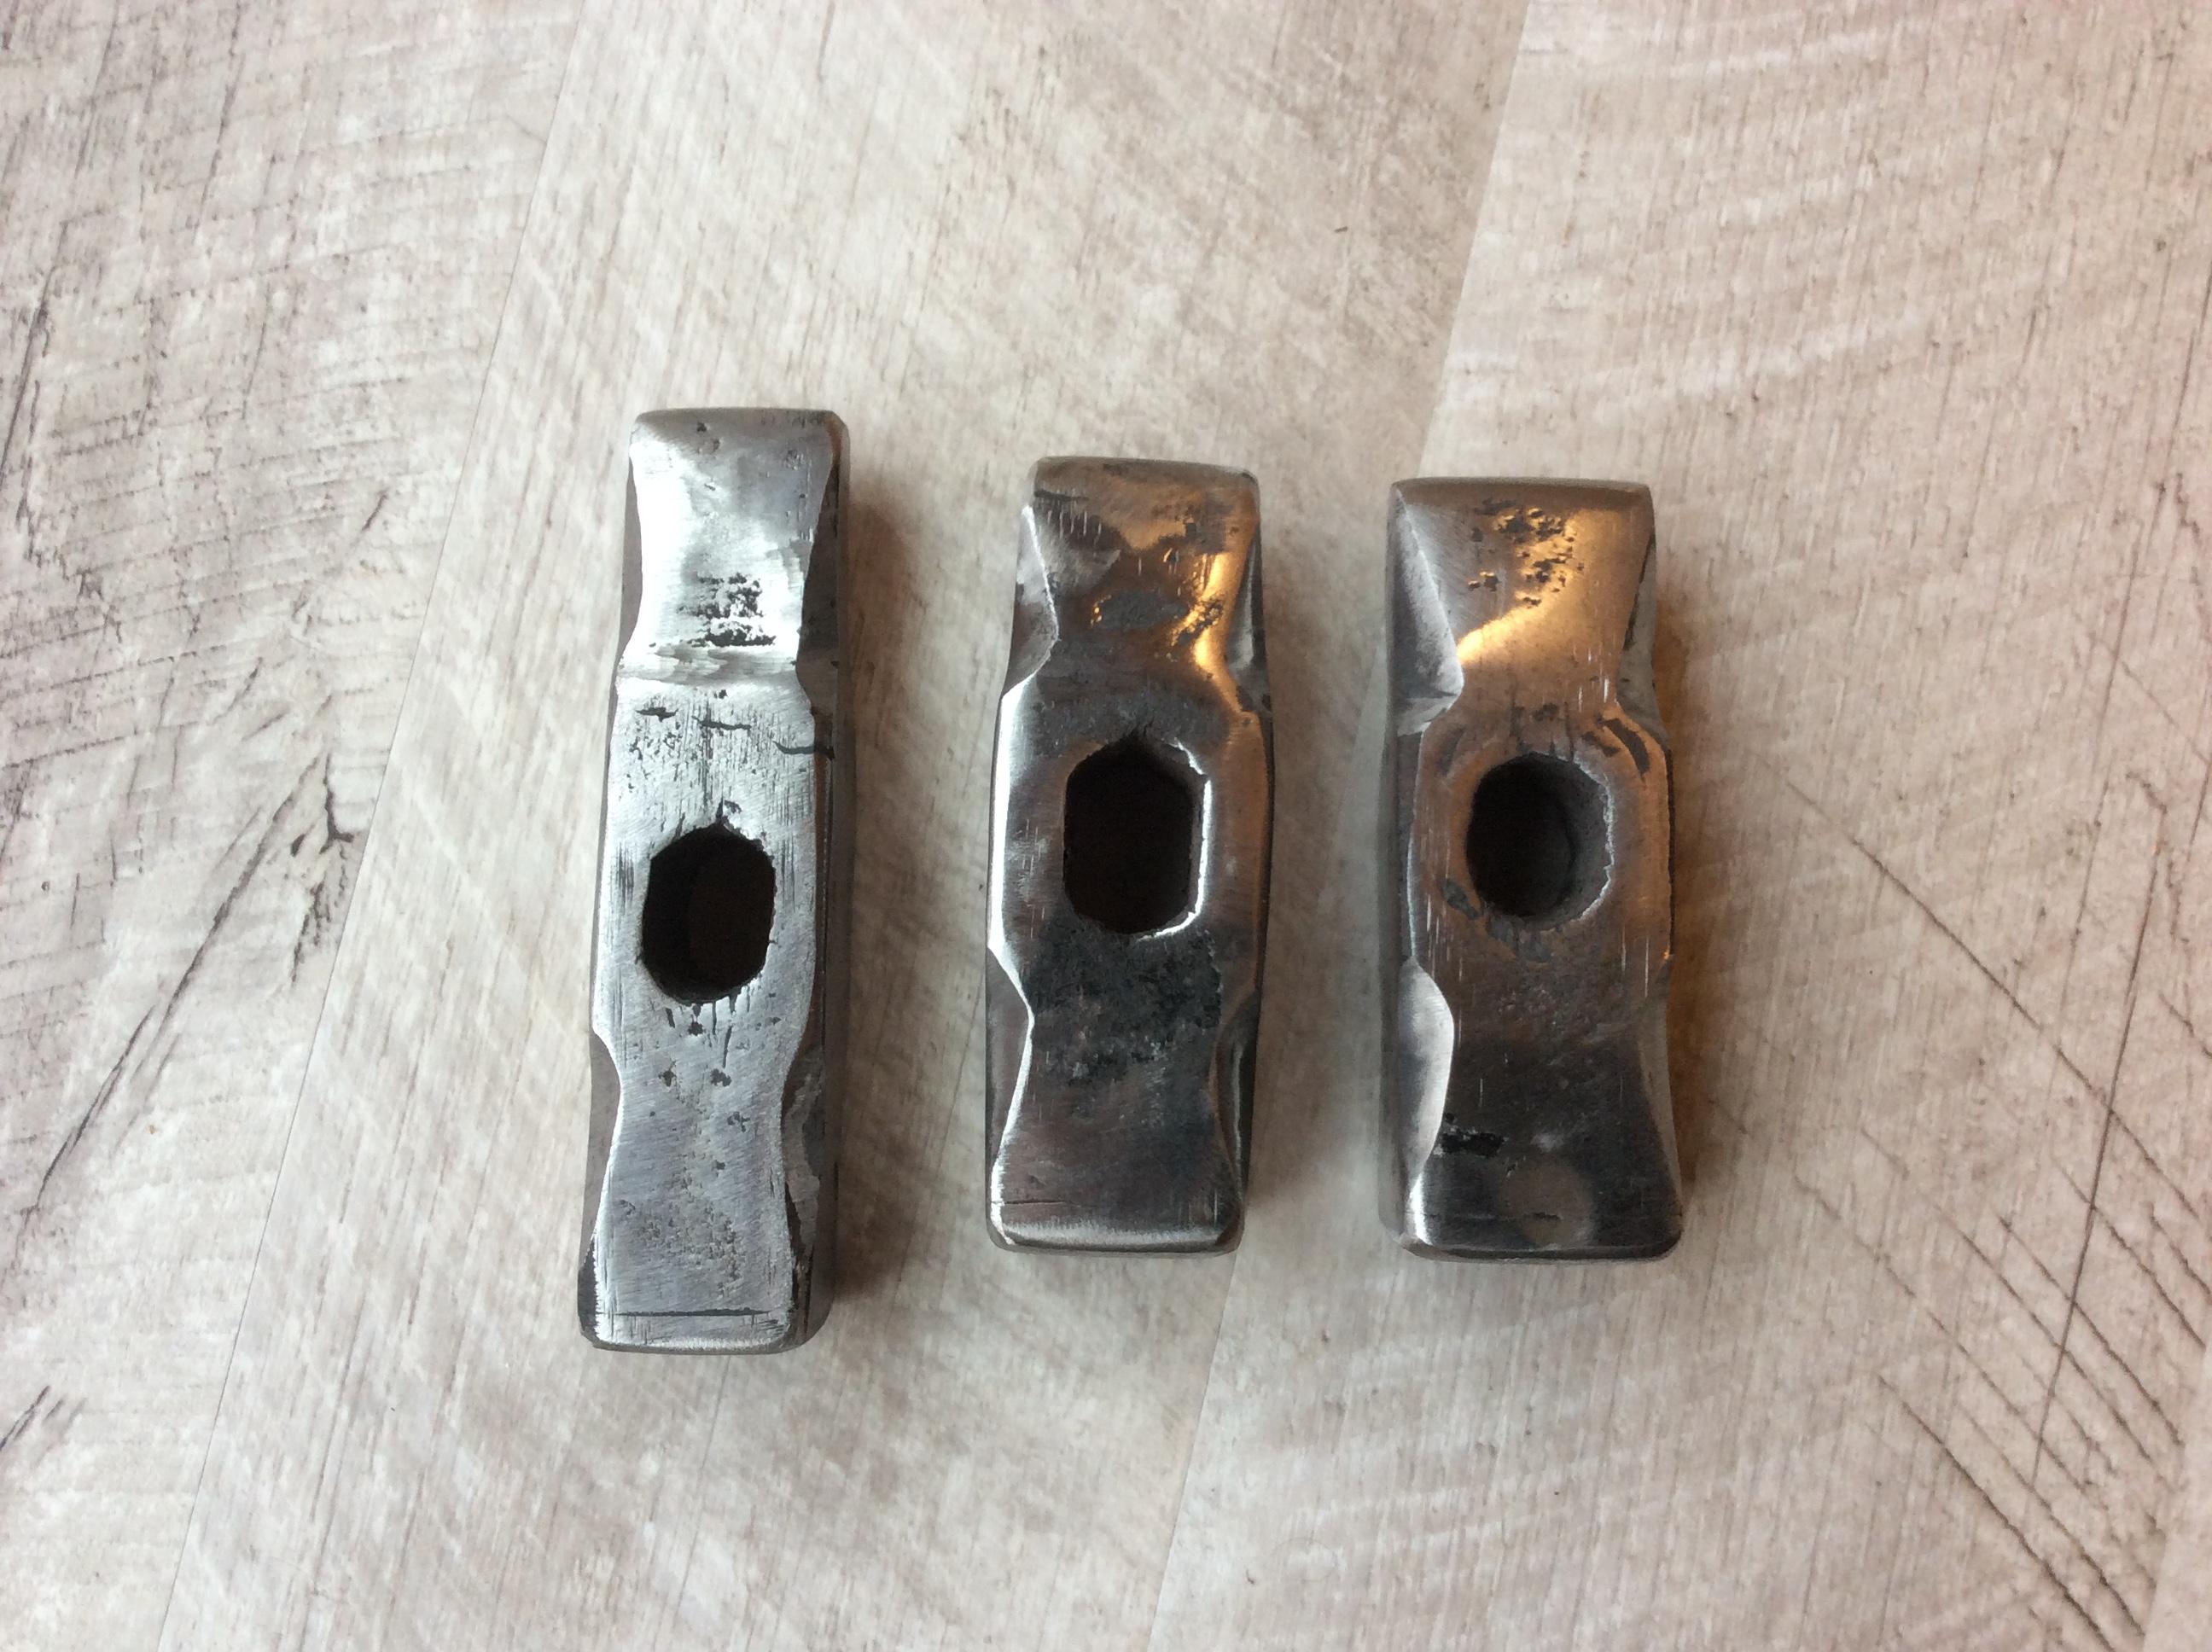
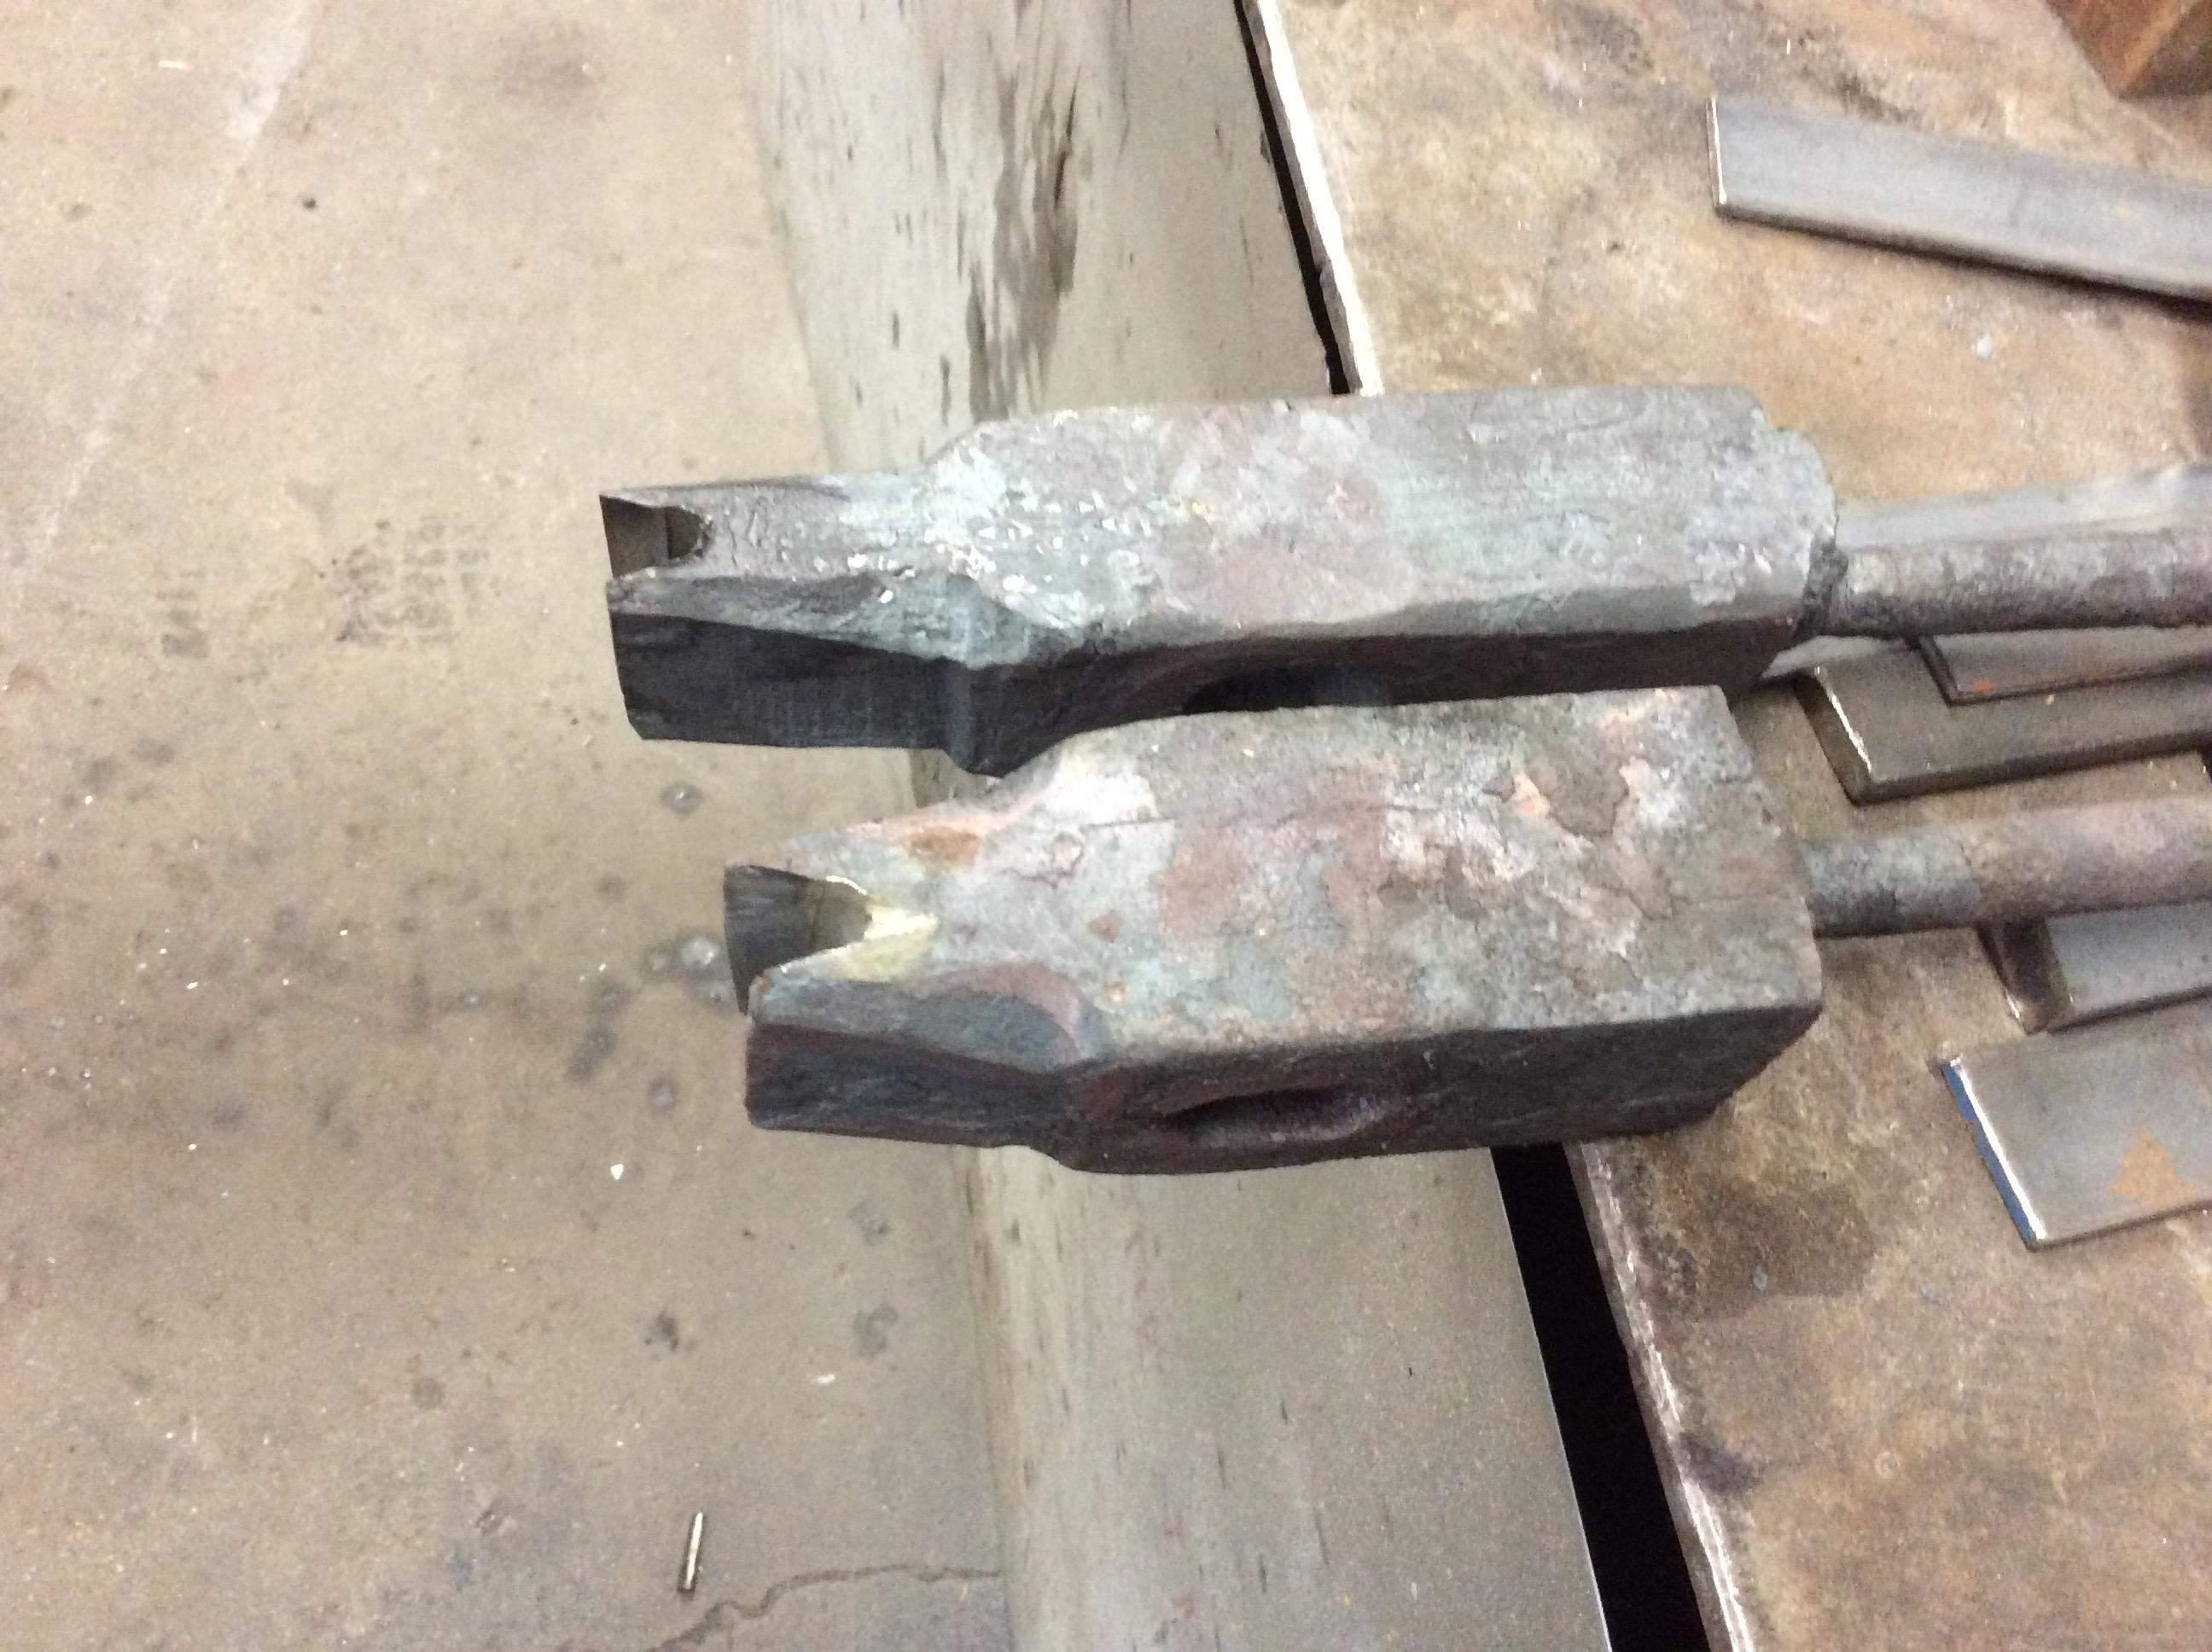
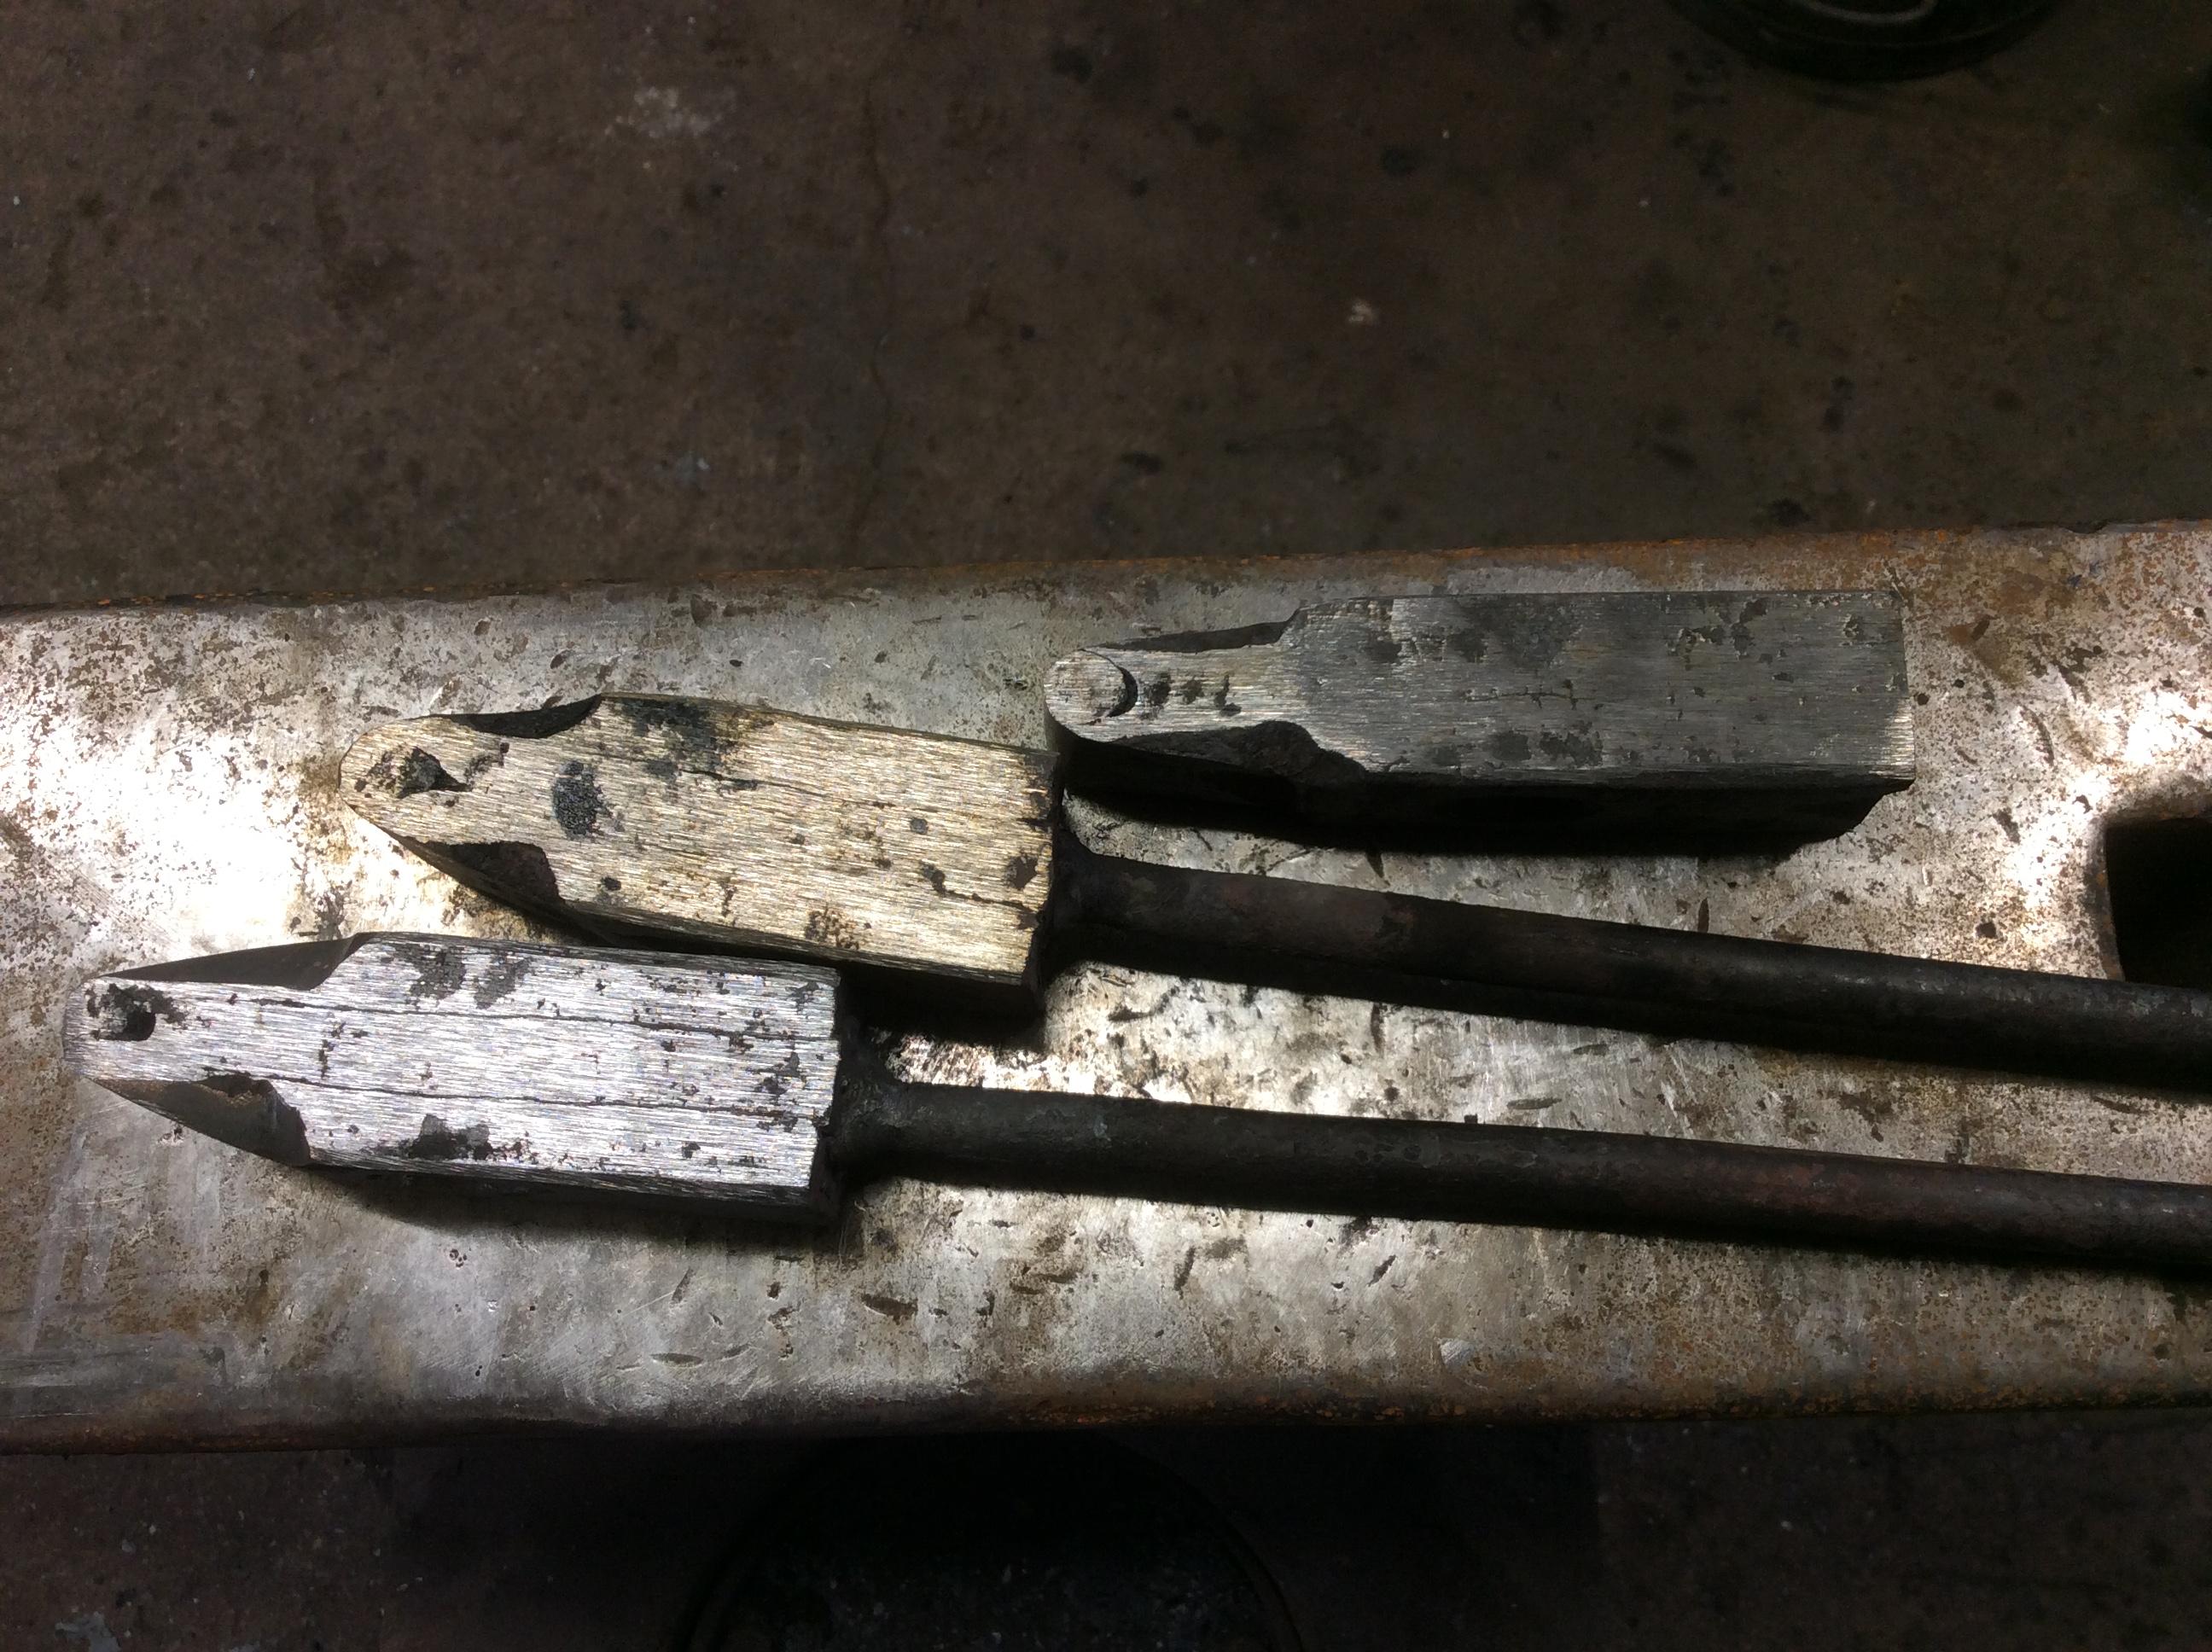
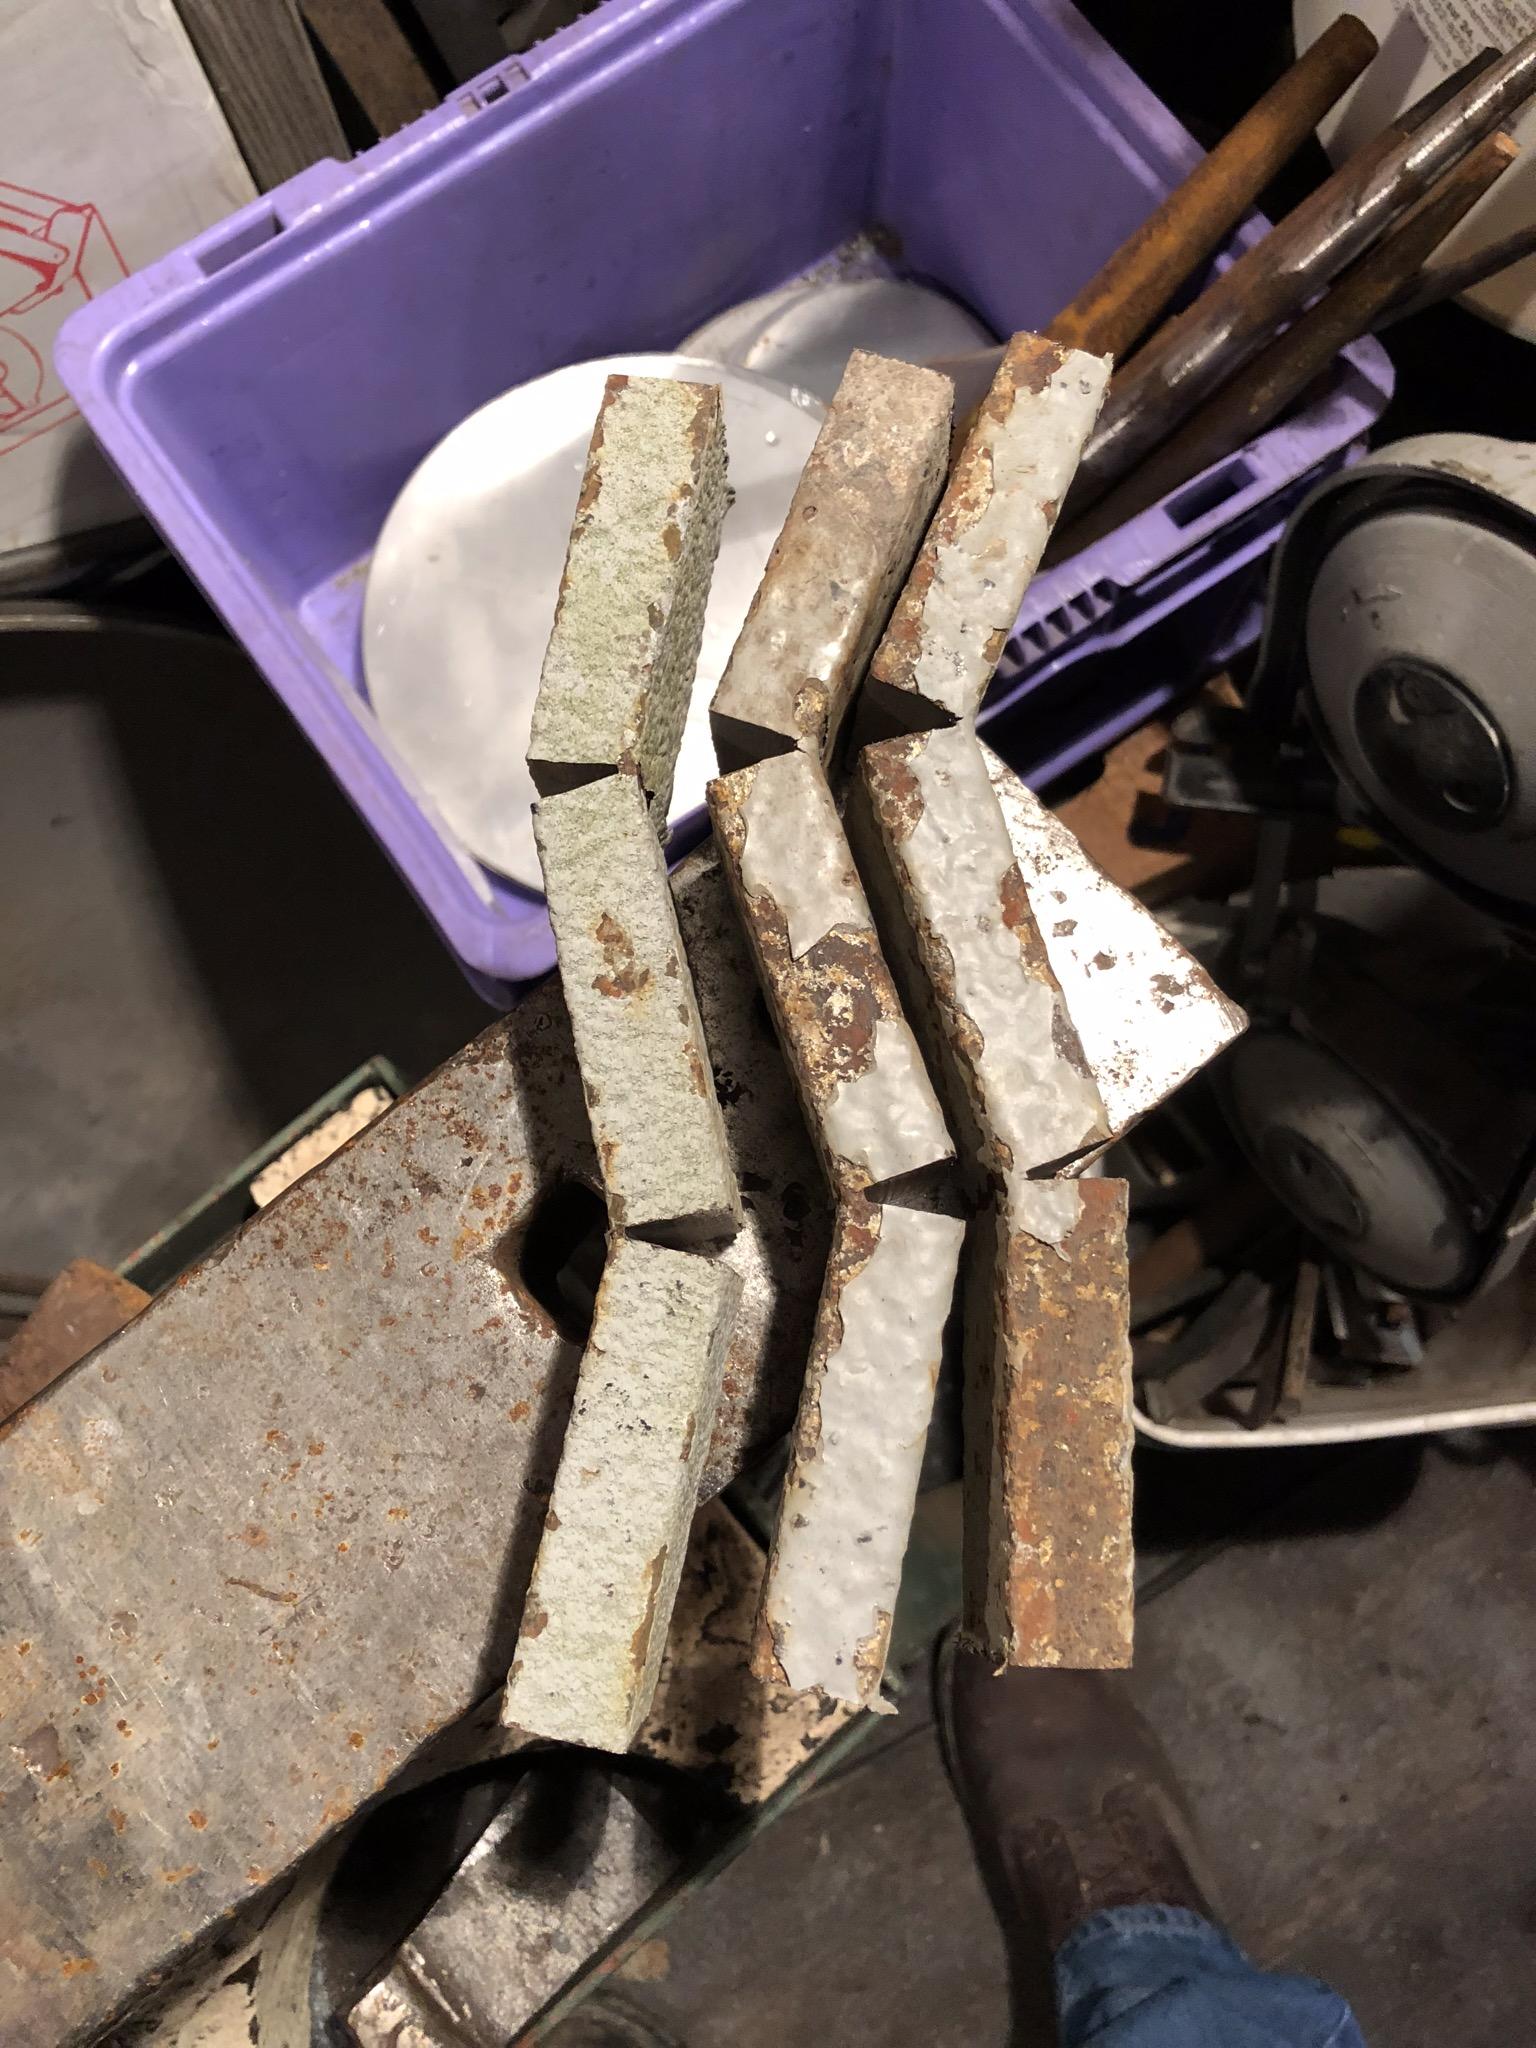
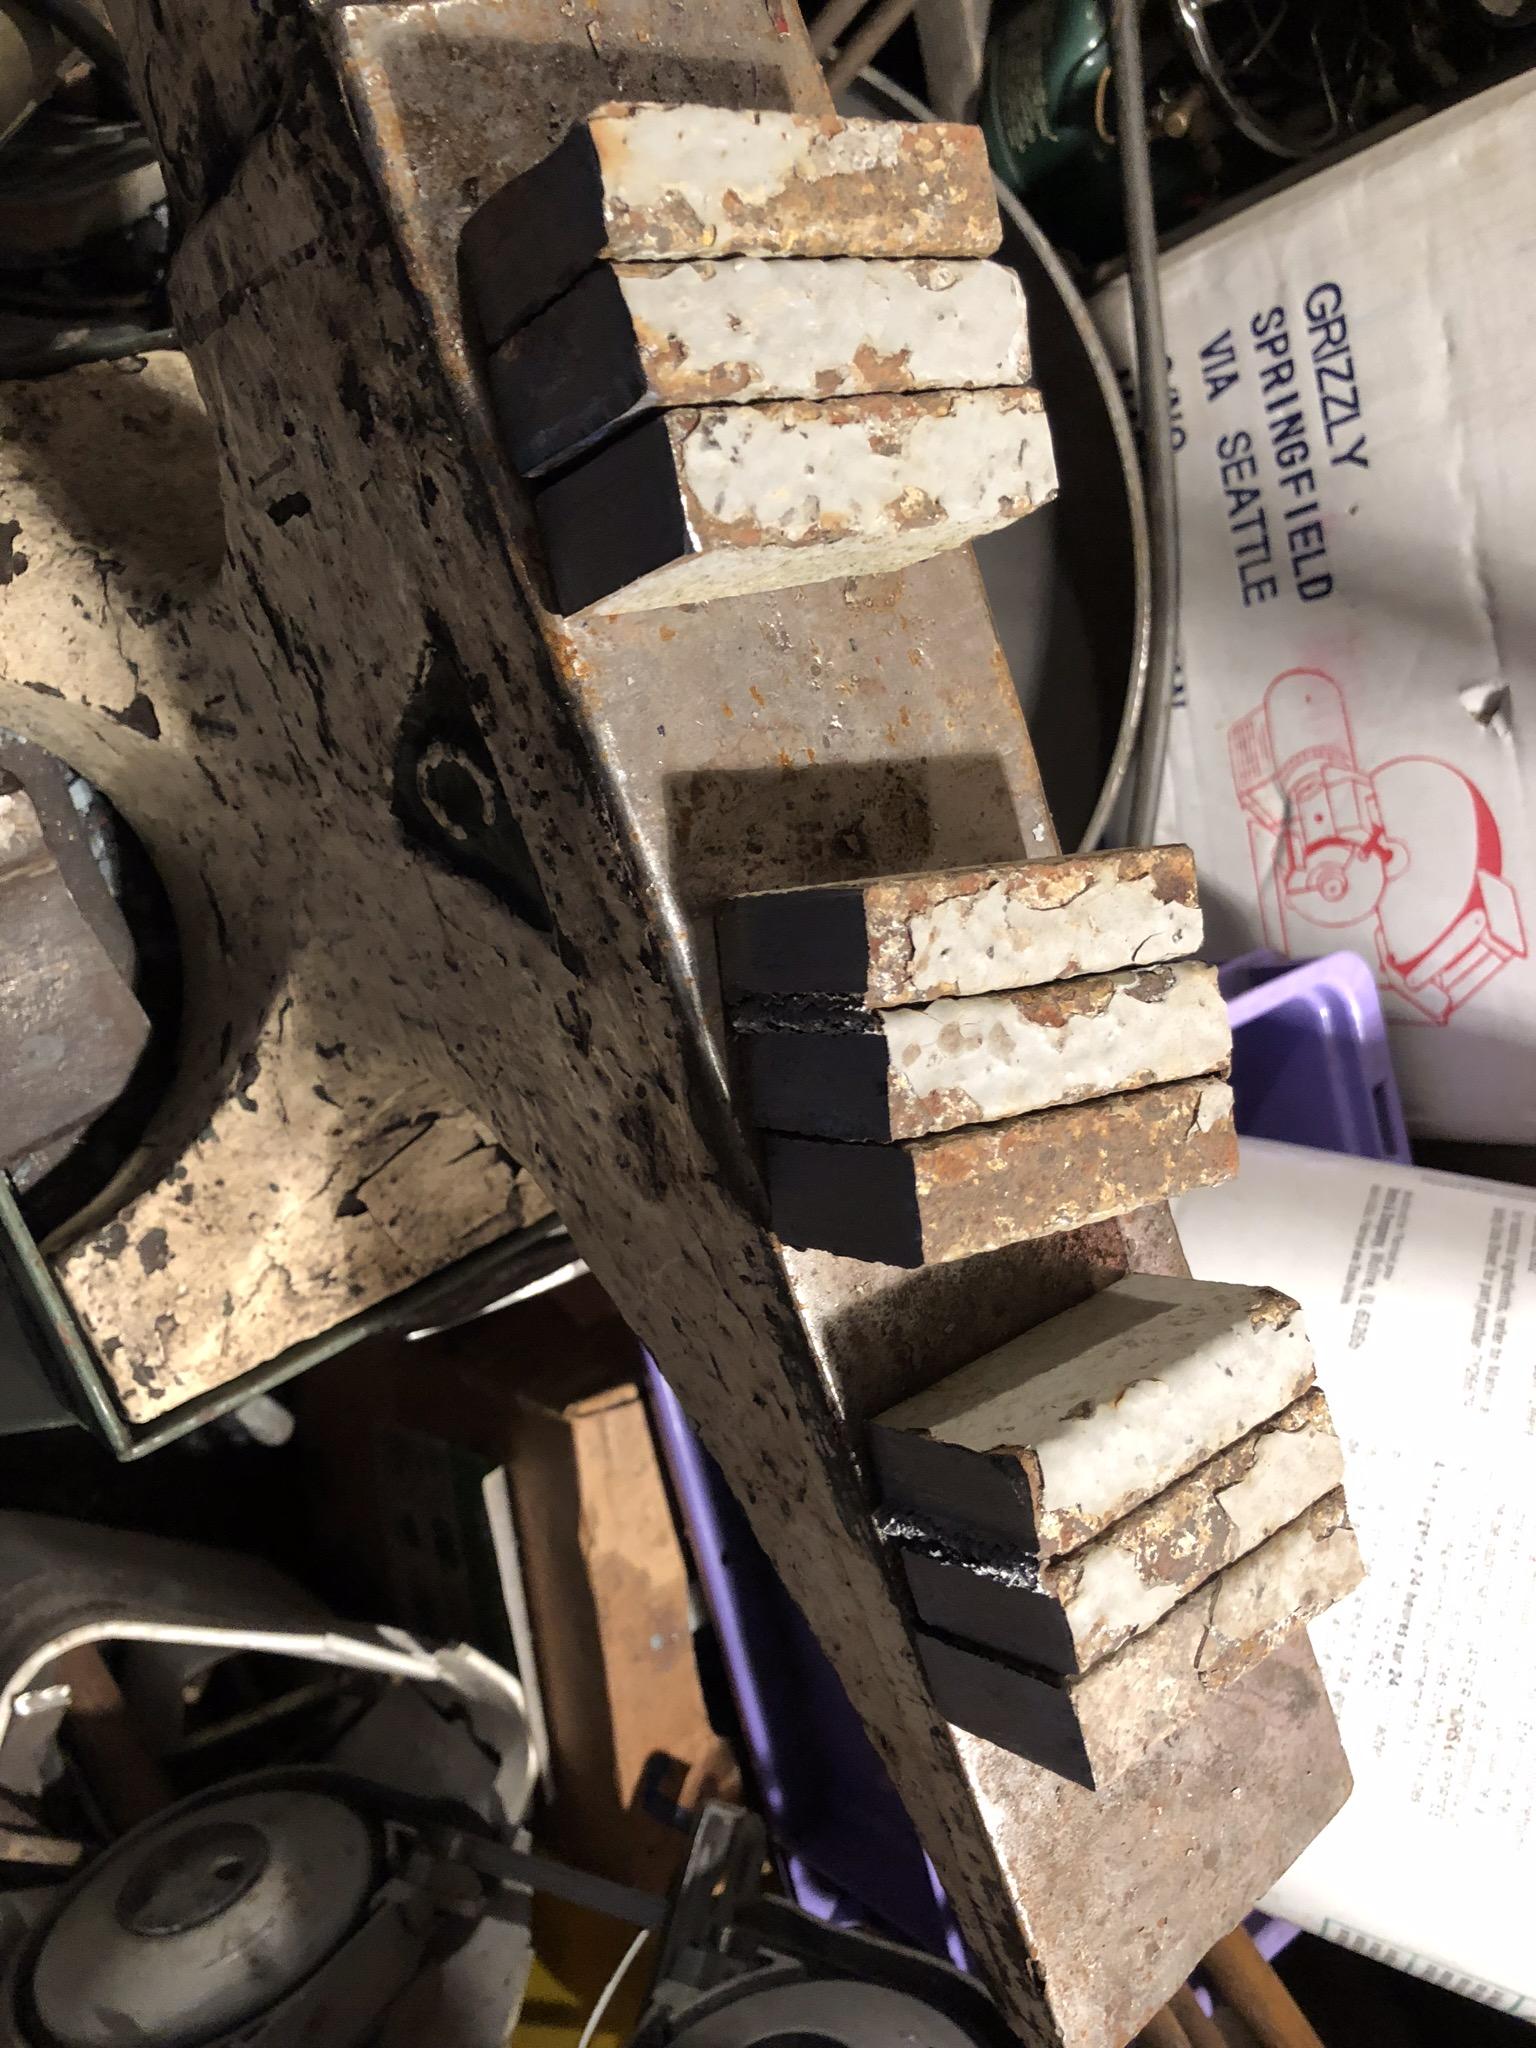
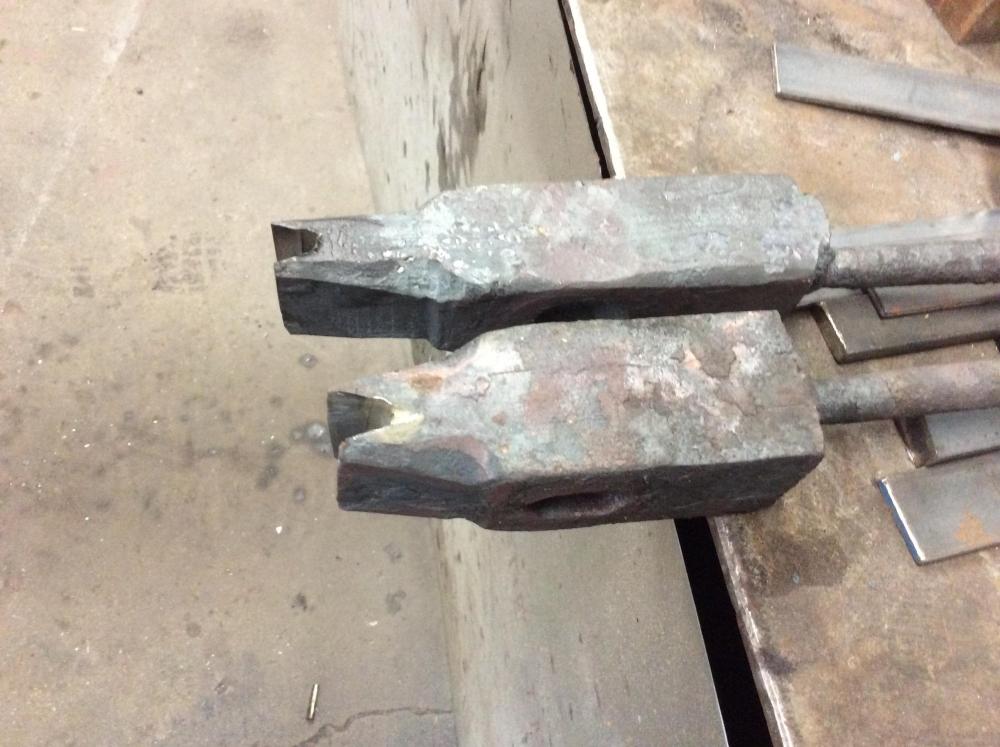
I slightly mis stacked the triple stacks on purpose. The center layer was shifted forward 1/16” for the face end. That left the back end pre destined to fish mouth. I tapered the cross peen and noticed how the metal moved. The center layer stayed still and the outer two layers elongated and wrapped, leaving some cracks, as seen in the picture. I always intended to forge weld in, or on, spring steel faces. I center punched and drilled a 1/4” hole near the end of the middle layer, crosswise, right through the cracks. I used a thin wheel on my 4 1/2”” grinder and v shaped the end. I hammered some coil spring into a full width v shape. I did the welding of the coil spring into the cross peen of the first hammer at home in the front yard. I spent this morning at Kurt’s in Atlanta, since it was inside a building. I finished punching the hammer handle hole in the third hammer. I also tapered the cross peen on it. I drilled the 1/4” hole through two hammers vee’d them and welded in the coil spring. I sorta cleaned them up a little with some coarse grit on a belt sander. Here’s some pictures, I was having fun, learning, and stretching my abilities some. Working there is great, Kurt had whatever tools I didn’t bring, and whatever knowledge I didn’t bring.
-
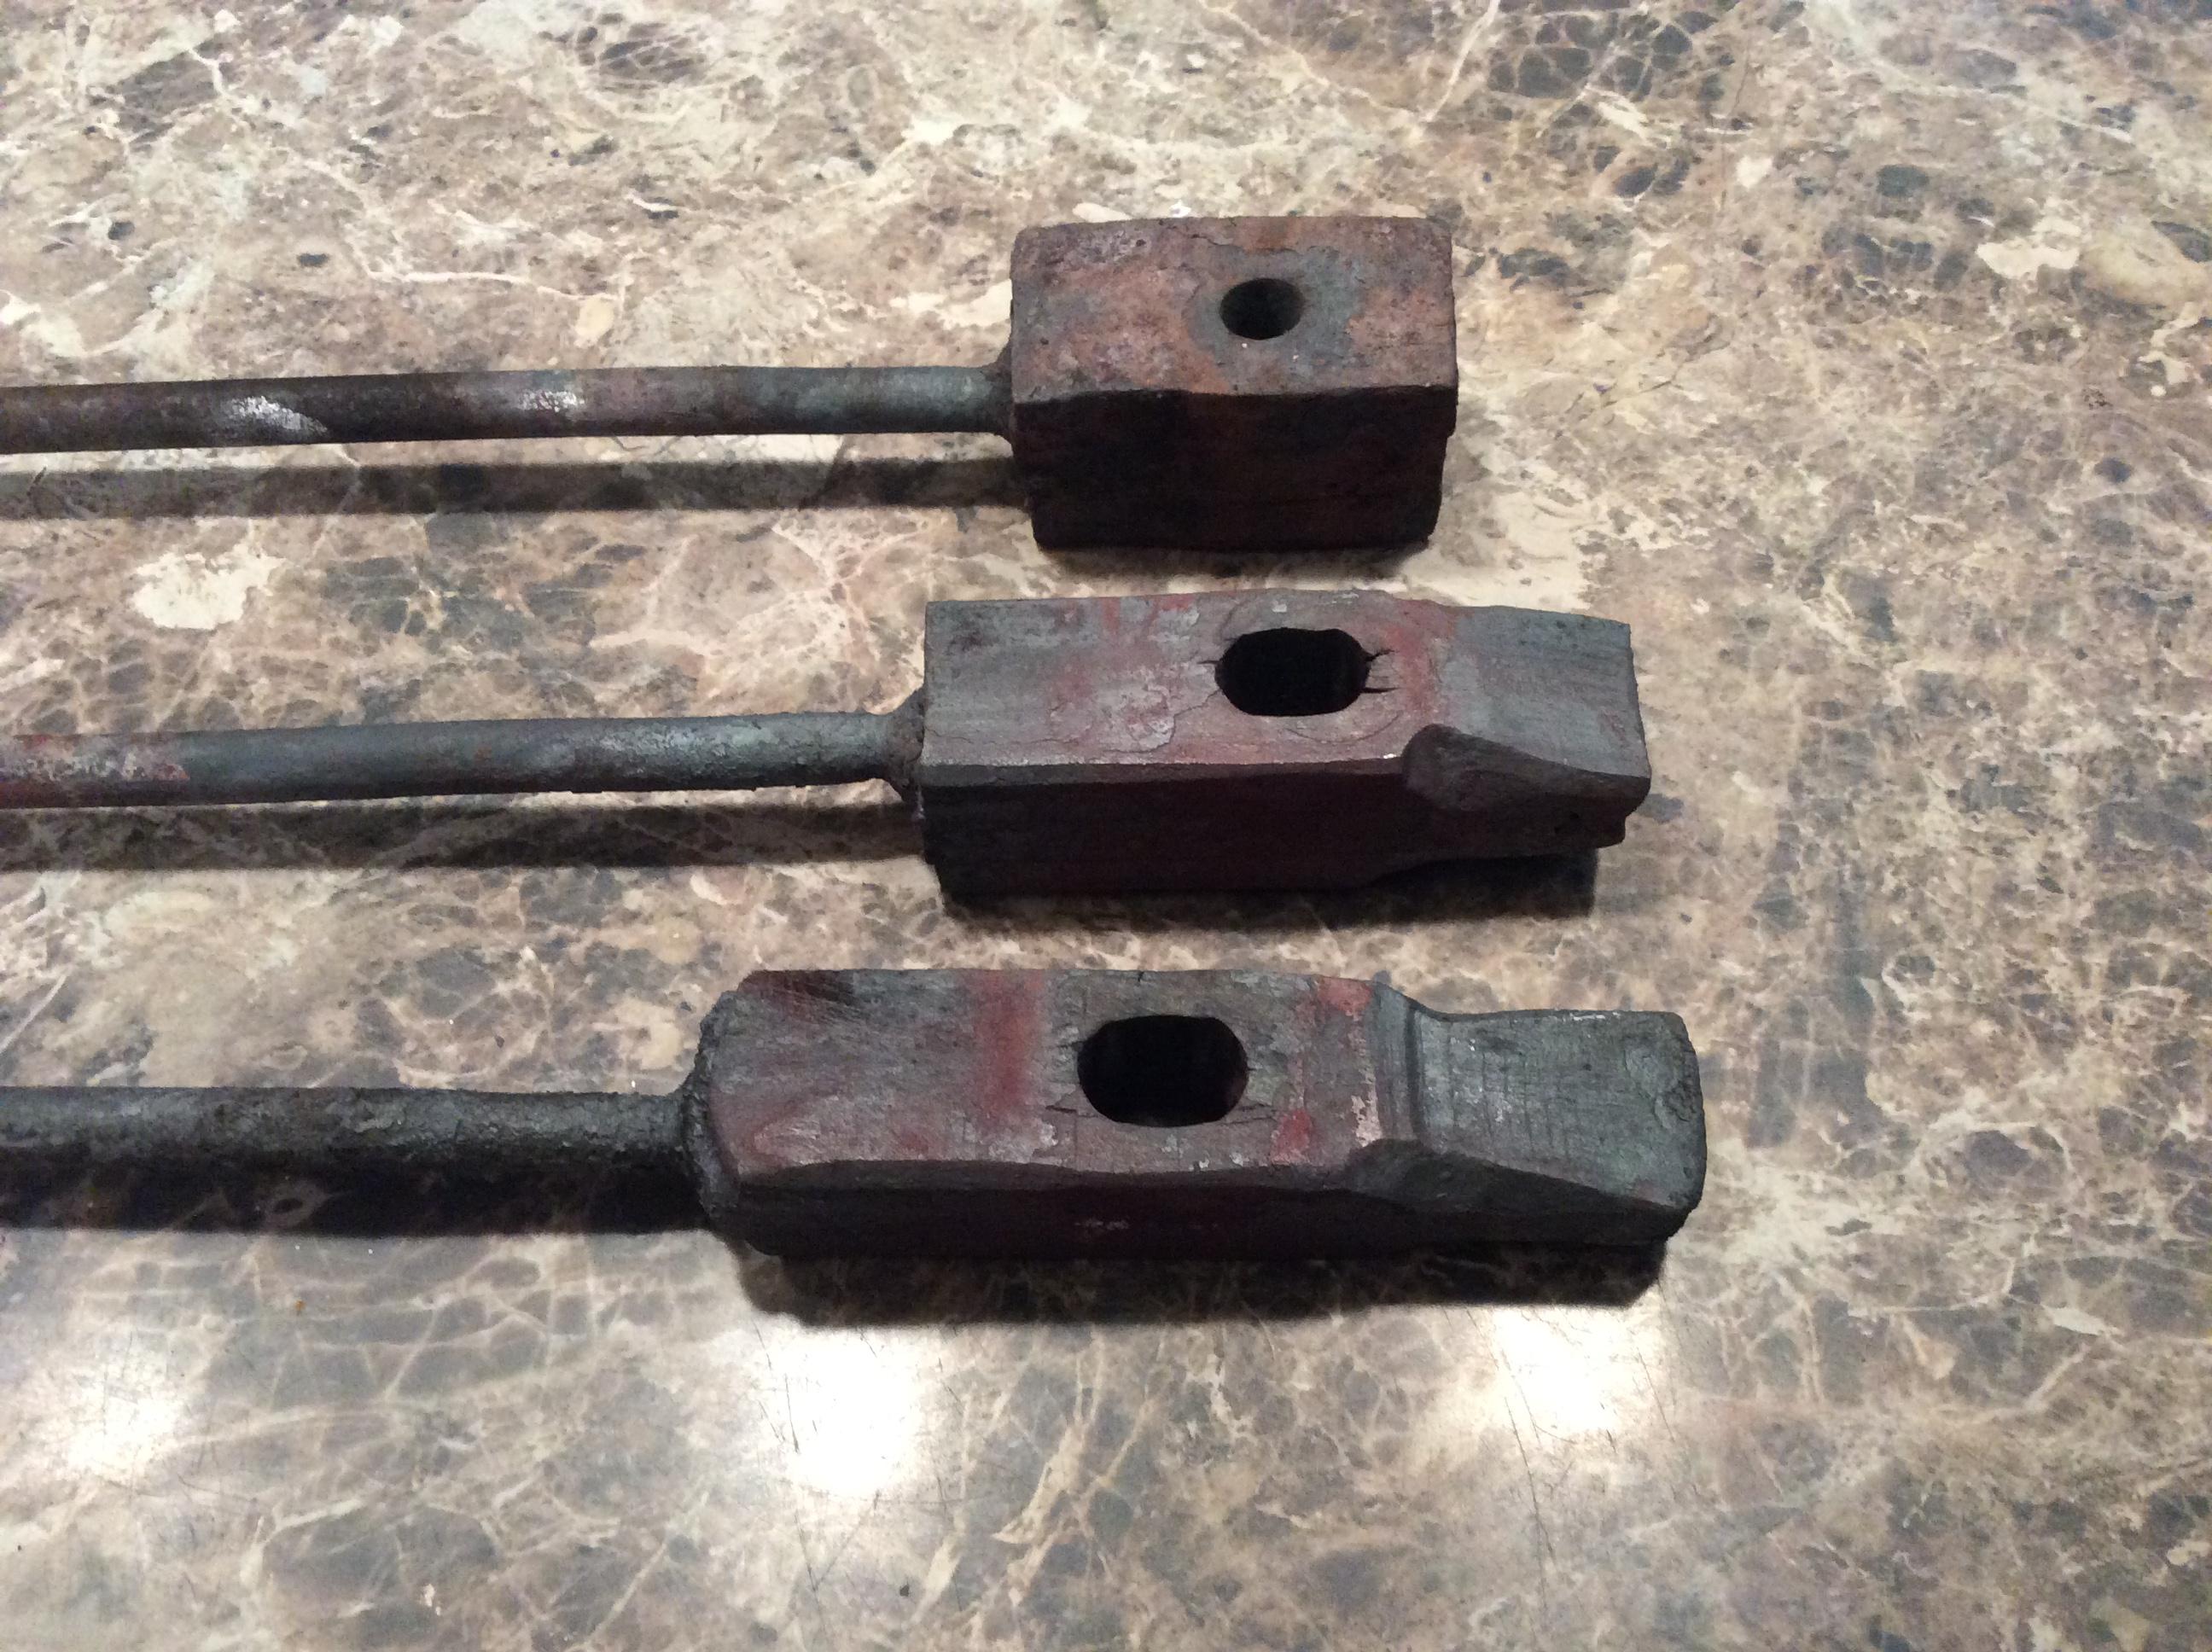
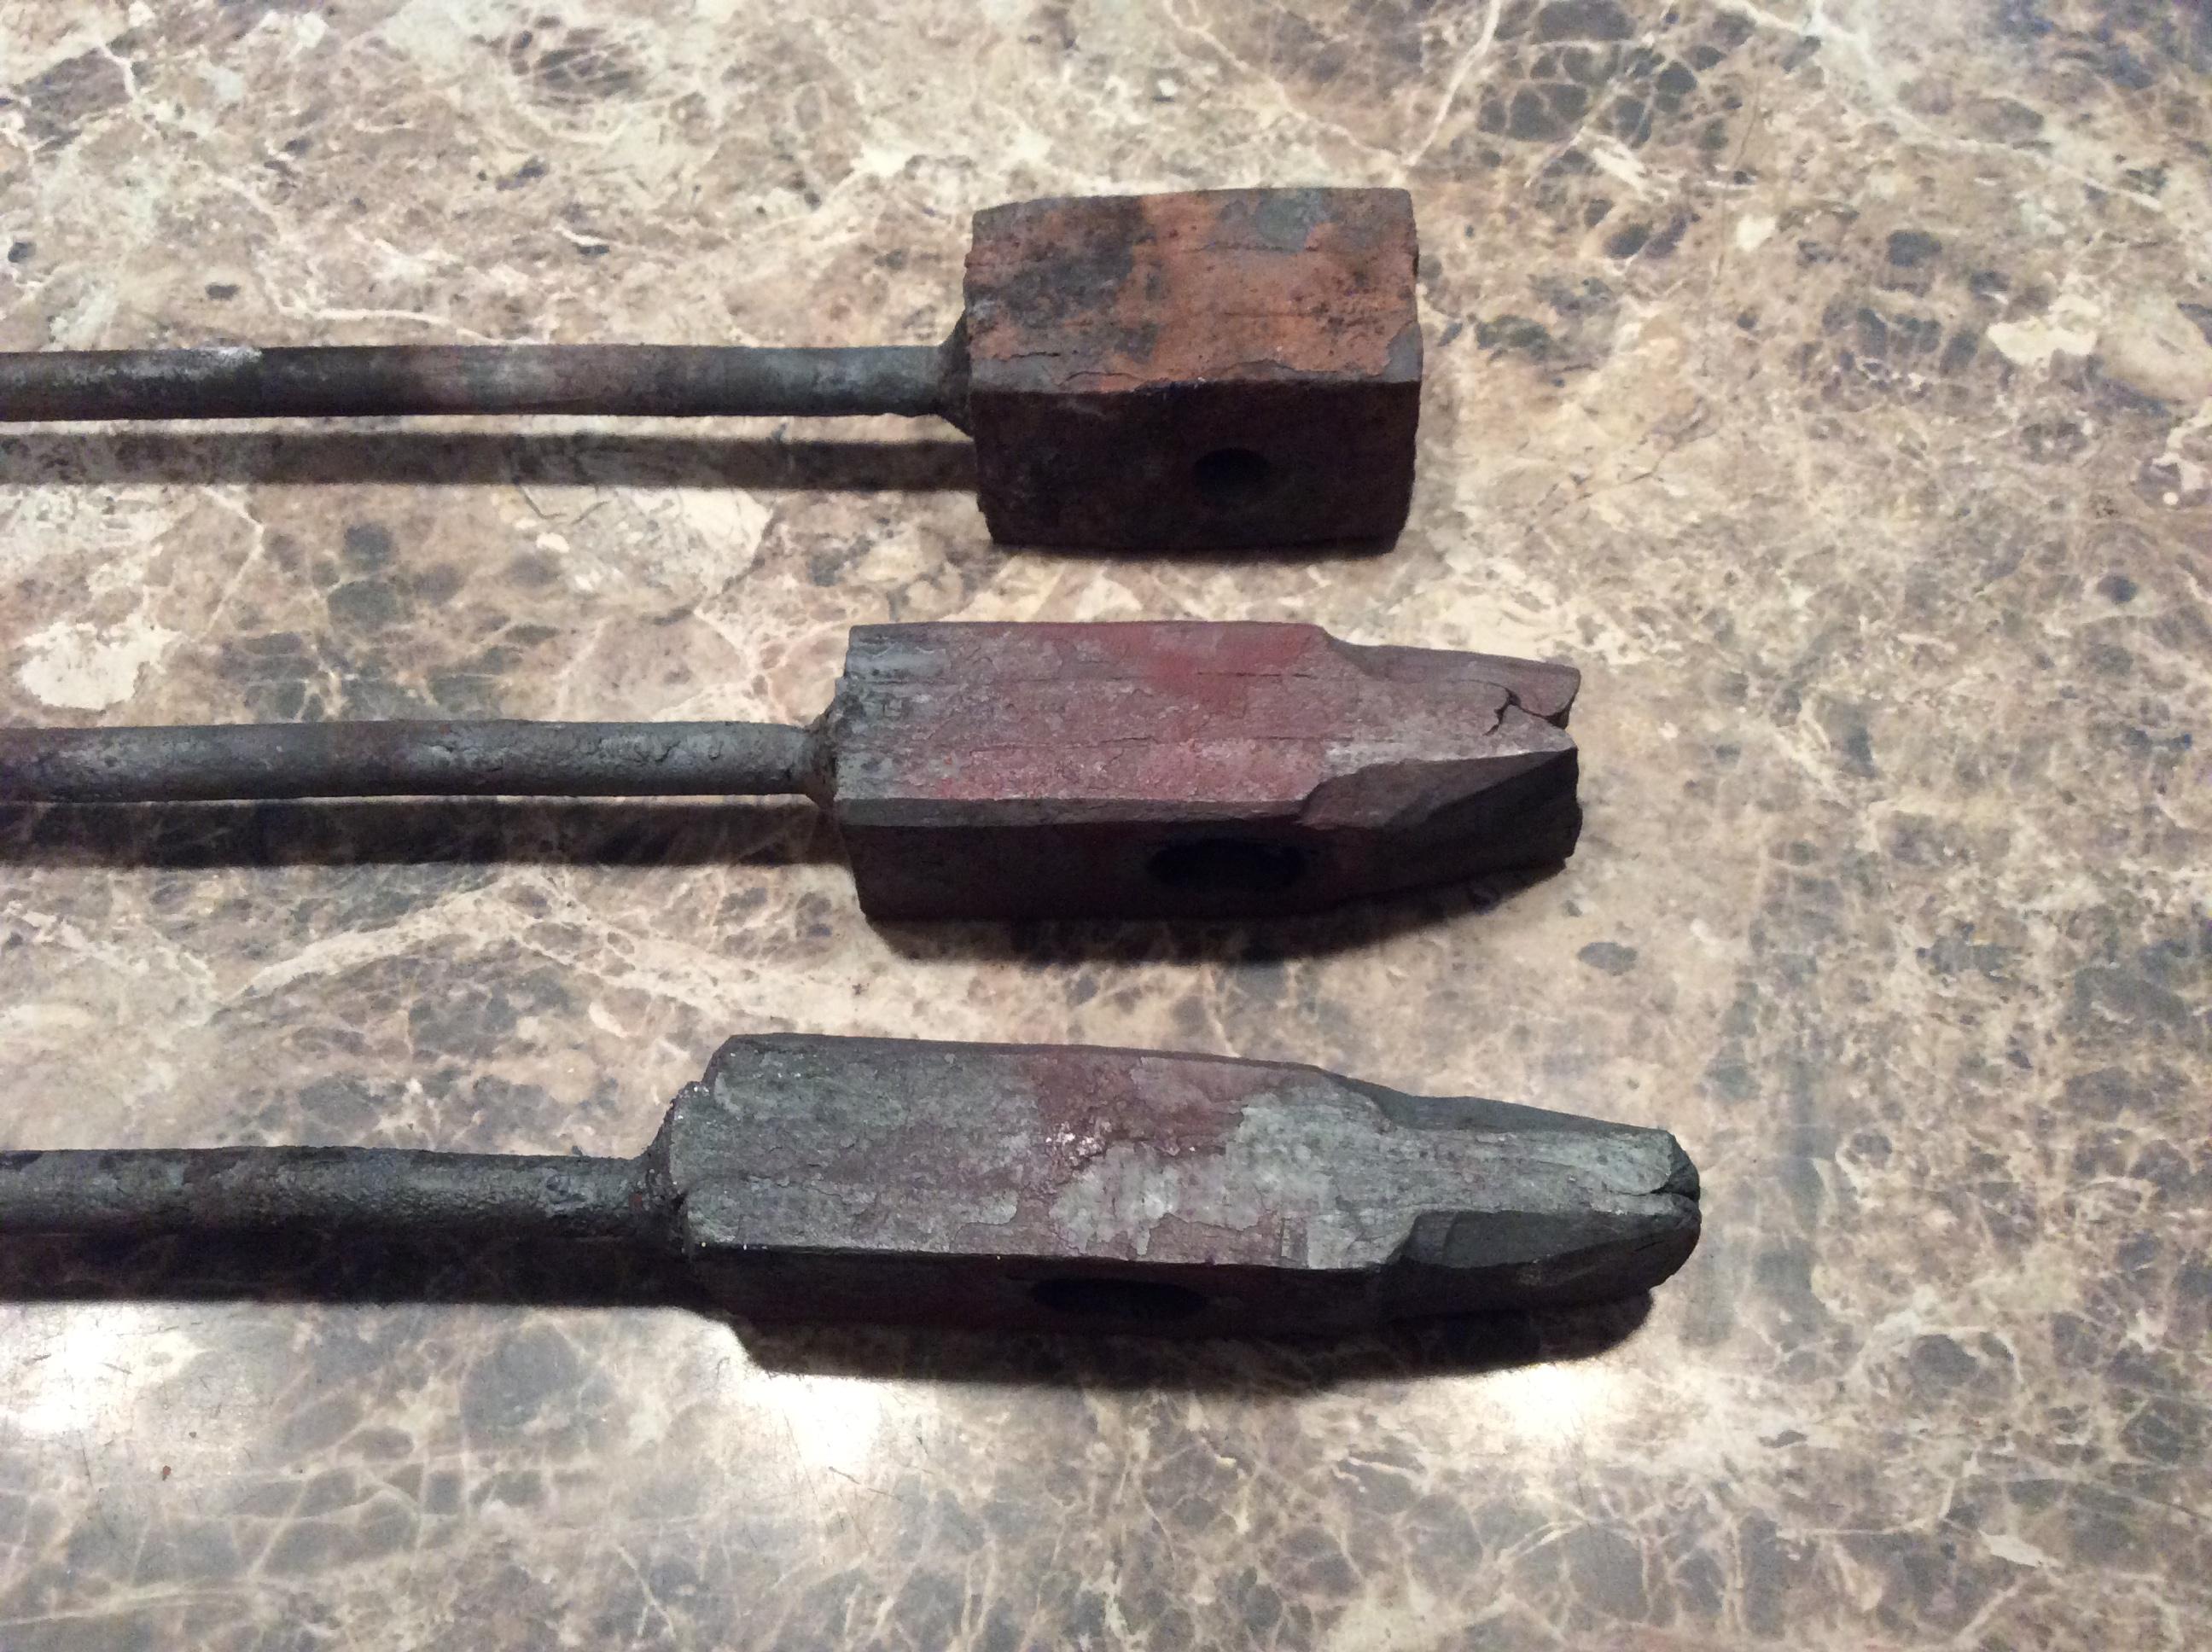
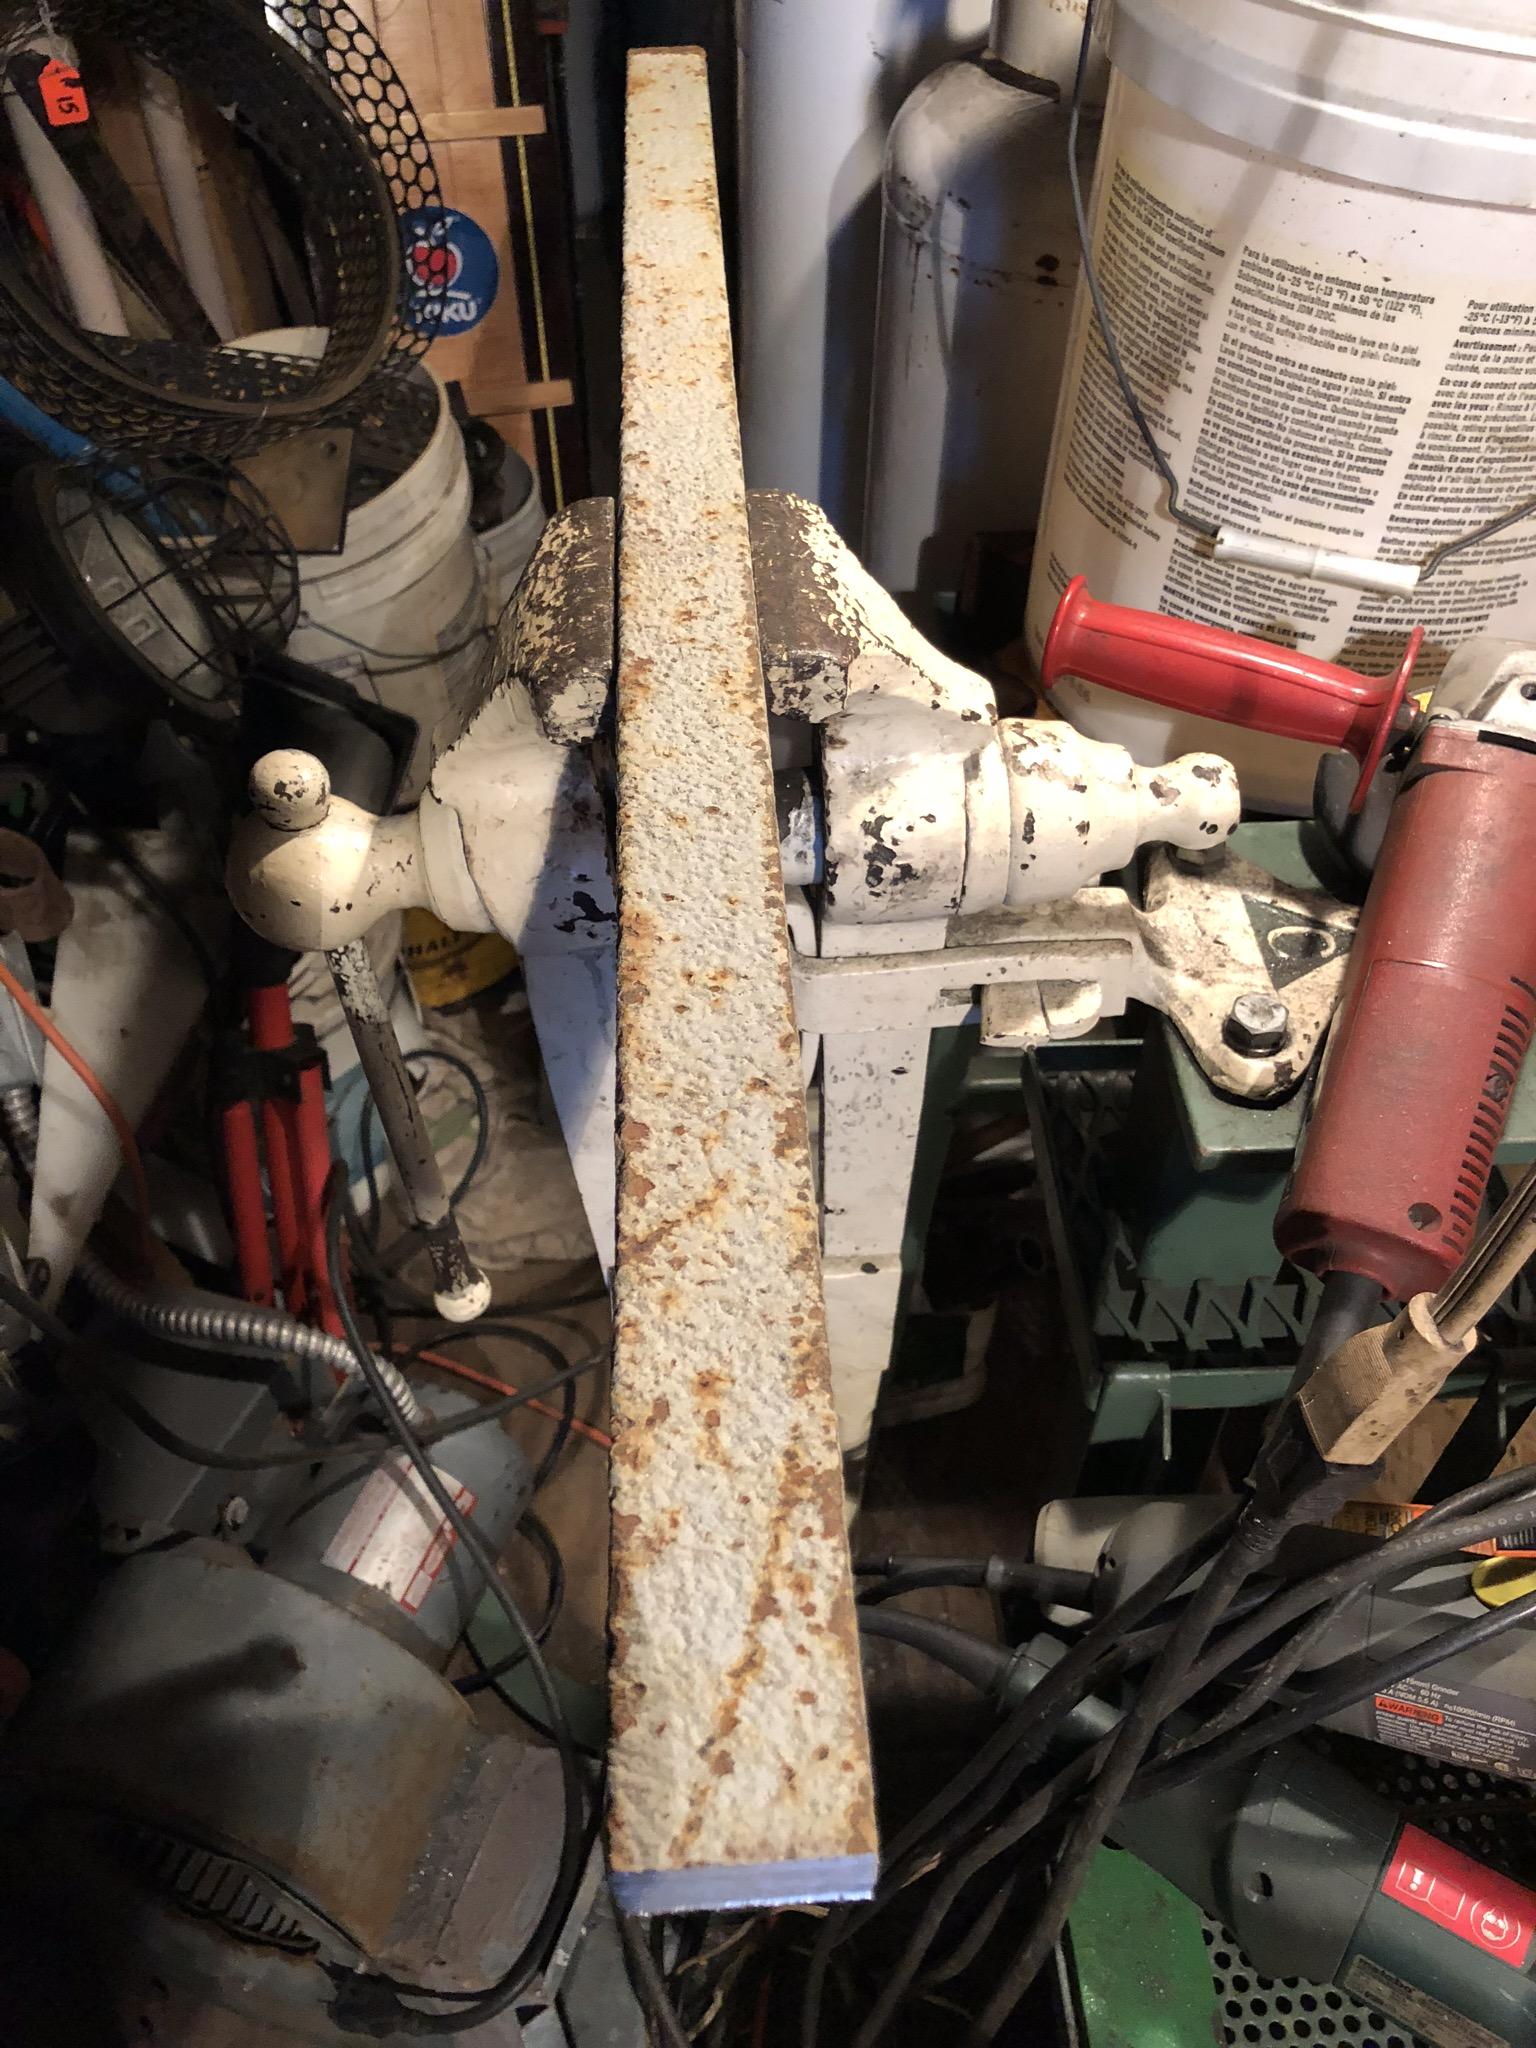
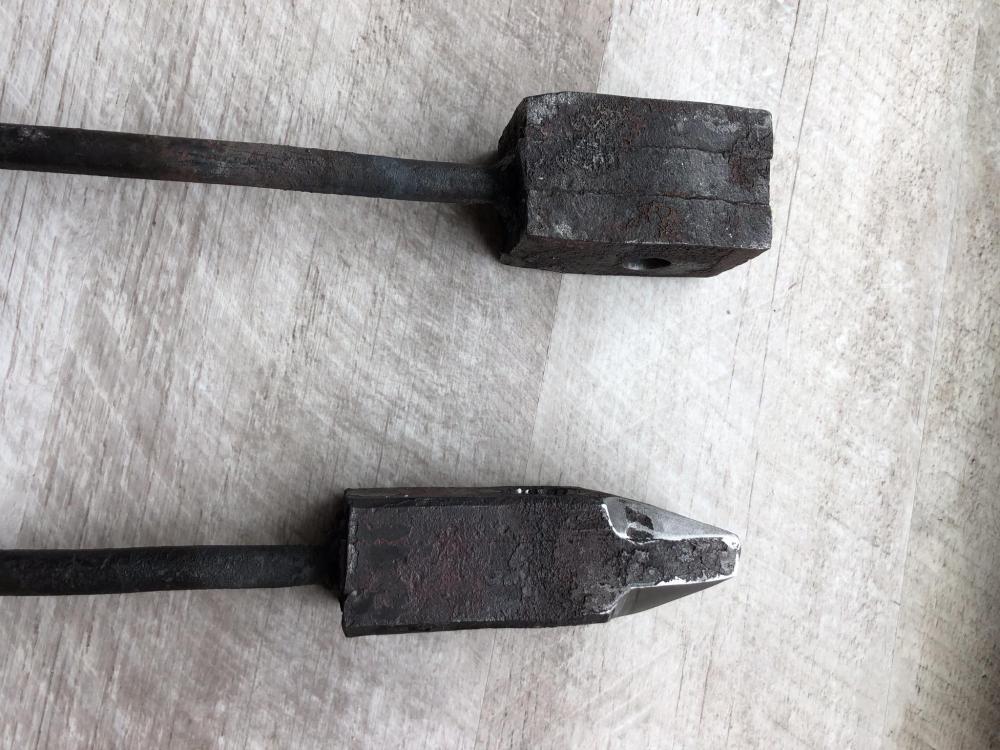
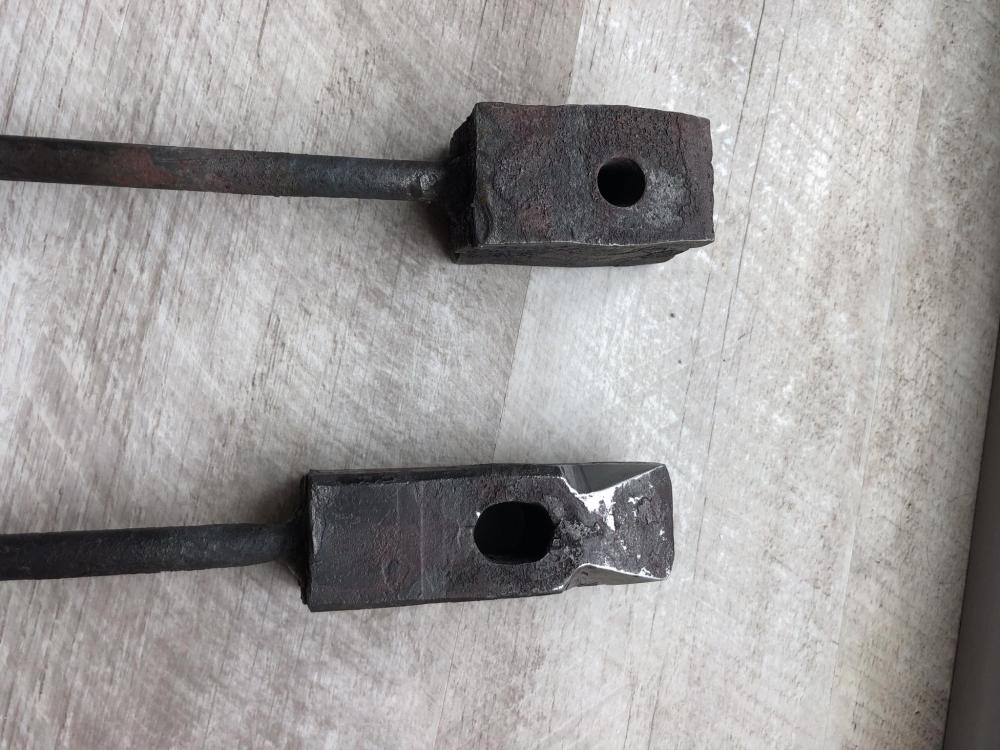
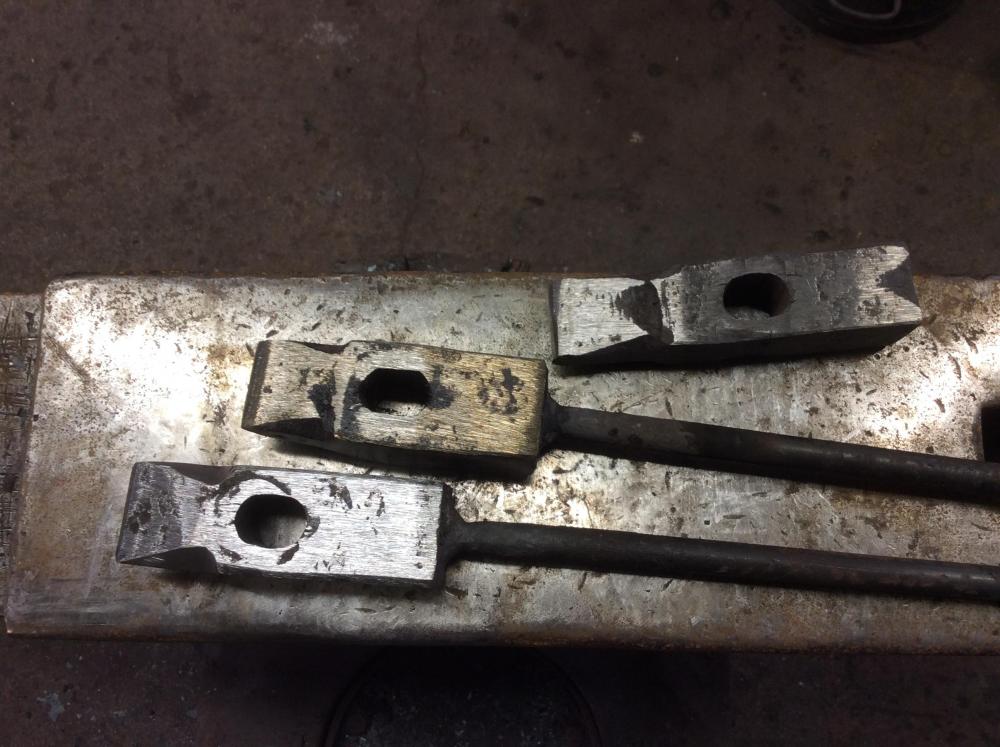
I had access to a gas forge and a very nice 50 lb. tire hammer Monday after work. I drifted two of the punched holes up to size. I then squeezed the cross peen taper on both of those. The shorter one is turning out more like the picture in my mind.

-
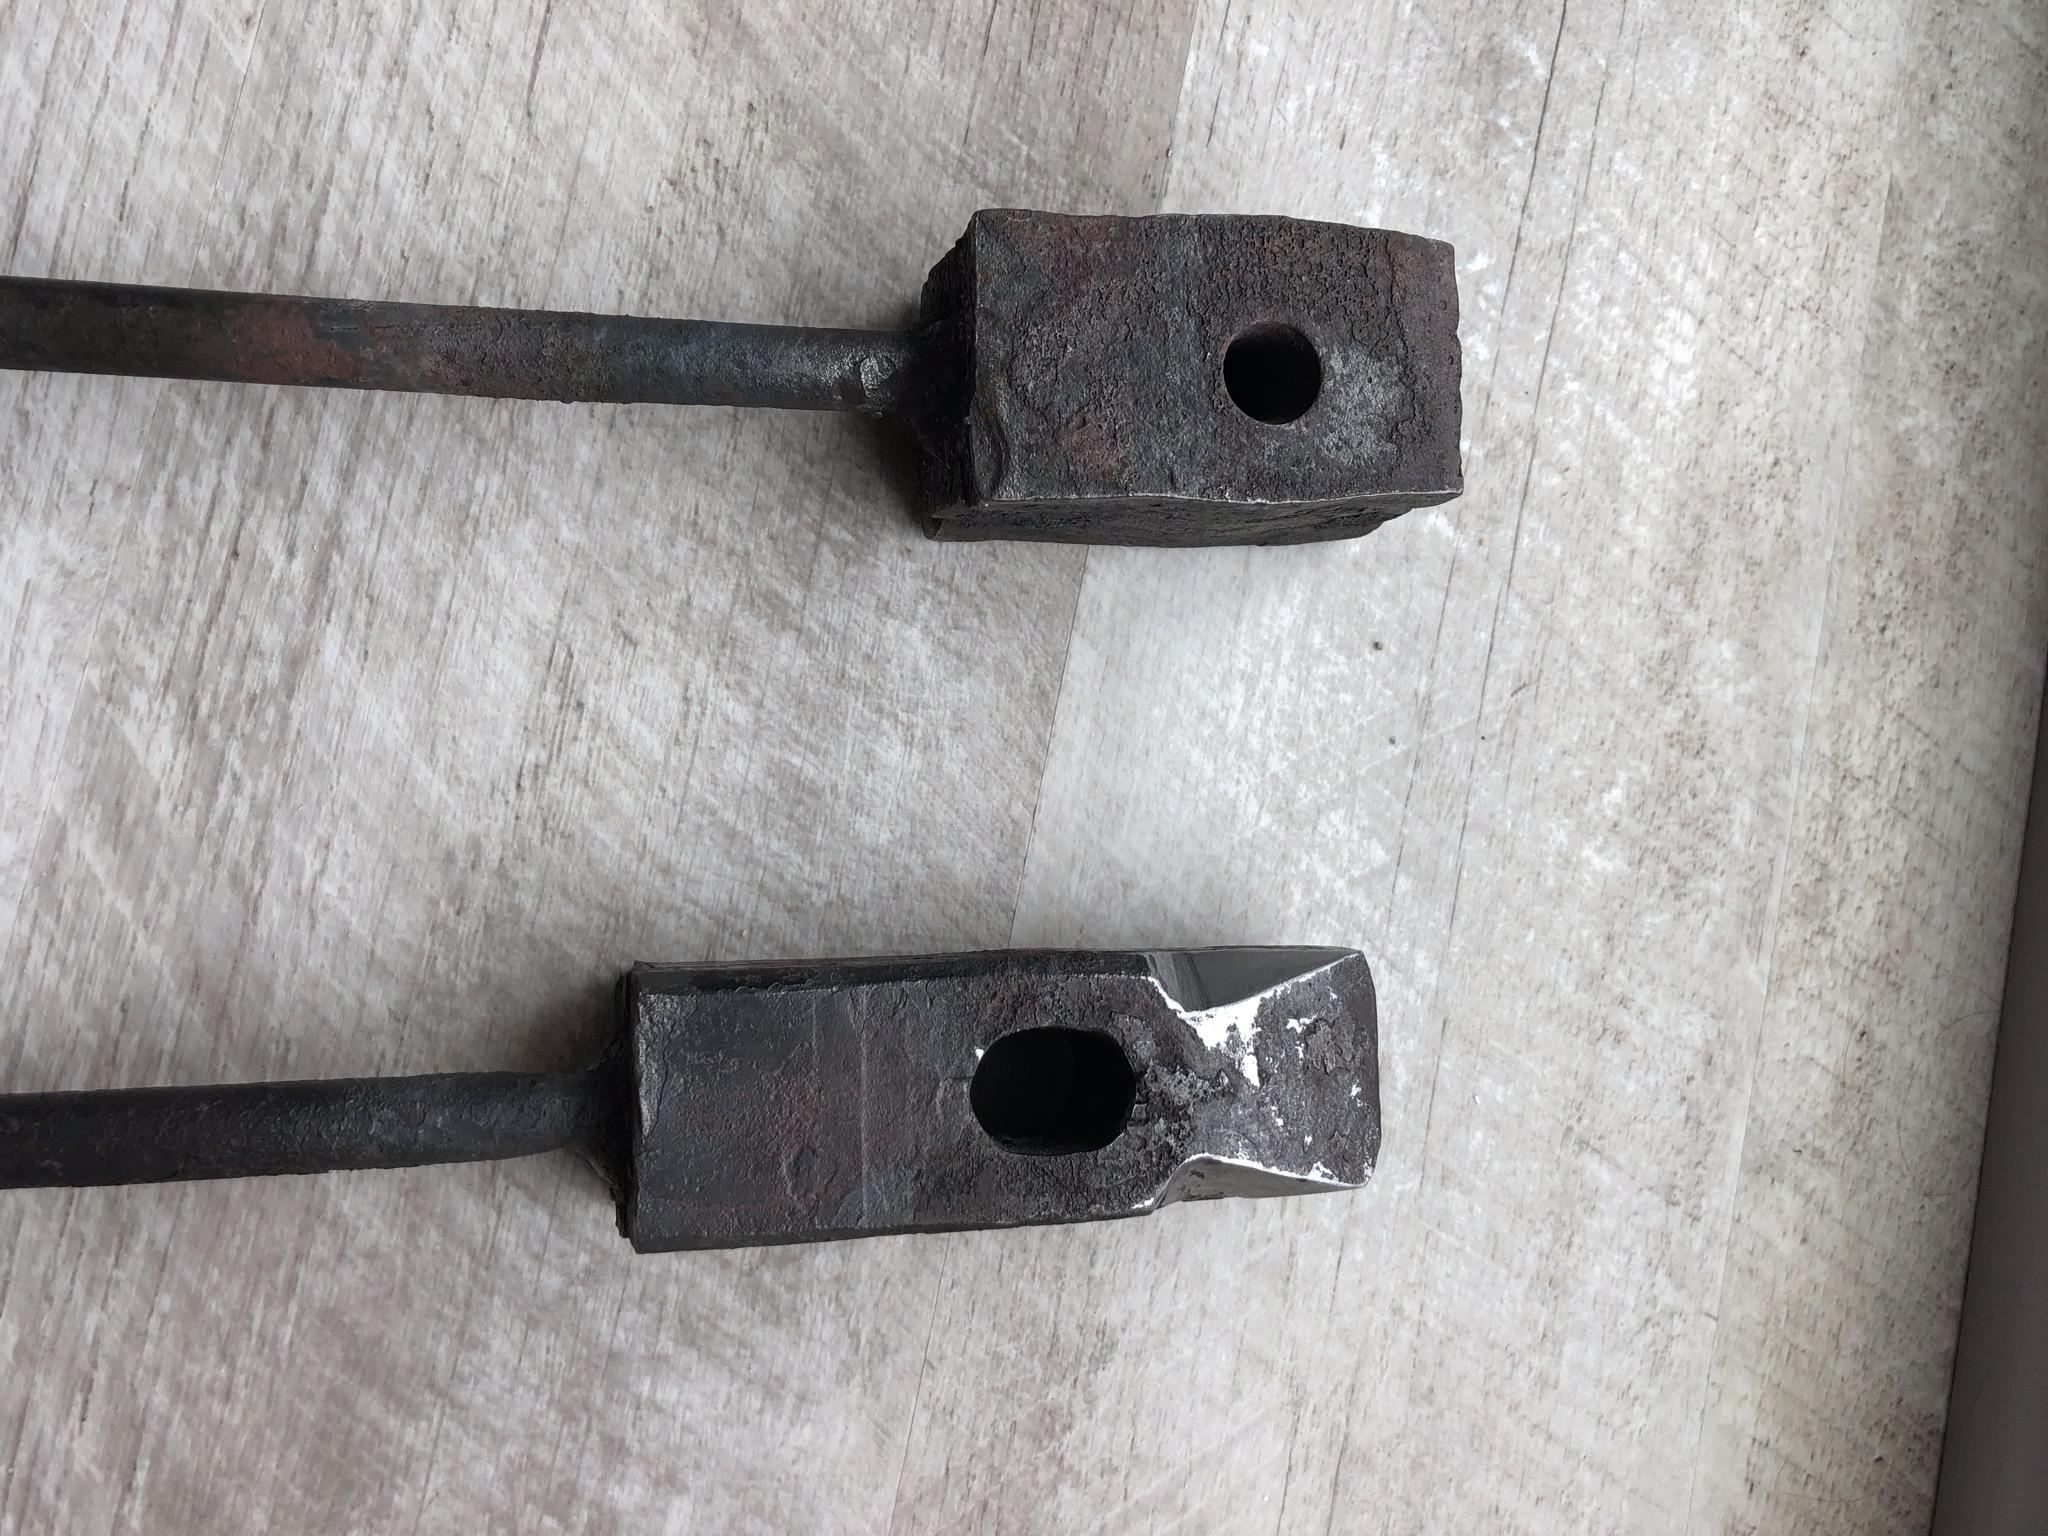
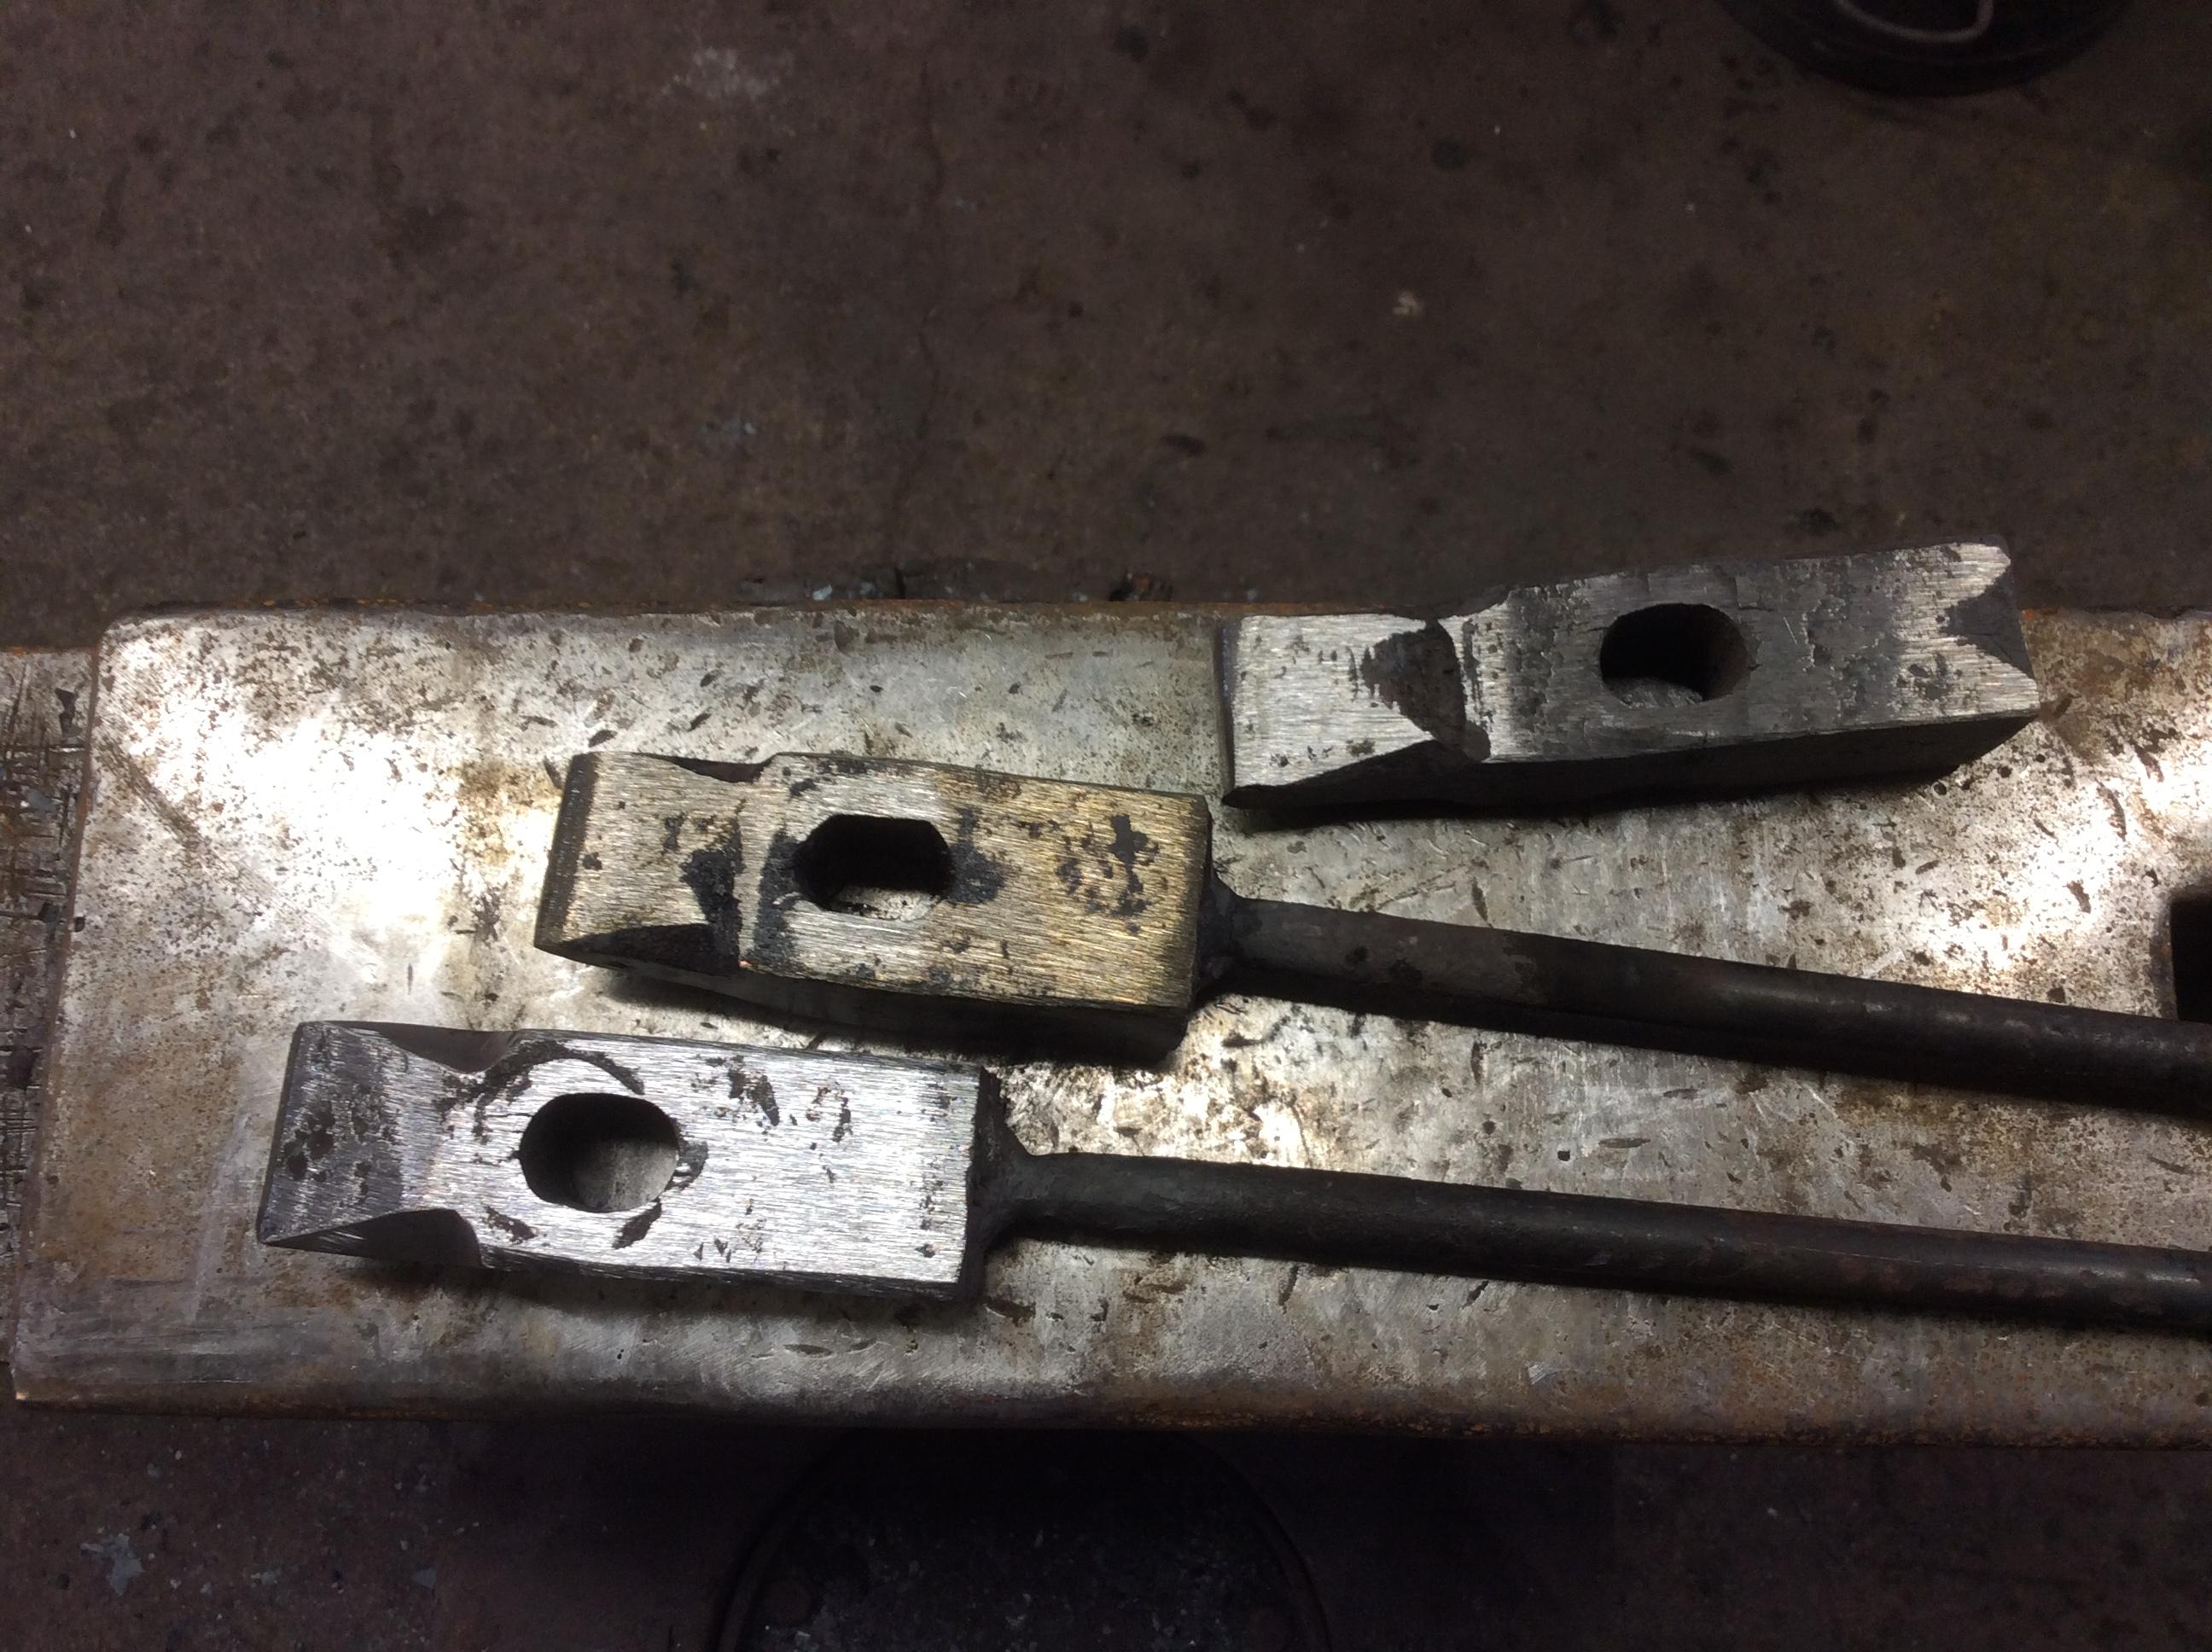
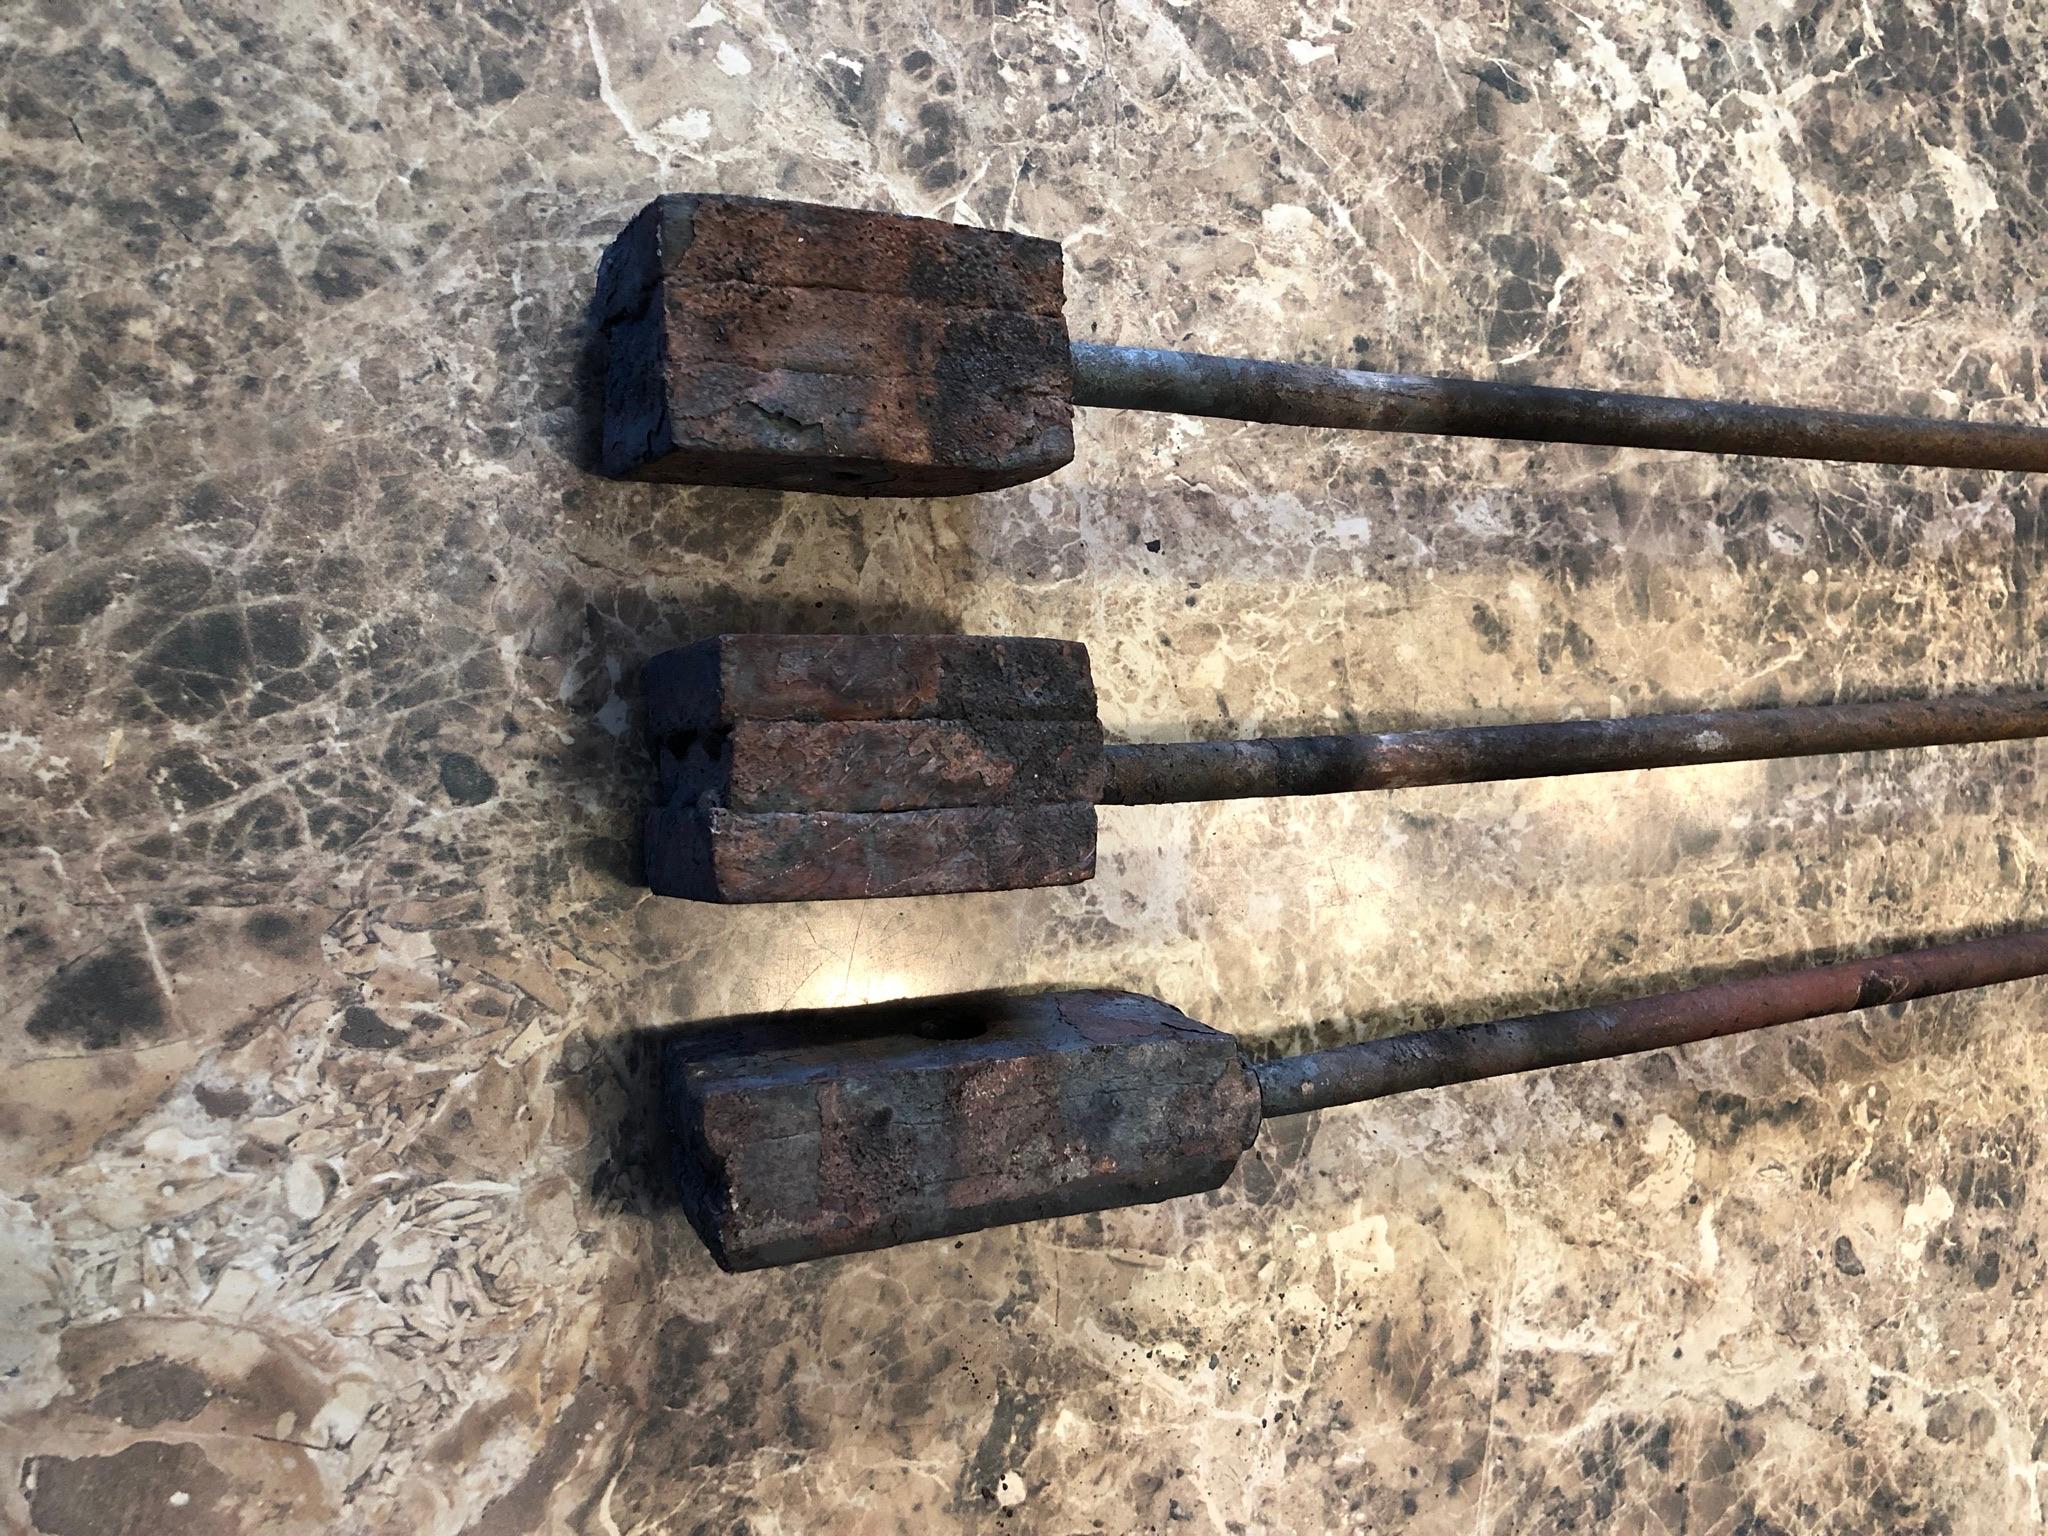
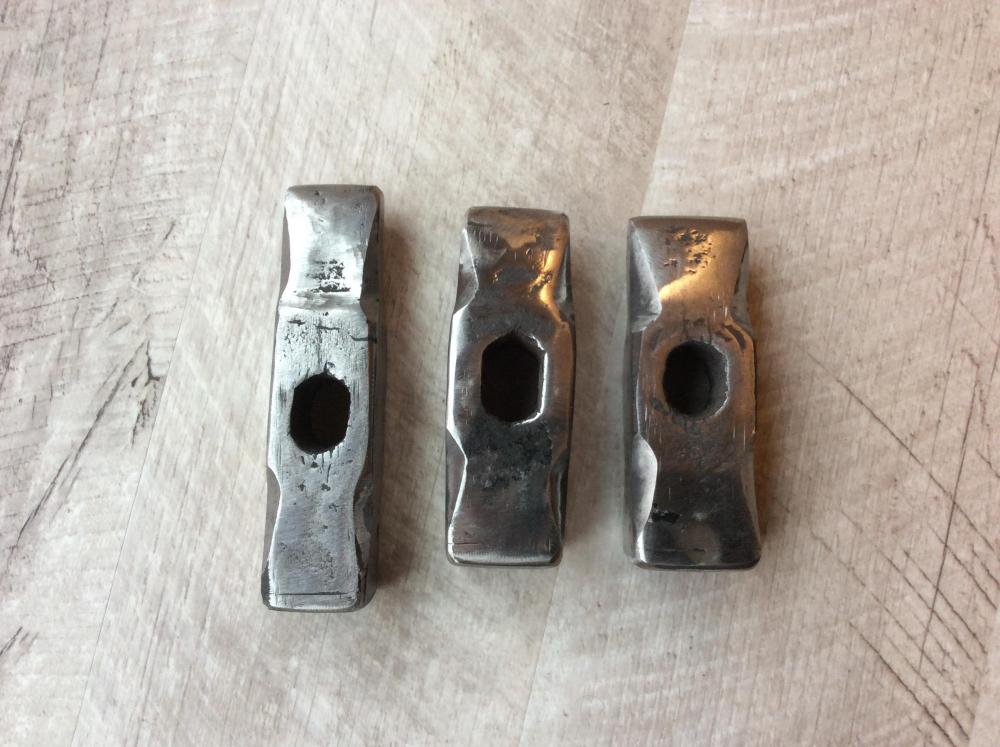
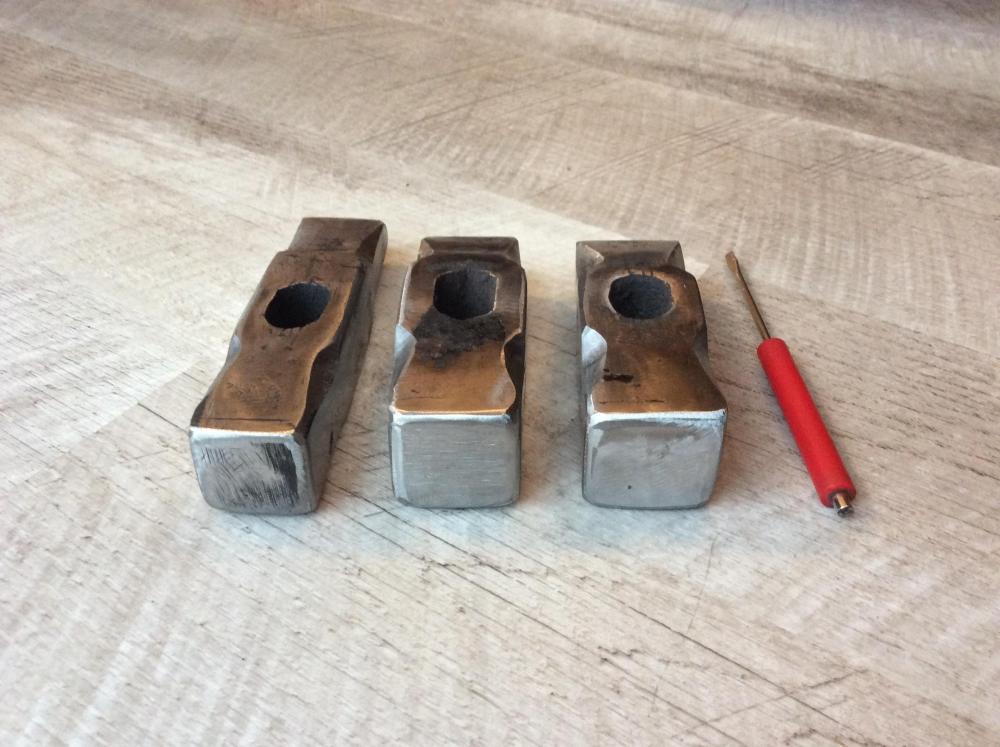
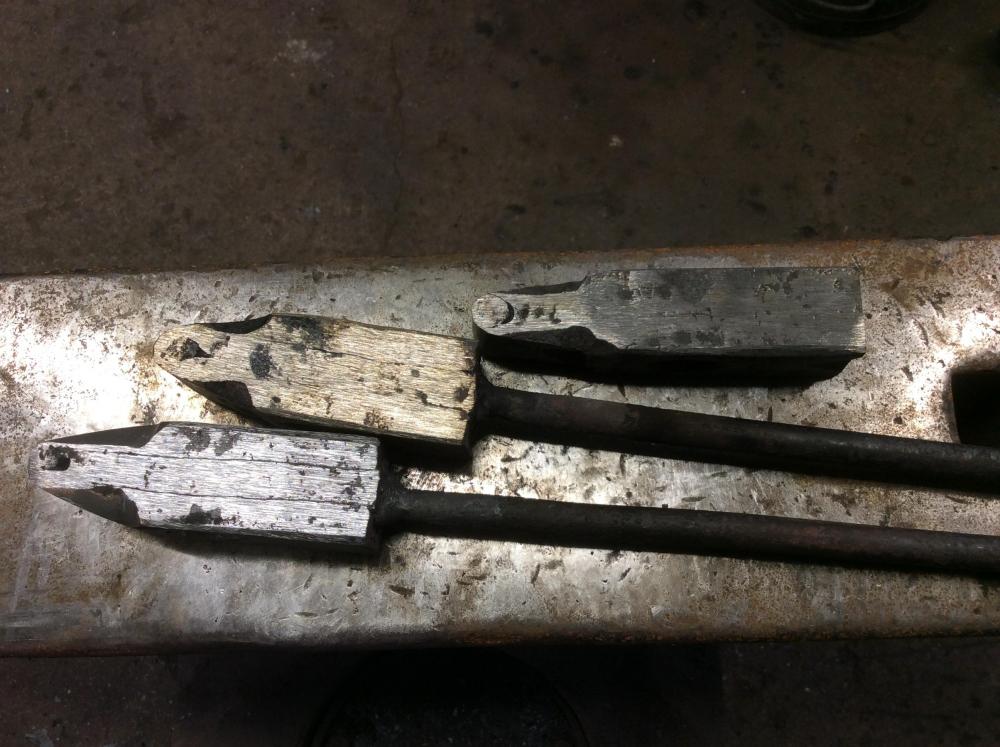
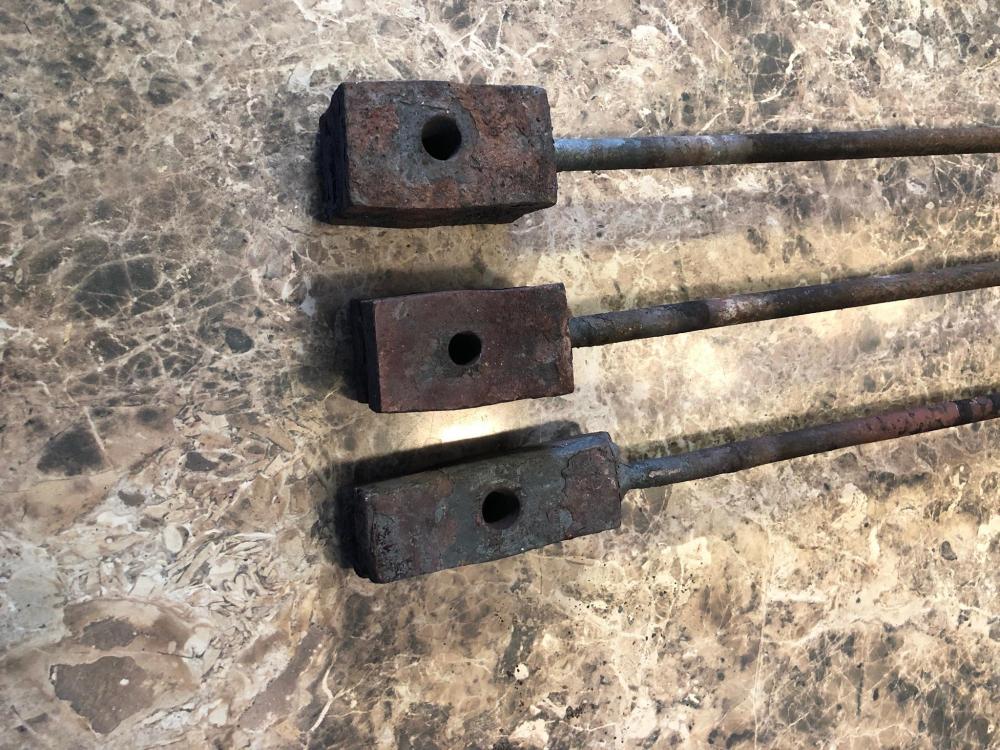
I welded one at Kurt Fehrenbach’s Thursday night. I heated it in the coal forge, then he hit it with the 250 lb. Little Giant. He squeezed it a little skinnier than I wanted. I welded the other two in the front yard, with my coal forge and I smacked them with a 6 lb. sledgehammer, one handed. I then went ahead and punched a hole in each one, using a handled punch and the same 6 lb’er. I know, “picture’s or it didn’t happen”. Here you go.

-
I was asked to make a hammer for a raffle, a fund raiser. I thought about it for a minute and said I would. I went home and decided what style I would attempt. I was thinking about a 2 1/2 pound cross peen. The “German” pattern shown further down this Hand Hammer topic looks like a very nice hammer. JLP’s wrought iron steel faced hammer is very interesting. I sawed up some wrought iron from an old bridge. I cleaned off the old paint, tacked them together, and welded on a handle. I put three of them together. I figured out of three attempts I could get a couple of hammers made. We’ll see how it goes.


-
Lorelei is pictured swinging an uncarved ,or undecorated, Elmer Roush hammer on the cover of her first book.
-
It’s a cotton picker spindle, or, a cotton picking spindle, depending on how you look at it.
-
What did you do in the shop today?
duckcreekforge replied to Mark Ling's topic in Blacksmithing, General Discussion
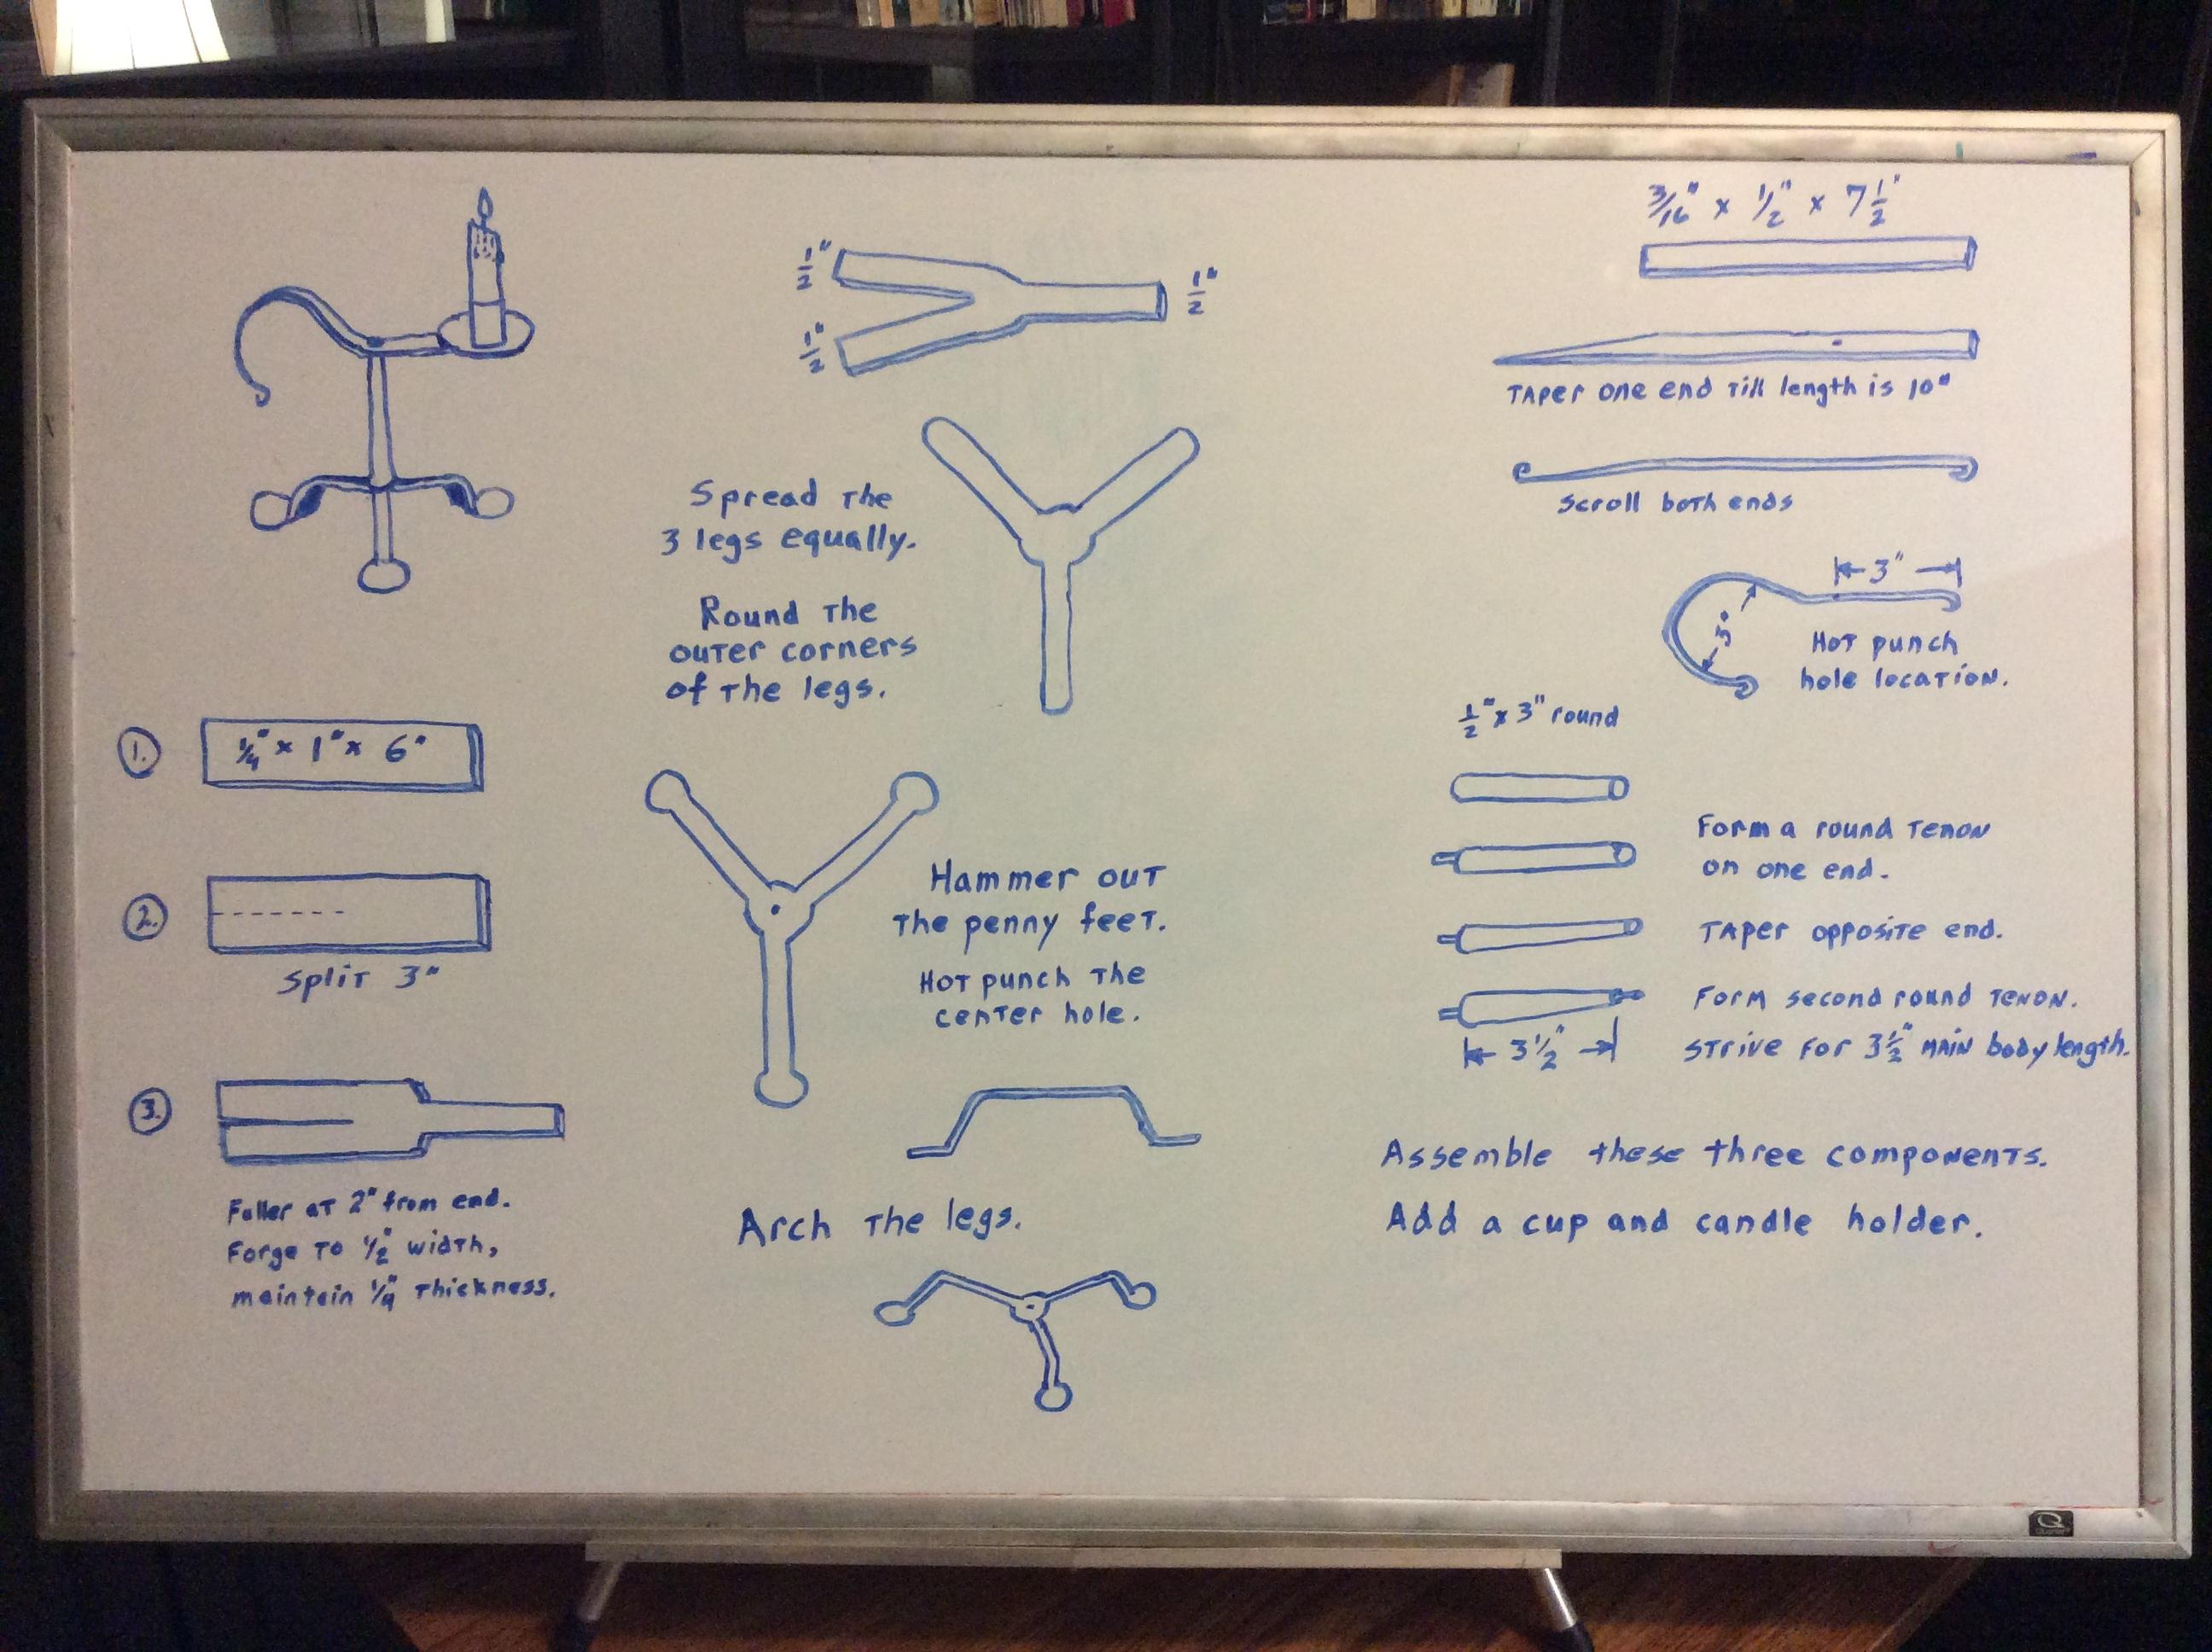
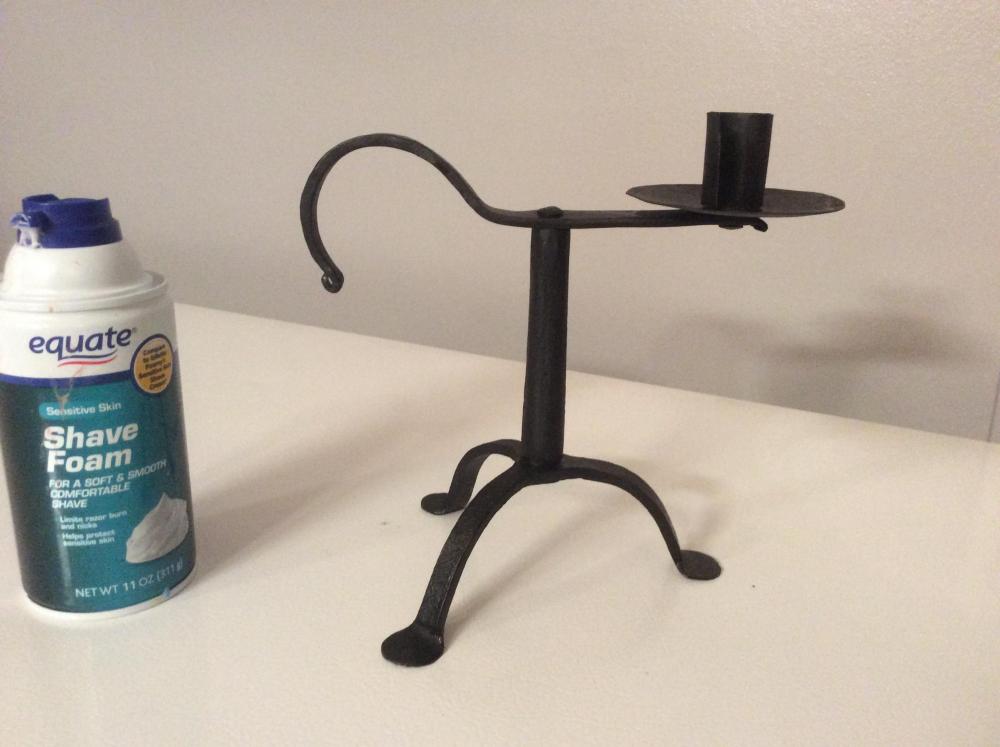
Thanks Jennifer, no I started with a picture of the finished product and worked backwards. I did take the picture from my 3 ring binder of saved blacksmithing items. At the time, I was looking for project ideas and this was my go to book. It is full, I had to start another. I have neglected to document time per project.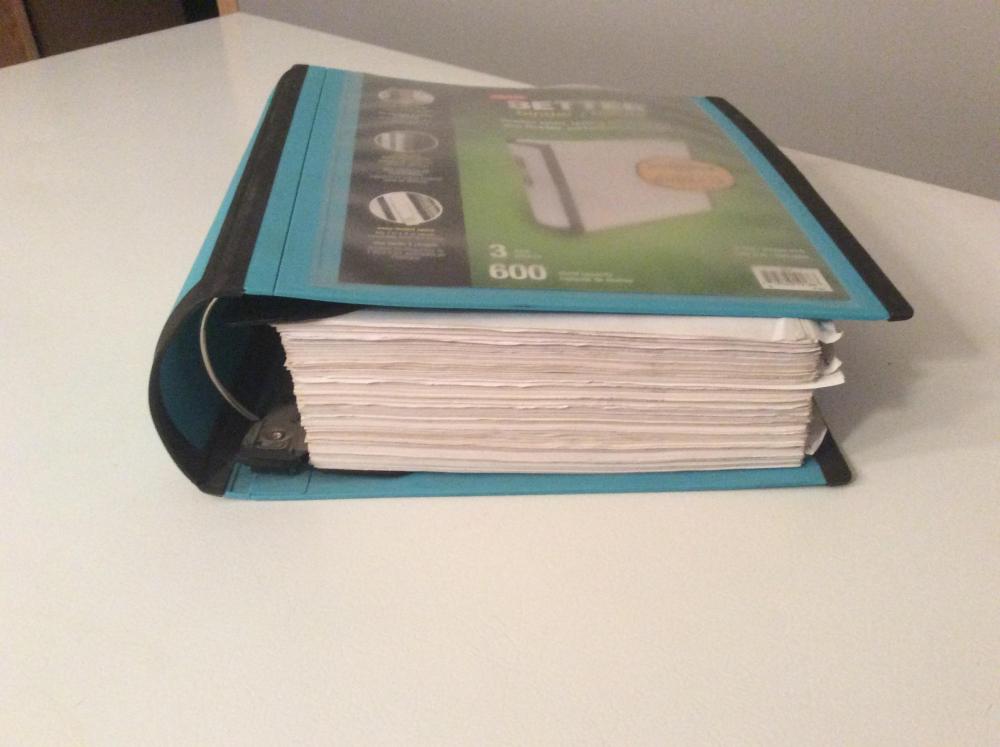
-
What did you do in the shop today?
duckcreekforge replied to Mark Ling's topic in Blacksmithing, General Discussion
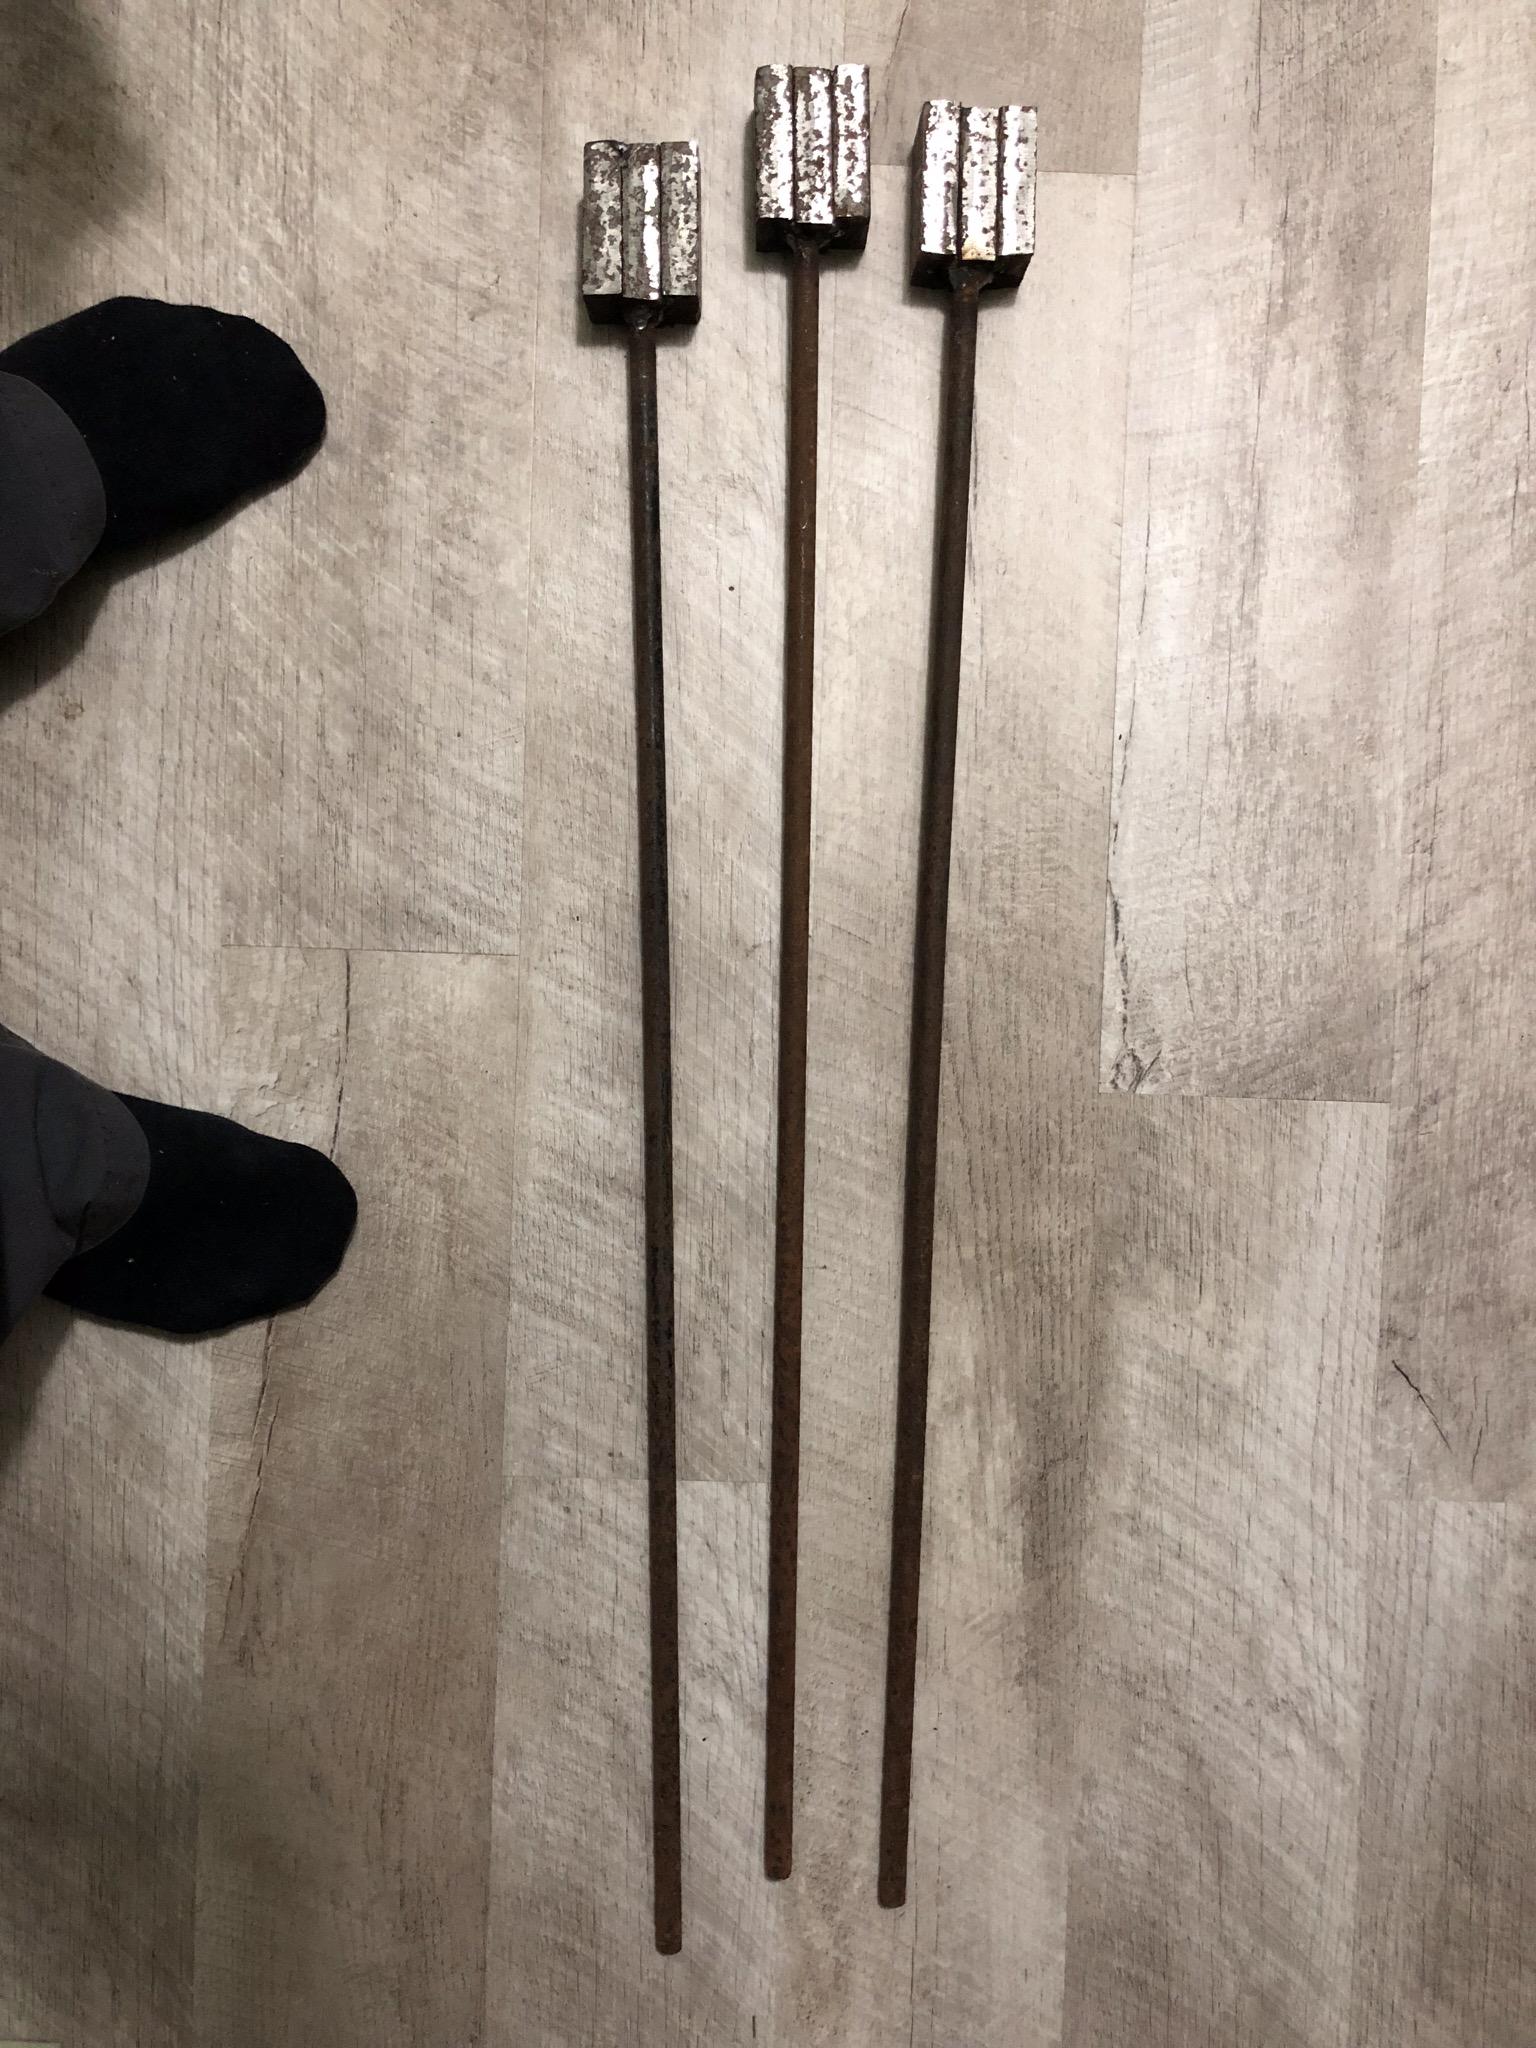
Helping to teach some young smiths, made this Thursday evening from just a picture. I drew them a “how to”.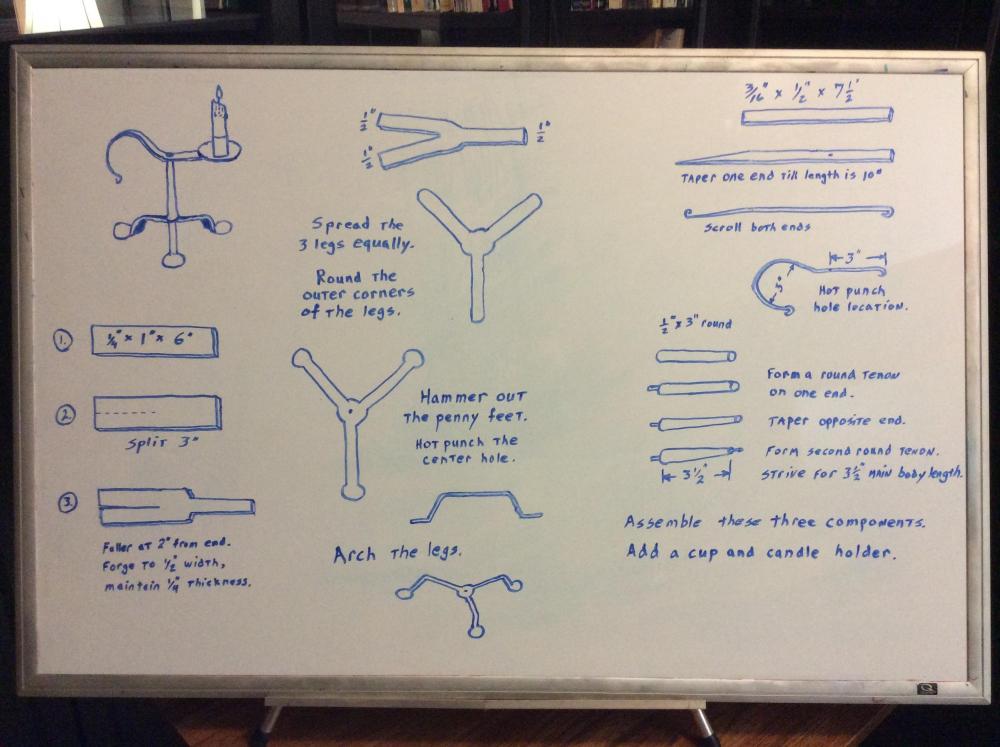
-
Unknown cooper's tool?
duckcreekforge replied to hawk18's topic in Tools, ID, and pictorial reference
Power hammer hack knife? of the curved variety, which, of course, is not sharpened, is thicker on top edge, thinner on the bottom edge and the protrusion works for the function of the tool. Was there a power hammer anywhere near?