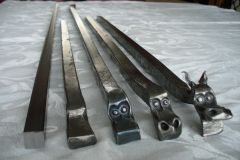
Hogan_Baker Posted April 22, 2010 That is really cool, what size stock are you starting with? Quote Link to comment
Naz Posted April 22, 2010 That is really cool, what size stock are you starting with? Hi Hogan ! Thanks for the interest ! I use 1/2" stock but I guess any size would do depending on the size of punches you use. I made three punches to do the dragon heads : (eye punch, nostril punch, mouth and ear/horns punch, witch is really a hand held hot cut.) The rest is made with the hammer. I tried to add a photo of my punches with this reply but don't know how. Take care ! Naz. Quote Link to comment
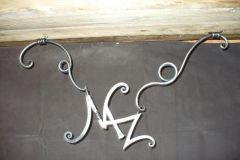
Alec.S Posted April 27, 2010 nice stuff.......i must try that design if you mind me copying :D .......... alec Quote Link to comment
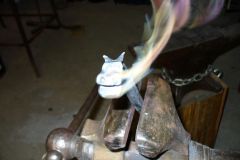
Naz Posted April 27, 2010 nice stuff.......i must try that design if you mind me copying :D .......... alec Absolutely ! Just make sure to pass it on to someone else after. The time we save by helping each other can be used to advance in other techniques and ideas. Too many good smiths died with their secrets. Tip : Use modeling clay to practice, the cheapest you can find. Clay moves in the same way hot metal does. Form the clay in a square(or round) section of the same size metal you plan on using. Then use the hammer, anvil, punches, etc... (When working hot metal, place the bar stock in the vise and punch the eyes,nostrils, etc... in the same order as in the photo.). When practicing with clay,use the hammer and anvil to form the head, then use your hand as a vise and just push the punches into the head. Good luck ! Naz. Quote Link to comment


Recommended Comments
Join the conversation
You can post now and register later. If you have an account, sign in now to post with your account.